Introduction
I was grabbing a quick coffee last Saturday when the faint, sugary scent of vanilla and sprinkles caught me off guard — and suddenly I was eight years old, sitting cross-legged on the sun-warmed kitchen floor at my friend Lucy’s house. Her mom was rolling out cookie dough on the worn oak table, the kind with a small crack right where her elbow rested. I remember the quiet hum of the mixer as it whipped up the batter, and how Lucy’s mom would sneak tastes of the dough, grinning like she was hiding a secret. Honestly, those soft batch funfetti sugar cookies with their bright, cheerful spots of color were more than just cookies — they were little bursts of celebration you could eat, especially because they were always topped with that perfect royal icing, smooth and shiny like candy glass.
That day, we got distracted by a spilled bag of flour and a very determined dog sneaking sprinkles off the counter, so the cookies took a little longer to bake. But the wait was worth it — warm, tender, and just the right amount of sweetness. I’ve chased that same feeling ever since, trying to recreate not just the cookie, but the whole experience: the mess, the laughter, and that simple joy of something homemade. Maybe you’ve been there, too — searching for the softest sugar cookie that still holds its shape, with that fun, colorful twist and a royal icing that’s as fun to decorate as it is to eat.
So, let me tell you why these soft batch funfetti sugar cookies with royal icing still hold a special place in my heart and why you might want to make them your new go-to treat.
Why You’ll Love This Recipe
After countless batches and many happy taste testers, I’m confident this recipe hits the sweet spot between ease and wow factor. Here’s what makes these soft batch funfetti sugar cookies stand out:
- Quick & Easy: You can have these cookies baked and iced in under an hour, perfect for spontaneous celebrations or when you really need a sugar fix.
- Simple Ingredients: No complicated or hard-to-find items here — just pantry staples with a pop of colorful sprinkles.
- Perfect for All Occasions: Whether it’s a birthday party, a casual brunch, or just a weekend treat, these cookies bring a joyful vibe every time.
- Crowd-Pleaser: Kids adore the bright sprinkles and adults can’t get enough of the tender, soft texture paired with that glossy royal icing.
- Unbelievably Delicious: The balance of buttery softness and sweet vanilla flavor, combined with the crisp yet smooth royal icing, is honestly next-level comfort food.
What really sets this recipe apart is how the dough stays soft and pillowy, not cakey or hard, even after a day or two. Plus, the royal icing decorating guide I’ve included breaks down the process into five easy steps — so you don’t have to be a pro to make your cookies look picture-perfect. I’ve tested and tweaked everything to get you that charming, homemade look without the stress. These are cookies you’ll want to share, and maybe even brag about a little.
Ingredients You Will Need
This recipe uses simple, wholesome ingredients that come together to create that perfect soft batch texture with a delightful sprinkle crunch. Most are pantry staples, and if you’re missing something, I’ve got substitution tips for you.
For the Cookie Dough:
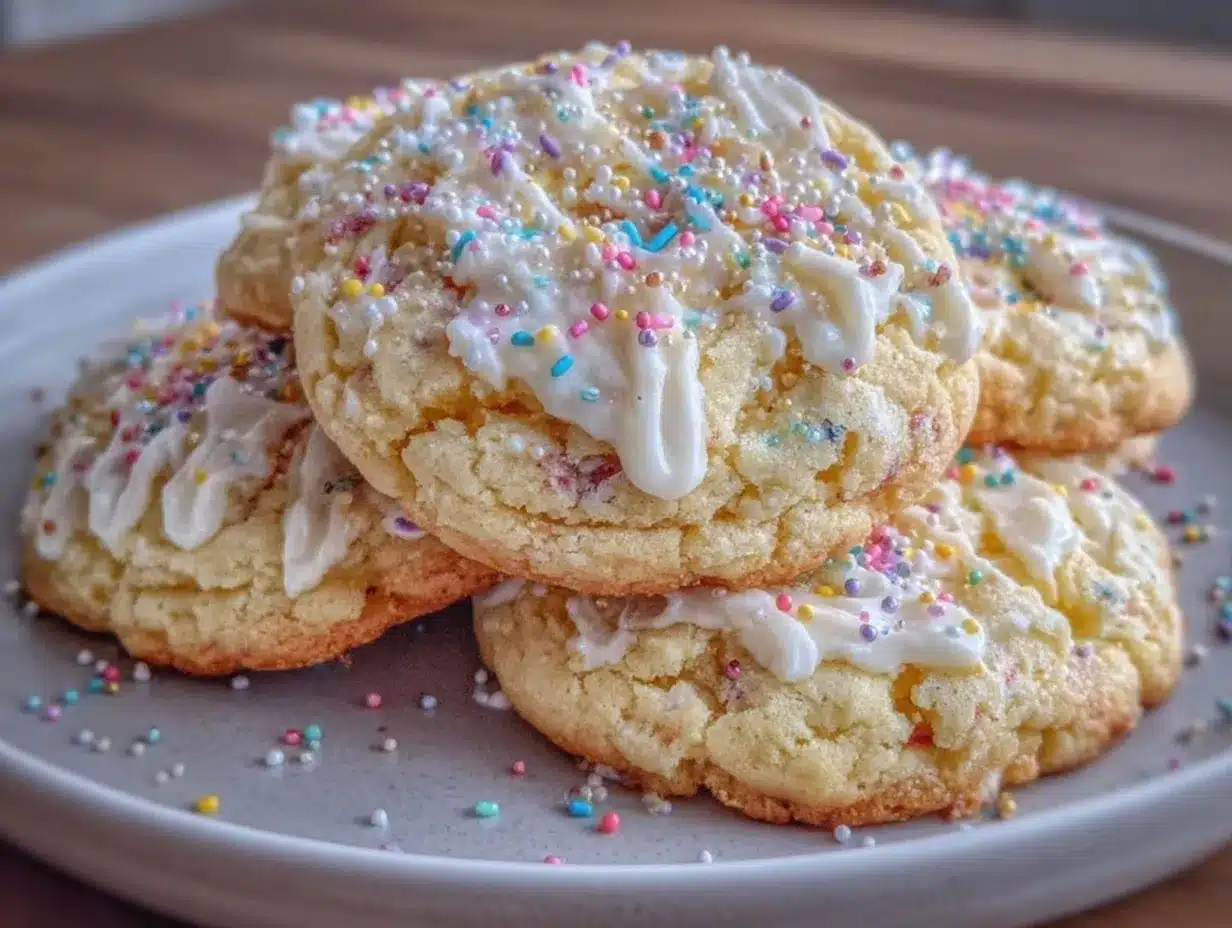
- 2 ¾ cups (345g) all-purpose flour (I recommend King Arthur for consistent texture)
- 1 teaspoon baking powder
- ½ teaspoon baking soda
- ¼ teaspoon salt
- ¾ cup (170g) unsalted butter, softened (use European-style for extra richness)
- 1 cup (200g) granulated sugar
- 1 large egg, room temperature
- 2 teaspoons pure vanilla extract (quality vanilla makes a difference!)
- ½ cup (120ml) sour cream or plain Greek yogurt (adds moisture and softness)
- ½ cup (90g) rainbow sprinkles (use sturdy, non-melting ones for best results)
For the Royal Icing:
- 3 cups (360g) powdered sugar, sifted
- 2 large egg whites or 4 tablespoons meringue powder + 6 tablespoons water (safer and easier)
- ½ teaspoon vanilla or almond extract
- Few drops of food coloring (optional, but fun!)
- Extra sprinkles for decorating
If you need a gluten-free option, swapping the all-purpose flour for a gluten-free blend works well here. For dairy-free, use a plant-based yogurt and vegan butter, though the texture might be slightly different. I usually keep a small jar of meringue powder in my pantry — it’s a lifesaver for royal icing and super reliable.
Equipment Needed
- Mixing bowls (medium and large)
- Electric hand mixer or stand mixer (helps get that butter fluffy)
- Measuring cups and spoons (accurate measuring is key!)
- Rubber spatula for folding in sprinkles gently
- Baking sheets lined with parchment paper or silicone mats
- Wire cooling racks
- Piping bags and small round tips (sizes 1 or 2 work great for royal icing details)
- Toothpicks or scribe tools for smoothing icing edges
Don’t fret if you don’t have piping bags — you can use small zip-top bags with a tiny corner snipped off. I’ve also used plastic squeeze bottles for icing when I needed more control. A good stand mixer makes the dough smoother and easier to work with, but a hand mixer definitely gets the job done.
Preparation Method
- Prep the dry ingredients: In a medium bowl, whisk together the flour, baking powder, baking soda, and salt. Set aside. This mix ensures your cookies rise softly but keep their shape. (Time: 5 minutes)
- Cream the butter and sugar: In your mixer’s bowl, beat the softened butter and granulated sugar on medium-high speed until light and fluffy — about 3 to 5 minutes. You want it pale and airy; this is where the magic of soft cookies starts. (Tip: Don’t rush this step.)
- Add egg and vanilla: Mix in the egg and vanilla extract until just combined. Scrape down the sides to keep everything evenly mixed.
- Incorporate sour cream: Blend in the sour cream or Greek yogurt until smooth. This keeps the cookies moist and tender.
- Combine dry ingredients: Gradually add the flour mixture, mixing on low speed just until the dough comes together. Overmixing can make the cookies tough.
- Fold in sprinkles: Using a spatula, gently fold in the rainbow sprinkles. Be careful here — too much stirring and the colors bleed, turning your dough into a pastel mess. (Personal note: I once made the mistake of overmixing and ended up with pink dough!)
- Chill the dough: Cover the dough and chill for at least 30 minutes. This step stops the cookies from spreading too much and helps maintain that soft batch texture.
- Form and bake: Preheat oven to 350°F (175°C). Scoop dough with a cookie scoop or tablespoon onto parchment-lined baking sheets, spacing about 2 inches apart. Bake for 10-12 minutes until edges are set but centers still look slightly underbaked. (They’ll firm up as they cool.)
- Cool completely: Transfer cookies to wire racks to cool before decorating. Attempting to ice warm cookies can melt the royal icing and ruin your design.
- Prepare royal icing: Beat egg whites or mix meringue powder with water, then gradually add sifted powdered sugar and flavoring. Whip until stiff peaks form for piping consistency. (Add water or powdered sugar to adjust thickness.)
- Decorate cookies: Use piping bags to outline each cookie first, then flood with thinner icing. Add sprinkles while icing is wet. Let dry for several hours or overnight to set.
Cooking Tips & Techniques
Soft batch sugar cookies can be tricky, but a few tips can save you headaches. First, don’t skip the chilling — it really controls spreading and helps develop flavors. I’ve learned the hard way baking cookies straight from room temperature dough leads to thin, crispy edges, not the soft chew you want.
When creaming butter and sugar, patience matters. If the butter isn’t soft enough or you don’t beat long enough, your cookies might turn out dense. On the other hand, too warm a kitchen or melted butter can mess with your dough’s consistency.
For royal icing, consistency is everything. I keep two bowls handy: one thicker icing for outlines and details, and a thinner “flood” icing for filling. If the icing is too runny, it won’t hold shape; too thick, and it’s hard to spread. Practice makes perfect here, and honestly, a toothpick is your best friend for fixing little mistakes.
Timing-wise, bake one sheet at a time for even heat exposure. Multitasking is key — while cookies bake, whip up your icing and prep your decorating station. This keeps things moving smoothly without rushing the delicate steps.
Variations & Adaptations
- Flavor twists: Swap vanilla for almond or lemon extract to create a different aroma and flavor profile.
- Dietary swaps: Use gluten-free flour blends to make these cookies friendly for gluten-sensitive friends. For egg-free royal icing, aquafaba (chickpea water) is a clever replacement.
- Seasonal funfetti: Change up sprinkles depending on the holiday — red and green for Christmas, pastels for Easter, or even gold and black for Halloween.
- Alternative decorating: Try using colored sanding sugar instead of sprinkles, or add edible glitter on top of the royal icing for sparkle.
One time, I swapped the sour cream for coconut yogurt just for a dairy-free batch, and while the texture was slightly different, the cookies were still soft and delicious — an easy fix if you’re catering to special diets.
Serving & Storage Suggestions
These soft batch funfetti sugar cookies are best served at room temperature, so take them out of the fridge about 20 minutes before enjoying. They look extra festive when stacked on a pretty plate or arranged in a colorful box for gifting.
Pair them with a cold glass of milk, a cup of coffee, or even a fruity iced tea for a lovely snack or dessert. They’re also perfect alongside some light lemon blueberry muffins if you’re planning a brunch spread.
Store cookies in an airtight container at room temperature for up to 3 days. If you want to keep them longer, freeze the undecorated cookies wrapped tightly in plastic wrap, then decorate after thawing. Royal icing cookies keep well in the fridge for up to a week, but bring them back to room temperature before serving to enjoy the soft texture.
The flavors actually mellow and deepen a bit after a day, so if you can wait, that’s a bonus! Just watch out — they might not last that long.
Nutritional Information & Benefits
Each soft batch funfetti sugar cookie (with icing) contains approximately:
| Nutrient | Amount per Cookie |
|---|---|
| Calories | 150-180 kcal |
| Carbohydrates | 22g |
| Fat | 7g |
| Protein | 1.5g |
| Sugar | 14g |
While these are definitely a treat, the use of real butter and yogurt lends a richer mouthfeel and some protein that helps balance the sweetness. Using meringue powder instead of raw egg whites for the royal icing is a safer choice for families and adds a nice protein boost, too. Gluten-free and dairy-free options mean most folks can enjoy these cookies without worry.
Conclusion
If you’re after a soft batch funfetti sugar cookie that feels like a warm hug and looks like a celebration, this recipe is your new best friend. It’s easy enough to whip up on a whim but impressive enough to wow friends and family. I love how the royal icing decorating guide breaks down the process so anyone can create those pretty, glossy finishes with sprinkles that add a playful pop.
Make it your own — try different extracts, swap sprinkles, or add your favorite toppings. I can’t wait to hear how your batch turns out, and if you have any decorating tricks or flavor combos, please share! Baking is better when it’s a little messy and a lot fun, don’t you think?
Happy baking and decorating!
Frequently Asked Questions
Can I make the cookie dough ahead of time?
Yes! You can prepare the dough and refrigerate it for up to 24 hours before baking. Just let it sit at room temperature for 10-15 minutes before scooping.
How do I prevent sprinkles from bleeding color into the dough?
Fold sprinkles in gently and avoid overmixing. Use sturdy, non-melting sprinkles designed for baking to keep colors vibrant.
Can I use powdered egg whites instead of fresh for royal icing?
Absolutely! Meringue powder is a convenient and safe alternative that works great with royal icing and has a longer shelf life.
What if my royal icing is too thick or too thin?
Add a few drops of water to thin it out if too thick, or sift in more powdered sugar if it’s too runny. Achieving the right consistency is key to smooth decorating.
How long do decorated cookies last?
When stored in an airtight container, decorated cookies last about a week at room temperature or refrigerated. Bring them to room temp before eating for the best texture.
Pin This Recipe!
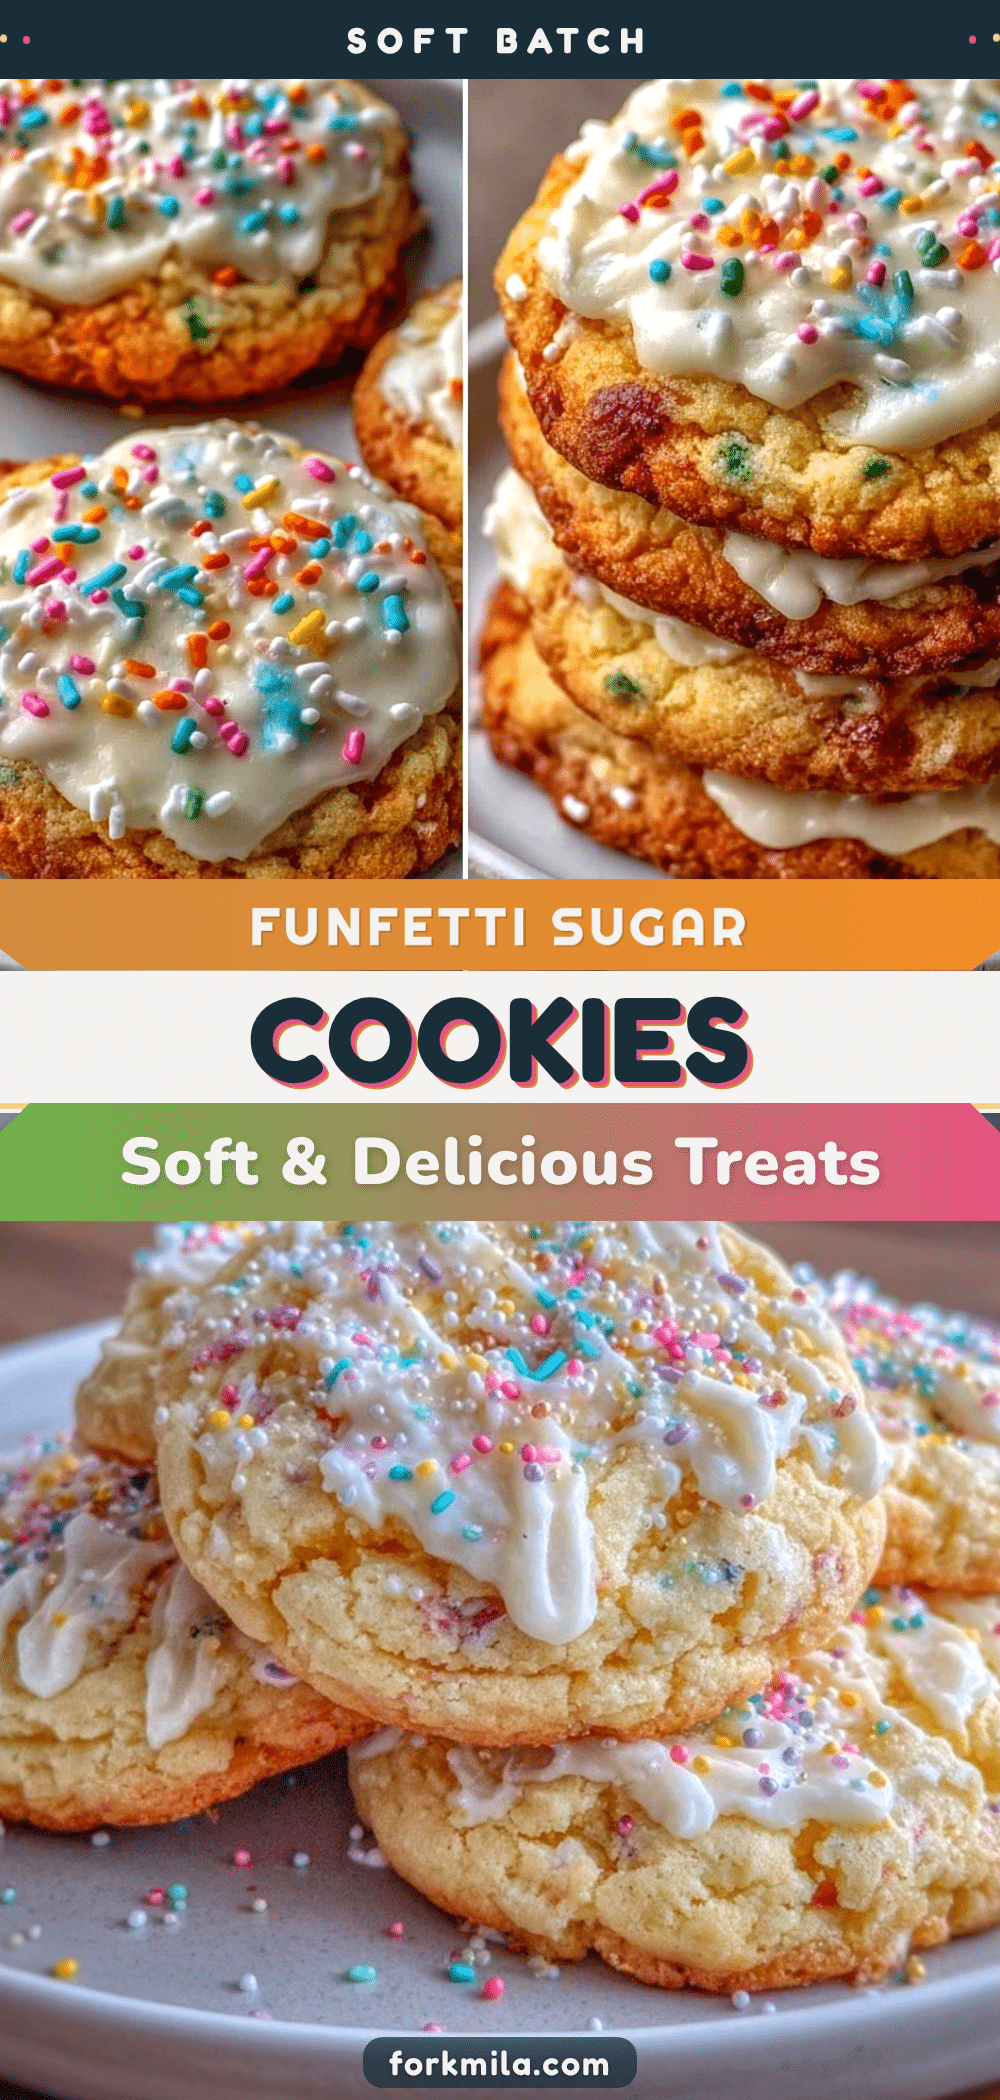
Soft Batch Funfetti Sugar Cookies with Royal Icing

These soft batch funfetti sugar cookies are tender, moist, and bursting with colorful sprinkles, topped with a smooth and glossy royal icing perfect for decorating. Easy to make and perfect for celebrations or everyday treats.
- Prep Time: 15 minutes
- Cook Time: 12 minutes
- Total Time: 45 minutes
- Yield: 24 cookies 1x
- Category: Dessert
- Cuisine: American
Ingredients
- 2 ¾ cups (345g) all-purpose flour
- 1 teaspoon baking powder
- ½ teaspoon baking soda
- ¼ teaspoon salt
- ¾ cup (170g) unsalted butter, softened
- 1 cup (200g) granulated sugar
- 1 large egg, room temperature
- 2 teaspoons pure vanilla extract
- ½ cup (120ml) sour cream or plain Greek yogurt
- ½ cup (90g) rainbow sprinkles
- 3 cups (360g) powdered sugar, sifted (for royal icing)
- 2 large egg whites or 4 tablespoons meringue powder + 6 tablespoons water (for royal icing)
- ½ teaspoon vanilla or almond extract (for royal icing)
- Few drops of food coloring (optional)
- Extra sprinkles for decorating
Instructions
- In a medium bowl, whisk together the flour, baking powder, baking soda, and salt. Set aside.
- In a mixer bowl, beat the softened butter and granulated sugar on medium-high speed until light and fluffy, about 3 to 5 minutes.
- Mix in the egg and vanilla extract until just combined, scraping down the sides as needed.
- Blend in the sour cream or Greek yogurt until smooth.
- Gradually add the flour mixture, mixing on low speed just until the dough comes together. Avoid overmixing.
- Gently fold in the rainbow sprinkles using a rubber spatula to avoid color bleeding.
- Cover the dough and chill for at least 30 minutes to prevent spreading and maintain soft texture.
- Preheat oven to 350°F (175°C). Scoop dough onto parchment-lined baking sheets about 2 inches apart.
- Bake for 10-12 minutes until edges are set but centers still look slightly underbaked. Let cookies firm up as they cool.
- Transfer cookies to wire racks to cool completely before decorating.
- Prepare royal icing by beating egg whites or mixing meringue powder with water, then gradually adding sifted powdered sugar and flavoring. Whip until stiff peaks form.
- Use piping bags to outline each cookie, then flood with thinner icing. Add sprinkles while icing is wet.
- Let decorated cookies dry for several hours or overnight to set.
Notes
Chilling the dough is essential to prevent spreading and maintain soft texture. Use sturdy, non-melting sprinkles to avoid color bleeding. For royal icing, maintain proper consistency by adjusting with water or powdered sugar. Bake one sheet at a time for even heat exposure. Meringue powder is a safer alternative to raw egg whites for royal icing.
Nutrition
- Serving Size: 1 cookie
- Calories: 165
- Sugar: 14
- Sodium: 90
- Fat: 7
- Saturated Fat: 4.5
- Carbohydrates: 22
- Fiber: 0.5
- Protein: 1.5
Keywords: funfetti sugar cookies, soft sugar cookies, royal icing, easy sugar cookies, funfetti cookies, decorated cookies, baking, sprinkles, party cookies


