This was supposed to be a batch of elderberry syrup. I had the berries simmering on the stove, the honey measured out, and a dozen mason jars sterilized and ready to go. Then my phone rang—my sister, mid-crisis over a school project—and I got distracted. By the time I hung up, the liquid had reduced way more than it should have. It was thick, sticky, and definitely not pourable. I stood there staring at the pot, honestly ready to just dump it and start over.
But I hate wasting food, especially when I’d spent a good hour sourcing those dried berries from the health food store. So I grabbed a silicone mold I’d bought on a whim for making chocolate, poured the concentrated syrup in, and stuck the whole thing in the fridge. I mean, what did I have to lose? The next morning, I popped one out, and let me tell you—it was like a little ruby-red jewel. Chewy, tart-sweet, and way more fun than choking down a spoonful of syrup. I’ve been making them ever since.
Maybe you’ve been there too—standing in your kitchen after a small disaster, wondering if you should just give up. Don’t. Sometimes the best recipes come from those moments when everything goes sideways. These homemade elderberry gummies are proof that a happy accident can turn into something you actually look forward to taking every single day. They’re now a staple in my house, especially when cold season rolls around, and I honestly get a little thrill every time I make a batch.
Why You’ll Love This Recipe
Let’s be real—most immune support stuff tastes like medicine or costs a small fortune at the store. These gummies are different. They taste like a treat, but they’re packed with the good stuff your body actually needs. I’ve tested this recipe at least a dozen times to get the texture just right, and I’ve even had a nutritionist friend look over the ingredients to make sure they’re solid.
- Quick & Easy: Comes together in under 30 minutes, and most of that is just simmering time. Perfect for a Sunday afternoon prep session.
- Simple Ingredients: No weird additives or hard-to-find items. Dried elderberries, gelatin, honey, and a few extras you probably already have.
- Perfect for Cold Season: Great for keeping your family’s immune systems on track during fall and winter, or whenever germs are making the rounds.
- Crowd-Pleaser: Kids actually ask for these. Adults sneak them from the jar. I’ve never met anyone who didn’t like them.
- Unbelievably Delicious: The combination of tart elderberries and sweet honey creates a flavor that’s way better than any store-bought gummy I’ve tried.
What makes this recipe different from the rest? It’s the texture. Most homemade gummies end up either too soft or rubbery. I spent a lot of trial and error figuring out the exact gelatin-to-liquid ratio that gives you that perfect, satisfying chew without feeling like you’re eating a shoe. Plus, I use a little lemon juice to brighten the flavor and help preserve the gummies naturally. It’s not just another version—it’s honestly the best one I’ve ever made.
This recipe is the kind that makes you feel good about taking care of yourself. It’s comfort in a different form—nourishing, intentional, and just a little bit fun. Perfect for impressing your family with your DIY skills, or just treating yourself to something that actually works.
What Ingredients You Will Need
This recipe uses simple, wholesome ingredients to deliver a powerful immune boost without any of the artificial junk. Most of these are pantry staples in my house, and I bet you already have a few of them on hand.
- Dried elderberries: ½ cup (these are the star of the show—packed with antioxidants and vitamins)
- Water: 2 cups (for brewing the elderberry tea base)
- Honey: ¼ cup (adds sweetness and natural antibacterial properties; I prefer local raw honey for extra immune benefits)
- Gelatin powder: 3 tablespoons (unflavored; this gives the gummies their structure. I use the Great Lakes brand for the best texture)
- Lemon juice: 1 tablespoon (fresh squeezed is best; helps with preservation and cuts the sweetness)
- Cinnamon stick: 1 (optional but recommended—adds warmth and anti-inflammatory properties)
- Fresh ginger: 2-3 slices (optional; gives a little kick and extra immune support)
When you’re picking elderberries, look for organic dried berries if you can find them. They tend to have a deeper flavor and more concentrated nutrients. I get mine from the bulk section at my local co-op, but you can also order them online easily. For the gelatin, avoid the flavored packets—you want plain, unflavored gelatin so it doesn’t interfere with the elderberry taste. If you’re vegetarian, you can try agar agar powder, but I’ll be honest, the texture is different and a bit more finicky to work with.
For substitutions, you can swap the honey with maple syrup if you prefer a vegan option, though you’ll need to use agar agar instead of gelatin to keep it fully plant-based. The cinnamon and ginger are totally optional, but they really do add a lovely depth of flavor. I’ve made batches without them, and they’re still delicious, just a little simpler.
Equipment Needed
You don’t need a fancy kitchen to make these gummies. Here’s what I use every time:
- Small saucepan: For simmering the elderberries and making the tea base. A 2-quart pot works perfectly.
- Fine-mesh strainer: To strain out the berries and spices. A cheesecloth-lined colander works too if you don’t have one.
- Silicone gummy molds: These are worth the investment. I got a set of bear-shaped ones from Amazon for like eight bucks, and they’ve lasted for years. You can also use a small glass dish and cut the set gummy into squares.
- Glass measuring cup: For mixing the gelatin. The spout makes pouring into the molds way less messy.
- Whisk or fork: For dissolving the gelatin completely. A fork works fine if you’re in a pinch.
- Dropper or small spoon: For filling the molds precisely. I use a turkey baster sometimes—honestly, whatever works.
- Refrigerator space: A flat spot in your fridge where the molds can sit undisturbed for at least 2 hours.
If you don’t have silicone molds, don’t stress. I’ve poured the mixture into a small glass baking dish, let it set, and then cut it into little squares with a sharp knife. They won’t be as cute, but they taste exactly the same. Just lightly grease the dish with a little coconut oil first so they pop out easier.
Preparation Method
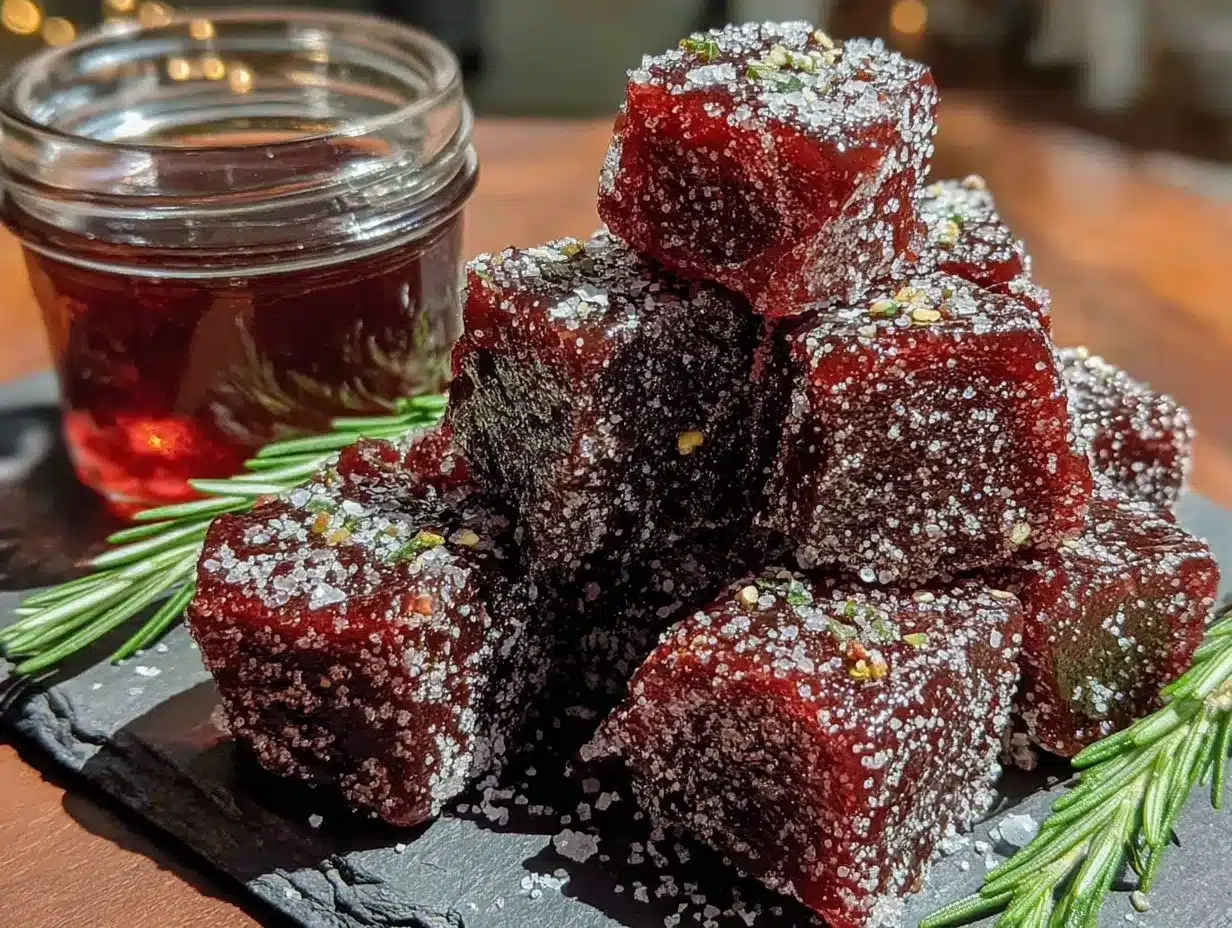
This is the fun part. I’ve broken it down so even if you’ve never made gummies before, you’ll feel like a pro by the end.
- Make the elderberry tea: In your small saucepan, combine the dried elderberries, water, cinnamon stick, and ginger slices if you’re using them. Bring to a boil over medium-high heat, then reduce to a simmer. Let it bubble away gently for about 20 minutes, or until the liquid has reduced by about half. Your kitchen will smell amazing—like a cozy fall day.
- Strain the berries: Place your fine-mesh strainer over a glass measuring cup or bowl. Carefully pour the liquid through, pressing on the berries with the back of a spoon to get all that goodness out. Discard the solids. You should have about 1 cup of concentrated elderberry tea. If you have a little more, that’s fine—just note you might need to simmer it a bit longer to reduce it.
- Cool the tea slightly: Let the strained tea cool for about 5 minutes. You want it warm but not hot—if it’s too hot, it can mess with the gelatin’s ability to set. Aim for the temperature of a warm cup of tea you’d actually drink.
- Bloom the gelatin: This is the step that makes or breaks your gummies. Sprinkle the gelatin powder evenly over the surface of the warm tea. Don’t dump it all in one spot—you want it to absorb evenly. Let it sit undisturbed for 5 minutes. It will look kind of weird and lumpy. That’s normal. Don’t panic.
- Whisk it together: After the gelatin has bloomed, whisk it gently but thoroughly. I use a fork for this because it breaks up the lumps better. Make sure there are no visible clumps of gelatin left. If you see any, keep whisking. This is where patience pays off.
- Add honey and lemon: Stir in the honey and lemon juice. Whisk until everything is fully combined and the honey has dissolved. Taste the mixture—it should be sweet and tart, with a pleasant berry flavor. If you want it sweeter, add a little more honey now.
- Fill the molds: Carefully pour the mixture into your silicone molds. If you have a dropper or a small measuring cup with a spout, use it. I use a small spoon for the last few drops because I’m clumsy and always spill otherwise. Work quickly but carefully—the mixture will start to thicken as it cools.
- Refrigerate to set: Place the filled molds on a flat surface in your refrigerator. Let them set for at least 2 hours, but overnight is even better. The longer they sit, the firmer and more stable they’ll be.
- Pop them out: Once set, gently flex the silicone mold to release the gummies. They should pop out easily. If they stick, try placing the mold in the freezer for 5 minutes—that usually does the trick. Store them in an airtight container in the fridge.
One thing I learned the hard way: don’t skip the blooming step. I once got impatient and just dumped the gelatin into hot tea and whisked like crazy. The gummies came out grainy and weird. Blooming gives the gelatin time to hydrate properly, which means a smooth, consistent texture every time.
Cooking Tips & Techniques
I’ve made enough batches of these to have a few tricks up my sleeve. Here’s what I’ve learned the hard way so you don’t have to.
Don’t boil the gelatin. This is the number one mistake I see. Once you add the gelatin, keep the heat off. Boiling gelatin can break down its structure and prevent it from setting properly. I learned this when I tried to reheat a mixture that had cooled too much—total disaster. The gummies never firmed up.
Watch your temperature. If your elderberry tea is too hot when you add the gelatin, it can also cause issues. I let mine cool until I can comfortably touch the side of the measuring cup without burning myself. That sweet spot is around 120-130°F, but I honestly just go by feel now.
Work quickly when filling molds. The mixture starts to thicken as it cools, especially if your kitchen is cold. I keep a small bowl of warm water nearby and dip my spoon in it if things get too sticky. It helps the mixture flow more smoothly into those tiny bear ears.
Double the batch. Seriously, these disappear fast. I always make a double batch now because my family goes through them in about a week. Plus, the extra simmering time is minimal, so you’re getting twice the gummies for almost the same effort.
Use a light hand with the honey. Elderberries are naturally tart, and I like that balance. If you add too much honey, you’ll mask the berry flavor and end up with something that tastes more like candy than medicine. Start with ¼ cup and adjust from there.
Variations & Adaptations
One of the best things about this recipe is how flexible it is. I’ve played around with it a lot, and here are some of my favorite variations.
Vegan version: Swap the gelatin for 2 teaspoons of agar agar powder. The process is a little different—you need to boil the agar agar in the liquid for about 5 minutes to activate it—but it works. The texture is a bit firmer and less chewy, but still satisfying. I’ve made this for my vegan cousin, and she loved it.
Low-sugar option: Replace the honey with a sugar-free sweetener like monk fruit or stevia. Start with a smaller amount and taste as you go because these sweeteners are much more concentrated. I’ve used liquid stevia before, and it worked great—just be careful not to overdo it or it gets bitter.
Extra immune boost: Add 1 teaspoon of vitamin C powder or a few drops of zinc when you add the honey. I do this during peak cold season, and it makes me feel like I’m really covering all my bases. Just make sure everything is dissolved completely before pouring into the molds.
Seasonal twist: In the fall, I add a pinch of nutmeg and cloves along with the cinnamon and ginger. In the summer, I skip the warm spices altogether and add a splash of orange juice instead of lemon. It gives the gummies a brighter, more citrusy flavor that feels lighter.
Berry blend: Mix in a handful of dried blueberries or goji berries with the elderberries. It changes the flavor profile slightly and adds even more antioxidant variety. I did this once when I was running low on elderberries, and it turned out surprisingly well.
Serving & Storage Suggestions
These gummies are best served cold, straight from the fridge. I like to take one or two in the morning with my breakfast, and maybe another in the afternoon if I’m feeling run down. They have a pleasant, chewy texture when cold, so don’t let them sit out too long or they’ll get soft.
For storage, keep them in an airtight container in the refrigerator. I use a small glass jar with a tight-fitting lid, and they stay fresh for up to two weeks. In theory, they might last longer, but mine never do. If you make a big batch, you can also freeze them for up to three months. Just lay them out on a baking sheet in a single layer, freeze until solid, then transfer to a freezer bag. Thaw in the fridge overnight before eating.
The flavors actually develop a bit over time. I’ve noticed that after a day or two in the fridge, the elderberry taste deepens and the honey sweetness mellows out. So don’t be discouraged if they taste a little different on day one—give them a chance to settle.
These pair well with a warm cup of herbal tea or just a glass of water. I wouldn’t recommend eating them with a meal because the gelatin can be a bit filling, but they’re perfect as a standalone snack. My kids like to have one after school, and I’ve caught my husband sneaking them from the jar late at night.
Nutritional Information & Benefits
These gummies aren’t just tasty—they’re genuinely good for you. Here’s a rough breakdown per serving (about 4 gummies, depending on your mold size):
- Calories: 45-60
- Carbohydrates: 10-12g
- Sugar: 8-10g (from honey and natural fruit sugars)
- Protein: 2-3g (from gelatin)
- Vitamin C: 10-15% of daily value
The real magic is in the elderberries themselves. They’re packed with antioxidants called anthocyanins, which help fight inflammation and support your immune system. The honey adds natural antibacterial properties, and the gelatin is great for your gut health, skin, and joints. It’s like a multivitamin in gummy form, but way more delicious.
If you’re watching your sugar intake, just be mindful of the honey. It’s natural sugar, but it still counts. I’ve made low-sugar versions with stevia, and they work well for that purpose. Also, these are not suitable for vegans unless you use agar agar, and they obviously contain gelatin, so they’re not vegetarian-friendly in their original form.
I personally love that I’m giving my family something that supports their health without a fight. No more arguments about taking vitamins or drinking nasty-tasting syrups. These gummies make wellness feel like a treat, and that’s a win in my book.
Conclusion
So there you have it—the recipe that started as a total kitchen fail and turned into one of my most-requested staples. These homemade elderberry gummies are proof that sometimes the best things come from the moments when we least expect them. They’re simple, they’re effective, and honestly, they’re just fun to make and eat.
I really hope you give these a try, even if you’re not usually a DIY person. The process is forgiving, the ingredients are easy to find, and the payoff is huge. And if you mess up? That’s okay. That’s how I found this recipe in the first place. Customize them however you like—add more ginger, swap the honey, make them into little squares instead of bears. Make them your own.
I’d love to hear how your batch turns out. Drop a comment below and let me know if you tried any variations, or if you had a happy accident of your own in the kitchen. And if you loved these, share this post with a friend who could use a little immune support this season. Happy cooking, friend!
Frequently Asked Questions
Can I use fresh elderberries instead of dried?
Technically yes, but I don’t recommend it. Fresh elderberries are more watery, so you’d need to adjust the liquid ratio significantly. Plus, fresh elderberries must be cooked thoroughly because they can cause stomach upset when raw. Dried berries are just easier and safer.
How many gummies should I take per day?
I usually take 2-4 gummies per day, depending on how I’m feeling. If I’m around sick people or it’s peak cold season, I’ll go for 4. For general maintenance, 2 is plenty. They’re food, not medicine, so listen to your body.
Why did my gummies turn out too soft?
This usually happens if you didn’t use enough gelatin, or if the liquid was too hot when you added it. Make sure you’re measuring the gelatin accurately and letting the tea cool slightly before adding it. Also, give them a full 2 hours in the fridge—sometimes they just need more time.
Can I use flavored gelatin instead of unflavored?
You can, but I wouldn’t. Flavored gelatin usually has added sugar and artificial flavors that will overpower the elderberry taste. The whole point is to get that natural, tart-sweet flavor from the berries. Stick with unflavored for the best results.
How long do these gummies last at room temperature?
Not long—maybe a few hours before they start getting soft and sticky. They’re best kept in the fridge at all times. If you’re taking them on the go, use a small cooler pack or just eat them quickly. I’ve learned this the hard way after finding a melted mess in my bag.
Pin This Recipe!
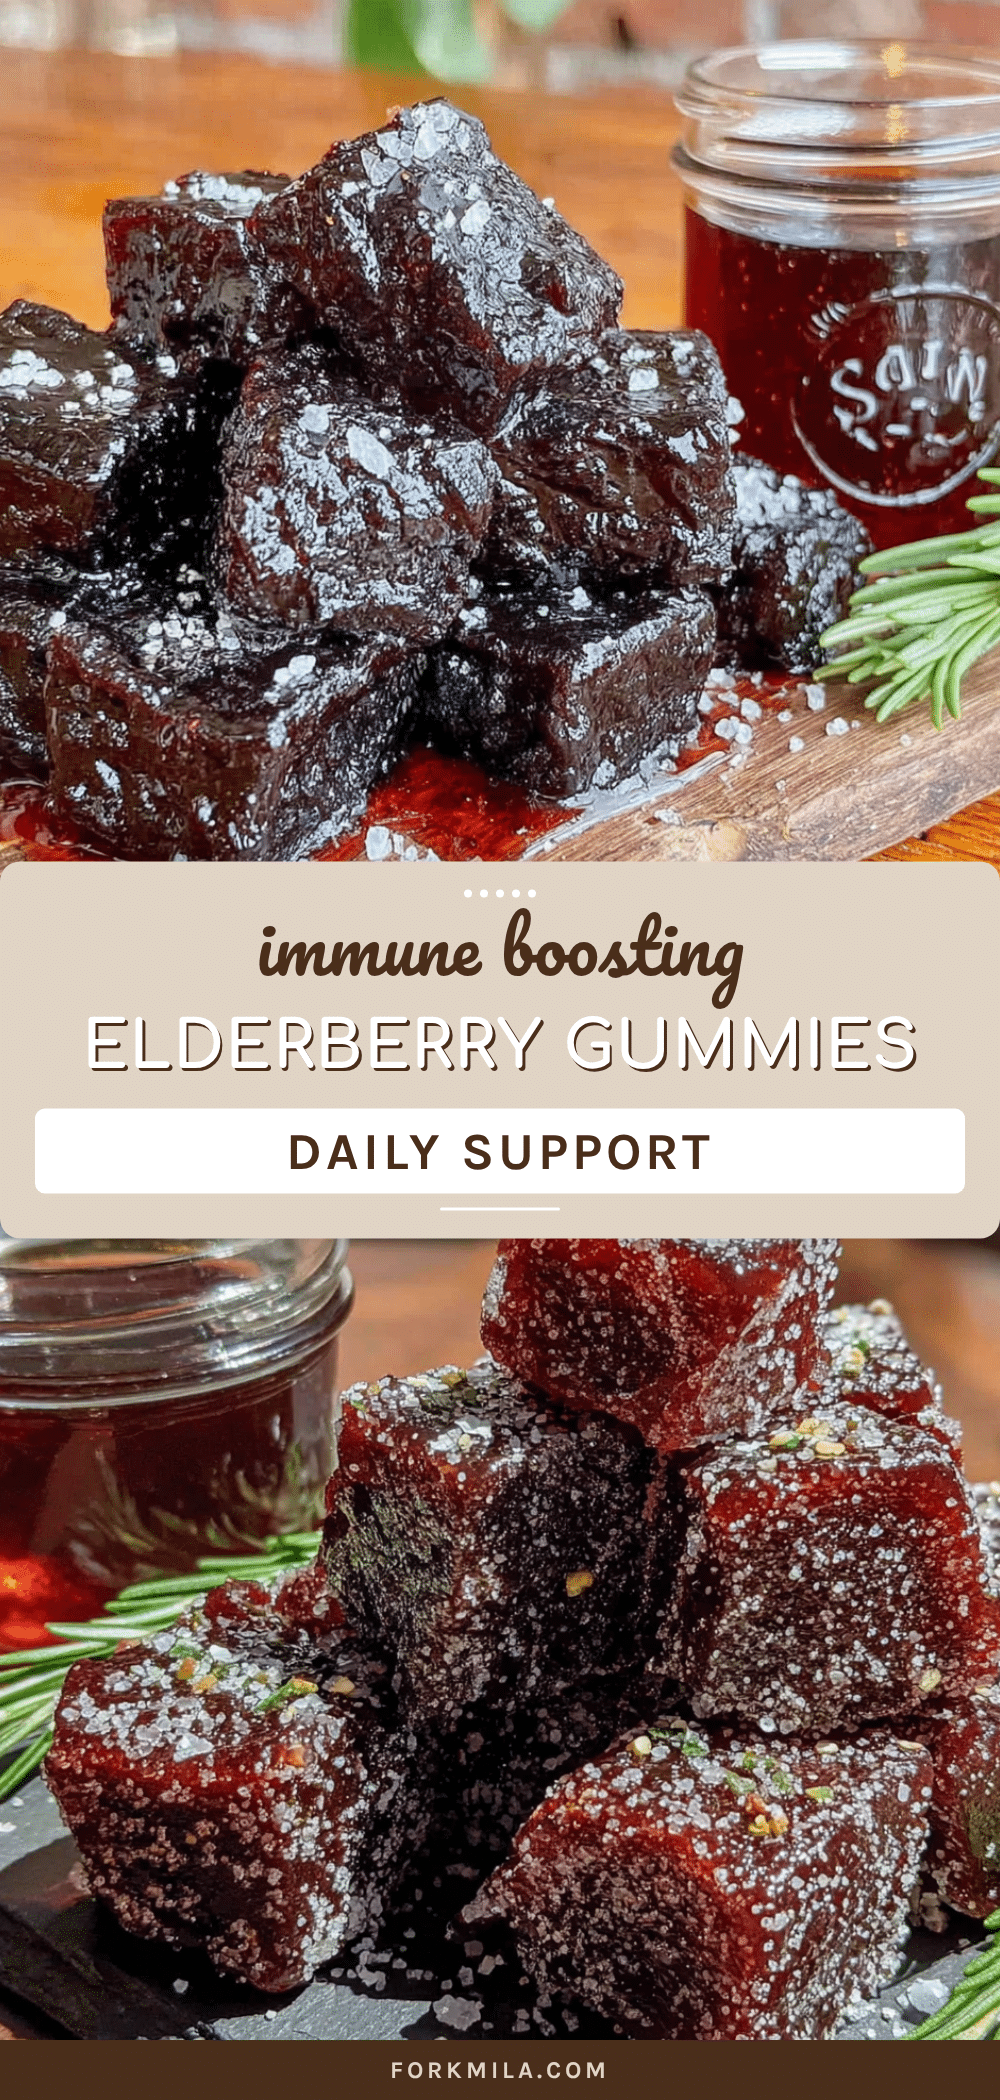
Best Homemade Elderberry Gummies for Immune Support
These homemade elderberry gummies are a delicious and fun way to support your immune system. Made with simple ingredients like dried elderberries, honey, and gelatin, they’re a perfect treat that both kids and adults will love.
- Prep Time: 10 minutes
- Cook Time: 20 minutes
- Total Time: 30 minutes (plus 2 hours setting time)
- Yield: 4 servings 1x
- Category: Snack
- Cuisine: American
Ingredients
- ½ cup dried elderberries
- 2 cups water
- ¼ cup honey
- 3 tablespoons unflavored gelatin powder
- 1 tablespoon fresh lemon juice
- 1 cinnamon stick (optional)
- 2–3 slices fresh ginger (optional)
Instructions
- Make the elderberry tea: In a small saucepan, combine the dried elderberries, water, cinnamon stick, and ginger slices (if using). Bring to a boil over medium-high heat, then reduce to a simmer. Let it simmer for about 20 minutes, or until the liquid has reduced by about half.
- Strain the berries: Place a fine-mesh strainer over a glass measuring cup or bowl. Carefully pour the liquid through, pressing on the berries with the back of a spoon to extract all the liquid. Discard the solids. You should have about 1 cup of concentrated elderberry tea.
- Cool the tea slightly: Let the strained tea cool for about 5 minutes until it is warm but not hot (around 120-130°F).
- Bloom the gelatin: Sprinkle the gelatin powder evenly over the surface of the warm tea. Let it sit undisturbed for 5 minutes to hydrate.
- Whisk it together: After the gelatin has bloomed, whisk gently but thoroughly until there are no visible clumps of gelatin left.
- Add honey and lemon: Stir in the honey and lemon juice. Whisk until everything is fully combined and the honey has dissolved.
- Fill the molds: Carefully pour the mixture into silicone gummy molds using a dropper, small spoon, or measuring cup with a spout.
- Refrigerate to set: Place the filled molds on a flat surface in the refrigerator. Let them set for at least 2 hours, or overnight for firmer gummies.
- Pop them out: Once set, gently flex the silicone mold to release the gummies. Store in an airtight container in the refrigerator.
Notes
Don’t skip the blooming step for the gelatin to ensure a smooth texture. Avoid boiling the gelatin as it can prevent setting. Work quickly when filling molds as the mixture thickens as it cools. For a vegan version, substitute gelatin with 2 teaspoons of agar agar powder and boil for 5 minutes to activate.
Nutrition
- Serving Size: 4 gummies
- Calories: 4560
- Sugar: 810
- Sodium: 5
- Carbohydrates: 1012
- Protein: 23
Keywords: elderberry gummies, immune support, homemade gummies, elderberry recipe, healthy snacks, DIY gummies


