My sourdough starter had been sulking in the back of the fridge for nearly three weeks. I felt a little guilty every time I opened the door and saw that jar, all bubbly and neglected. I kept promising myself I’d feed it, but life got busy, and honestly, I wasn’t in the mood for another plain boule. Then a friend texted me a photo of a stunning swirled loaf with a deep orange crumb, and I knew exactly what I had to do. That night, I pulled out my starter, a can of pumpkin puree, and my entire spice cabinet.
The first attempt was, well, a sticky disaster. The dough was too wet, I added too much flour, and the final loaf came out dense as a brick. I almost gave up. But the next weekend, with a fresh starter and a more patient attitude, I tried again. That second loaf? It was the one. The crumb was open, the crust was crackly, and the smell of cinnamon and nutmeg filled my entire apartment. I caught myself standing over the cooling rack, just breathing it in.
This pumpkin spice sourdough is the recipe that made me fall back in love with my starter. It’s not complicated, I promise. It just needs a little time and a gentle hand. Maybe you’ve been there too, staring at your starter wondering what to make next. This is your answer. It turned my kitchen into a cozy bakery, and I have a feeling it will do the same for you.
Why You’ll Love This Recipe
This isn’t just another sourdough recipe. It’s the one that bridges the gap between your morning toast and your fall baking obsession. I’ve tested this more times than I care to admit, tweaking hydration levels and fermentation times until it was just right.
- Simple Ingredients: You likely have everything in your pantry already. No weird additives or hard-to-find flours.
- Perfect for Fall Mornings: The aroma alone is worth the effort. It makes your whole house smell like a pumpkin patch.
- Beginner-Friendly: If you can handle a basic sourdough loaf, you can nail this. The pumpkin puree actually makes the dough easier to work with.
- Crowd-Pleaser: I brought a loaf to a neighborhood potluck, and it vanished in fifteen minutes. People kept asking for the recipe.
- Unbelievably Delicious: The tangy sourdough pairs perfectly with the warm spices. It’s not too sweet, just perfectly balanced.
What makes this recipe different from the rest? It’s the hydration balance. Most pumpkin breads turn out gummy because the puree adds so much moisture. I figured out the exact ratio of flour to pumpkin to water so you get a light, airy crumb with that gorgeous orange color. This is comfort food reimagined. It is healthier than a traditional pumpkin loaf, but it has the same soul-soothing satisfaction. It is perfect for impressing guests without stress, or turning a simple breakfast into something memorable.
What Ingredients You Will Need
This recipe uses simple, wholesome ingredients to deliver bold flavor and satisfying texture without the fuss. Most of these are pantry staples, especially if you keep a sourdough starter alive.
- Active Sourdough Starter (100g): Make sure it is bubbly and has been fed within the last 4-6 hours. A hungry starter won’t give you the rise you need.
- Pumpkin Puree (150g): Not pumpkin pie filling. Just pure pumpkin. I prefer Libby’s for its consistent texture, but any brand works. Pat the puree with a paper towel to remove excess water if it looks very wet.
- Bread Flour (400g): King Arthur is my go-to for the high protein content. It gives the bread structure and a nice chew.
- Whole Wheat Flour (100g): Adds a nutty depth and helps with the fermentation. You can use all bread flour if you prefer a lighter loaf.
- Water (200g): Use filtered or bottled water if your tap water is heavily chlorinated. It can slow down your fermentation.
- Pumpkin Pie Spice (2 teaspoons): You can use store-bought or make your own with cinnamon, nutmeg, ginger, and cloves.
- Cinnamon (1 teaspoon): I add a little extra because I love the warmth it brings.
- Salt (10g): Fine sea salt is best. Don’t skip it. It controls fermentation and enhances flavor.
- Brown Sugar (30g): Just a touch. It feeds the yeast and adds a subtle molasses note that pairs beautifully with the pumpkin.
For the spice blend, I usually mix my own. It is so easy. Combine 2 teaspoons cinnamon, 1 teaspoon ginger, 1/2 teaspoon nutmeg, 1/2 teaspoon cloves, and 1/4 teaspoon allspice. Store it in a small jar, and you have pumpkin pie spice ready for everything.
Equipment Needed
You don’t need a professional bakery setup for this. Just a few reliable tools that make the process smoother.
- Digital Kitchen Scale: I cannot stress this enough. Baking by weight is so much more accurate than cups. It changes your results dramatically.
- Dutch Oven: A 5-6 quart cast iron pot works wonders for creating steam. If you don’t have one, you can use a baking stone with a tray of water at the bottom of the oven.
- Banneton Basket or Mixing Bowl: For proofing the dough. A bowl lined with a floured kitchen towel works perfectly too. I actually prefer the towel method because it is easier to clean.
- Bench Scraper: Helps with folding and shaping the dough. A plastic one is gentler on non-stick surfaces.
- Lame or Sharp Knife: For scoring the loaf. A razor blade works better than a knife for clean cuts.
- Parchment Paper: Makes transferring the dough into the hot dutch oven a breeze.
I bought my dutch oven at a thrift store for fifteen dollars. It works just as well as the expensive ones. Don’t feel pressured to buy fancy equipment.
Preparation Method
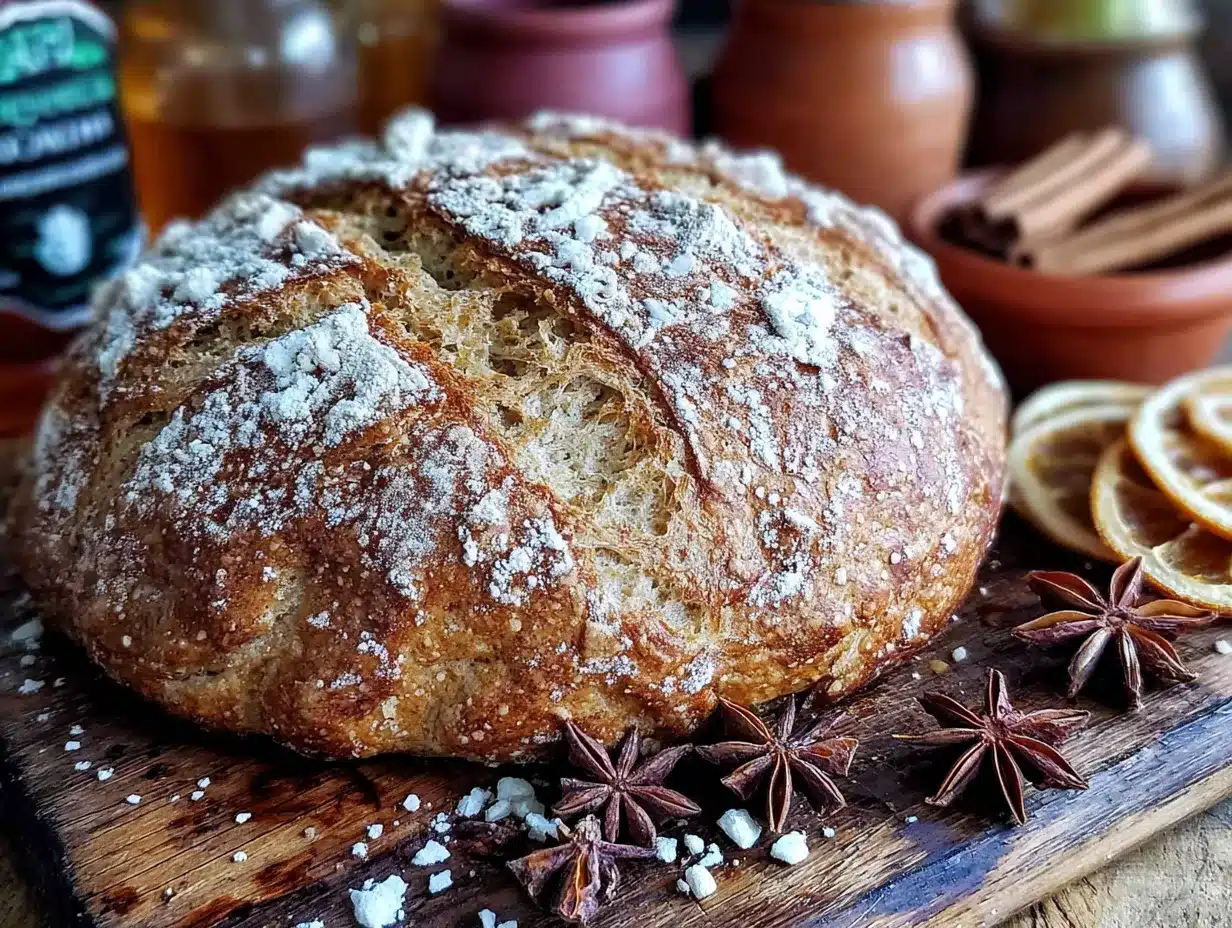
This process takes about 24 hours from start to finish, but most of that is hands-off time. The actual work is maybe 30 minutes total.
- Feed Your Starter (Morning, Day 1): Take 50g of your refrigerated starter and feed it with 100g of bread flour and 100g of water. Leave it on the counter until it doubles in size and is full of bubbles. This usually takes 4-6 hours.
- Mix the Dough (Afternoon, Day 1): In a large bowl, combine 400g bread flour, 100g whole wheat flour, 10g salt, 2 teaspoons pumpkin pie spice, 1 teaspoon cinnamon, and 30g brown sugar. Whisk it all together. In a separate bowl, mix 150g pumpkin puree, 200g water, and 100g of your active starter. Pour the wet ingredients into the dry and mix with your hand until no dry flour remains. It will be a sticky, shaggy mess. That is perfect.
- Bulk Fermentation (Afternoon to Evening, Day 1): Cover the bowl with a damp towel and let it rest for 30 minutes. This is called autolyse. Then, perform a series of stretch and folds. Wet your hand, grab one side of the dough, stretch it up, and fold it over the top. Rotate the bowl 90 degrees and repeat. Do this four times. Rest the dough for 30 minutes, then repeat the stretch and fold. Do this four times total over the next two hours. After the last fold, let the dough rest, covered, for another 4-6 hours. It should look puffy and have small bubbles on the surface. The dough will feel alive and jiggly.
- Shape the Loaf (Evening, Day 1): Lightly flour your counter. Turn the dough out gently. It will be soft and slightly tacky. Fold the top edge to the center, then the bottom edge to the center. Fold the left and right edges to the center, like you are folding an envelope. Flip the dough over so the seam is on the bottom. Cup your hands around the dough and drag it towards you on the counter to create tension. Place it seam-side up into your floured banneton or bowl.
- Cold Proof (Overnight, Day 1 to Morning, Day 2): Cover the basket with a plastic bag or a damp towel and place it in the refrigerator. Let it cold proof for 12-18 hours. This develops the flavor and makes scoring easier. The longer it sits, the tangier it gets.
- Preheat and Bake (Morning, Day 2): Place your dutch oven in the oven and preheat to 500°F (260°C). Let it heat for at least 45 minutes. Remove your dough from the fridge. Flip it out onto a piece of parchment paper. Score the top with a sharp blade or knife. A simple slash down the middle or a decorative leaf pattern works beautifully.
- Bake: Carefully place the parchment with the dough into the hot dutch oven. Put the lid on and bake for 25 minutes. Remove the lid and reduce the oven temperature to 450°F (230°C). Bake for another 20-25 minutes until the crust is deep golden brown and the internal temperature reaches 200°F (93°C). The smell at this point is intoxicating.
- Cool Completely: Transfer the loaf to a wire rack. This is the hardest part. You have to let it cool for at least 2 hours before slicing. Cutting into hot sourdough ruins the texture. Trust me on this one.
Cooking Tips & Techniques
I learned most of these the hard way, through gummy loaves and flat pancakes. You get to benefit from my mistakes.
Handle the dough gently. Pumpkin puree makes the dough a bit stickier than a standard loaf. Use wet hands during the stretch and folds. It prevents sticking and keeps the dough aerated. I used to fight with the dough, adding too much flour, and it always ended up dense. Relax your grip.
Watch your water temperature. If your kitchen is cold, use warm water (around 80°F or 27°C) to wake up the fermentation. If it is a hot summer day, use cool water to slow things down. I forgot this once during a heatwave, and my dough over-fermented in four hours. It was a soupy mess.
Don’t skip the cold proof. The overnight rest in the fridge does two things. It deepens the sourdough tang, which balances the sweetness of the pumpkin and spices. It also makes the dough firm enough to score cleanly. A warm, slack dough will just deflate when you try to cut it.
Create steam. The dutch oven traps steam from the dough, which gives you that crackly crust. If you are using a baking stone, pour half a cup of hot water into a preheated pan at the bottom of the oven when you put the bread in. Close the door quickly.
Listen for the hollow sound. When you tap the bottom of the baked loaf, it should sound hollow. That is how you know it is done. I still do this every time, even with a thermometer.
Variations & Adaptations
This recipe is a great base for experimentation. I have tried several tweaks, and some have become new favorites.
Add Mix-Ins: During the last stretch and fold, fold in 100g of toasted pecans, walnuts, or pepitas. You can also add 80g of dried cranberries or golden raisins for a sweet-tart pop. I did a batch with dark chocolate chips once, and it was dangerously good.
Make it Vegan: This recipe is already vegan! Just use a vegan-friendly brown sugar. Most are, but check the label.
Gluten-Free Option: This is tricky with sourdough, but you can use a high-quality gluten-free bread flour blend. Add 1 teaspoon of xanthan gum if your blend doesn’t include it. The texture will be a bit denser, but the flavor is still wonderful.
Spice It Differently: Swap the pumpkin pie spice for chai spice or apple pie spice. Use cardamom and orange zest for a brighter, more aromatic loaf. I made a version with a teaspoon of turmeric for color and a pinch of black pepper. It was earthy and gorgeous.
Make It a Sandwich Loaf: Bake the dough in a greased 9×5 inch loaf pan instead of a dutch oven. Adjust the baking time to 40-45 minutes at 375°F (190°C). The crust will be softer, perfect for sandwiches.
Serving & Storage Suggestions
This bread is incredibly versatile. It shines in so many ways.
Serving Temperature: I prefer it at room temperature or lightly toasted. The crust gets extra crispy in the toaster, and the interior stays soft. It is perfect for breakfast with a pat of butter and a drizzle of honey.
Pairings: Serve it alongside a warm bowl of creamy tomato soup for a cozy lunch. It also makes incredible french toast. Slice it thick, dip it in an egg and milk mixture, and fry it in butter. Top with maple syrup and a sprinkle of cinnamon.
Storage: Store the cooled loaf cut-side down on a cutting board, covered with a kitchen towel. It stays fresh for 2-3 days at room temperature. Do not store it in plastic. The crust will get soggy.
Freezing: This bread freezes beautifully. Slice the loaf, wrap the slices individually in plastic wrap, and place them in a freezer bag. They keep for up to 3 months. Toast directly from frozen.
Flavor Development: The flavor actually improves on the second day. The spices meld together, and the sourdough tang becomes more pronounced. If you can wait, day-old slices are the best for toast.
Nutritional Information & Benefits
This bread is a healthier take on traditional pumpkin treats. It is made with real, whole ingredients.
Per Slice (estimated, based on 16 slices): Calories: 180, Fat: 1g, Carbohydrates: 38g, Fiber: 3g, Protein: 6g, Sugar: 4g.
Health Benefits: Pumpkin is packed with Vitamin A and fiber. The whole wheat flour adds extra nutrients and keeps you full longer. The fermentation process in sourdough breaks down phytic acid, making the minerals in the flour easier for your body to absorb. It is also naturally low in fat and contains no added oils.
Dietary Considerations: This recipe is vegan, dairy-free, and nut-free (unless you add nuts). It is low in added sugar compared to quick breads. The main allergen is gluten. For a gluten-free version, see the variations section.
Personal Perspective: I love that I can enjoy a slice of this bread without the sugar crash I get from traditional pumpkin desserts. It feels like a wholesome treat, not a guilty indulgence.
Conclusion
This pumpkin spice sourdough bread has become a fall staple in my kitchen. It is the recipe I look forward to making every year when the leaves start to change. It is forgiving enough for a beginner but rewarding enough for an experienced baker. The combination of tangy sourdough and warm spices is just magic.
I encourage you to make it your own. Add your favorite mix-ins, adjust the spice level, or try it as a sandwich loaf. The best recipes are the ones you tweak until they feel like yours. I would love to hear how it turns out for you. Did you add pecans? Did you use a different spice blend? Drop a comment below and share your version.
Happy baking, my friend. Your kitchen is about to smell incredible.
Frequently Asked Questions
Can I use active dry yeast instead of a sourdough starter?
This recipe is specifically designed for a sourdough starter. The tangy flavor is a key component. If you want a yeast version, look for a pumpkin yeast bread recipe. The hydration and fermentation times will be completely different.
My dough is very sticky. What did I do wrong?
Pumpkin puree adds a lot of moisture. The dough will be stickier than a standard sourdough. Use wet hands during the stretch and folds. Resist the urge to add more flour. A sticky dough often leads to a more open crumb.
Can I bake this without a dutch oven?
Yes. Place a baking stone or inverted baking sheet in the oven to preheat. Put the dough on a piece of parchment and slide it onto the hot surface. Place a metal pan on the bottom rack and pour in a cup of hot water to create steam. Be careful of the steam.
Why is my bread flat and dense?
This usually happens for one of three reasons. Your starter was not active enough. You over-proofed the dough during bulk fermentation. Or you handled the dough too roughly during shaping. Make sure your starter is bubbly and watch the dough, not the clock.
How do I make the spice flavor stronger?
You can increase the pumpkin pie spice to 3 teaspoons or add an extra teaspoon of cinnamon. You can also toast the spices in a dry pan for a minute before adding them to the flour. It really wakes up the flavors.
Pin This Recipe!
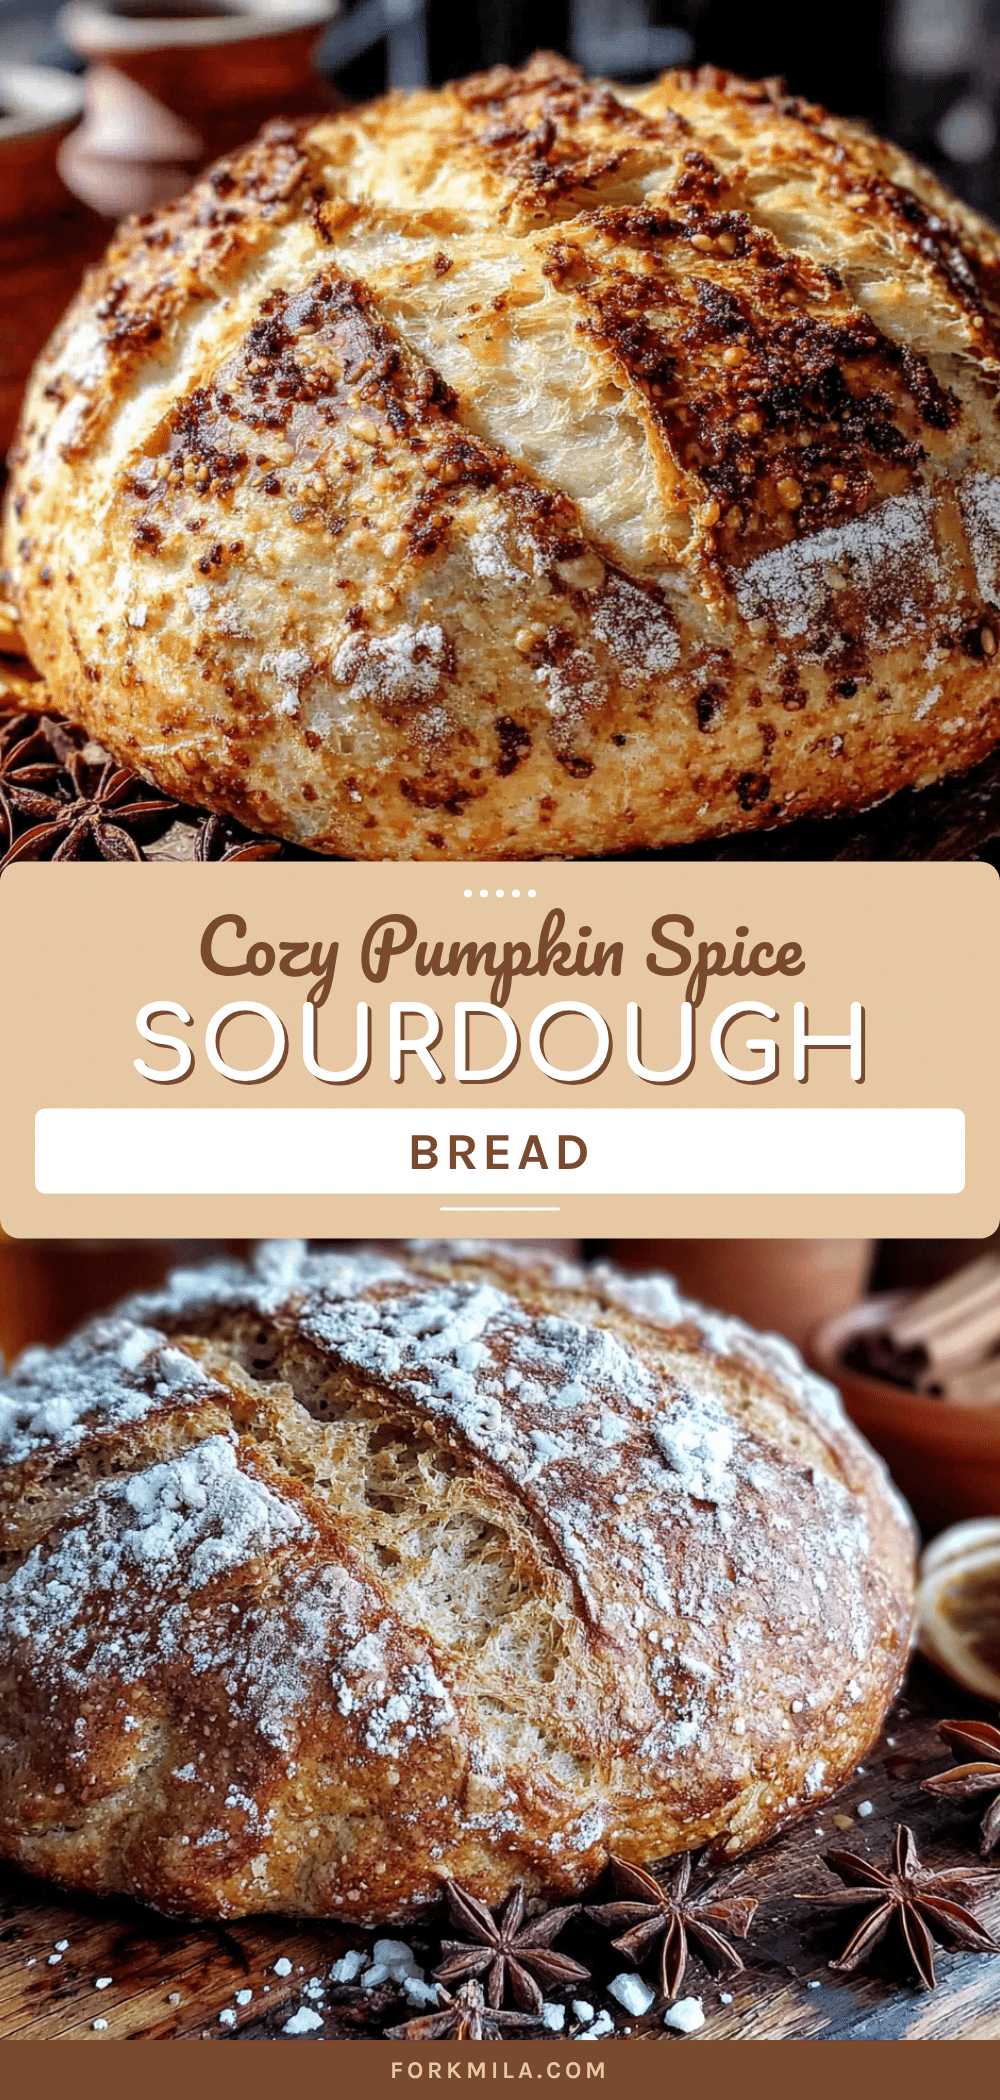
Best Easy Pumpkin Spice Sourdough Bread Recipe
This pumpkin spice sourdough bread is the perfect fall bake, combining tangy sourdough with warm spices and pumpkin puree for a light, airy crumb with a gorgeous orange color. It’s beginner-friendly and makes your whole house smell like a pumpkin patch.
- Prep Time: 30 minutes
- Cook Time: 45 minutes
- Total Time: 24 hours (including fermentation and proofing)
- Yield: 16 servings 1x
- Category: Bread
- Cuisine: American
Ingredients
- 100g active sourdough starter (bubbly, fed within 4–6 hours)
- 150g pumpkin puree (not pumpkin pie filling, patted dry if wet)
- 400g bread flour (e.g., King Arthur)
- 100g whole wheat flour
- 200g water (filtered or bottled if tap water is heavily chlorinated)
- 2 teaspoons pumpkin pie spice
- 1 teaspoon cinnamon
- 10g fine sea salt
- 30g brown sugar
Instructions
- Feed Your Starter (Morning, Day 1): Take 50g of refrigerated starter and feed with 100g bread flour and 100g water. Leave on counter until doubled in size and bubbly (4-6 hours).
- Mix the Dough (Afternoon, Day 1): In a large bowl, whisk together 400g bread flour, 100g whole wheat flour, 10g salt, 2 teaspoons pumpkin pie spice, 1 teaspoon cinnamon, and 30g brown sugar. In a separate bowl, mix 150g pumpkin puree, 200g water, and 100g active starter. Pour wet into dry and mix with your hand until no dry flour remains (sticky, shaggy dough).
- Bulk Fermentation (Afternoon to Evening, Day 1): Cover bowl with a damp towel and rest for 30 minutes (autolyse). Perform 4 sets of stretch and folds, each set 30 minutes apart: wet hand, grab one side, stretch up, fold over top, rotate bowl 90°, repeat 4 times. After last fold, let rest covered for 4-6 hours until puffy with small bubbles.
- Shape the Loaf (Evening, Day 1): Lightly flour counter. Turn dough out gently. Fold top edge to center, bottom edge to center, then left and right edges to center (like an envelope). Flip seam-side down. Cup hands around dough and drag towards you to create tension. Place seam-side up in floured banneton or bowl.
- Cold Proof (Overnight, Day 1 to Morning, Day 2): Cover basket with plastic bag or damp towel. Refrigerate for 12-18 hours.
- Preheat and Bake (Morning, Day 2): Place dutch oven in oven and preheat to 500°F (260°C) for at least 45 minutes. Remove dough from fridge. Flip onto parchment paper. Score top with sharp blade or knife.
- Bake: Carefully place parchment with dough into hot dutch oven. Cover and bake 25 minutes. Remove lid, reduce oven to 450°F (230°C), bake 20-25 minutes more until deep golden brown and internal temp reaches 200°F (93°C).
- Cool Completely: Transfer to wire rack. Cool at least 2 hours before slicing.
Notes
Handle dough gently; pumpkin puree makes it stickier. Use wet hands during stretch and folds. Water temperature matters: warm water (80°F/27°C) for cold kitchens, cool water for hot days. Don’t skip cold proof—it deepens flavor and makes scoring easier. For steam without a dutch oven, use a baking stone and a pan of hot water. Listen for hollow sound when tapping bottom of loaf to check doneness. Flavor improves on day two.
Nutrition
- Serving Size: 1 slice
- Calories: 180
- Sugar: 4
- Sodium: 200
- Fat: 1
- Carbohydrates: 38
- Fiber: 3
- Protein: 6
Keywords: pumpkin spice sourdough, sourdough bread, fall baking, pumpkin bread, sourdough recipe, artisan bread, homemade bread


