This was supposed to be a peach cobbler. I had the peaches, the butter, the flour—the whole plan mapped out in my head. But somewhere between the grocery store and my kitchen, summer heat got the best of me. The peaches ripened faster than I expected, turning soft and almost too sweet. And honestly? I just couldn’t bring myself to turn on the oven. It was ninety degrees, my kitchen felt like a sauna, and I was already sweating just thinking about standing over a hot stove. So I stood there, staring at a bowl of gorgeous peaches, feeling like I’d failed before I even started.
Then I remembered the can of sweetened condensed milk in my pantry and the heavy cream in my fridge. A lightbulb went off—not a bright one, more like a flickering, “maybe this will work” kind of moment. I mean, I’d seen no-churn ice cream recipes floating around Pinterest for years, but I always assumed they required some fancy machine or a secret technique. Let me tell you, I was wrong. So wrong. I grabbed my hand mixer, tossed the cream into a bowl, and just went for it. The result? A creamy, dreamy peach ice cream that tasted like I’d spent hours churning it. I nearly dropped the bowl when I took that first bite.
Maybe you’ve been there—standing in your kitchen, ingredients scattered everywhere, and the recipe you planned just isn’t happening. That’s exactly where this easy no-churn peach ice cream was born. It’s the kind of happy accident that makes you wonder why you ever bothered with complicated methods. Now, I make it every summer, sometimes twice a week. It’s become my go-to for impromptu gatherings, lazy Sunday afternoons, and those moments when you just need something cold and sweet. Trust me, this one’s a keeper.
Why You’ll Love This Recipe
Let’s be real—homemade ice cream sounds intimidating. But this easy no-churn peach ice cream flips that idea on its head. You don’t need an ice cream maker, a culinary degree, or even a lot of patience. Just three simple ingredients and about ten minutes of hands-on time. Here’s why this recipe has earned a permanent spot in my summer rotation:
- Only 3 Ingredients: Heavy cream, sweetened condensed milk, and ripe peaches. That’s it. No eggs, no custard base, no complicated steps.
- No Ice Cream Maker Required: Seriously. You just whip, fold, and freeze. The texture comes out silky and scoopable every single time.
- Ready in Under 6 Hours: Perfect for when you need a last-minute dessert. I’ve made this for dinner parties where I forgot dessert until noon.
- Customizable: Swap peaches for any fruit you have on hand—mangoes, strawberries, or even mashed bananas work beautifully.
- Crowd-Pleaser: I’ve served this to kids, grandparents, and picky eaters. Empty bowls every time. No leftovers, ever.
- Tastes Like Summer: The fresh peach flavor is so vibrant, you’ll feel like you’re biting into a sun-warmed peach straight from the orchard.
What makes this recipe different from the rest? It’s the texture. Most no-churn recipes can turn icy or rock-hard after a day in the freezer. But by macerating the peaches first and folding them in at just the right moment, you get a creamy base with little pockets of jammy fruit. It’s not just another ice cream recipe—it’s the one that’ll make you close your eyes after the first spoonful. Honestly, it’s comfort food reimagined: faster, simpler, but with the same soul-soothing satisfaction as the real deal.
What Ingredients You Will Need
This recipe uses simple, wholesome ingredients to deliver bold flavor and satisfying texture without the fuss. You likely already have most of these in your kitchen, which makes it perfect for spontaneous summer cravings.
For the Peach Base
- 2 cups ripe peaches, peeled and diced (about 3 medium peaches) — Look for peaches that yield slightly to gentle pressure. They should smell fragrant and sweet. If your peaches aren’t quite ripe, let them sit on the counter for a day or two.
- 2 tablespoons granulated sugar — This helps draw out the natural juices from the peaches and creates a syrupy texture. You can use honey or maple syrup if you prefer, but sugar works best for texture.
- 1 teaspoon lemon juice (optional but recommended) — A tiny splash brightens the peach flavor and prevents the fruit from browning. I never skip this.
For the Ice Cream Base
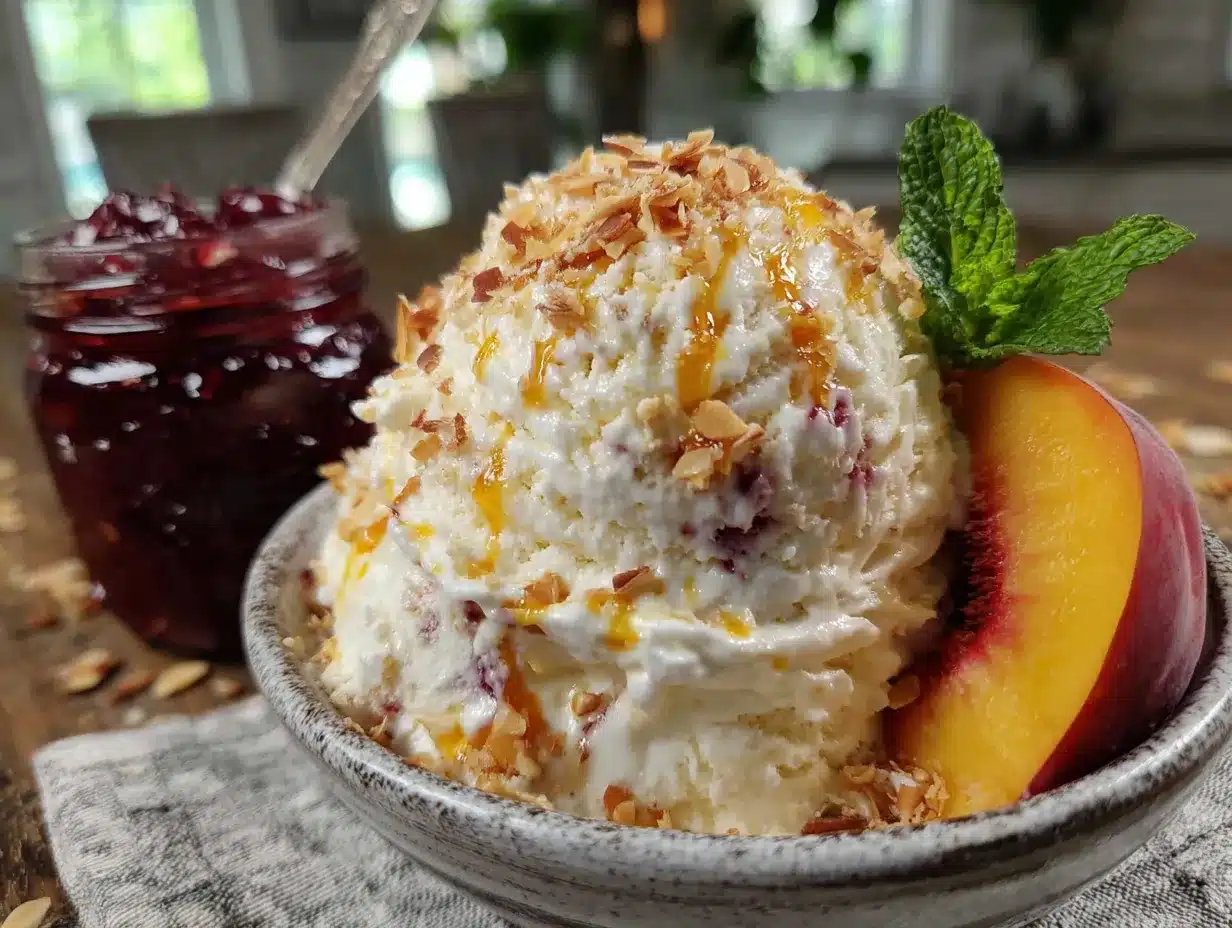
- 2 cups heavy cream (also called whipping cream) — This needs to be cold straight from the fridge. I recommend using a brand like Organic Valley or Horizon for the best flavor and stability. Do not substitute with half-and-half or milk—the fat content is crucial for that creamy texture.
- 1 can (14 ounces) sweetened condensed milk — This is the magic ingredient. It adds sweetness and prevents ice crystals from forming. I use Eagle Brand or Borden, but any brand works. Do not use evaporated milk—they are not the same thing.
- 1 teaspoon vanilla extract (optional) — Adds warmth and depth. I like using pure vanilla extract, but imitation works in a pinch.
Ingredient Selection Tips
For the best flavor, use peaches that are in season—typically June through August. If fresh peaches aren’t available, frozen peaches work too. Just thaw them completely, drain any excess liquid, and mash them before adding. Canned peaches in juice (not syrup) can also work, but drain them well and reduce the added sugar. I’ve tested this with frozen peaches from Trader Joe’s, and it turned out beautifully.
Substitution Guidance
For a dairy-free version, use full-fat coconut cream (chilled) instead of heavy cream and a dairy-free sweetened condensed coconut milk. The texture will be slightly different—a bit more coconut flavor—but still delicious. For a lower-sugar option, use a sugar substitute like monk fruit sweetener in the peach mixture, but know that the texture may be slightly softer.
Equipment Needed
You don’t need much for this recipe, which is part of its charm. Here’s what you’ll need:
- Mixing bowls: One medium bowl for the peaches and one large bowl for whipping cream. I prefer glass or stainless steel because they stay cold longer.
- Hand mixer or stand mixer: Whipping cream by hand is doable but exhausting. A hand mixer makes it effortless. If you have a stand mixer, use the whisk attachment.
- Rubber spatula: For folding the peach mixture into the whipped cream. A flexible spatula helps you incorporate everything without deflating the cream.
- Loaf pan or freezer-safe container: A standard 9×5-inch loaf pan works perfectly. You can also use a round cake pan or even a plastic container with a lid.
- Plastic wrap or parchment paper: To cover the surface of the ice cream and prevent freezer burn.
- Knife and cutting board: For dicing the peaches.
- Potato masher or fork: For mashing the macerated peaches. A fork works fine, but a masher gives you more control over the texture.
I’ve made this recipe using a cheap hand mixer I bought for fifteen dollars, and it worked perfectly. You don’t need fancy equipment—just something that can whip cream. If you’re using a stand mixer, be careful not to overwhip the cream. I learned that lesson the hard way when I ended up with butter instead of whipped cream. Not my finest moment, but hey, we’ve all been there.
Preparation Method
Follow these steps, and you’ll have creamy, dreamy peach ice cream in no time. I’ve included my best tips and troubleshooting advice so you can avoid the mistakes I made.
Step 1: Prepare the Peaches
Start by peeling and dicing your peaches. If you’ve never peeled a peach before, here’s a quick trick: score an “X” on the bottom of each peach, drop them in boiling water for 30 seconds, then transfer to an ice bath. The skins will slip right off. Dice the peaches into small, even pieces—about half-inch cubes. Place them in a medium bowl and add the sugar and lemon juice. Stir gently to coat. Let this sit for 15-20 minutes at room temperature. During this time, the sugar will draw out the natural juices, creating a syrupy mixture. You’ll notice the peaches softening and releasing liquid. That’s exactly what you want.
Step 2: Mash the Peaches
After the peaches have macerated, use a fork or potato masher to mash them to your desired consistency. I like to leave some chunks for texture—it gives the ice cream those lovely little pockets of fruit. If you prefer a smoother ice cream, mash them until almost pureed. Set the bowl aside. At this point, you can also add a pinch of cinnamon or a splash of bourbon if you’re feeling adventurous. I’ve done both, and they’re fantastic.
Step 3: Whip the Cream
Pour the cold heavy cream into a large mixing bowl. Using a hand mixer or stand mixer fitted with the whisk attachment, beat the cream on medium-high speed until stiff peaks form. This usually takes about 3-5 minutes. You’ll know it’s ready when you lift the beaters and the cream stands up in firm peaks without drooping. Be careful not to overwhip—if the cream starts to look grainy or separates into butter, you’ve gone too far. If that happens, don’t panic. You can still save it by adding a tablespoon of cold cream and gently folding it in, but the texture won’t be as light.
Step 4: Add Sweetened Condensed Milk
Once the cream is whipped, pour in the sweetened condensed milk and vanilla extract (if using). Gently fold everything together using a rubber spatula. Use a slow, sweeping motion—fold from the bottom up, turning the bowl as you go. The goal is to incorporate the condensed milk without deflating the whipped cream. This step takes about 30 seconds. Don’t rush it, but don’t overdo it either. You want a uniform, creamy mixture.
Step 5: Fold in the Peaches
Now comes the fun part. Add the mashed peaches (including all the syrupy liquid) to the cream mixture. Fold gently, just until the peaches are evenly distributed. You’ll see beautiful ribbons of peach running through the cream. Stop folding as soon as everything looks combined. Overmixing can cause the cream to lose volume and result in a denser ice cream.
Step 6: Freeze
Transfer the mixture to your loaf pan or freezer-safe container. Smooth the top with your spatula. Press a piece of plastic wrap directly onto the surface of the ice cream—this prevents ice crystals from forming. Cover the container with a lid or another layer of plastic wrap. Place it in the freezer for at least 6 hours, but overnight is best. The longer it freezes, the firmer and more scoopable it becomes.
Step 7: Serve
When you’re ready to serve, remove the ice cream from the freezer and let it sit at room temperature for 5-10 minutes. This softens it just enough for easy scooping. Use a warm ice cream scoop for the cleanest scoops. Serve in bowls or cones, and garnish with fresh peach slices or a sprig of mint if you’re feeling fancy.
Cooking Tips & Techniques
After making this recipe more times than I can count, I’ve picked up a few tricks that make a real difference. Here are my best tips for perfect no-churn peach ice cream every time:
- Chill your bowl and beaters. Before whipping the cream, pop your mixing bowl and beaters in the freezer for 10-15 minutes. Cold equipment helps the cream whip faster and hold its shape better. I learned this after a few batches that refused to stiffen on hot days.
- Don’t skip the maceration step. I know it’s tempting to just toss the peaches in and call it a day, but letting them sit with sugar creates a syrupy texture that prevents icy chunks. Trust me on this one.
- Use full-fat everything. Low-fat or light versions of cream and condensed milk won’t give you the same creamy texture. The fat is what makes this ice cream so luxurious. Save the diet for another day.
- Fold, don’t stir. Stirring vigorously will deflate the whipped cream and leave you with a dense, almost icy texture. Use a gentle folding motion, and stop as soon as everything is combined.
- Add a pinch of salt. A tiny pinch of flaky salt (like Maldon) sprinkled on top before serving balances the sweetness and makes the peach flavor pop. I started doing this after a friend suggested it, and now I never skip it.
- Freeze in a shallow container. A wider, shallower container freezes faster and more evenly than a deep one. If you’re in a hurry, use a 9×13-inch pan instead of a loaf pan.
One mistake I made early on? Not covering the surface with plastic wrap. I ended up with a layer of ice crystals on top that ruined the texture. Now I press the wrap directly onto the ice cream, and it stays smooth and creamy for weeks. Also, don’t be tempted to open the freezer every hour to check on it. Each time you open the door, you introduce warm air, which can cause ice crystals to form. Patience is key here.
Variations & Adaptations
This recipe is incredibly forgiving, so feel free to experiment. Here are some variations I’ve tried and loved:
Berry Peach Swirl
After folding in the peaches, drop spoonfuls of strawberry or raspberry jam into the mixture and gently swirl with a knife. This creates beautiful ribbons of berry flavor throughout the ice cream. I did this for a Fourth of July party, and it was gone in twenty minutes.
Vegan Coconut Peach Ice Cream
Replace the heavy cream with two cans of full-fat coconut cream (chilled overnight) and use a dairy-free sweetened condensed coconut milk. The coconut flavor pairs surprisingly well with peaches. Just note that the texture will be slightly softer and more icy than the dairy version. I’ve made this for dairy-free friends, and they always ask for the recipe.
Spiced Peach Ice Cream
Add 1/2 teaspoon of cinnamon and 1/4 teaspoon of nutmeg to the peach mixture before folding it in. The warm spices complement the sweet peaches beautifully, especially in the fall. This version tastes like peach cobbler in ice cream form—without turning on the oven.
Peach Bourbon Ice Cream
Add 2 tablespoons of bourbon to the peach mixture before folding. The alcohol lowers the freezing point, resulting in a softer, more scoopable ice cream. Plus, the bourbon adds a lovely warmth. Just be aware that this version takes longer to freeze solid.
Low-Sugar Option
Use a sugar substitute like monk fruit or stevia in the peach mixture instead of granulated sugar. For the base, use a sugar-free sweetened condensed milk alternative. The texture will be slightly different, but the flavor is still fantastic. I’ve tested this with Swerve, and it worked well.
Serving & Storage Suggestions
This ice cream is best served straight from the freezer with a slight softening. Here’s how to make the most of it:
Serving Ideas
Serve scoops in chilled bowls or sugar cones. Top with fresh peach slices, a drizzle of honey, or a sprinkle of crushed graham crackers for a little crunch. For a decadent treat, pair it with a warm peach cobbler or a slice of pound cake. I also love serving it alongside a simple shortbread cookie—the buttery flavor complements the fruity ice cream perfectly.
Beverage Pairings
A tall glass of iced tea, a crisp white wine like Sauvignon Blanc, or even a sparkling water with lemon all work beautifully. For a grown-up treat, serve it with a shot of bourbon or amaretto on the side.
Storage Instructions
Store the ice cream in an airtight container with plastic wrap pressed directly onto the surface. It will keep for up to 2 weeks in the freezer. After that, the texture may start to develop ice crystals, but it’s still safe to eat. If you notice ice crystals forming, you can scrape them off and stir the ice cream before serving.
Reheating/Softening
If the ice cream becomes too hard, let it sit at room temperature for 10-15 minutes before scooping. You can also microwave the container for 10-15 seconds on low power, but be careful not to melt it. For a softer texture, add a tablespoon of alcohol (like vodka or bourbon) to the mixture before freezing—it lowers the freezing point and keeps the ice cream scoopable.
Nutritional Information & Benefits
Here’s the estimated nutritional breakdown per serving (based on 8 servings):
| Nutrient | Amount per Serving |
|---|---|
| Calories | 320 |
| Total Fat | 22g |
| Saturated Fat | 14g |
| Cholesterol | 80mg |
| Sodium | 85mg |
| Total Carbohydrates | 28g |
| Dietary Fiber | 1g |
| Sugars | 25g |
| Protein | 4g |
| Vitamin C | 8% DV |
| Calcium | 10% DV |
While this is definitely a treat, peaches offer some surprising health benefits. They’re a good source of vitamin C, which supports immune function, and vitamin A, which is important for eye health. Peaches also contain antioxidants like chlorogenic acid, which may help reduce inflammation. The heavy cream provides calcium and vitamin D, though it’s also high in saturated fat, so enjoy this in moderation.
This recipe is naturally gluten-free and contains no eggs, making it safe for those with egg allergies. If you’re lactose intolerant, try the vegan variation with coconut cream. As always, check your specific dietary needs and adjust accordingly.
Frequently Asked Questions
Can I use frozen peaches instead of fresh?
Absolutely! Thaw the frozen peaches completely, drain any excess liquid, and mash them as directed. Frozen peaches are often picked at peak ripeness, so they can be even more flavorful than fresh ones out of season. Just be sure to pat them dry if they seem watery.
Why is my no-churn ice cream icy?
Icy texture usually happens for a few reasons: not whipping the cream to stiff peaks, overmixing after adding the condensed milk, or not covering the surface with plastic wrap. Make sure your cream is very cold and whip until stiff peaks form. Also, press plastic wrap directly onto the surface before freezing to prevent ice crystals.
Can I make this without a hand mixer?
Yes, but it takes some elbow grease. You can whip the cream by hand using a whisk, but it will take 10-15 minutes of continuous whisking. I’ve done it before when my mixer broke, and it’s totally doable—just make sure your cream is very cold and your arm is ready for a workout.
How long does this ice cream last in the freezer?
Properly stored, it will stay creamy and delicious for up to 2 weeks. After that, it may develop ice crystals, but it’s still safe to eat. If you notice texture changes, let it soften slightly and stir it before serving.
Can I add mix-ins like chocolate chips or nuts?
Definitely! Fold in up to 1/2 cup of mix-ins after the peaches are incorporated. Chopped toasted almonds, white chocolate chips, or crushed shortbread cookies all work beautifully. Just fold gently to avoid deflating the cream.
Conclusion
This easy no-churn peach ice cream is proof that you don’t need fancy equipment or a culinary degree to make something truly special. With just three ingredients and a little patience, you can create a dessert that tastes like pure summer. It’s creamy, fruity, and so simple that you’ll wonder why you ever bought store-bought ice cream.
I love this recipe because it reminds me that sometimes the best things come from happy accidents. That day I gave up on peach cobbler? It led me to a recipe I now make year after year. I hope this ice cream brings you the same joy it’s brought me and my family. Whether you’re serving it at a backyard barbecue, enjoying it on a quiet evening, or surprising someone with a homemade treat, this recipe never disappoints.
Have you tried this recipe? I’d love to hear how it turned out for you. Did you add any fun variations? Drop a comment below and let me know—I read every single one. And if you loved it, please share it with a friend who needs a little summer sweetness in their life. Happy scooping!
Pin This Recipe!
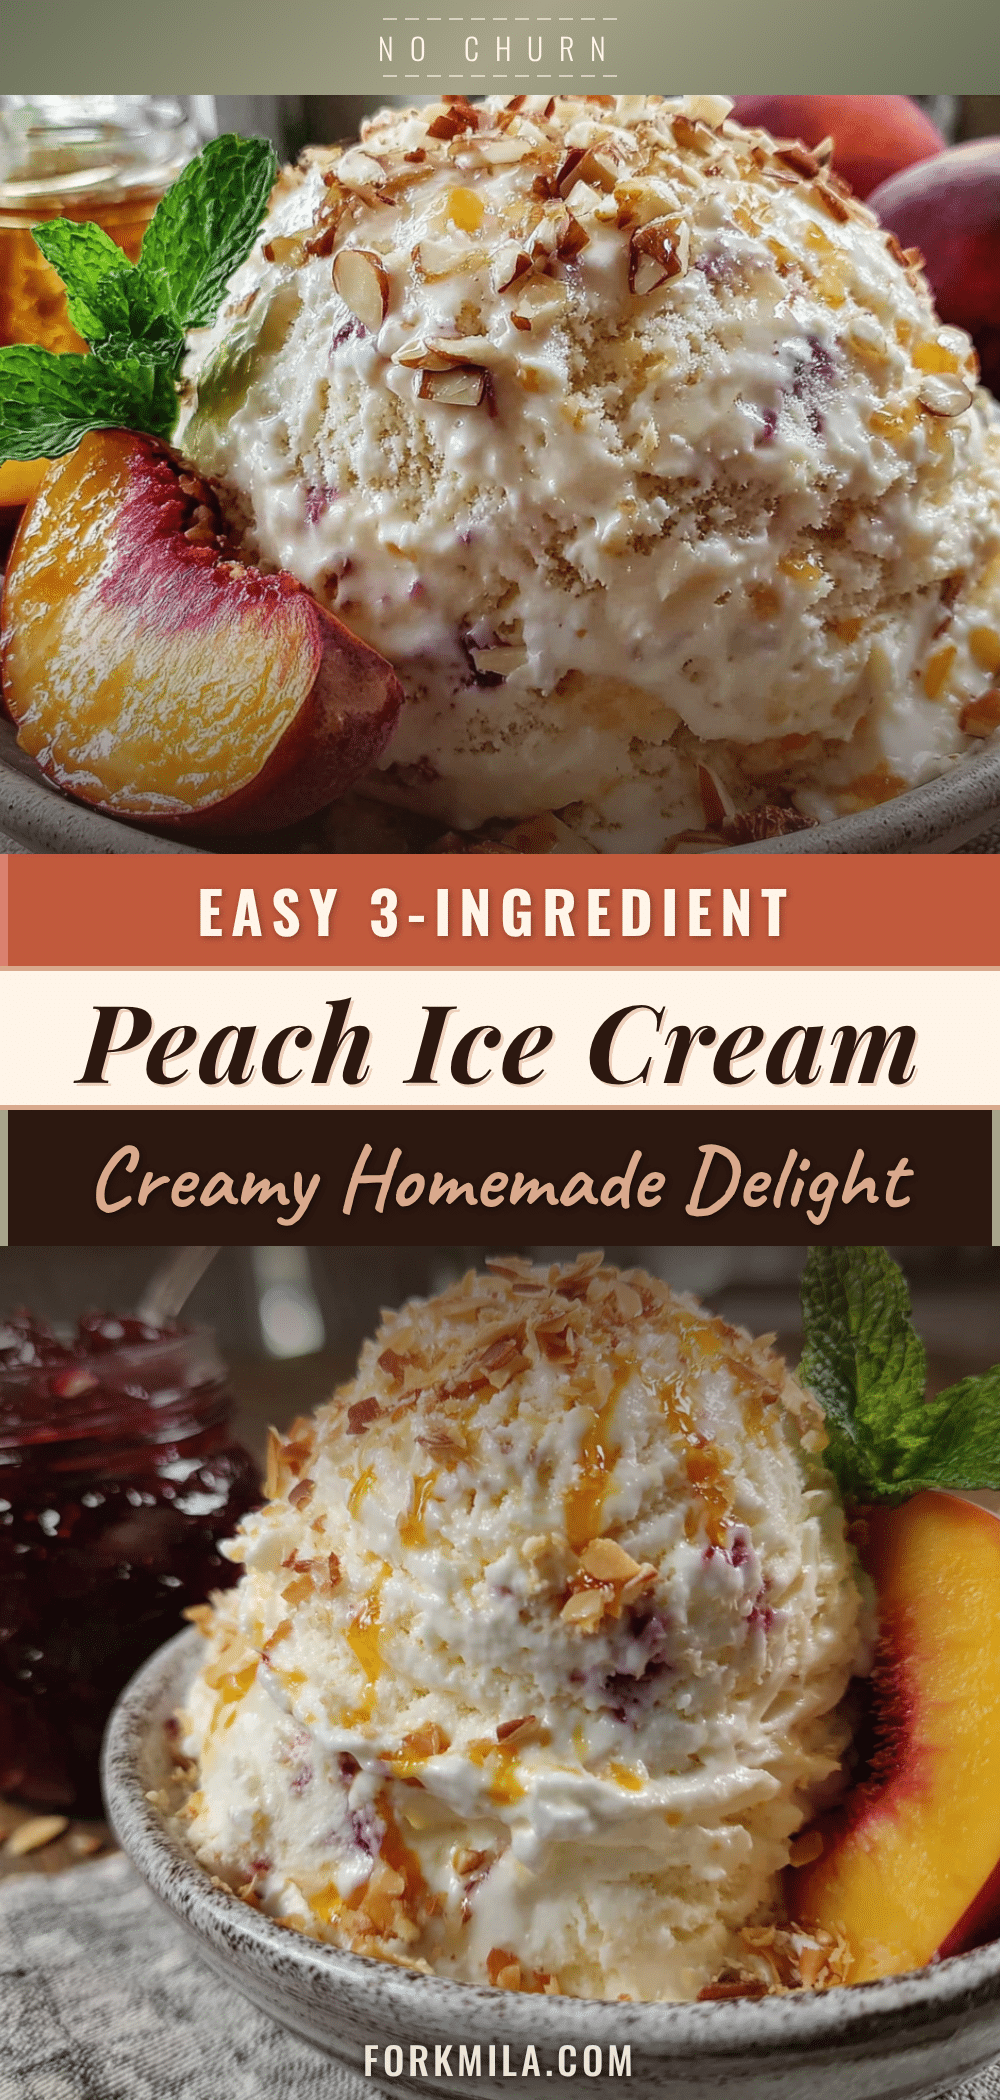
Easy No-Churn Peach Ice Cream: Perfect 3-Ingredient Treat
This creamy, dreamy no-churn peach ice cream requires just three ingredients and no ice cream maker. It’s a perfect summer treat that tastes like pure sunshine.
- Prep Time: 15 minutes
- Cook Time: 0 minutes
- Total Time: 6 hours 15 minutes (includes freezing time)
- Yield: 8 servings 1x
- Category: Dessert
- Cuisine: American
Ingredients
- 2 cups ripe peaches, peeled and diced (about 3 medium peaches)
- 2 tablespoons granulated sugar
- 1 teaspoon lemon juice (optional but recommended)
- 2 cups heavy cream (also called whipping cream)
- 1 can (14 ounces) sweetened condensed milk
- 1 teaspoon vanilla extract (optional)
Instructions
- Peel and dice the peaches. Place them in a medium bowl with the sugar and lemon juice. Stir gently and let sit for 15-20 minutes at room temperature to macerate.
- After macerating, mash the peaches with a fork or potato masher to your desired consistency. Set aside.
- In a large mixing bowl, whip the cold heavy cream with a hand mixer or stand mixer on medium-high speed until stiff peaks form, about 3-5 minutes.
- Pour in the sweetened condensed milk and vanilla extract (if using). Gently fold together with a rubber spatula until combined, being careful not to deflate the cream.
- Add the mashed peaches (including all the syrupy liquid) to the cream mixture. Fold gently until evenly distributed.
- Transfer the mixture to a loaf pan or freezer-safe container. Smooth the top and press a piece of plastic wrap directly onto the surface. Cover with a lid or another layer of plastic wrap.
- Freeze for at least 6 hours, preferably overnight, until firm.
- Before serving, let the ice cream sit at room temperature for 5-10 minutes to soften slightly. Scoop and serve.
Notes
For best results, chill your bowl and beaters before whipping the cream. Don’t skip the maceration step—it prevents icy chunks. Use full-fat cream and condensed milk for the creamiest texture. Fold gently to avoid deflating the cream. Press plastic wrap directly onto the surface to prevent ice crystals. For a softer texture, add 1 tablespoon of bourbon or vodka to the mixture before freezing.
Nutrition
- Serving Size: 1/2 cup (approx.)
- Calories: 320
- Sugar: 25
- Sodium: 85
- Fat: 22
- Saturated Fat: 14
- Carbohydrates: 28
- Fiber: 1
- Protein: 4
Keywords: no-churn ice cream, peach ice cream, easy ice cream, 3-ingredient ice cream, summer dessert, homemade ice cream, no ice cream maker


