My aunt claimed she hated canned fruit. For years. Every holiday, every family gathering—she’d make a point of saying “I just don’t like things from jars.” Then I found her last September, standing in my kitchen at 7 PM on a Tuesday, spoon deep in a jar of these spiced pear preserves I’d made that morning. She didn’t even look up when I walked in. Just kept scooping and said, “Don’t tell your uncle.” I mean, honestly—that’s the kind of moment that makes all the peeling and simmering worth it.
I wasn’t even trying to convert anyone that day. I had a bushel of pears from my neighbor’s tree—the bartlett ones that were about to go soft—and I needed to do something with them before they turned. So I grabbed what I had: cinnamon sticks, a vanilla bean I’d been hoarding, some star anise from that one time I tried making pho. And I just started cooking. The kitchen smelled like autumn in a bottle. That’s when she showed up, unannounced, and the whole “I hate canned fruit” thing went out the window.
These easy canned spiced pear preserves aren’t fussy. They don’t require a water bath canner or special equipment if you’re making a small batch for the fridge. They’re the kind of recipe you make on a lazy Sunday afternoon when you want the house to smell good and you need to use up fruit before it goes bad. Maybe you’ve been there—staring at a bowl of pears wondering what to do. This is your answer. I keep making this recipe because it reminds me that sometimes the best things happen when you’re not trying to impress anyone.
Why You’ll Love This Recipe
Let me tell you why this one’s different from every other pear preserve recipe you’ve seen. I tested this version seven times before I got it right—the first batch was too watery, the second too sweet, the third had the texture of baby food. By batch four, I started taking notes like a mad scientist. By batch seven, my neighbor was knocking on my door asking if I’d gone professional.
- Quick & Easy: Comes together in under an hour, most of which is hands-off simmering time. Perfect for when you want homemade preserves without spending all day in the kitchen.
- Simple Ingredients: You probably have most of this in your pantry right now. Pears, sugar, lemon juice, and whatever warm spices you’ve got kicking around.
- Perfect for Gifting: Tie a ribbon around a jar and suddenly you’re the person who gives thoughtful homemade gifts. It’s a game-changer during the holidays.
- Crowd-Pleaser: I’ve watched people who “don’t like preserves” finish entire jars in one sitting. The spices make it feel special—like something from a fancy farm stand.
- Unbelievably Delicious: The texture is this perfect balance between jammy and chunky. You get tender pieces of pear swimming in a spiced syrup that tastes like fall in a spoon.
What makes this recipe different is the spice blend. I don’t just throw in cinnamon and call it a day. There’s a warmth from the star anise and a subtle vanilla undertone that makes people pause and ask “what’s in this?” It’s not your grandmother’s pear preserves—though she’d probably approve. And honestly, this recipe is comfort food reimagined. It’s the kind of thing you put on toast on a rainy morning and suddenly everything feels a little better.
What Ingredients You Will Need
This recipe uses simple, wholesome ingredients to deliver bold flavor and satisfying texture without the fuss. Most of these are pantry staples or easy to find at any grocery store.
For the Preserves
- 4 pounds ripe but firm pears (Bartlett or Bosc work best—Bartlett gives a softer texture, Bosc holds its shape better)
- 3 cups granulated sugar (adds sweetness and helps with preservation; don’t reduce this if you’re canning)
- 1/4 cup fresh lemon juice (about 2 lemons—adds acidity to balance sweetness and helps preserve color)
- 1 vanilla bean, split lengthwise (or 2 teaspoons pure vanilla extract added at the end)
- 3 cinnamon sticks (I prefer Ceylon cinnamon for a milder, more complex flavor)
- 2 star anise pods (gives that subtle licorice warmth that makes people curious)
- 1 teaspoon whole cloves (optional, but adds depth)
- 1/4 teaspoon ground nutmeg (freshly grated if you have it)
- 1/2 cup water (helps the sugar dissolve and prevents burning before the pears release their juice)
Ingredient Selection Tips
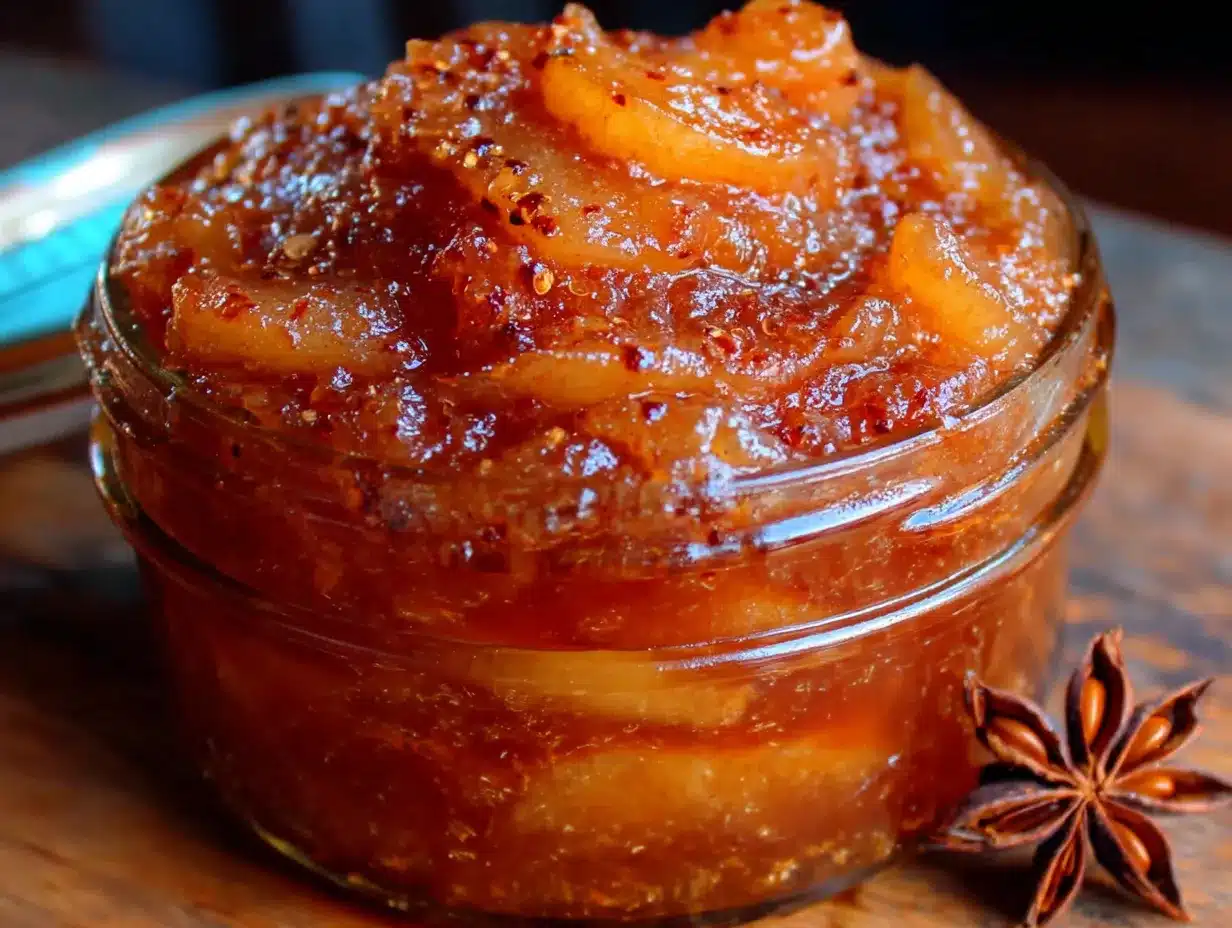
Look for pears that are ripe but still hold their shape when you press them. If they’re too soft, they’ll turn into mush during cooking. I’ve had great results with both Bartlett and Bosc pears—Bartlett gives a more traditional preserve texture, while Bosc holds nice chunks. For the vanilla bean, I recommend getting them from a bulk spice store or online; they’re cheaper that way and taste better than the ones in tiny jars at the grocery store.
Substitution Guidance
If you don’t have whole spices, you can use ground—just reduce the amount by half and add them at the end to avoid bitterness. No vanilla bean? Use 2 teaspoons of good vanilla extract stirred in after you remove the preserves from heat. For a lower-sugar version, you can use a low-sugar pectin and reduce the sugar to 2 cups, but the texture will be slightly different. And if you’re avoiding refined sugar, coconut sugar works in a pinch—though it’ll darken the color significantly.
Equipment Needed
Here’s what you’ll need to make these preserves. Nothing too fancy, I promise.
- Large heavy-bottomed pot (Dutch oven or stainless steel pot—at least 6 quarts to prevent boiling over)
- Sharp knife and cutting board (for peeling and coring pears)
- Vegetable peeler (a good Y-peeler makes quick work of pear skins)
- Wooden spoon or silicone spatula (for stirring—metal can react with the acid)
- Measuring cups and spoons
- Canning jars with lids (4 half-pint jars for fridge preserves, or 8 quarter-pint jars for gifting)
- Canning funnel (makes filling jars so much less messy)
- Ladle
- Clean kitchen towels
- Water bath canner (only if you’re processing for shelf-stability—optional for fridge preserves)
I’ve made this recipe with a $15 pot from the discount store and it turned out fine. You don’t need expensive equipment. The one thing I’d splurge on is a good jar lifter if you’re doing water bath canning—trust me, trying to grab hot jars with tongs is a disaster waiting to happen. Ask me how I know.
Preparation Method
Let me walk you through this step by step. I’ve made this recipe so many times I could do it in my sleep, but I’ll share all the little tricks I’ve learned along the way.
- Prepare your pears (20 minutes). Peel the pears using a vegetable peeler. Cut them in half lengthwise and scoop out the core with a melon baller or small spoon. Cut the pears into 1/2-inch chunks—some variation in size is fine, just try to keep them relatively uniform so they cook evenly. You should have about 8 cups of chopped pears. Don’t stress if some are a little bigger; they’ll soften during cooking.
- Combine ingredients (5 minutes). In your large pot, add the chopped pears, sugar, lemon juice, and water. Toss everything together gently with a wooden spoon until the pears are coated. Add the vanilla bean (if using), cinnamon sticks, star anise, cloves, and nutmeg. Give it one more gentle stir. Let it sit for 10-15 minutes while the sugar starts drawing out the pear juice—this helps everything cook more evenly.
- Bring to a simmer (10 minutes). Place the pot over medium heat and bring the mixture to a gentle simmer. Don’t crank the heat to high—you want the sugar to dissolve slowly and the pears to soften gradually. Stir occasionally, scraping the bottom to make sure nothing’s sticking. You’ll start to smell the spices warming up, and the kitchen will smell incredible.
- Simmer until thickened (25-30 minutes). Once the mixture is simmering, reduce the heat to medium-low. Let it cook uncovered, stirring every 5 minutes or so. You’re looking for the liquid to reduce by about half and become syrupy. The pears should be tender but still hold their shape—think al dente pasta, but for fruit. If you’re using a thermometer, you want it to reach 220°F (104°C), but honestly, the visual test works fine. The preserves should coat the back of a spoon and not run off immediately.
- Test for doneness (2 minutes). Here’s my foolproof test: put a small plate in the freezer before you start cooking. When you think the preserves are done, drop a spoonful onto the cold plate and let it sit for 30 seconds. Tilt the plate—if the preserves move slowly like thick syrup, they’re done. If they run quickly, cook for another 5 minutes and test again.
- Remove spices and vanilla bean (2 minutes). Using tongs, fish out the cinnamon sticks, star anise, and vanilla bean. Don’t skip this step—biting into a whole clove is not pleasant. If you used a vanilla bean, rinse it off and let it dry; you can reuse it in sugar or another batch of preserves.
- Add vanilla extract (if using) (1 minute). If you used vanilla extract instead of a vanilla bean, stir it in now. The heat will bloom the flavor without cooking it off.
- Fill the jars (10 minutes). If you’re making fridge preserves, ladle the hot preserves into clean jars, leaving 1/2 inch of headspace. Wipe the rims with a clean, damp towel, and screw on the lids. Let them cool to room temperature on the counter, then refrigerate. If you’re canning for shelf stability, process in a water bath canner for 10 minutes (adjust for altitude if needed).
A quick note: don’t be alarmed if the preserves look a little loose when you first jar them. They’ll thicken significantly as they cool. I’ve had batches that looked like soup going into the jar and set up perfectly overnight.
Cooking Tips & Techniques
I’ve made every mistake in the book with this recipe, so you don’t have to. Here’s what I’ve learned the hard way.
Don’t overcook the pears. I know it’s tempting to let them go longer for a thicker syrup, but the pears will continue to soften. Overcooked preserves end up with mushy fruit and a texture that’s more like jam than preserves. You want those tender chunks—that’s what makes preserves different from jam.
Watch your heat. The first time I made this, I cranked the heat to high to speed things up. Big mistake. The sugar started caramelizing before the pears had time to soften, and I ended up with burnt-tasting syrup and undercooked fruit. Keep it at a gentle simmer—you should see small bubbles breaking the surface, not a rolling boil.
Use a timer. Set a timer for every 5 minutes and stir. I know it sounds obsessive, but preserves can go from perfect to scorched in the time it takes to answer the door. I lost an entire batch to a phone call once. Never again.
Skim the foam. As the preserves cook, you’ll see foam forming on the surface. That’s just impurities and air bubbles. Skim it off with a spoon—it’ll give you clearer, more attractive preserves. Don’t throw it away, though. Spread it on toast while you’re waiting for the preserves to cool. Chef’s treat.
Let the flavors meld. These preserves taste good right away, but they’re amazing after a week in the fridge. The spices mellow and blend, and the pears absorb more of the syrup. If you can resist opening a jar for a few days, you’ll be rewarded.
Variations & Adaptations
One of the best things about this recipe is how flexible it is. Here are some variations I’ve tried and loved.
Spiced Pear and Ginger Preserves: Add 2 tablespoons of fresh grated ginger along with the other spices. The heat from the ginger pairs beautifully with the sweet pears and warm cinnamon. I made this version for a holiday gift exchange and got three requests for the recipe.
Vanilla-Rosemary Pear Preserves: Replace the star anise and cloves with 2 sprigs of fresh rosemary. Remove the rosemary before jarring. The herbal notes cut through the sweetness and make this incredible on cheese plates. Try it with a sharp cheddar—trust me.
Low-Sugar Version: Use 2 cups of sugar instead of 3 and add 1 packet of low-sugar pectin. Follow the pectin package instructions for timing. The texture will be slightly softer, and the flavor will be more pear-forward. I make this version when I want something I can eat straight from the jar without feeling guilty.
Bourbon-Pear Preserves: Stir in 3 tablespoons of bourbon after you remove the preserves from heat. The alcohol cooks off, leaving behind a warm, smoky flavor that’s incredible on pancakes. This is my husband’s favorite version—he puts it on everything from toast to ice cream.
Slow Cooker Method: Throw everything in a slow cooker and cook on low for 4-5 hours, stirring occasionally. The texture will be softer and more jam-like, but it’s perfect for when you want to set it and forget it. Just remove the lid for the last hour to let the liquid reduce.
Serving & Storage Suggestions
These preserves are incredibly versatile. Here’s how I like to use and store them.
Serving Temperature: Serve at room temperature for the best flavor and spreadability. If you’ve refrigerated them, let the jar sit out for 15-20 minutes before using. Cold preserves are harder to spread and the flavors aren’t as pronounced.
Classic Pairings: Spread on warm buttered toast, biscuits, or scones. Swirl into yogurt or oatmeal. Spoon over vanilla ice cream or pound cake. Use as a filling for thumbprint cookies or between cake layers. The possibilities are endless.
Savory Uses: Here’s where it gets interesting. These preserves are amazing with cheese—try them with brie, goat cheese, or sharp cheddar. Spread on a grilled cheese sandwich with sharp cheddar and apple slices. Glaze a ham or pork roast with them in the last 30 minutes of cooking. Mix into a vinaigrette for a fall salad.
Storage: Fridge preserves will keep for up to 3 months in the refrigerator. Canned preserves (processed in a water bath) will keep for up to 18 months in a cool, dark pantry. Once opened, refrigerate and use within 3 months. I’ve never had a jar last that long, though—they disappear too fast.
Reheating: If the preserves crystallize or become too thick in the fridge, microwave the jar for 15-20 seconds or place it in a bowl of warm water. Stir well and they’ll be good as new.
Nutritional Information & Benefits
Here’s the honest truth about these preserves: they’re a treat, not a health food. But that doesn’t mean they don’t have some redeeming qualities.
Per 2-tablespoon serving (approximate):
- Calories: 80
- Total Fat: 0g
- Sodium: 0mg
- Total Carbohydrates: 20g
- Sugars: 18g
- Fiber: 1g
- Protein: 0g
Health Highlights: Pears are a good source of dietary fiber, vitamin C, and copper. They also contain antioxidants like flavonoids that help fight inflammation. The cinnamon in this recipe has been shown to help regulate blood sugar levels—though obviously not enough to offset the sugar in preserves. And cloves are packed with antioxidants and have anti-inflammatory properties.
Dietary Considerations: This recipe is naturally gluten-free, dairy-free, and vegan. If you’re watching your sugar intake, the low-sugar variation is a better option. And if you’re following a Whole30 or paleo diet, you can substitute the sugar with coconut sugar or maple syrup—though the texture and shelf life will be different.
My take? Enjoy these preserves in moderation. Spread them on good bread, share them with people you love, and don’t stress about the sugar content. Life’s too short for boring breakfasts.
Conclusion
These easy canned spiced pear preserves are the kind of recipe that makes you feel like you’ve accomplished something meaningful with your afternoon. They’re not complicated, but they’re special. The kind of thing that makes people say “you made this?” with genuine surprise. And honestly, that never gets old.
I love this recipe because it’s forgiving. You can use different pears, adjust the spices, make it in a slow cooker or on the stove—it always turns out delicious. It’s the recipe I turn to when I need a small win in the kitchen, when I want the house to smell good, when I have fruit that needs using up. It’s never let me down.
So grab some pears and give it a try. Customize the spices to your taste—maybe add a pinch of cardamom or a strip of orange zest. Make a batch for yourself and a batch for a friend. And when you’re spooning it onto your morning toast, remember: you made that. From scratch. With your own two hands. That’s something to be proud of.
If you make these preserves, I’d love to hear about it. Drop a comment below and tell me what variations you tried, or tag me in your photos. Happy preserving, friends.
Frequently Asked Questions
Do I need to peel the pears for preserves?
Yes, I recommend peeling the pears for this recipe. The skins can become tough and chewy during cooking, and they’ll affect the smooth texture of the preserves. If you’re feeling lazy, you can leave them on, but the texture won’t be as nice and the color will be darker.
Can I use ground spices instead of whole?
Absolutely. Use 1 teaspoon ground cinnamon, 1/2 teaspoon ground star anise, and 1/4 teaspoon ground cloves instead of the whole spices. Add them at the end of cooking to avoid bitterness. The flavor won’t be quite as complex, but it’ll still be delicious.
How do I know when the preserves are done?
Use the cold plate test I mentioned in the instructions. Place a small plate in the freezer, then drop a spoonful of preserves onto it. If it moves slowly like thick syrup, it’s done. You can also use a candy thermometer—the preserves should reach 220°F (104°C) at sea level.
Can I reduce the sugar in this recipe?
Yes, but with caveats. You can reduce the sugar to 2 cups if you’re making fridge preserves (not canned). For canning, the sugar helps with preservation, so reducing it affects shelf stability. If you want a lower-sugar version, use a low-sugar pectin and follow the package instructions.
How long do these preserves last?
Fridge preserves last up to 3 months in the refrigerator. Canned preserves (processed in a water bath canner) last up to 18 months in a cool, dark pantry. Once opened, refrigerate and use within 3 months. But honestly, they never last that long in my house.
Pin This Recipe!
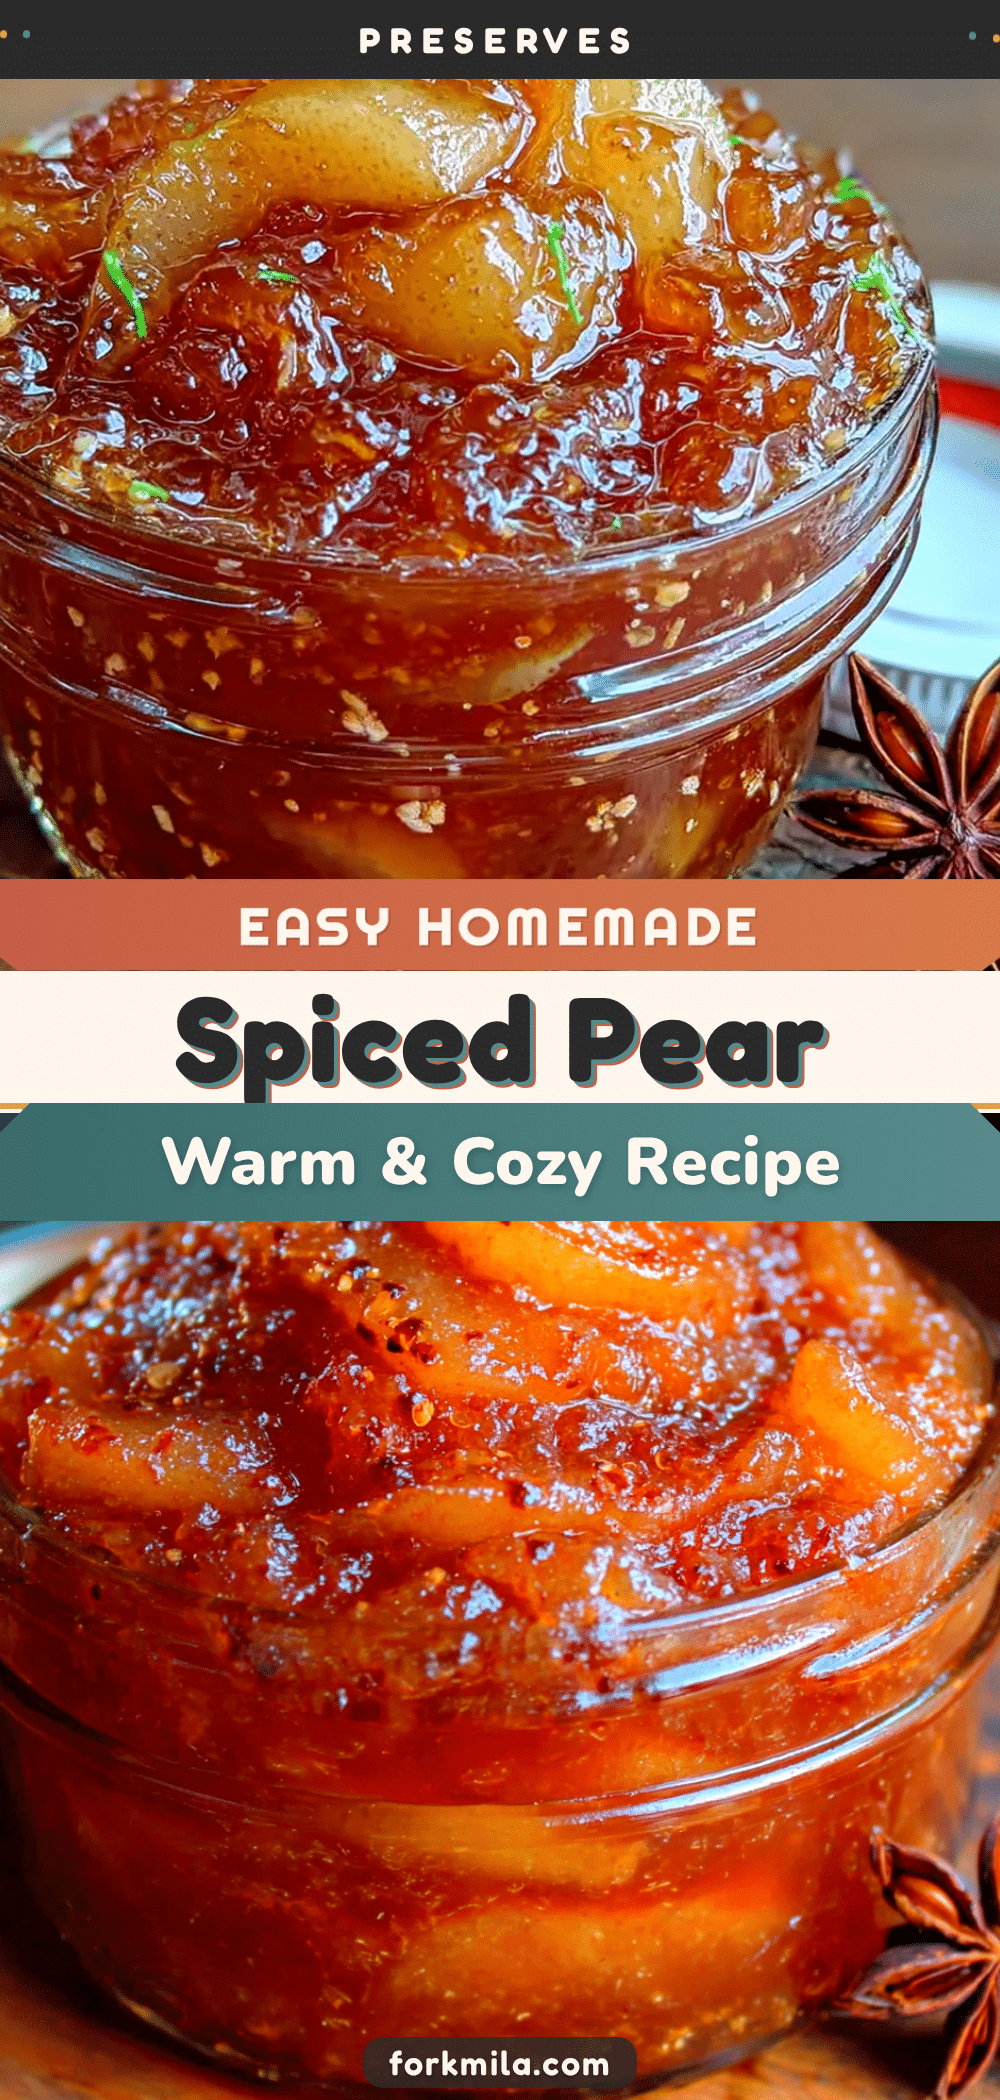
Best Easy Canned Spiced Pear Preserves Recipe
These easy canned spiced pear preserves are made with ripe pears, warm spices like cinnamon and star anise, and a touch of vanilla. Perfect for gifting or enjoying on toast, they come together in under an hour with simple ingredients.
- Prep Time: 20 minutes
- Cook Time: 30 minutes
- Total Time: 50 minutes
- Yield: 4 half-pint jars (about 32 servings of 2 tablespoons each) 1x
- Category: Preserves
- Cuisine: American
Ingredients
- 4 pounds ripe but firm pears (Bartlett or Bosc work best)
- 3 cups granulated sugar
- 1/4 cup fresh lemon juice (about 2 lemons)
- 1 vanilla bean, split lengthwise (or 2 teaspoons pure vanilla extract added at the end)
- 3 cinnamon sticks (preferably Ceylon cinnamon)
- 2 star anise pods
- 1 teaspoon whole cloves (optional)
- 1/4 teaspoon ground nutmeg (freshly grated if possible)
- 1/2 cup water
Instructions
- Prepare your pears (20 minutes). Peel the pears using a vegetable peeler. Cut them in half lengthwise and scoop out the core with a melon baller or small spoon. Cut the pears into 1/2-inch chunks—some variation in size is fine, just try to keep them relatively uniform so they cook evenly. You should have about 8 cups of chopped pears.
- Combine ingredients (5 minutes). In your large pot, add the chopped pears, sugar, lemon juice, and water. Toss everything together gently with a wooden spoon until the pears are coated. Add the vanilla bean (if using), cinnamon sticks, star anise, cloves, and nutmeg. Give it one more gentle stir. Let it sit for 10-15 minutes while the sugar starts drawing out the pear juice—this helps everything cook more evenly.
- Bring to a simmer (10 minutes). Place the pot over medium heat and bring the mixture to a gentle simmer. Don’t crank the heat to high—you want the sugar to dissolve slowly and the pears to soften gradually. Stir occasionally, scraping the bottom to make sure nothing’s sticking.
- Simmer until thickened (25-30 minutes). Once the mixture is simmering, reduce the heat to medium-low. Let it cook uncovered, stirring every 5 minutes or so. You’re looking for the liquid to reduce by about half and become syrupy. The pears should be tender but still hold their shape. If using a thermometer, it should reach 220°F (104°C). The preserves should coat the back of a spoon and not run off immediately.
- Test for doneness (2 minutes). Put a small plate in the freezer before you start cooking. When you think the preserves are done, drop a spoonful onto the cold plate and let it sit for 30 seconds. Tilt the plate—if the preserves move slowly like thick syrup, they’re done. If they run quickly, cook for another 5 minutes and test again.
- Remove spices and vanilla bean (2 minutes). Using tongs, fish out the cinnamon sticks, star anise, and vanilla bean. If you used a vanilla bean, rinse it off and let it dry; you can reuse it in sugar or another batch of preserves.
- Add vanilla extract (if using) (1 minute). If you used vanilla extract instead of a vanilla bean, stir it in now.
- Fill the jars (10 minutes). If you’re making fridge preserves, ladle the hot preserves into clean jars, leaving 1/2 inch of headspace. Wipe the rims with a clean, damp towel, and screw on the lids. Let them cool to room temperature on the counter, then refrigerate. If you’re canning for shelf stability, process in a water bath canner for 10 minutes (adjust for altitude if needed).
Notes
Don’t overcook the pears—they should remain tender but hold their shape. Keep the heat at a gentle simmer to avoid burning. Skim foam that forms on the surface for clearer preserves. Let the preserves sit for a week in the fridge for best flavor. For a lower-sugar version, use 2 cups sugar and 1 packet low-sugar pectin. For bourbon-pear preserves, stir in 3 tablespoons bourbon after removing from heat.
Nutrition
- Serving Size: 2 tablespoons
- Calories: 80
- Sugar: 18
- Carbohydrates: 20
- Fiber: 1
Keywords: spiced pear preserves, easy canned pears, homemade preserves, pear jam, fall preserves, gift preserves, vanilla pear preserves


