The neighborhood bake sale was in six hours and I’d completely forgotten. Everyone else would be bringing those elaborate layered cakes with fancy buttercream rosettes, or those perfectly piped French macarons that look like they belong in a Parisian patisserie window. I had three overripe bananas on my counter—the kind that look more brown than yellow, practically begging to be used—and a vague memory of my grandmother’s banana bread recipe rattling around in my head.
Honestly, I almost gave up and just bought a tray of cookies from the grocery store. But then I spotted the bag of walnuts in my pantry, and something clicked. I mean, banana bread is basically a love letter to imperfection, right? It’s the recipe that says, “Hey, your bananas are past their prime, but I’ve got you covered.” So I grabbed my favorite mixing bowl, tossed everything in there with zero finesse, and hoped for the best.
The funny thing is, I nearly forgot the walnuts entirely. I was halfway through pouring the batter into the loaf pan when I spotted them sitting there on the counter, looking all abandoned. So I did what any reasonable person would do—I stirred them in at the last second, probably overmixing the batter just a little. Maybe you’ve been there, frantically adding an ingredient you almost missed while trying not to panic.
Well, let me tell you, that slightly-overmixed, last-minute-walnut banana bread won the bake sale. Not the macarons, not the fancy cakes. My humble, one-bowl banana walnut bread. The woman who brought the macarons asked for my recipe. That’s when I knew this wasn’t just any banana bread—it was the banana bread. The one you keep coming back to, the one that feels like a warm hug on a rainy day, the one that turns your kitchen into the coziest place in the world.
Why You’ll Love This Recipe
Let me be real with you—I’ve tested a lot of banana bread recipes over the years. Some were too dry, some were too dense, and some just didn’t have that nostalgic flavor I was chasing. This one? It’s the Goldilocks of banana breads. And here’s why it’s going to become your go-to:
- Quick & Easy: From start to finish, you’re looking at about an hour. The active prep time is maybe 10 minutes, and that’s including peeling the bananas. It’s perfect for those moments when you need something warm and homemade but don’t have hours to spend.
- Simple Ingredients: You probably have everything in your kitchen right now. No weird specialty flours, no fancy extracts, no trips to three different stores. Just pantry staples that come together like magic.
- Perfect for Any Occasion: Breakfast, snack, dessert, bake sale, last-minute hostess gift—this bread does it all. It’s not fancy, but it’s always welcome.
- Crowd-Pleaser: I’ve yet to meet someone who doesn’t love a good banana bread. Kids devour it, adults sneak extra slices, and even picky eaters can’t resist.
- Unbelievably Delicious: The texture is where this recipe shines. It’s moist without being gummy, tender without being crumbly, and those walnuts add just the right amount of crunch. Plus, the flavor develops beautifully overnight—if it lasts that long.
What makes this recipe different from all the others? It’s the technique. Most recipes have you cream the butter and sugar separately, then alternate wet and dry ingredients. Not this one. Everything goes into one bowl, which means less cleanup and more time enjoying your bread. But here’s the secret—you melt the butter first, which keeps the bread incredibly moist and tender. It’s a small tweak that makes a huge difference.
This isn’t just good banana bread. It’s the kind that makes you close your eyes after the first bite. It’s comfort food at its finest—simple, honest, and absolutely delicious.
What Ingredients You Will Need
This recipe uses simple, wholesome ingredients to deliver that classic banana bread flavor and tender texture without any fuss. Most of these are pantry staples, which makes this recipe perfect for spontaneous baking sessions.
For the Banana Bread
- 3 ripe bananas, mashed (the riper, the better—look for brown spots for maximum sweetness)
- 1/3 cup unsalted butter, melted (I use Land O’Lakes for consistent results, but any good-quality butter works)
- 3/4 cup granulated sugar (you can reduce to 1/2 cup if your bananas are very sweet)
- 1 large egg, room temperature (cold eggs can seize the melted butter)
- 1 teaspoon vanilla extract (pure vanilla, not imitation, for the best flavor)
- 1 teaspoon baking soda (make sure it’s fresh—test by dropping a bit in vinegar; it should fizz)
- Pinch of salt (just a tiny bit to balance the sweetness)
- 1 1/2 cups all-purpose flour (spoon and level for accuracy—don’t scoop directly from the bag)
- 1/2 cup walnuts, chopped (toasted first if you have time, but raw works fine too)
Ingredient Selection Tips: For the best banana bread, use bananas that are heavily spotted or even mostly brown. They should be soft to the touch and smell intensely sweet. If your bananas aren’t ripe enough, you can speed things up by baking them at 300°F for 15-20 minutes until the skins turn black, then let them cool before using. For the walnuts, I recommend buying whole walnuts and chopping them yourself—pre-chopped nuts can be stale and uneven. Trader Joe’s has great quality walnuts at a reasonable price.
Substitution Guidance: If you’re out of walnuts, pecans work beautifully. For a nut-free version, simply omit them or swap in chocolate chips. You can substitute the all-purpose flour with a 1:1 gluten-free baking flour blend if needed. For a dairy-free option, use coconut oil or a plant-based butter in place of regular butter. If you want to reduce sugar, try using 1/2 cup of coconut sugar or a monk fruit blend—just note that the texture will be slightly different.
Equipment Needed
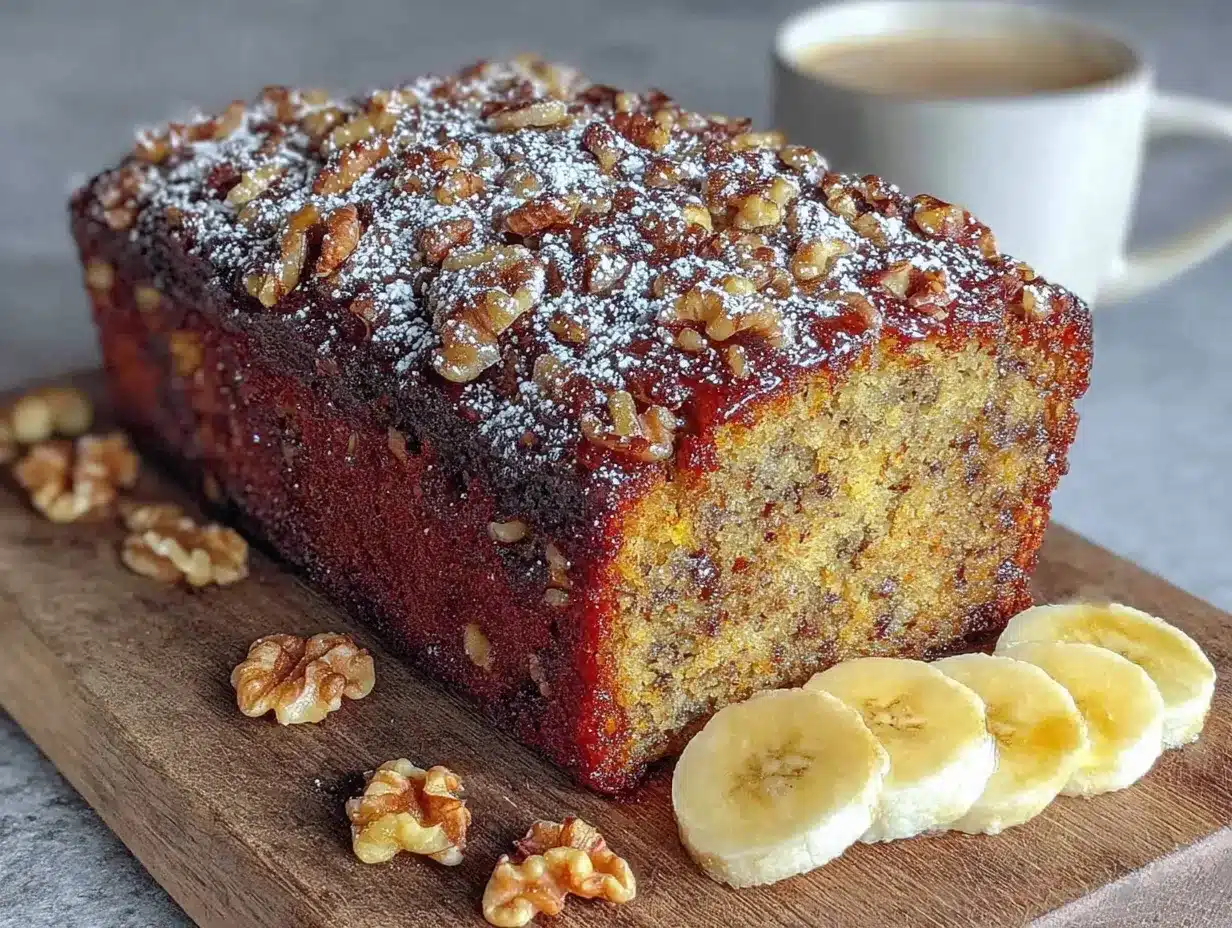
The beauty of this recipe is that it doesn’t require any fancy equipment. Here’s what you’ll need:
- 9×5-inch loaf pan (a standard size works perfectly; if using an 8×4-inch pan, increase baking time by 5-10 minutes)
- Large mixing bowl (any bowl will do, but a wide one makes mixing easier)
- Fork or potato masher (for mashing the bananas—I prefer a fork because it gives you more control over the texture)
- Whisk or wooden spoon (a silicone spatula also works great for scraping the bowl)
- Measuring cups and spoons (dry measuring cups for flour and sugar, liquid measuring cup for butter)
- Parchment paper (optional but highly recommended for easy removal)
- Cooling rack (essential for even cooling—prevents a soggy bottom)
If you don’t have a loaf pan, you can bake this in an 8×8-inch square pan for about 30-35 minutes. I’ve also made it as muffins (about 18-20 minutes at 350°F) with great results. As for budget-friendly options, I’ve been using the same $8 loaf pan from Target for years, and it works like a charm. You don’t need expensive equipment for good banana bread.
Preparation Method
Alright, let’s get baking! The whole process takes about 10 minutes of active time, then 50-60 minutes of hands-off baking. Here’s how to do it:
- Preheat your oven to 350°F (175°C). Grease a 9×5-inch loaf pan with butter or non-stick spray. For extra insurance, line it with parchment paper, leaving some overhang on the long sides—this makes lifting the bread out so much easier. Trust me on this one.
- Mash the bananas. In your large mixing bowl, add the three ripe bananas. Mash them with a fork until they’re mostly smooth with a few small lumps remaining. You want some texture here—completely smooth bananas can make the bread a bit dense. If you have about 1 to 1 1/4 cups of mashed banana, you’re in the sweet spot.
- Add the melted butter. Pour in the 1/3 cup of melted butter and stir until combined. Make sure your butter isn’t too hot—you don’t want to cook the egg later. It should be warm but not scorching. I usually let mine sit for a minute or two after melting.
- Mix in the sugar, egg, and vanilla. Add the 3/4 cup sugar, 1 egg, and 1 teaspoon vanilla extract. Whisk everything together until smooth and well combined. The mixture should look glossy and smell amazing at this point. If you’re using a wooden spoon, give it a good 20-30 seconds of mixing.
- Sprinkle in the baking soda and salt. Add the 1 teaspoon baking soda and pinch of salt directly to the wet mixture. Stir to combine. This step is important—mixing the baking soda into the wet ingredients first ensures it’s evenly distributed before you add the flour.
- Fold in the flour. Add the 1 1/2 cups of flour. Here’s the crucial part: use a gentle folding motion, not vigorous stirring. Mix just until you can’t see any more dry flour. A few streaks of flour are okay—overmixing develops gluten and makes the bread tough. You want a thick, scoopable batter that looks slightly lumpy. About 10-15 folds should do it.
- Fold in the walnuts. Gently fold in the 1/2 cup of chopped walnuts until they’re evenly distributed throughout the batter. Again, don’t overmix. Just a few folds to incorporate them.
- Pour into the prepared pan. Scrape the batter into your greased loaf pan and spread it into an even layer. Give the pan a gentle tap on the counter to release any air bubbles. If you want, you can sprinkle a few extra walnut pieces on top for decoration—I always do this because it looks so pretty.
- Bake for 50-60 minutes. Place the pan in the center of the oven and bake until a toothpick inserted into the center comes out clean or with just a few moist crumbs. The top should be golden brown and cracked in that signature banana bread way. If the top is browning too quickly (around the 40-minute mark), tent the pan loosely with aluminum foil.
- Cool in the pan for 10 minutes. Remove the pan from the oven and place it on a cooling rack. Let it rest for 10 minutes—this allows the bread to set and makes it easier to remove. After 10 minutes, use the parchment paper to lift the bread out of the pan and transfer it to the cooling rack to cool completely.
Pro tip: If you can resist the urge, let the bread cool completely before slicing. I know, I know—warm banana bread is heavenly. But slicing it while it’s still warm can make it crumble and fall apart. If you absolutely must have a warm slice (and honestly, who can blame you?), use a serrated knife and a gentle sawing motion.
Cooking Tips & Techniques
After making this recipe more times than I can count, I’ve learned a few things the hard way. Here are my best tips for banana bread success:
The banana ripeness sweet spot. This is the most common question I get. Your bananas should be so ripe that you’re almost embarrassed to have them on your counter. They should be soft, heavily spotted, and smell intensely sweet. If they’re still yellow with green tips, your bread won’t have that deep banana flavor. I’ve learned to buy bananas specifically for baking—I let them sit on the counter for a week until they’re practically black. The darker they are, the sweeter and more flavorful your bread will be.
Don’t overmix the batter. This was my biggest mistake when I started baking. I thought I needed to stir until the batter was completely smooth. Nope! Overmixing develops gluten, which makes your banana bread tough and dense instead of tender and fluffy. Mix just until the flour disappears into the batter. A few lumps are totally fine—they’ll bake out. I learned this lesson after making a batch of banana bread that could have been used as a doorstop.
Room temperature ingredients matter. I know it’s tempting to use cold eggs straight from the fridge, but room temperature ingredients blend together more smoothly. If you forgot to take your egg out ahead of time, place it in a bowl of warm water for 5 minutes. Your melted butter should also be warm but not hot—you don’t want to scramble the egg.
The toothpick test isn’t always reliable. Sometimes a toothpick can come out clean even when the center isn’t fully baked, especially if you hit a pocket of melted banana. I like to use an instant-read thermometer instead—the internal temperature should be around 200-205°F when done. If you don’t have one, test in a few different spots to be sure.
Let it cool properly. This is the hardest part, I know. But cooling the bread completely on a wire rack prevents the bottom from getting soggy. If you’re short on time, you can speed things up by placing the bread in the refrigerator for 15-20 minutes after it’s cooled to room temperature. The cold makes it easier to slice cleanly.
Variations & Adaptations
One of the best things about this recipe is how adaptable it is. Here are some of my favorite variations:
Chocolate Chip Banana Bread: Swap the walnuts for 1/2 cup of semi-sweet chocolate chips. The combination of banana and chocolate is absolutely divine. I like to use mini chocolate chips because they distribute more evenly throughout the batter. This version is especially popular with kids—and let’s be honest, adults too.
Blueberry Banana Bread: Gently fold in 1 cup of fresh or frozen blueberries (don’t thaw them first) along with the walnuts. The burst of tartness from the blueberries balances the sweetness of the bananas beautifully. If using frozen blueberries, toss them in a tablespoon of flour before adding to prevent them from sinking to the bottom.
Vegan Banana Bread: Replace the egg with a flax egg (1 tablespoon ground flaxseed mixed with 3 tablespoons water, let sit for 5 minutes) and use coconut oil or plant-based butter instead of regular butter. The texture will be slightly denser but still delicious. I’ve made this version for vegan friends and they always ask for seconds.
Spiced Banana Bread: Add 1 teaspoon of cinnamon, 1/2 teaspoon of nutmeg, and 1/4 teaspoon of ground ginger to the flour before mixing. This gives the bread a warm, cozy flavor that’s perfect for fall. Sometimes I also add a pinch of cardamom for an extra layer of complexity.
Streusel-Topped Banana Bread: Mix together 1/4 cup flour, 1/4 cup brown sugar, 2 tablespoons cold butter, and 1/2 teaspoon cinnamon until crumbly. Sprinkle this over the batter before baking. The streusel creates a crunchy, buttery topping that takes this bread to the next level. Fair warning: the streusel makes it even harder to resist eating the whole loaf in one sitting.
Serving & Storage Suggestions
This banana bread is incredibly versatile when it comes to serving. Here are my favorite ways to enjoy it:
Serving Temperature: Banana bread is delicious at any temperature. Serve it warm with a pat of butter melting into the slice for maximum comfort. At room temperature, it’s perfect for packing in lunchboxes or taking on picnics. And honestly? Cold banana bread straight from the fridge is a guilty pleasure I fully support.
Presentation Ideas: For a simple but beautiful presentation, slice the bread and arrange the slices on a wooden board. Dust with a little powdered sugar if you’re feeling fancy. For breakfast, toast a slice lightly and drizzle with honey or maple syrup. For dessert, serve it warm with a scoop of vanilla ice cream and a drizzle of caramel sauce—trust me on this one.
Complementary Dishes: This banana bread pairs beautifully with a cup of coffee or tea. For a brunch spread, serve it alongside fresh fruit, yogurt, and a frittata. It also makes a lovely addition to a cheese board—the sweetness of the bread contrasts beautifully with sharp cheddar or creamy brie.
Storage Instructions: Store leftover banana bread wrapped tightly in plastic wrap or aluminum foil at room temperature for up to 4 days. For longer storage, wrap it in plastic wrap, then foil, and place it in a freezer-safe bag. It freezes beautifully for up to 3 months. To thaw, leave it at room temperature for a few hours or pop individual slices in the toaster.
Flavor Development: Here’s something interesting—banana bread actually tastes better the next day. The flavors have time to meld together, and the texture becomes even more moist. So if you can manage to wait, your patience will be rewarded. I’ve been known to make this bread a day ahead specifically for this reason.
Nutritional Information & Benefits
While I wouldn’t call banana bread a health food, it does have some redeeming qualities. Here’s the estimated nutritional breakdown per slice (assuming 10 slices per loaf):
| Nutrient | Amount per Slice |
|---|---|
| Calories | 245 |
| Total Fat | 11g |
| Saturated Fat | 4.5g |
| Cholesterol | 35mg |
| Sodium | 180mg |
| Total Carbohydrates | 34g |
| Dietary Fiber | 2g |
| Sugars | 17g |
| Protein | 4g |
Health Benefits: Bananas are packed with potassium, which is essential for heart health and muscle function. They also contain vitamin B6 and vitamin C. Walnuts are a great source of omega-3 fatty acids, which support brain health. Plus, this recipe uses less sugar than many banana bread recipes, and the natural sweetness from the ripe bananas means you can often reduce the added sugar even further.
Dietary Considerations: This recipe can be made gluten-free with a 1:1 flour blend, dairy-free with plant-based butter, and vegan with a flax egg. It’s naturally nut-free if you omit the walnuts (just be aware that the texture will be slightly different). Always check your ingredients for potential allergens if you’re baking for someone with sensitivities.
Conclusion
This cozy classic banana bread with walnuts is more than just a recipe—it’s a reminder that the simplest things are often the best. It’s the bread that turns overripe bananas into something magical, that fills your kitchen with the most comforting aroma, that brings people together around the table. Whether you’re baking for a special occasion or just because it’s Tuesday, this bread never disappoints.
I love this recipe because it’s forgiving. It doesn’t demand perfection. It welcomes substitutions and adaptations. It’s the kind of recipe that becomes part of your life, that you make so often you don’t even need to look at the instructions anymore. And every time you bake it, it tastes just a little bit like home.
Now I want to hear from you! Have you tried this recipe? Did you make any fun variations? Drop a comment below and let me know how it turned out. And if you loved it, share it with a friend who needs a little comfort in their life. Happy baking, friends!
Frequently Asked Questions
Can I use frozen bananas for this recipe?
Absolutely! Frozen bananas work great. Thaw them completely, then drain off any excess liquid before mashing. The thawing process actually makes them even softer and sweeter. Just note that frozen bananas release more moisture, so your bread might be slightly more dense. It’s still delicious though.
Why did my banana bread sink in the middle?
This usually happens for one of three reasons: your oven temperature was too low, you opened the oven door too often during baking, or the bread was underbaked. Make sure your oven is properly preheated to 350°F and resist the urge to peek until the last 10 minutes of baking. Also, be sure to test the center with a toothpick before removing it from the oven.
Can I make this recipe into muffins instead?
Yes! This batter works beautifully for muffins. Fill greased muffin cups about 3/4 full and bake at 350°F for 18-22 minutes, or until a toothpick inserted in the center comes out clean. You’ll get about 12 standard-sized muffins. This is a great option if you want individual portions or need something portable.
How do I know when my bananas are ripe enough?
Your bananas should be heavily spotted with brown or even mostly brown. They should feel soft when you squeeze them gently and smell intensely sweet. If they’re still yellow with no spots, they’re not ready. The riper the banana, the sweeter and more flavorful your bread will be. I usually buy my bananas a week ahead and let them ripen on the counter.
Can I add other mix-ins besides walnuts?
Absolutely! This recipe is very adaptable. Try chocolate chips, dried cranberries, chopped pecans, shredded coconut, or even a swirl of Nutella. Just keep the total amount of mix-ins to about 1/2 cup to 3/4 cup so you don’t overwhelm the batter. Feel free to experiment and make this bread your own.
Pin This Recipe!
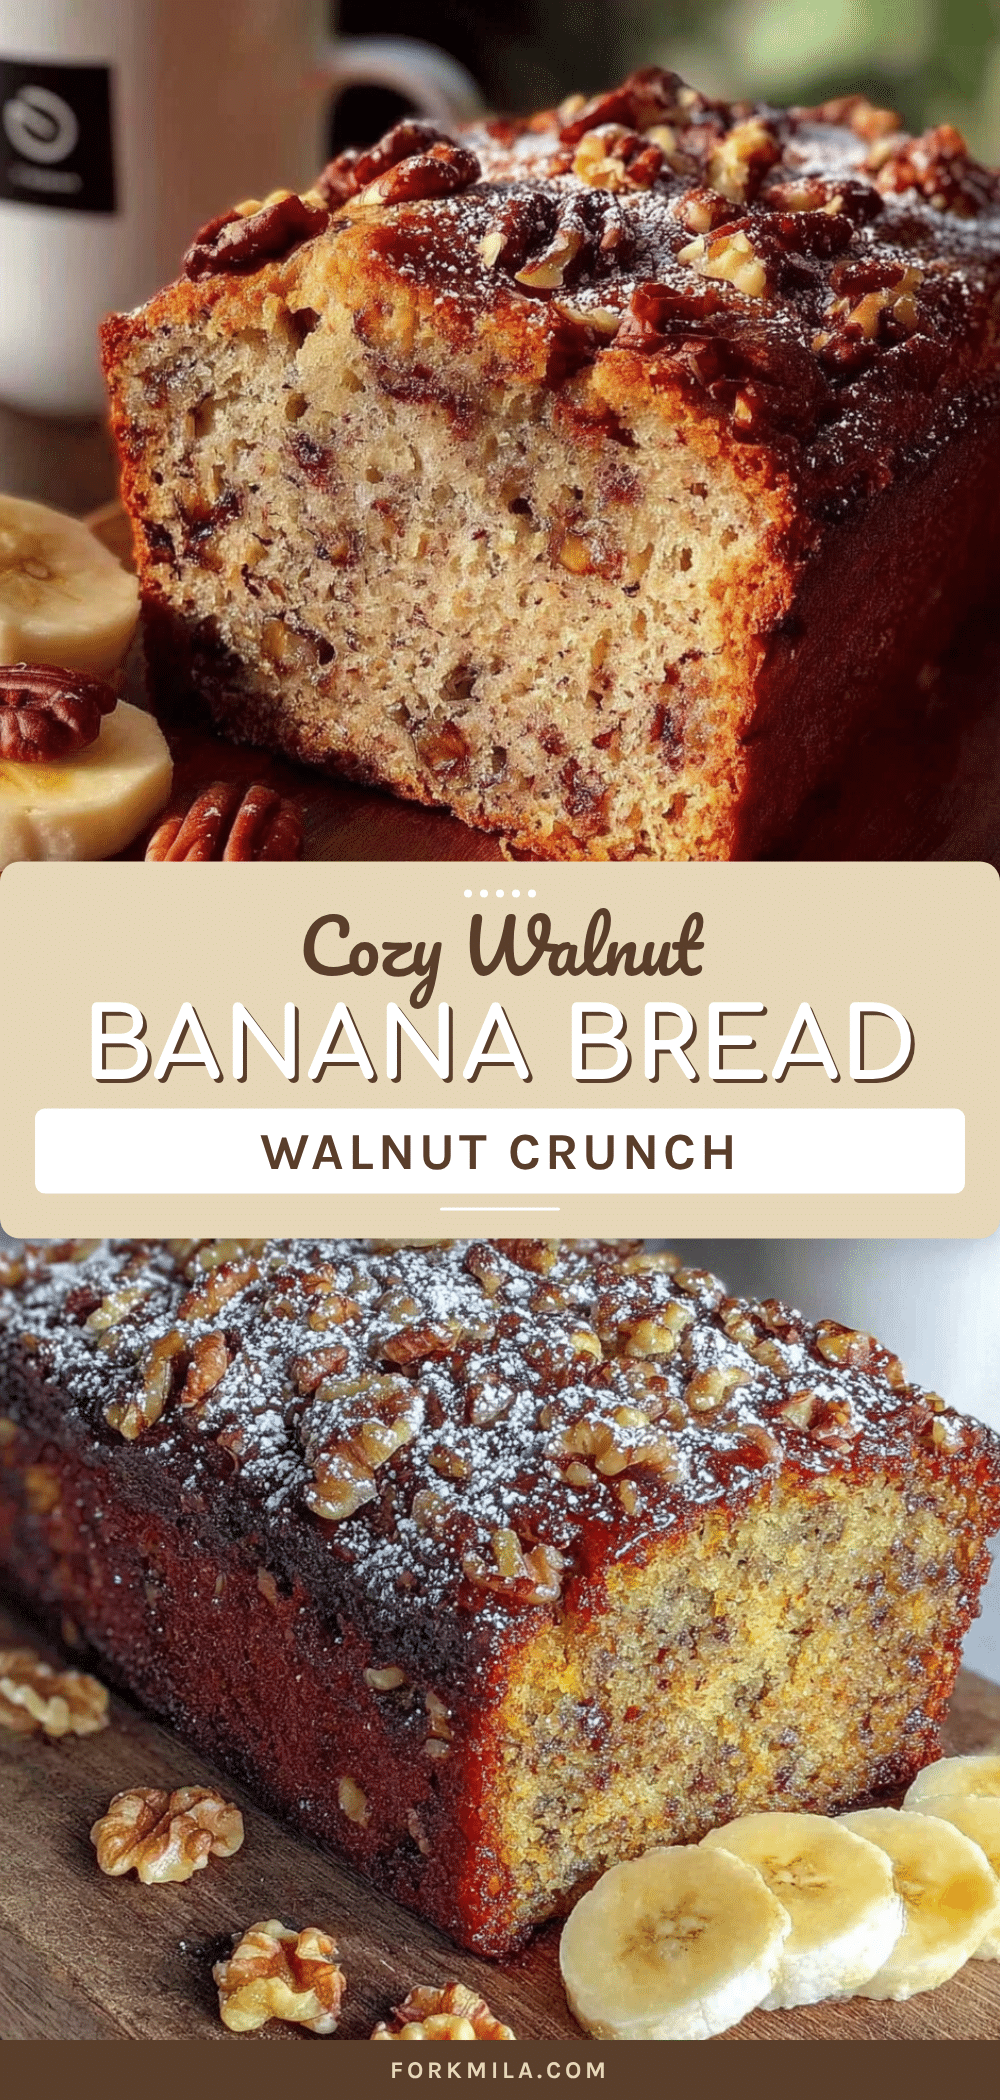
Easy One-Bowl Banana Walnut Bread Recipe
This incredibly moist and tender banana walnut bread comes together in one bowl with simple pantry staples. It’s the perfect way to use overripe bananas and creates a comforting, crowd-pleasing treat that’s ideal for breakfast, snack, or dessert.
- Prep Time: 10 minutes
- Cook Time: 55 minutes
- Total Time: 1 hour 5 minutes
- Yield: 10 servings 1x
- Category: Dessert
- Cuisine: American
Ingredients
- 3 ripe bananas, mashed (about 1 to 1 1/4 cups)
- 1/3 cup unsalted butter, melted
- 3/4 cup granulated sugar (can reduce to 1/2 cup if bananas are very sweet)
- 1 large egg, room temperature
- 1 teaspoon vanilla extract (pure vanilla recommended)
- 1 teaspoon baking soda
- Pinch of salt
- 1 1/2 cups all-purpose flour (spooned and leveled)
- 1/2 cup walnuts, chopped
Instructions
- Preheat your oven to 350°F (175°C). Grease a 9×5-inch loaf pan with butter or non-stick spray. For easy removal, line with parchment paper, leaving overhang on the long sides.
- In a large mixing bowl, mash the ripe bananas with a fork until mostly smooth with a few small lumps remaining.
- Pour in the melted butter and stir until combined. Ensure the butter is warm but not hot.
- Add the sugar, egg, and vanilla extract. Whisk until smooth and well combined, about 20-30 seconds.
- Sprinkle the baking soda and salt over the wet mixture and stir to combine.
- Gently fold in the flour using a folding motion, mixing just until no dry flour remains. Do not overmix; a few streaks of flour are okay.
- Gently fold in the chopped walnuts until evenly distributed.
- Pour the batter into the prepared loaf pan and spread into an even layer. Tap the pan gently on the counter to release air bubbles. Optionally, sprinkle extra walnuts on top.
- Bake for 50-60 minutes, or until a toothpick inserted into the center comes out clean or with a few moist crumbs. If the top browns too quickly, tent loosely with aluminum foil around the 40-minute mark.
- Cool the bread in the pan on a wire rack for 10 minutes. Then, using the parchment paper, lift the bread out and transfer to the rack to cool completely before slicing.
Notes
For best flavor, use very ripe bananas with brown spots. Let the bread cool completely before slicing to prevent crumbling. The bread tastes even better the next day as flavors meld. To freeze, wrap tightly in plastic wrap and foil for up to 3 months.
Nutrition
- Serving Size: 1 slice
- Calories: 245
- Sugar: 17
- Sodium: 180
- Fat: 11
- Saturated Fat: 4.5
- Carbohydrates: 34
- Fiber: 2
- Protein: 4
Keywords: banana bread, banana walnut bread, easy banana bread, one bowl banana bread, moist banana bread, quick bread, bake sale recipe


