I was at my local hardware store, of all places, picking up a new drill bit, when the woman behind me in line started talking about pumpkin pie. She was probably in her seventies, holding a single lightbulb and a bag of birdseed, and she just looked at my cart—which had a small pie pumpkin sitting right on top—and said, “You know, I gave up making pies with crusts about ten years ago. Too much trouble, and honestly, my blood sugar thanks me.”
Her name was Ruth, and by the time I paid for my drill bit, she had scribbled a recipe on the back of a receipt for what she called her “pumpkin custard cups.” She told me she made them every Thanksgiving for her book club, and nobody ever missed the crust. Not once. I laughed and told her I was actually trying to eat fewer carbs these days, and her eyes lit up. “Well, honey, this recipe is practically made for you.”
I took that crumpled receipt home, and let me tell you, I was skeptical. I mean, pumpkin pie without a crust? It felt a little like going to a movie and skipping the popcorn. But I gave it a shot that same weekend, and honestly, I have not made a traditional pumpkin pie since. These Easy Crustless Pumpkin Pie Custard Cups are everything you want from the holiday dessert—creamy, spiced, and deeply satisfying—without the fuss of rolling out dough or the carb load that comes with it.
Maybe you have been there, staring at a bag of flour and a cold stick of butter, wondering if it is really worth the mess. I get it. That is exactly why this recipe stuck with me. Ruth was right. Sometimes the best version of a classic is the one that cuts the nonsense and gets straight to the good part. And these little custard cups? They are the good part.
Why You’ll Love This Recipe
Let me be honest with you. I have tested this recipe about seven times now, tweaking the spice blend, adjusting the sweetener, and even trying different milk ratios. My family has been my official taste-testing squad, and they have not complained once. Here is why these crustless pumpkin pie custard cups have earned a permanent spot in my recipe rotation:
- Quick & Easy: You can have these in the oven in under 10 minutes. No crust to roll, no blind baking, no stress. Perfect for a last-minute dessert or a holiday table that is already crowded with dishes.
- Simple Ingredients: You probably have most of these in your pantry right now. Canned pumpkin, eggs, a little cream, and your favorite fall spices. No fancy grocery runs required.
- Perfect for Holidays & Meal Prep: These work beautifully for Thanksgiving, Christmas brunch, or even as a make-ahead breakfast. They are portion-controlled, which means less temptation to go back for seconds.
- Crowd-Pleaser: I have served these to kids, keto friends, and my dad who swears he hates “healthy desserts.” Every single one of them asked for the recipe. That is the kind of win you want in your back pocket.
- Unbelievably Delicious: The texture is velvety, almost like a pumpkin flan, with that warm spice hit that makes fall feel like a hug. You will not miss the crust. I promise.
This is not just another low-carb pumpkin recipe. The secret here is the ratio of eggs to pumpkin—it creates a custard that is firm enough to hold its shape but soft enough to melt on your tongue. Plus, using a touch of cream instead of all milk gives it that richness you usually only get from a buttery crust. It is comfort food reimagined, and it is so much easier than you think.
What Ingredients You Will Need
This recipe relies on simple, wholesome ingredients that work together to create a silky, spiced custard without any complicated steps. Most of these are pantry staples, especially if you keep canned pumpkin and eggs on hand during the fall season.
- Canned pumpkin purée (15 oz / 425 g): Make sure you grab 100% pumpkin purée, not pumpkin pie filling. The filling already has sugar and spices added, which will throw off the balance. Libby’s is my go-to brand for consistent texture.
- Large eggs (3): These are the backbone of the custard. They provide structure and that silky, firm texture. Let them come to room temperature for about 15 minutes before mixing—it helps everything blend more smoothly.
- Heavy cream (1/2 cup / 120 ml): This adds richness and a velvety mouthfeel. You can substitute with full-fat coconut milk for a dairy-free version, but the texture will be slightly less creamy.
- Granulated sweetener (1/3 cup / 65 g): I use a monk fruit and erythritol blend for a low-carb option. If you are not watching carbs, regular granulated sugar works perfectly. Just note that the sweetness level may vary depending on your sweetener—taste and adjust.
- Vanilla extract (1 teaspoon): A good-quality vanilla rounds out the pumpkin spice flavors. Pure vanilla extract is worth the splurge here.
- Pumpkin pie spice (1 1/2 teaspoons): You can use store-bought or make your own by mixing cinnamon, nutmeg, ginger, and a pinch of cloves. I actually prefer making my own blend because I like a little extra cinnamon.
- Salt (1/4 teaspoon): Do not skip this. Salt enhances the sweetness and deepens the spice flavors. It is a small addition with a big impact.
That is it. Seven ingredients, and you are on your way to a dessert that tastes like you spent hours in the kitchen. If you want to get fancy, you can top these with a dollop of whipped cream and a sprinkle of cinnamon before serving, but they are absolutely delicious on their own.
Equipment Needed
You do not need a lot of fancy tools for this recipe, which is part of its charm. Here is what you will need:
- Mixing bowl (medium-sized): Any bowl will do. I use a glass one because it is easy to see when everything is fully combined.
- Whisk: A good whisk is your best friend here. You want to make sure the eggs are fully incorporated without over-beating them.
- 6-ounce ramekins (6 of them): These are perfect for individual servings. If you do not have ramekins, you can use a standard muffin tin lined with silicone cups or greased well. The baking time will be slightly shorter, so keep an eye on them.
- Baking dish (9×13-inch / 23×33 cm): You will need this to create a water bath for the ramekins. The water bath ensures even, gentle cooking and prevents the custards from cracking.
- Measuring cups and spoons: For accuracy. I have learned the hard way that eyeballing sweetener can lead to some very sad desserts.
- Fine-mesh strainer (optional but helpful): Straining the custard mixture before pouring it into the ramekins removes any lumps and gives you an ultra-smooth texture. I do it every time now.
If you are new to water baths, do not stress. It is just a larger pan filled with hot water that surrounds the ramekins while they bake. It is the same technique used for cheesecakes and crème brûlée, and it makes a real difference in the final texture.
Preparation Method
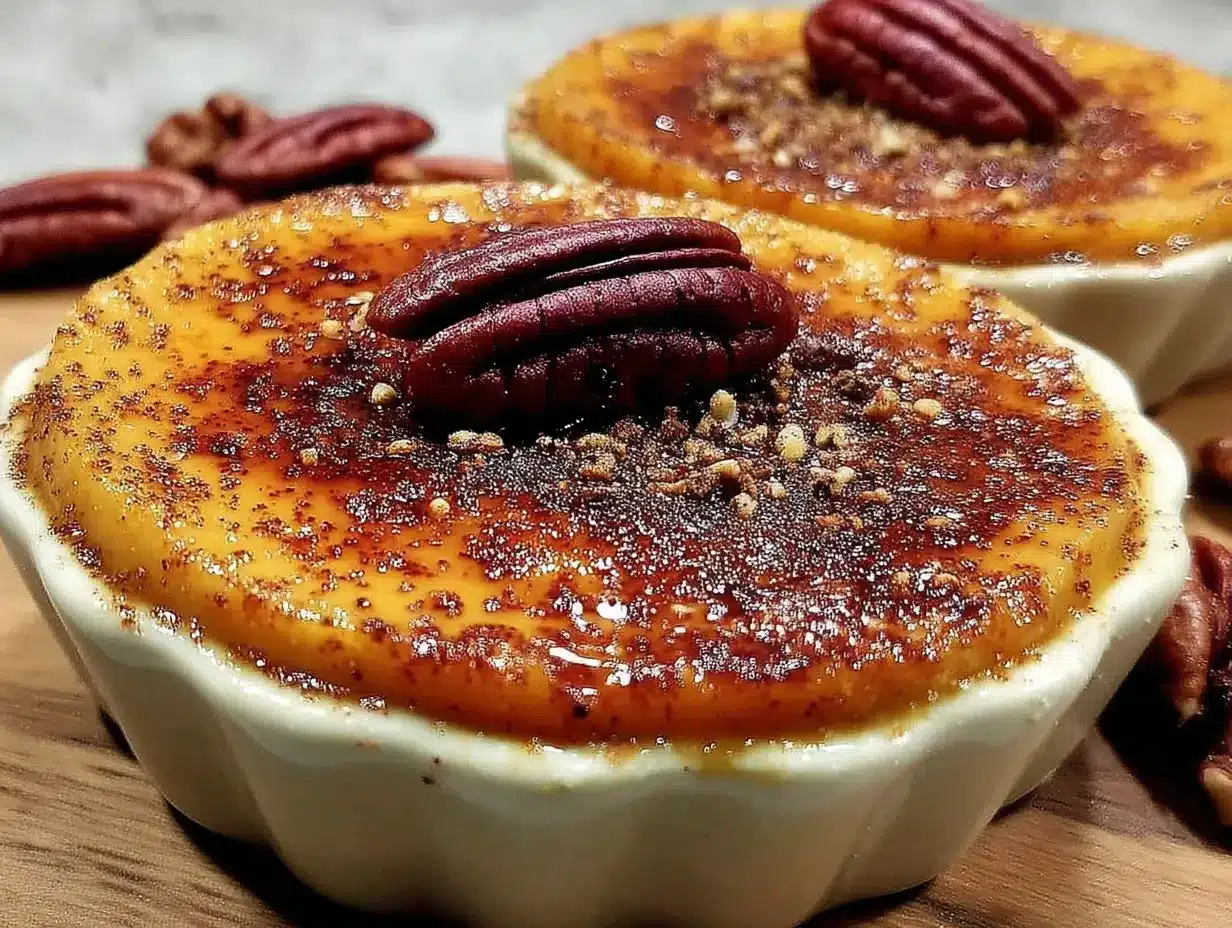
Let me walk you through this step by step. I have made these custard cups so many times that I could do it in my sleep, but I still follow these steps every time because they work.
- Preheat your oven to 350°F (175°C). Place your 6-ounce ramekins in a large baking dish. I usually set them in a 9×13-inch dish, leaving a little space between each one.
- In a medium mixing bowl, whisk the eggs until they are light and frothy, about 30 seconds. You want to break up the yolks completely so you do not end up with streaks of egg white in your custard.
- Add the pumpkin purée, heavy cream, sweetener, vanilla extract, pumpkin pie spice, and salt. Whisk everything together until the mixture is smooth and uniform. Take your time here—scrape the bottom and sides of the bowl to make sure there are no hidden lumps of sweetener or spice.
- For the smoothest texture, pour the mixture through a fine-mesh strainer into a clean bowl or a large measuring cup with a spout. This step catches any stray bits of egg white or unblended spice. I started doing this after one batch came out with little clumps of cinnamon, and trust me, it is worth the extra 30 seconds.
- Divide the custard mixture evenly among the 6 ramekins. Each one should be about 2/3 full. If you have a little extra, do not overfill—just discard it or bake it in a small oven-safe dish on its own.
- Carefully pour hot water into the baking dish until it reaches about halfway up the sides of the ramekins. Use hot tap water or boiled water from a kettle. Be gentle so you do not splash water into the custards.
- Bake for 30 to 35 minutes. The custards are done when the edges are set and the centers jiggle just slightly when you gently shake the pan. They will continue to set as they cool. If you insert a knife into the center, it should come out mostly clean.
- Remove the baking dish from the oven and carefully transfer the ramekins to a wire rack using tongs or an oven mitt. Let them cool completely at room temperature, about 45 minutes.
- Cover each ramekin with plastic wrap and refrigerate for at least 2 hours, or overnight. Chilling them is essential—the flavor deepens and the texture becomes perfectly creamy.
One thing I learned the hard way: do not skip the cooling step. I once tried to rush things and popped a warm custard into the fridge uncovered, and it developed a weird skin on top. Let them cool on the counter first, then cover and chill. Your patience will be rewarded.
Cooking Tips & Techniques
Over the years, I have made almost every mistake you can imagine with custards. Here is what I have learned so you do not have to repeat my errors.
Do not over-bake. This is the number one mistake people make. Custards continue to cook from residual heat even after you pull them out of the oven. If they look perfectly set in the oven, they are already overdone. Pull them when the centers still have a gentle wobble, like Jell-O that is just barely set.
Room temperature ingredients matter. Cold eggs and cold cream can cause the mixture to seize up or create a lumpy texture. Let your eggs sit on the counter for 15 minutes, and warm your cream slightly in the microwave if needed—about 10 seconds on low power.
Use a water bath every time. I know it is an extra step, but it is non-negotiable for smooth custards. The water bath insulates the ramekins and prevents the edges from cooking faster than the center. No water bath means rubbery edges and a cracked top.
Taste your batter before baking. I always dip a clean finger into the mixture and taste it. Sweeteners vary wildly in sweetness, and spice preferences are personal. If it does not taste amazing now, it will not taste amazing after baking. Adjust accordingly.
Let them chill overnight if you can. The flavor of pumpkin pie spice really develops and melds together after a few hours in the fridge. I have made these a day ahead for Thanksgiving, and they were actually better than fresh out of the oven.
Variations & Adaptations
One of the best things about this recipe is how flexible it is. Here are a few ways I have adapted it over the years:
- Dairy-Free Version: Swap the heavy cream for full-fat canned coconut milk. The texture will be slightly less rich, but the coconut flavor is subtle and actually pairs beautifully with pumpkin. I have made this for a friend who is lactose intolerant, and she could not tell the difference.
- Extra Spiced: If you are a spice lover like me, add an extra 1/2 teaspoon of cinnamon and a pinch of black pepper. The pepper sounds weird, I know, but it adds a gentle warmth that makes the pumpkin flavor pop. I picked this trick up from an old baking blog, and it has never let me down.
- Maple Pecan Twist: Drizzle 1 teaspoon of sugar-free maple syrup over each custard before baking, and top with a few chopped pecans. The nuts add a nice crunch, and the maple flavor screams fall. Just keep an eye on the pecans—they can burn if they are too close to the top of the oven.
- Pumpkin Cheesecake Style: Add 4 ounces of softened cream cheese to the mixture and blend until smooth. This creates a denser, richer custard that tastes almost like a crustless cheesecake. It is dangerously good.
I have personally tried the maple pecan version for a fall brunch, and it was gone in ten minutes. Do not say I did not warn you.
Serving & Storage Suggestions
These custard cups are versatile enough for almost any occasion. Here is how I like to serve and store them.
Serving: I serve these chilled, straight from the fridge. A dollop of lightly sweetened whipped cream and a dusting of cinnamon on top makes them look fancy with almost no effort. For a holiday table, you can also add a few candied pecans or a drizzle of caramel sauce.
Storage: Keep the custards covered in the refrigerator for up to 5 days. The flavor actually improves after the first day as the spices meld together. I do not recommend freezing these—the texture becomes watery and grainy after thawing. Trust me, I tried it once, and it was not pretty.
Reheating: These are meant to be eaten cold, but if you prefer a warm dessert, you can microwave a single custard for 15 to 20 seconds on low power. Do not overheat, or the eggs will scramble. Alternatively, let one sit at room temperature for 20 minutes before serving.
I have also packed these in small glass jars for a grab-and-go breakfast. They pair beautifully with a hot cup of coffee or a chai latte. Honestly, they are good any time of day.
Nutritional Information & Benefits
Here is an approximate nutritional breakdown per serving (1 custard cup, without whipped cream):
- Calories: 145
- Fat: 11g
- Carbohydrates: 6g (net carbs: 4g)
- Fiber: 2g
- Protein: 6g
These custard cups are naturally low-carb and gluten-free, making them a great option for anyone following a keto or diabetic-friendly lifestyle. Pumpkin is packed with vitamin A and fiber, while eggs provide high-quality protein. The heavy cream adds healthy fats that keep you full and satisfied.
I personally love that I can enjoy a dessert that tastes indulgent without the sugar crash. It is the kind of recipe that makes you feel good about treating yourself, especially during the holiday season when temptation is everywhere.
If you have nut allergies, this recipe is naturally nut-free as written. For dairy sensitivities, use the coconut milk substitution mentioned above.
Conclusion
These Easy Crustless Pumpkin Pie Custard Cups are proof that you do not need a crust, a ton of sugar, or hours in the kitchen to make something truly special. They are creamy, spiced, and satisfying in a way that feels like a warm hug on a cold fall day.
I love that this recipe came from a chance encounter at a hardware store. It reminds me that the best recipes often come from the most unexpected places—and that sometimes, letting go of tradition (like a pie crust) leads to something even better.
I would love to hear how these turn out for you. Did you try any variations? Did your family go back for seconds? Drop a comment below and let me know. And if you share a photo on Pinterest, tag me—I am always looking for new twists on old favorites.
Go ahead, give these a try. Your taste buds (and your schedule) will thank you.
Frequently Asked Questions
Can I use fresh pumpkin instead of canned?
Yes, you can. Roast a small pie pumpkin, scoop out the flesh, and purée it until smooth. Just make sure to drain any excess liquid by pressing the purée through a fine-mesh strainer or cheesecloth. Fresh pumpkin has more water than canned, so you may need to reduce the cream slightly to compensate.
Why did my custard crack on top?
Cracking usually happens when the custard is over-baked or baked at too high a temperature. Make sure your oven is at 350°F and use a water bath. Also, pull the custards out when the centers are still slightly jiggly. They will finish setting as they cool.
Can I make these without a water bath?
You can, but I do not recommend it. The water bath ensures even cooking and prevents the edges from setting too quickly. Without it, you are more likely to end up with a rubbery texture and a cracked top. It is worth the extra few minutes.
What sweetener works best for a low-carb version?
I prefer a monk fruit and erythritol blend because it measures like sugar and has no bitter aftertaste. Allulose is another great option that caramelizes nicely. Avoid liquid stevia alone, as it can make the custard too sweet without providing the right texture.
How do I know when the custards are done baking?
Gently shake the baking dish. The edges should be set and firm, while the centers should wobble like Jell-O. You can also insert a thin knife into the center of one custard—if it comes out mostly clean, they are ready. Remember, they will continue to cook from residual heat after you take them out.
Pin This Recipe!
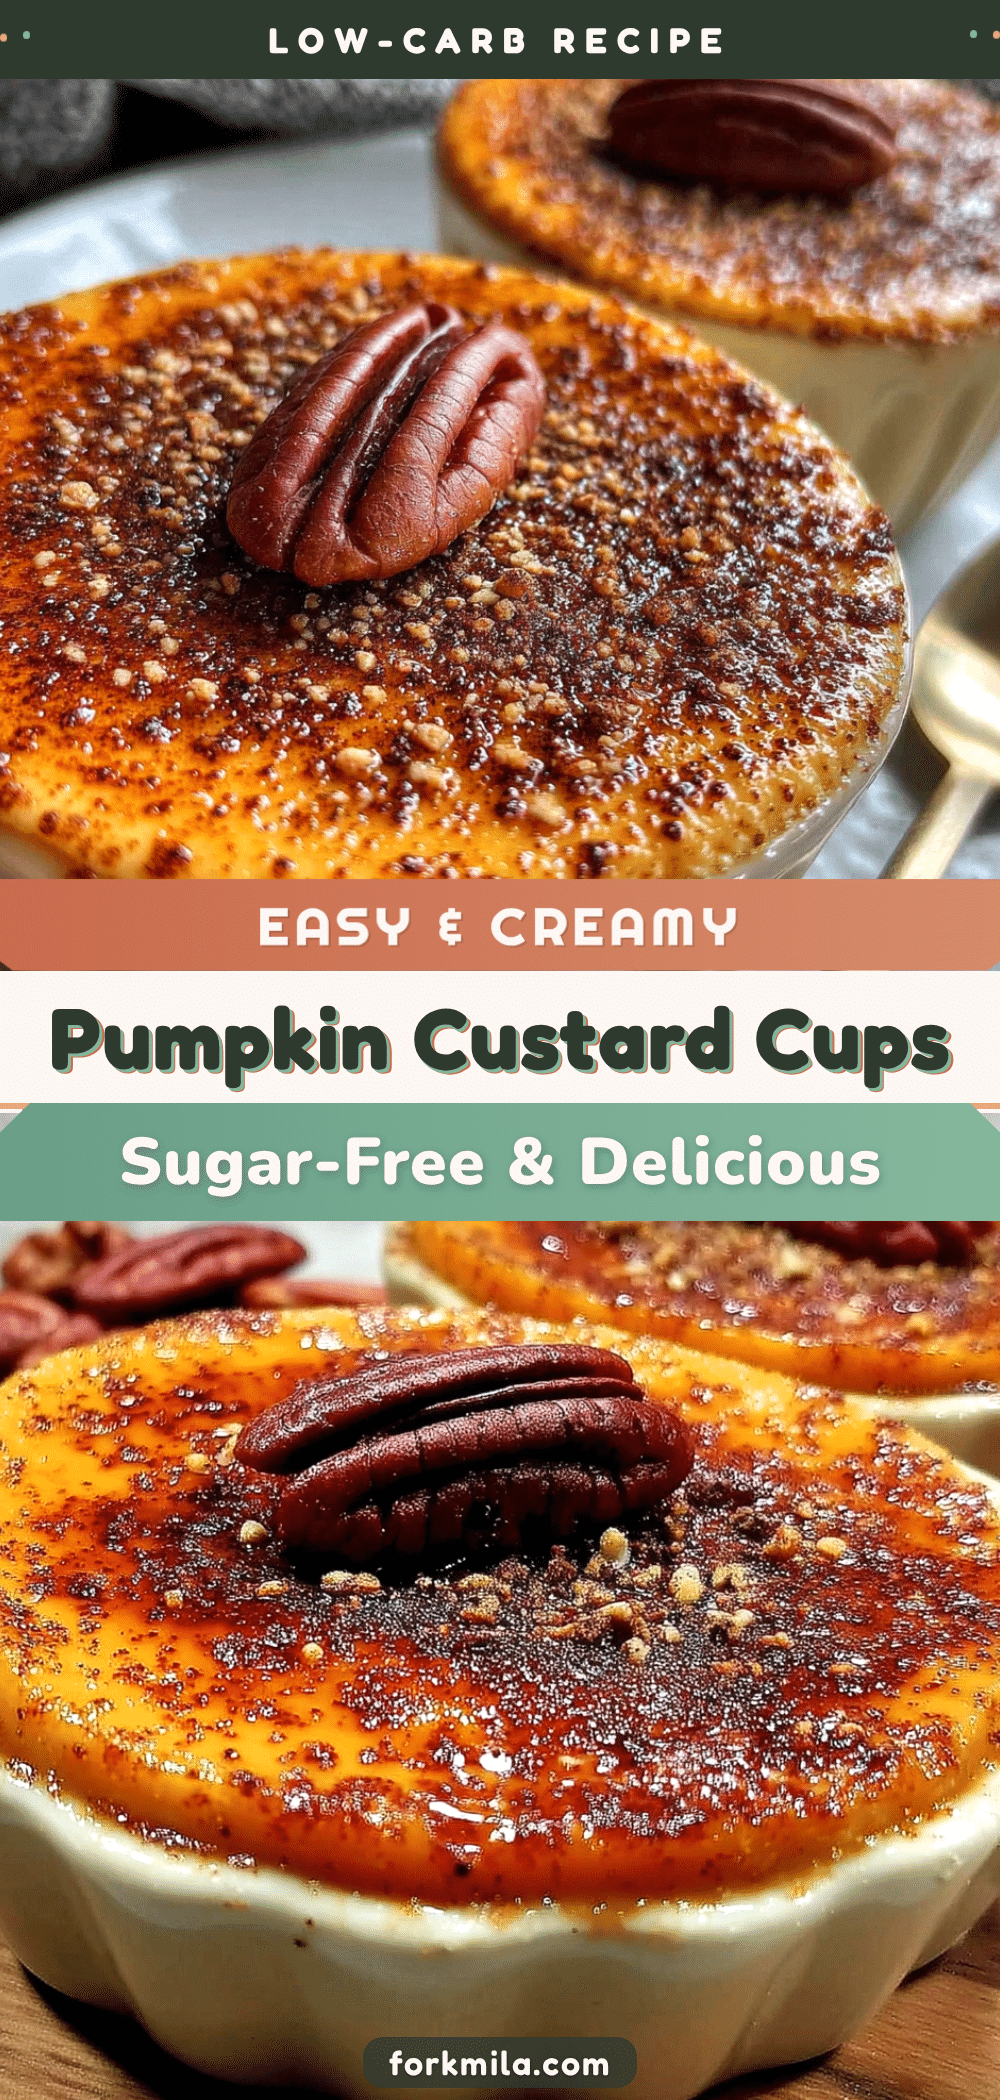
Easy Crustless Pumpkin Pie Custard Cups (Low-Carb)
These creamy, spiced crustless pumpkin pie custard cups are a low-carb, gluten-free dessert that’s quick and easy to make. Perfect for holidays or meal prep, they deliver all the flavor of pumpkin pie without the fuss of a crust.
- Prep Time: 10 minutes
- Cook Time: 35 minutes
- Total Time: 45 minutes (plus 2 hours chilling)
- Yield: 6 servings 1x
- Category: Dessert
- Cuisine: American
Ingredients
- 15 oz (425 g) canned pumpkin purée (100% pumpkin, not pie filling)
- 3 large eggs, room temperature
- 1/2 cup (120 ml) heavy cream
- 1/3 cup (65 g) granulated sweetener (monk fruit/erythritol blend or sugar)
- 1 teaspoon vanilla extract
- 1 1/2 teaspoons pumpkin pie spice
- 1/4 teaspoon salt
Instructions
- Preheat oven to 350°F (175°C). Place six 6-ounce ramekins in a 9×13-inch baking dish.
- In a medium mixing bowl, whisk eggs until light and frothy, about 30 seconds.
- Add pumpkin purée, heavy cream, sweetener, vanilla extract, pumpkin pie spice, and salt. Whisk until smooth and uniform, scraping bottom and sides of bowl.
- For smoothest texture, pour mixture through a fine-mesh strainer into a clean bowl or large measuring cup with a spout.
- Divide custard mixture evenly among the 6 ramekins, filling each about 2/3 full.
- Carefully pour hot water into the baking dish until it reaches halfway up the sides of the ramekins.
- Bake for 30 to 35 minutes, until edges are set and centers jiggle slightly when shaken.
- Remove baking dish from oven and transfer ramekins to a wire rack. Let cool completely at room temperature, about 45 minutes.
- Cover each ramekin with plastic wrap and refrigerate for at least 2 hours, or overnight, before serving.
Notes
Do not over-bake; custards should still jiggle in center when removed. Room temperature ingredients ensure smooth texture. Water bath is essential for even cooking. Chilling overnight improves flavor. For dairy-free, substitute heavy cream with full-fat canned coconut milk.
Nutrition
- Serving Size: 1 custard cup
- Calories: 145
- Sugar: 2
- Sodium: 180
- Fat: 11
- Saturated Fat: 6
- Carbohydrates: 64
- Fiber: 2
- Protein: 6
Keywords: crustless pumpkin pie, low-carb pumpkin custard, keto pumpkin dessert, gluten-free pumpkin pie, easy pumpkin custard cups


