The Wednesday before Halloween last year, my friend Jenna texted me a photo of a pumpkin-shaped Rice Krispie treat she found on Pinterest. “Can we make these for the neighborhood party?” she asked. I looked at the picture and started typing a polite explanation about how Rice Krispie treats are sticky, messy, and honestly, kind of a pain to shape into anything other than a square. But then I stopped. I mean, who was I to say no to cute Halloween treats? So I typed back, “Sure, let’s try it.”
Three hours later, I was standing in my kitchen with orange-tinted fingers, a counter dusted with powdered sugar, and a tray of the most ridiculous-looking pumpkins you’ve ever seen. Some were lopsided. A few had stems that fell off immediately. One looked more like a mutant potato than a pumpkin. But Jenna was beaming, and honestly, so was I. We had made something together, and it was fun. Really fun. That night at the party, those imperfect little pumpkins disappeared faster than the store-bought candy, and I knew I had been wrong to doubt the process.
These Cute Halloween Rice Krispie Treat Pumpkins are now my go-to for every fall gathering. They’re simple enough to make with kids, forgiving enough for beginners, and adorable enough to steal the show at any Halloween party. Maybe you’ve been there too — doubting a recipe that looks too cute to actually work. Let me tell you, this one works. And it stays with you because of the messy, joyful process of making it, not just the perfect result.
Why You’ll Love This Recipe
I’ve tested this recipe about seven times to get it just right. The first batch was too sticky. The second batch fell apart. The third batch? That was the sweet spot. Here’s why I keep coming back to these Cute Halloween Rice Krispie Treat Pumpkins and why I think you’ll love them too:
- No-Bake & Quick: These come together in under 30 minutes, with zero oven time. Perfect for last-minute Halloween prep or a fun after-school activity.
- Simple Ingredients: You only need five basic ingredients, and you probably already have most of them in your pantry. No special trips to a fancy baking store.
- Perfect for Halloween Parties: Whether it’s a school event, a neighborhood gathering, or just a cozy night in, these pumpkins bring instant festive energy.
- Crowd-Pleaser: I’ve served these to kids, adults, and even skeptical teenagers. They disappear every single time. The combination of crispy, marshmallowy goodness with a cute shape is irresistible.
- Unbelievably Adorable: Let’s face it — regular Rice Krispie treats are delicious but boring to look at. These little pumpkins have personality. They make people smile before they even take a bite.
What makes this recipe different from all the other pumpkin-shaped treats out there? It’s the technique. I figured out that chilling your hands with ice water before shaping the treats makes the process ten times easier. No more sticky fingers fighting with the mixture. Plus, using a cinnamon stick instead of a pretzel for the stem adds a subtle warmth that pairs beautifully with the marshmallow sweetness. It’s not just another version — it’s the version that actually works without frustration.
These treats are the kind that make you close your eyes after the first bite. They’re nostalgic but fresh, simple but special. Perfect for impressing guests without stress, or turning a simple Tuesday into a mini celebration.
What Ingredients You Will Need
This recipe uses simple, wholesome ingredients to deliver that classic Rice Krispie treat texture with a festive Halloween twist. Most of these are pantry staples, which makes this recipe incredibly accessible.
For the Pumpkin Base
- 6 cups Rice Krispies cereal (or any crispy rice cereal — I prefer the name brand for consistent texture)
- 4 tablespoons unsalted butter (salted butter works too, just reduce any added salt)
- 1 package (10 oz) marshmallows (standard size, not mini — they melt more evenly)
- 1 teaspoon vanilla extract (pure vanilla extract adds a deeper flavor, but imitation works fine)
- Orange gel food coloring (I recommend Wilton brand for vibrant color without thinning the mixture — liquid food coloring can make the treats too wet)
For the Pumpkin Stems & Decorations
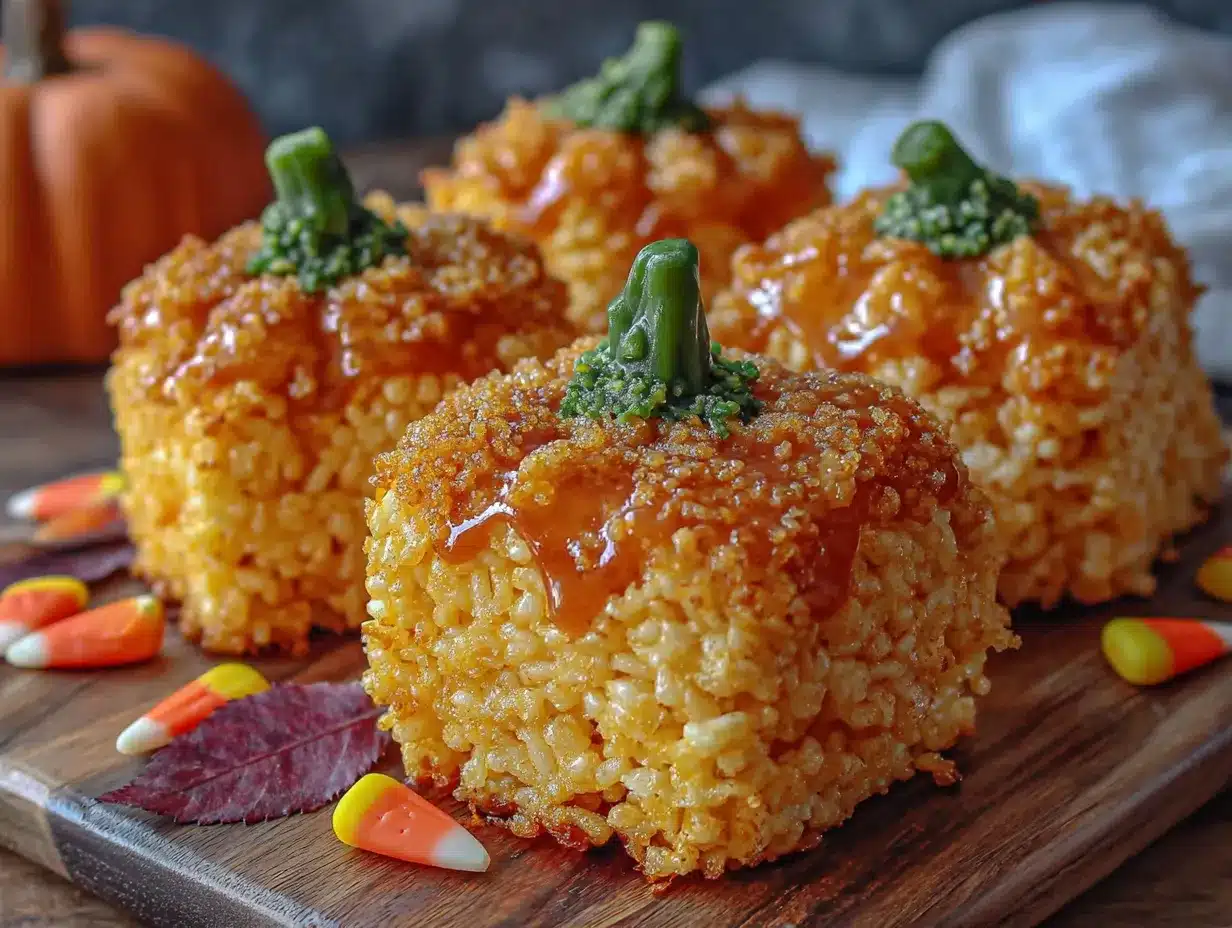
- 24 small cinnamon sticks (or pretzel sticks for a salty-sweet contrast — both work great)
- Green decorating icing (for optional vines and leaves — any tube from the baking aisle works)
- Powdered sugar (for dusting your hands while shaping — this is a game-changer)
Ingredient Selection Tips: Look for fresh marshmallows, not the stale ones that have been sitting in your pantry for months. Fresh marshmallows melt into a smooth, stretchy mixture that holds its shape beautifully. For the cereal, check the expiration date — stale cereal will result in soggy treats. I’ve tried generic brands, and while they work, the texture is noticeably softer. If you want that satisfying crunch, stick with the original.
Substitution Guidance: Need these to be gluten-free? Most Rice Krispies are made with malt flavoring which contains gluten, but there are gluten-free crispy rice cereal options available. Look for brands like Nature’s Path or Erewhon. For a dairy-free version, swap the butter with coconut oil or a plant-based butter alternative. The texture will be slightly different — a bit more tender — but still delicious. If you’re avoiding corn syrup, some marshmallow brands offer organic versions made with cane sugar and tapioca syrup. They melt a little differently (thicker), so work quickly.
Equipment Needed
You don’t need fancy equipment for these Cute Halloween Rice Krispie Treat Pumpkins, which is part of their charm. Here’s what you’ll need:
- Large pot or Dutch oven: You need something big enough to stir the marshmallows and cereal together without spilling everywhere. I use my 5-quart Dutch oven.
- Silicone spatula: A wooden spoon works, but silicone is better for scraping every bit of marshmallow mixture out of the pot. Trust me on this.
- 9×13 inch baking pan: For the initial pressing of the treats before shaping. You can use any similar-sized pan.
- Parchment paper or wax paper: Absolutely essential for lining the pan and for handling the sticky mixture without losing your mind.
- Small bowl of ice water: This is my secret weapon. Dipping your hands in ice water before shaping keeps the mixture from sticking to your fingers.
- Sharp knife: For cutting the treats into portions before shaping. A bench scraper works even better.
- Cooling rack: Optional but helpful for letting the shaped pumpkins set without getting soggy on the bottom.
If you don’t have a Dutch oven, any large, heavy-bottomed pot will do. I’ve even made these in a nonstick wok in a pinch — it worked surprisingly well. For the spatula, a regular rubber spatula is fine, but a heat-resistant silicone one is worth the investment if you make candy or marshmallow treats often. Budget-friendly tip: dollar store spatulas work just as well as expensive ones for this recipe.
Preparation Method
Let me walk you through this step by step. I’ve made these Cute Halloween Rice Krispie Treat Pumpkins more times than I can count, so I know exactly where things can go wrong and how to fix them.
- Prep your pan and workspace: Line a 9×13 inch baking pan with parchment paper, leaving some overhang on the sides. This makes lifting the treats out later much easier. Fill a small bowl with ice water and set it nearby. Have your powdered sugar ready in a small dish.
- Melt the butter: Place the 4 tablespoons of unsalted butter in your large pot over medium-low heat. Let it melt slowly — don’t rush this. You want it fully melted but not bubbling or browning. If the butter browns, it will add a nutty flavor that competes with the marshmallows. About 2 minutes should do it.
- Add the marshmallows: Pour the entire 10-ounce bag of marshmallows into the pot with the melted butter. Stir constantly with your silicone spatula. The marshmallows will puff up, then slowly collapse into a smooth, stretchy liquid. This takes about 4-5 minutes. Keep the heat on low — high heat will scorch the marshmallows and give you a grainy texture.
- Add vanilla and color: Once the marshmallows are completely melted and smooth, remove the pot from the heat. Stir in 1 teaspoon of vanilla extract. Then add your orange gel food coloring — start with about 8-10 drops and stir well. The color will look pale at first, but it deepens as you mix. Add more until you reach a shade you like. Remember, the color will lighten slightly when you add the cereal.
- Mix in the cereal: Pour the 6 cups of Rice Krispies cereal into the pot. Fold gently with your spatula until the cereal is evenly coated with the orange marshmallow mixture. Work quickly but gently — you want to coat every piece without crushing the cereal. This should take about 1-2 minutes. If the mixture starts to stiffen before everything is coated, you’re working too slowly.
- Press into the pan: Scrape the mixture into your prepared pan. Dip your spatula in the ice water to prevent sticking, then gently press the mixture into an even layer. Don’t press too hard — you want the treats to hold together but still have some airiness. Let them cool at room temperature for about 15 minutes. They should be firm but not completely hard.
- Cut into portions: Lift the treats out of the pan using the parchment overhang. Use a sharp knife to cut the slab into 24 equal squares. A bench scraper makes cleaner cuts. Wipe the knife clean between cuts to prevent sticking.
- Shape the pumpkins: Here’s where the magic happens. Dust your hands with powdered sugar, then dip them in the ice water. Shake off excess water. Take one square and roll it gently between your palms to form a ball. Then, using your thumb and forefinger, gently press vertical ridges into the sides of the ball — like you’re creating the natural lines of a pumpkin. Don’t worry if they’re not perfect. Imperfect pumpkins look more charming anyway. Repeat with all 24 pieces. If the mixture gets too sticky, re-dust your hands with powdered sugar and dip in ice water again.
- Add the stems: While the treats are still slightly warm, press a cinnamon stick (or pretzel stick) into the top center of each pumpkin. Push it in about halfway. The warmth of the treat will help it stay in place. If the treats have cooled too much, the stems might fall out — just press them back in firmly.
- Decorate (optional): Use the green decorating icing to draw small vines or leaves on top of each pumpkin, curling around the stem. This step is purely cosmetic, but it really sells the pumpkin look. Let the icing set for about 10 minutes before serving.
Sensory cues to watch for: When the marshmallows are fully melted, they should be glossy and stretchy — when you lift the spatula, the mixture should form a thin, continuous ribbon. When you add the cereal, listen for a gentle crackling sound — that means the cereal is fresh and will give you the best texture. The finished treats should feel firm but give slightly when you press them.
Cooking Tips & Techniques
I learned most of these tips the hard way — through sticky fingers and lopsided pumpkins. Let me save you the trouble.
Keep your hands cold: This is the single most important tip for shaping these Cute Halloween Rice Krispie Treat Pumpkins. The marshmallow mixture sticks to warm hands like glue. Dip your hands in ice water frequently, and keep that powdered sugar nearby. I keep a second bowl of ice water on the counter just for re-dipping. It makes the whole process so much smoother.
Work in batches: Don’t try to shape all 24 pumpkins at once. The mixture cools and becomes harder to work with. Cut the slab into quarters, and shape one quarter at a time. Keep the remaining portions covered with a clean kitchen towel to prevent them from drying out.
The perfect pressure: When shaping the pumpkins, use gentle, even pressure. Squeezing too hard will compress the cereal and give you dense, hard treats. Too light, and they’ll fall apart. Think of it like shaping a snowball — firm enough to hold together, but gentle enough to keep it light.
My biggest failure: The first time I made these, I used liquid food coloring instead of gel. The mixture turned into a sticky, orange-tinted mess that never set properly. The treats were more like orange-flavored glue than pumpkins. Gel coloring is non-negotiable here — it adds color without adding extra liquid that messes with the marshmallow-to-cereal ratio.
Timing is everything: Have all your ingredients measured and ready before you start melting the marshmallows. Once the marshmallows are melted, you need to work fast. There’s no time to search for the vanilla extract or realize you’re out of cinnamon sticks. This is a recipe that rewards preparation.
Variations & Adaptations
One of the best things about this recipe is how easy it is to adapt. I’ve tried several variations, and here are my favorites:
Chocolate Pumpkin Treats
Melt 1/2 cup of chocolate chips with the butter before adding the marshmallows. The chocolate adds a rich depth that pairs beautifully with the marshmallow sweetness. Use a chocolate-orange color combination by adding just a tiny drop of orange gel coloring — it creates a beautiful autumn marbled effect.
Vegan Pumpkin Treats
Use vegan marshmallows (Dandies brand works great) and substitute the butter with coconut oil. The texture is slightly softer, but the flavor is still fantastic. Make sure your crispy rice cereal is vegan-friendly — some brands use vitamin D derived from lanolin.
Spiced Pumpkin Treats
Add 1 teaspoon of pumpkin pie spice to the marshmallow mixture along with the vanilla. The warm spices — cinnamon, nutmeg, ginger, and cloves — give these treats a cozy fall flavor that screams “autumn.” I made a batch of these for a Halloween bonfire, and they were gone in minutes.
Mini Pumpkin Bites
Instead of making 24 pumpkins, make 48 mini ones. Use a teaspoon to portion the mixture, then shape into tiny pumpkins. These are perfect for kids’ lunchboxes or as party favors. They take a bit more time to shape, but the cuteness factor is off the charts.
Ghost & Bat Variations
Use the same base recipe but shape the treats differently. For ghosts, form the mixture into teardrop shapes and use mini chocolate chips for eyes. For bats, shape into triangles and use pretzel sticks for wings. This way, you can make a whole Halloween platter from one batch of treats.
Serving & Storage Suggestions
These Cute Halloween Rice Krispie Treat Pumpkins are best served at room temperature. The texture is perfect — crisp on the outside, chewy on the inside. If you’ve refrigerated them, let them sit out for about 15 minutes before serving to soften slightly.
Presentation ideas: Arrange the pumpkins on a large platter lined with orange or black napkins. Scatter a few candy corn pieces around them for color contrast. For a spooky touch, place them on a cake stand with fake spider webs draped underneath. I once arranged them on a wooden board with mini gourds and autumn leaves, and it looked like a magazine cover.
Storage instructions: Store the pumpkins in an airtight container at room temperature for up to 3 days. Do not refrigerate them — the refrigerator dries out Rice Krispie treats and makes them hard. If you need to store them longer, wrap each pumpkin individually in plastic wrap, then place them in a freezer-safe bag. They freeze well for up to 2 months.
Reheating tips: To refresh day-old treats, microwave them for 5-10 seconds. This softens the marshmallow and restores some of the original texture. Don’t overdo it — 15 seconds can turn them into a gooey mess. For frozen treats, thaw at room temperature for about 30 minutes before serving.
Flavor development: Interestingly, these treats actually taste better the next day. The marshmallow flavor mellows, and the cereal absorbs just enough moisture to create a perfect chewy texture. If you can resist eating them all on day one, you’re in for a treat on day two.
Nutritional Information & Benefits
Let’s be honest — these are a treat, not a health food. But here’s the estimated nutritional breakdown per pumpkin (based on 24 servings):
- Calories: Approximately 145
- Total Fat: 4g
- Saturated Fat: 2.5g
- Carbohydrates: 27g
- Sugar: 14g
- Protein: 1g
- Sodium: 135mg
Health highlights: Rice Krispies are fortified with iron and B vitamins, so there’s a tiny nutritional silver lining. The butter adds a small amount of vitamin A. But honestly, these are about joy and celebration, not daily nutrition. I make them once or twice a year for Halloween, and the happiness they bring is worth every calorie.
Dietary considerations: As mentioned earlier, these can be made gluten-free and vegan with simple substitutions. They contain dairy (butter) and corn syrup (marshmallows) in their standard form. If you’re serving a crowd, consider making a small batch with dietary modifications so everyone can enjoy them.
Frequently Asked Questions
Why are my Rice Krispie treats too hard?
This usually happens when you press the mixture too firmly into the pan. Gently press the mixture just enough to hold it together. Over-pressing compresses the cereal and creates dense, hard treats. Also, make sure you’re not overcooking the marshmallows — they should just be melted, not bubbling.
Can I use mini marshmallows instead of regular?
You can, but regular marshmallows melt more evenly and create a smoother texture. Mini marshmallows tend to melt faster and can scorch if you’re not careful. If you only have mini marshmallows, use 4 cups instead of one 10-ounce bag and watch them closely as they melt.
How do I keep the mixture from sticking to my hands?
Dust your hands generously with powdered sugar, then dip them in ice water. Shake off the excess water before handling the mixture. Re-dip and re-dust as needed. Some people also use a light coating of cooking spray on their hands, but I find the powdered sugar method works better and doesn’t affect the flavor.
Can I make these ahead of time for a party?
Absolutely! Make them up to 2 days in advance and store them in an airtight container at room temperature. Wait to add the cinnamon stick stems until the day of serving — they stay fresher that way. If you’re adding green icing decorations, do that on the day of the party for the best appearance.
Why did my orange color turn out pale?
You probably didn’t use enough gel food coloring, or you used liquid coloring instead of gel. Gel colors are concentrated and vibrant. Start with 8-10 drops, mix well, and add more until you reach the desired shade. Remember that the color will lighten slightly when you add the cereal, so make the marshmallow mixture a shade darker than you want the final treats to be.
Conclusion
These Cute Halloween Rice Krispie Treat Pumpkins are more than just a festive dessert — they’re a memory in the making. The sticky hands, the imperfect shapes, the moment when someone sees them and grins — that’s what this recipe is really about. I’ve made them every Halloween since that first attempt with Jenna, and each batch reminds me that some of the best things in life come from being willing to try something that might not work perfectly.
Don’t stress about making them look flawless. Some of my favorite pumpkins from over the years have been the lopsided ones with crooked stems. They have personality. They tell a story. And honestly, they taste exactly the same as the perfect ones.
I’d love to hear how your pumpkins turn out. Did you add any creative twists? Did your kids help shape them? Drop a comment below and share your Halloween treat adventures. And if you post a photo on Pinterest or Instagram, tag me — I want to see your adorable creations. Happy Halloween, and happy snacking!
Pin This Recipe!
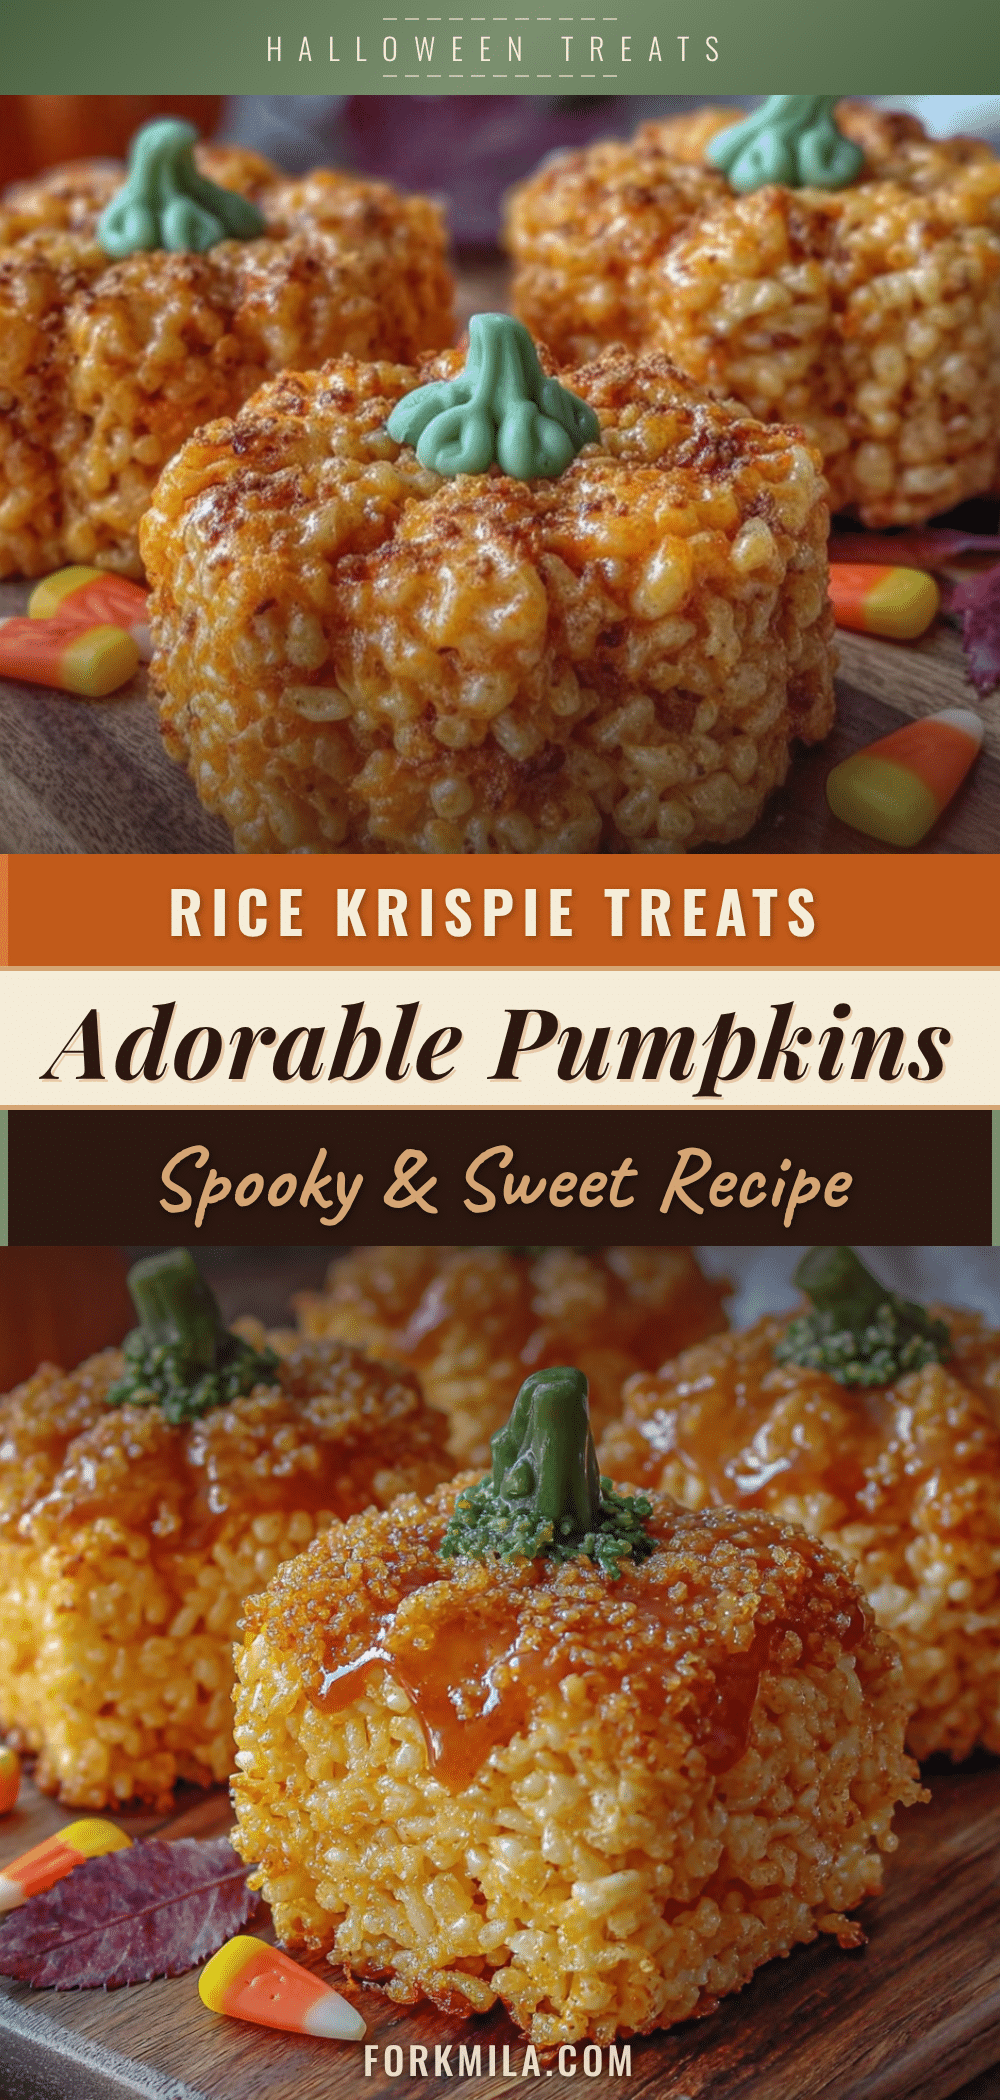
Cute Halloween Rice Krispie Treat Pumpkins: Easy No-Bake Recipe
These adorable no-bake pumpkin-shaped Rice Krispie treats are perfect for Halloween parties. Made with simple ingredients and a clever technique, they’re fun to make with kids and guaranteed to disappear fast.
- Prep Time: 15 minutes
- Cook Time: 10 minutes
- Total Time: 25 minutes
- Yield: 24 servings 1x
- Category: Dessert
- Cuisine: American
Ingredients
- 6 cups Rice Krispies cereal
- 4 tablespoons unsalted butter
- 1 package (10 oz) marshmallows
- 1 teaspoon vanilla extract
- Orange gel food coloring
- 24 small cinnamon sticks
- Green decorating icing (optional)
- Powdered sugar (for dusting)
Instructions
- Line a 9×13 inch baking pan with parchment paper, leaving overhang. Fill a small bowl with ice water and set aside. Have powdered sugar ready.
- Melt 4 tablespoons unsalted butter in a large pot over medium-low heat until fully melted but not browning (about 2 minutes).
- Add the entire 10-ounce bag of marshmallows to the pot. Stir constantly over low heat until marshmallows are completely melted and smooth (about 4-5 minutes).
- Remove pot from heat. Stir in 1 teaspoon vanilla extract and 8-10 drops orange gel food coloring. Mix until color is evenly distributed.
- Pour 6 cups Rice Krispies cereal into the pot. Fold gently with a spatula until cereal is evenly coated (about 1-2 minutes).
- Scrape mixture into prepared pan. Dip spatula in ice water to prevent sticking, then gently press into an even layer. Let cool at room temperature for 15 minutes.
- Lift treats out of pan using parchment overhang. Cut into 24 equal squares using a sharp knife or bench scraper.
- Dust hands with powdered sugar, then dip in ice water. Take one square and roll into a ball between palms. Use thumb and forefinger to press vertical ridges into sides to form pumpkin shape. Repeat with all pieces.
- While treats are still warm, press a cinnamon stick into the top center of each pumpkin about halfway.
- Optionally, use green decorating icing to draw small vines or leaves on top. Let icing set for 10 minutes before serving.
Notes
Chill hands with ice water before shaping to prevent sticking. Use gel food coloring, not liquid, to avoid making the mixture too wet. Cinnamon sticks add subtle warmth; pretzel sticks can be substituted for a salty-sweet contrast. Treats can be stored in an airtight container at room temperature for up to 3 days or frozen for up to 2 months.
Nutrition
- Serving Size: 1 pumpkin
- Calories: 145
- Sugar: 14
- Sodium: 135
- Fat: 4
- Saturated Fat: 2.5
- Carbohydrates: 27
- Protein: 1
Keywords: Halloween treats, Rice Krispie treats, pumpkin treats, no-bake dessert, Halloween party food, easy Halloween recipe


