Hand me that butter, please. That’s what my neighbor, a retired baker named Frank, said the first time he caught me staring at his kitchen window from my apartment across the way. I was trying to bake cookies, honestly, and failing miserably. The dough was too sticky, the cookies came out flat, and I was ready to give up. He watched me struggle for a good five minutes before he just appeared at my door with a stick of butter and a knowing smile. He didn’t offer a formal lesson. He just said, “You’re overthinking it. Let the butter do the work.”
That conversation changed everything. Frank grew up in a small bakery in Ohio, not some fancy culinary school, and he had this way of making baking feel like a chat, not a science experiment. He shared his philosophy on cookies, and I tweaked it over time. This recipe for the best small-batch chocolate chip cookies (no chilling) is the result of that kitchen exchange. It is not a fancy, fussy recipe. It is the one I make when I want a warm, gooey cookie in under thirty minutes without waiting for dough to chill. Honestly, it is the recipe that saved my Tuesday nights.
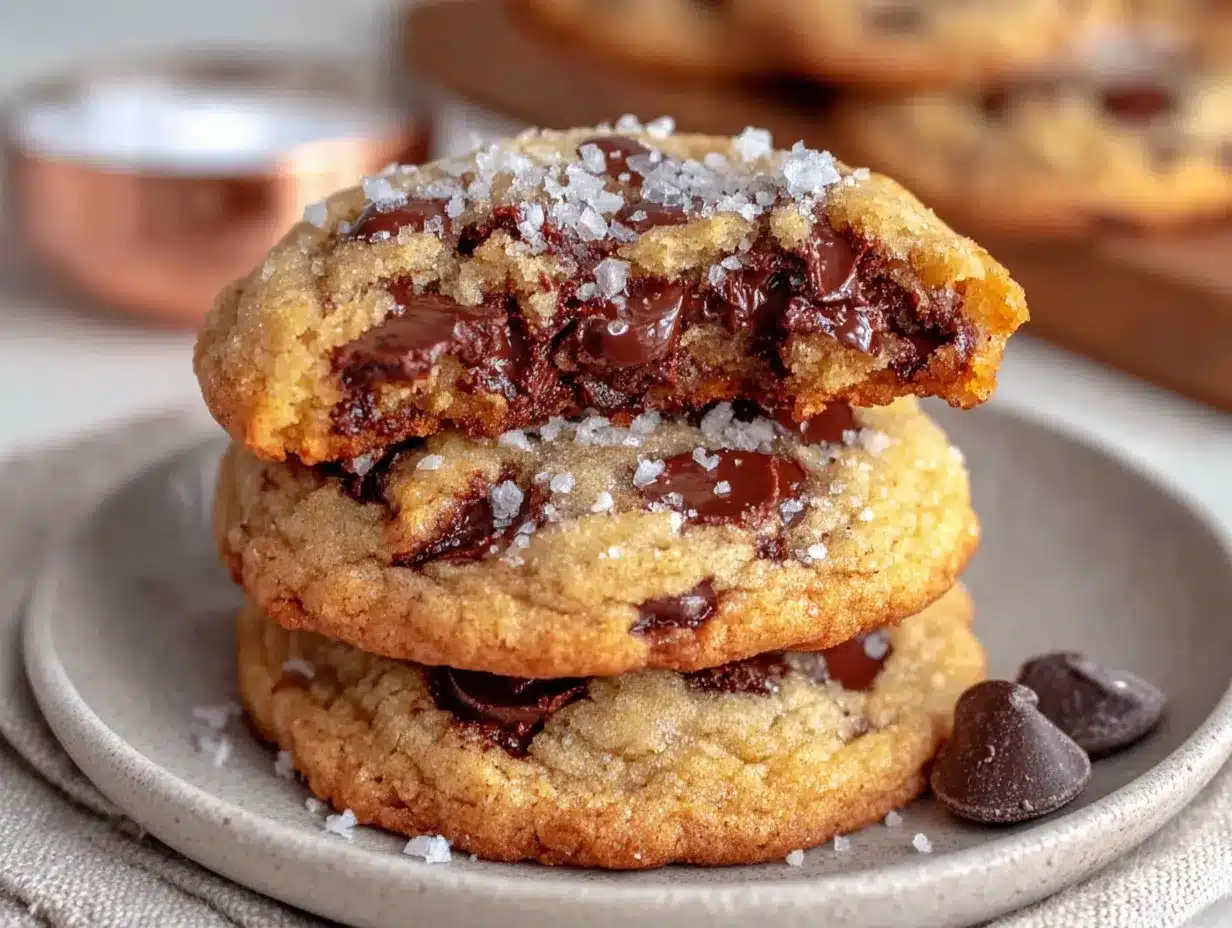
I mean, maybe you have been there. You want a cookie, but you do not want to wait an hour for the dough to rest. You want something that tastes like it came from a bakery but uses ingredients you already have. That is exactly what this is. The cookies come out perfectly golden on the edges, soft and chewy in the center, with pools of melted chocolate in every bite. It is the kind of small-batch recipe that makes you feel like a genius without any of the stress. And that is why I keep coming back to it.
Why You Will Love This Recipe
Let me tell you, after testing more cookie recipes than I care to admit, this one stands out for all the right reasons. It is not just another chocolate chip cookie recipe. It is the one that actually works without chilling, which sounds impossible but is true. Here is why you will love it:
- Quick and Easy: From start to finish, these cookies are ready in about 20 minutes. No waiting, no chilling, no complicated steps. Perfect for those sudden cravings that hit at 9 PM.
- Simple Ingredients: You likely have everything in your pantry right now. Butter, sugar, an egg, flour, and chocolate chips. No fancy extracts or obscure flours needed.
- Perfect for Small Batches: This recipe makes exactly 6 to 8 cookies. No more, no less. It is ideal for when you want a treat without a mountain of leftovers tempting you all week.
- Crowd-Pleaser: I have brought these to potlucks and last-minute gatherings, and they disappear every single time. Kids and adults both go crazy for them.
- Unbelievably Delicious: The texture is everything. Crispy edges, soft centers, and melty chocolate. It is next-level comfort food that feels special without any effort.
What makes this recipe different from the rest is the technique. Most no-chill cookies turn out flat or greasy. But this one uses a specific ratio of melted butter to flour that creates structure without needing to rest. I figured that out after a few failed batches where my cookies spread into sad, thin disks. The secret is in how you handle the butter and sugar together. It is simple, but it works.
This recipe is not just good. It is the kind that makes you close your eyes after the first bite. It is comfort food reimagined, faster and easier, but with the same soul-soothing satisfaction. Perfect for impressing guests without stress or turning a simple evening into something memorable.
What Ingredients You Will Need
This recipe uses simple, wholesome ingredients to deliver bold flavor and satisfying texture without the fuss. Most of these are pantry staples, so you probably do not need a grocery run. Here is what you need:
For the Cookie Dough
- Unsalted butter, melted (1/2 cup or 113 grams): Melted butter gives these cookies their chewy texture. I prefer unsalted so I can control the salt level. If you only have salted butter, just reduce the added salt by a pinch.
- Granulated sugar (1/4 cup or 50 grams): This adds sweetness and helps with spreading. Do not substitute with brown sugar entirely, as the granulated sugar creates those crispy edges.
- Light brown sugar, packed (1/4 cup or 50 grams): Brown sugar adds moisture and a slight caramel flavor. It keeps the centers soft. Make sure it is packed firmly into the measuring cup.
- Large egg yolk (1 yolk): Using just the yolk instead of the whole egg reduces moisture, which helps the cookies hold their shape without chilling. Save the egg white for an omelet or another recipe.
- Vanilla extract (1 teaspoon): Pure vanilla extract makes a difference. I use Nielsen-Massey, but any good quality brand works. Avoid imitation vanilla if possible.
- All-purpose flour (3/4 cup or 96 grams): Spoon and level the flour into your measuring cup. Do not scoop directly from the bag, or you will end up with too much flour and dry cookies.
- Baking soda (1/2 teaspoon): This helps the cookies spread just enough and gives them a slight lift. Make sure it is fresh, or your cookies will be dense.
- Salt (1/4 teaspoon, plus a pinch for topping): Salt balances the sweetness. I like to sprinkle a tiny bit of flaky sea salt on top before baking for that sweet-salty contrast.
- Semi-sweet chocolate chips (1/2 cup or 90 grams): I recommend Ghirardelli or Guittard for the best flavor. You can also chop a chocolate bar into chunks for uneven, melty pools. If you prefer milk chocolate, go ahead, but the cookies will be sweeter.
Substitution Guidance
If you are out of brown sugar, you can use all granulated sugar, but the cookies will be slightly crisper. For a dairy-free option, use vegan butter melted, but note that the texture may be slightly different. You can also swap the chocolate chips for white chocolate, butterscotch chips, or chopped nuts if you prefer.
Equipment Needed
You do not need fancy equipment for this recipe. Here is what I use:
- Mixing bowls: One medium bowl for the wet ingredients and one small bowl for the dry. I use glass or stainless steel.
- Whisk: For mixing the wet ingredients together smoothly.
- Rubber spatula or wooden spoon: For folding the dry ingredients into the wet. A spatula is gentler and prevents overmixing.
- Cookie scoop or tablespoon: A 1.5-tablespoon cookie scoop gives uniform cookies. If you do not have one, use a regular spoon and eyeball it.
- Baking sheet: A standard half-sheet pan works perfectly. No need to grease it, just line with parchment paper.
- Parchment paper: This prevents sticking and makes cleanup easy. Silicone baking mats also work well.
- Cooling rack: For letting the cookies cool properly. If you do not have one, a plate works in a pinch.
I have made these cookies with a cheap baking sheet from the dollar store, and they still turned out great. The only thing I recommend investing in is parchment paper. It really does make a difference in browning. Also, if you use a dark baking sheet, keep an eye on the cookies as they may brown faster.
Preparation Method
Follow these steps carefully for perfect cookies every time. No chilling needed, I promise.
- Preheat your oven to 350°F (175°C). Line a baking sheet with parchment paper. Do not skip this step, as the parchment prevents the cookies from sticking and helps them brown evenly.
- Melt the butter: In a small saucepan or microwave-safe bowl, melt 1/2 cup (113 grams) of unsalted butter. Let it cool for about 2 minutes. It should be warm but not hot. If it is too hot, it will cook the egg yolk later.
- Mix the wet ingredients: In a medium mixing bowl, whisk together the melted butter, 1/4 cup (50 grams) granulated sugar, and 1/4 cup (50 grams) packed light brown sugar. Whisk for about 30 seconds until the mixture looks smooth and slightly thickened. This step is important because it helps dissolve the sugar.
- Add the egg yolk and vanilla: Whisk in 1 large egg yolk and 1 teaspoon of vanilla extract. Keep whisking until everything is fully combined. The mixture should look glossy and smell amazing.
- Combine the dry ingredients: In a small bowl, whisk together 3/4 cup (96 grams) all-purpose flour, 1/2 teaspoon baking soda, and 1/4 teaspoon salt. Whisking ensures the baking soda and salt are evenly distributed.
- Fold the dry into the wet: Add the flour mixture to the wet ingredients. Use a rubber spatula to fold gently until just combined. Do not overmix. A few streaks of flour are okay. Overmixing will make the cookies tough.
- Add the chocolate chips: Fold in 1/2 cup (90 grams) of semi-sweet chocolate chips. Make sure they are evenly distributed. If you want extra chocolate on top, reserve a few chips to press onto the dough balls before baking.
- Scoop the dough: Use a 1.5-tablespoon cookie scoop or a regular spoon to scoop 6 to 8 equal portions of dough. Place them on the prepared baking sheet, spacing them about 2 inches apart. They will spread, so do not crowd them.
- Bake: Bake for 9 to 11 minutes. At 9 minutes, the edges will be golden and the centers will look slightly underdone and puffy. That is perfect. If you like crispier cookies, bake for 11 minutes. Do not overbake, or they will be dry.
- Cool on the pan: Let the cookies cool on the baking sheet for 5 minutes. They will continue to set as they cool. Then transfer them to a cooling rack. If you try to move them too soon, they will fall apart.
One tip I learned the hard way: do not skip the cooling step on the pan. I once tried to move a cookie immediately, and it crumbled in my hand. Patience pays off here.
Cooking Tips and Techniques
Over the years, I have made plenty of mistakes with cookies. Here is what I have learned so you do not have to repeat them.
Use melted butter correctly. Melted butter is the key to chewy cookies without chilling. But if your butter is too hot, it will melt the chocolate chips and make the dough greasy. Let it cool for a couple of minutes after melting. You want it warm, not piping hot.
Do not overmix the dough. This is the most common mistake. Once you add the flour, mix only until it disappears. Overmixing develops gluten, which makes cookies tough and cakey. I know it is tempting to keep stirring, but stop as soon as you see no more dry flour.
Weigh your flour if you can. I know not everyone has a kitchen scale, but it really helps. Scooping flour directly from the bag can add up to 25% more flour, which dries out the dough. If you do not have a scale, spoon the flour into your measuring cup and level it off with a knife.
Watch the bake time closely. Ovens vary wildly. My old oven baked these in exactly 9 minutes, but my current one takes 10. Start checking at 8 minutes. The cookies are done when the edges are set and golden, but the centers still look soft and slightly puffy. They will continue to cook on the hot pan.
Let them cool properly. I know it is hard to wait, but the cookies need that 5-minute rest on the baking sheet. This allows the structure to set. If you eat them immediately, they will be too gooey to hold together. Trust me, I have burned my tongue more than once rushing this step.
Make ahead tip. If you want to prep ahead, you can scoop the dough balls and freeze them on a baking sheet. Once frozen, transfer them to a zip-top bag. Bake from frozen, adding 1 to 2 minutes to the bake time. No need to thaw.
Variations and Adaptations
This recipe is flexible. Here are some ways to change it up based on what you have or what you are craving.
Dietary Variations
- Gluten-Free: Substitute the all-purpose flour with a 1:1 gluten-free baking flour blend. I have used Bob’s Red Mill with great results. Do not use almond flour or coconut flour, as they will change the texture completely.
- Dairy-Free: Use vegan butter instead of regular butter. Melt it the same way. Most vegan butters work well, but avoid margarine with high water content, as it can make the cookies spread too much.
- Egg-Free: Replace the egg yolk with 1 tablespoon of milk or a flax egg (1 tablespoon ground flaxseed mixed with 3 tablespoons water, let sit for 5 minutes). The texture will be slightly less chewy but still delicious.
Flavor Twists
- Double Chocolate: Replace 1 tablespoon of flour with unsweetened cocoa powder and use white chocolate chips instead of semi-sweet. You get a rich, dark chocolate cookie with creamy white chocolate pockets.
- Peanut Butter Swirl: After scooping the dough, drop a small teaspoon of peanut butter on top of each dough ball and swirl it in with a toothpick. Bake as directed. The peanut butter gets slightly crisp on the edges.
- Oatmeal Chocolate Chip: Replace 1/4 cup of the flour with rolled oats. The cookies will be heartier and have a nice chew. Add a pinch of cinnamon for extra warmth.
Seasonal Adaptations
- Fall: Add 1/2 teaspoon of pumpkin pie spice to the dry ingredients and use butterscotch chips instead of chocolate. It tastes like autumn in a cookie.
- Summer: Fold in 1/4 cup of dried cherries or chopped dried apricots along with the chocolate chips. The tart fruit balances the sweetness perfectly.
I once tried a version with chopped bacon bits folded in, and honestly, it was surprisingly good. The salty, smoky bacon paired beautifully with the sweet chocolate. Just saying, if you are feeling adventurous.
Serving and Storage Suggestions
These cookies are best served warm, straight from the oven. That moment when the chocolate is still melty and the edges are crisp is pure bliss. I like to serve them with a glass of cold milk or a hot cup of coffee. If you are feeling fancy, sandwich two cookies with a scoop of vanilla ice cream for an instant dessert.
For storage, keep the cookies in an airtight container at room temperature. They will stay soft for up to 3 days. If you live in a humid climate, add a slice of bread to the container to absorb excess moisture and keep the cookies from getting soggy.
To reheat, pop a cookie in the microwave for 10 seconds. It will bring back that just-baked softness. You can also reheat them in a 300°F (150°C) oven for 3 to 4 minutes if you prefer a crisper texture.
These cookies also freeze beautifully. Place them in a single layer in a freezer-safe bag or container. They will keep for up to 3 months. Thaw at room temperature for about 15 minutes, or reheat directly from frozen in the microwave for 15 seconds.
One thing I have noticed is that the flavors actually develop more after a day. The cookies become slightly more caramelized and the chocolate flavor deepens. So if you can resist eating them all immediately, the leftovers are even better.
Nutritional Information and Benefits
Here is an approximate nutritional breakdown per cookie (based on 8 cookies):
- Calories: 220
- Fat: 13g
- Saturated Fat: 8g
- Carbohydrates: 26g
- Sugar: 16g
- Protein: 3g
- Sodium: 120mg
While these are definitely a treat, there are some benefits. The dark chocolate contains antioxidants, and the butter provides a small amount of vitamin A. Plus, making them at home means you control the ingredients, avoiding preservatives and artificial flavors found in store-bought cookies.
For dietary considerations, this recipe is vegetarian. It contains gluten, dairy, and eggs, so it is not suitable for those with allergies unless you use the substitutions mentioned earlier. If you are watching your sugar intake, you can reduce the granulated sugar by 1 tablespoon, but the texture will be slightly less crisp.
I personally believe that a balanced diet includes room for treats. These cookies are my way of indulging without overdoing it, since the small batch size keeps portions in check. One or two cookies with a cup of tea is my idea of a perfect afternoon.
Conclusion
So there you have it. The best small-batch chocolate chip cookies that require no chilling, no fuss, and no stress. This recipe came from a simple conversation with a neighbor, and it has become a staple in my kitchen ever since. It is the kind of recipe that proves you do not need complicated techniques or expensive ingredients to make something truly delicious.
I encourage you to make these your own. Add extra chocolate, swap in nuts, or try a sprinkle of sea salt on top. Baking is meant to be personal, and this recipe is forgiving enough to handle your creativity. Whether you are baking for yourself, your family, or a last-minute gathering, these cookies deliver every single time.
If you try this recipe, I would love to hear how it goes. Leave a comment below and let me know if you made any fun variations. Share a photo of your cookies on social media and tag me so I can see your beautiful bakes. Happy baking, friend. You deserve a warm cookie right now.
Frequently Asked Questions
Can I use salted butter instead of unsalted?
Yes, you can. Just reduce the added salt in the recipe to a pinch. The cookies will be slightly saltier, which some people actually prefer for that sweet-salty balance.
Why did my cookies spread too much?
This usually happens if the butter was too warm or if you used too much sugar. Make sure your melted butter has cooled for a couple of minutes before mixing. Also, measure your flour correctly by spooning it into the cup and leveling it off.
Can I double this recipe?
Absolutely. Simply double all the ingredients. The bake time may increase by 1 to 2 minutes, so keep an eye on them. You will need to bake in batches or use two baking sheets.
How do I know when the cookies are done?
The edges should be golden brown and set, while the centers look soft, puffy, and slightly underdone. They will continue to cook on the hot baking sheet after you take them out of the oven.
Can I use a whole egg instead of just the yolk?
You can, but the cookies will be slightly cakier and less chewy. If you use a whole egg, you may need to add an extra tablespoon of flour to compensate for the extra moisture.
Pin This Recipe!
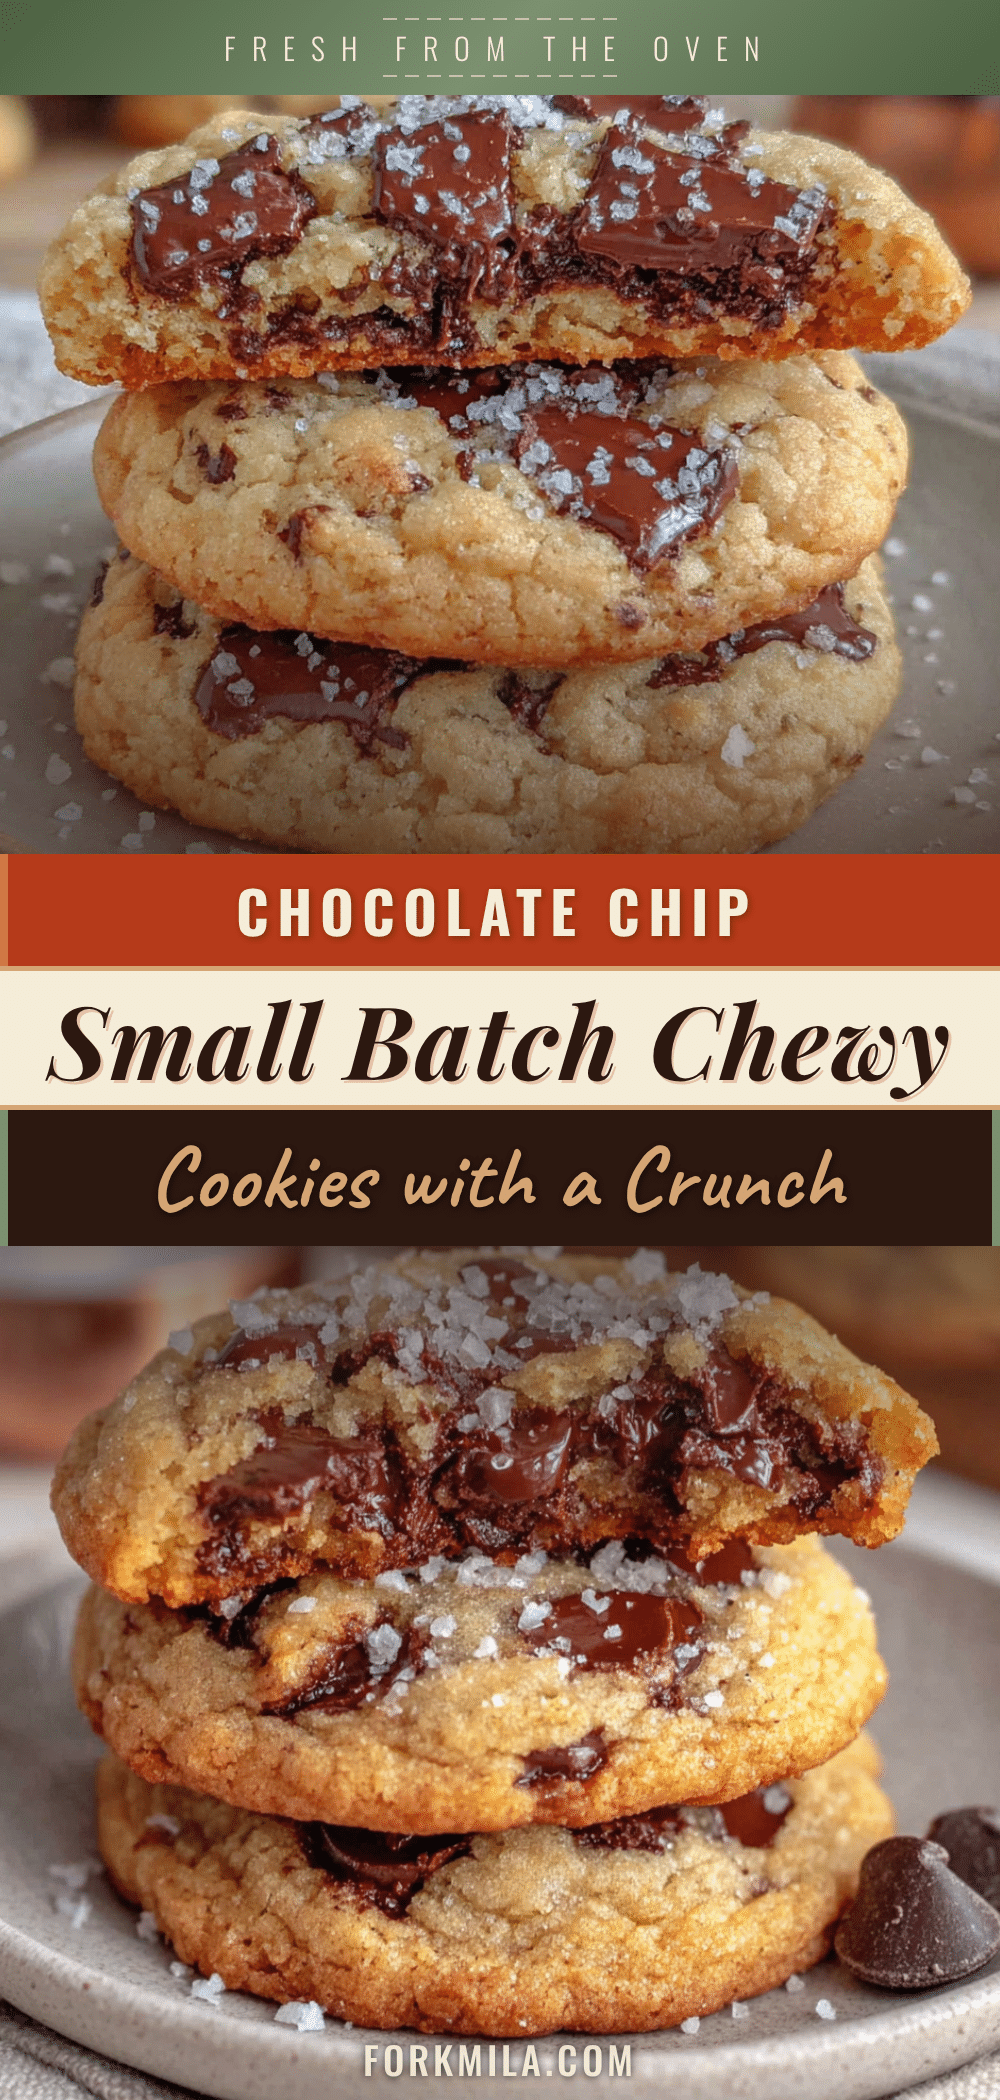
Best Small-Batch Chocolate Chip Cookies: Easy, No-Chill Recipe
These small-batch chocolate chip cookies are quick, easy, and require no chilling. They come out perfectly golden on the edges, soft and chewy in the center, with pools of melted chocolate in every bite.
- Prep Time: 10 minutes
- Cook Time: 10 minutes
- Total Time: 20 minutes
- Yield: 6-8 cookies 1x
- Category: Dessert
- Cuisine: American
Ingredients
- 1/2 cup (113 grams) unsalted butter, melted
- 1/4 cup (50 grams) granulated sugar
- 1/4 cup (50 grams) light brown sugar, packed
- 1 large egg yolk
- 1 teaspoon vanilla extract
- 3/4 cup (96 grams) all-purpose flour
- 1/2 teaspoon baking soda
- 1/4 teaspoon salt, plus a pinch for topping
- 1/2 cup (90 grams) semi-sweet chocolate chips
Instructions
- Preheat your oven to 350°F (175°C). Line a baking sheet with parchment paper.
- Melt the butter in a small saucepan or microwave-safe bowl. Let it cool for about 2 minutes.
- In a medium mixing bowl, whisk together the melted butter, granulated sugar, and packed light brown sugar for about 30 seconds until smooth and slightly thickened.
- Whisk in the egg yolk and vanilla extract until fully combined and glossy.
- In a small bowl, whisk together the flour, baking soda, and salt.
- Add the flour mixture to the wet ingredients and fold gently with a rubber spatula until just combined. Do not overmix.
- Fold in the chocolate chips until evenly distributed.
- Scoop 6 to 8 equal portions of dough (about 1.5 tablespoons each) onto the prepared baking sheet, spacing them about 2 inches apart.
- Bake for 9 to 11 minutes, until the edges are golden and the centers look slightly underdone and puffy.
- Let the cookies cool on the baking sheet for 5 minutes, then transfer to a cooling rack.
Notes
Melted butter should be warm but not hot to avoid cooking the egg yolk. Do not overmix the dough to prevent tough cookies. Let cookies cool on the baking sheet for 5 minutes before transferring to a cooling rack. For make-ahead, freeze dough balls and bake from frozen, adding 1-2 minutes to bake time.
Nutrition
- Serving Size: 1 cookie
- Calories: 220
- Sugar: 16
- Sodium: 120
- Fat: 13
- Saturated Fat: 8
- Carbohydrates: 26
- Fiber: 1
- Protein: 3
Keywords: small-batch chocolate chip cookies, no-chill cookies, easy cookie recipe, quick cookies, chewy chocolate chip cookies


