It was 11:47 PM on a random Wednesday in July, and I had a very specific, almost aggressive craving for something cold, chocolatey, and campfire-adjacent. I didn’t have a campfire, graham crackers that weren’t already crushed into dust in the back of the pantry, or the energy to turn on the oven. But I had a box of chocolate wafers, a jar of marshmallow fluff that was probably a few months past its prime, and the stubborn idea that I could make a layered dessert without any heat whatsoever. Honestly, the whole thing felt a little unhinged—building a s’mores cake at nearly midnight, alone, in a kitchen lit by the refrigerator light. But that’s when the best ideas happen, right?
I started stacking. A wafer, a smear of fluff, another wafer, a sprinkle of crushed graham. It was messy. My fingers were sticky. I dropped a wafer on the floor and ate it anyway (five-second rule, obviously). But as the layers grew taller and the whole thing started to look like a proper cake, I felt this weird rush of vindication. I was making a dessert that would normally require a campfire or an oven, and I was doing it with stuff I already had. The next day, I pulled it out of the fridge, sliced into it, and watched the layers soften into something that tasted exactly like summer. My neighbor, who I guilt-tripped into trying a slice, said it was better than the real thing. I haven’t made a real s’more since.
Maybe you’ve been there—standing in your kitchen late at night, craving something specific, and realizing you have to improvise. That’s the energy this crowd-pleasing no-bake s’mores icebox cake brings to your table. It’s the dessert you make when you want to impress your friends at a dinner party but also want to spend the afternoon doing literally anything else. It’s cool, it’s creamy, and it has that nostalgic s’mores flavor without the smoke smell in your hair. You’re going to love how simple this is, and your guests are going to think you spent hours on it. Let them wonder.
Why You’ll Love This Recipe
I’ve tested this recipe about six times now—once for a potluck where it disappeared in ten minutes, once for a family barbecue where my uncle asked for the recipe twice, and once just for myself on a Tuesday because I deserved it. Each time, it delivered the same reaction: silence while people ate, followed by a chorus of “Wait, how did you make this?” That’s the magic of a no-bake dessert done right. Here’s why this one stands out:
- No Oven Required: It’s summer. Your kitchen is already a sauna. This cake comes together with zero heat, which means you can keep your cool while your guests sweat over the grill.
- Simple Ingredients: Chocolate wafers, marshmallow fluff, heavy cream, and graham crackers. That’s it. No fancy grocery trips, no obscure extracts, no hunting for specialty items.
- Perfect for Hosting: This is the ultimate make-ahead dessert for dinner parties and potlucks. Assemble it the night before, let it chill, and pull it out when it’s time to impress. No last-minute stress.
- Crowd-Pleaser: Kids love it. Adults love it. The person who claims they’re “not a dessert person” will have two slices. It’s a universal win.
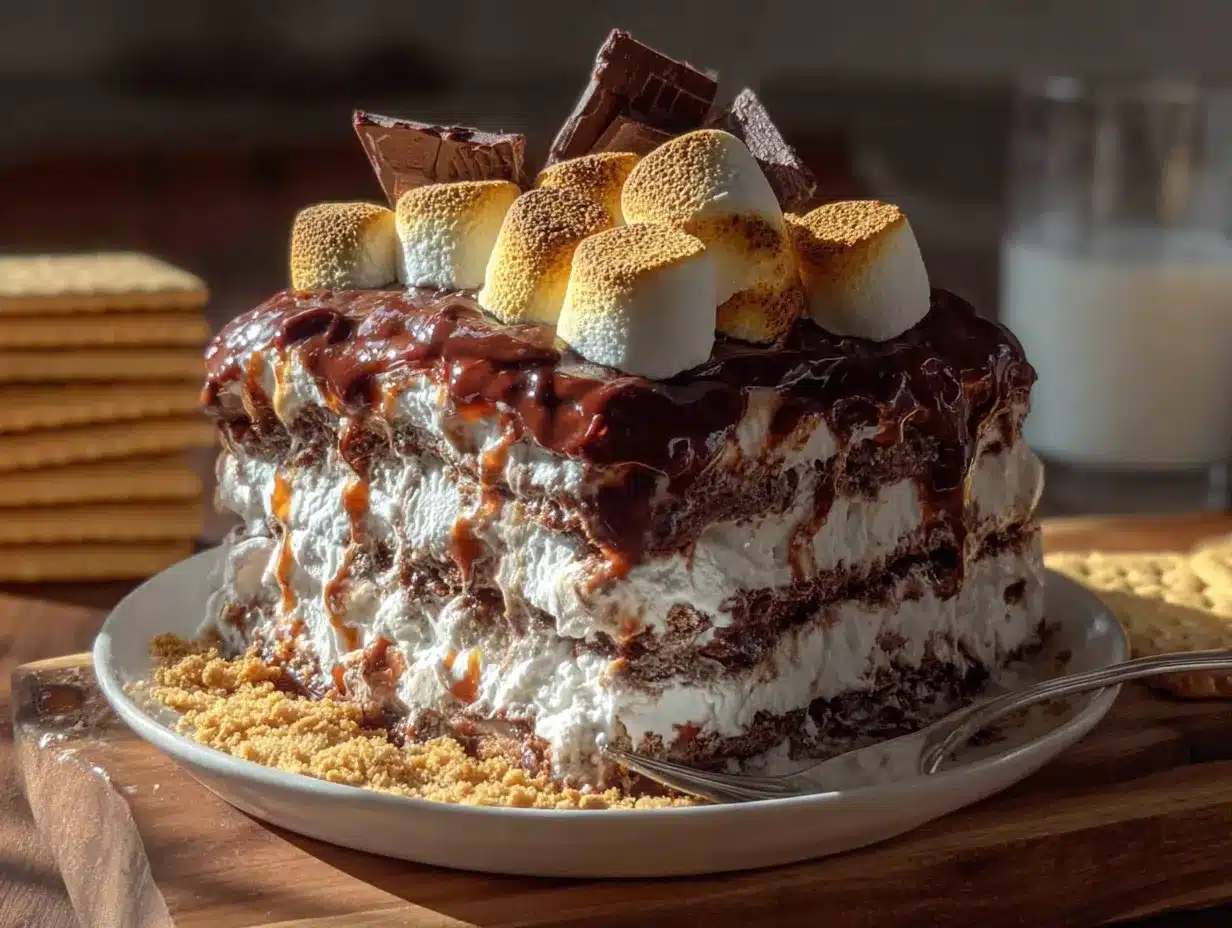
- Unbelievably Delicious: The texture is what gets you. The wafers soften into a cake-like layer, the marshmallow cream stays light and fluffy, and the graham cracker crunch adds just enough contrast. It’s comfort food reimagined—cool, creamy, and completely satisfying.
What makes this different from other icebox cakes? It’s the balance. Most versions are either too sweet or too one-note. I’ve dialed in the ratio of chocolate to marshmallow to graham so that every bite tastes like a perfect s’more, not a sugar bomb. Plus, the technique of layering the marshmallow cream with whipped cream keeps the texture light instead of gluey. This isn’t just another version—it’s the version I keep coming back to, and I think you will too.
What Ingredients You Will Need
This recipe uses simple, pantry-friendly ingredients to build something that tastes much more complex than it is. Each component plays a specific role, so here’s what you’ll need and why it matters.
For the Cake Layers
- Chocolate wafer cookies (about 40-45 cookies): These are the backbone of the cake. They soften as they sit in the fridge, creating a tender, cake-like texture. I prefer Nabisco Famous Chocolate Wafers for their deep cocoa flavor and sturdy structure. If you can’t find them, you can use chocolate graham crackers or even thin chocolate sandwich cookies (just scrape off the cream filling).
- Graham crackers (about 12 full sheets): Crushed into coarse crumbs, these add the signature s’mores crunch and that toasty, honeyed flavor. I like to leave some pieces a bit chunky for texture. Honey grahams are standard, but cinnamon grahams work beautifully if you want a warm twist.
- Marshmallow fluff (1 ½ cups): This is the creamy, sticky heart of the dessert. Fluff holds up better than mini marshmallows in this context—it spreads easily and doesn’t turn into a rubbery mess. Jet-Puffed is my go-to brand, but any store brand works fine. If you’re feeling ambitious, you can make your own marshmallow cream, but honestly, the jar stuff is perfect here.
For the Cream Filling
- Heavy whipping cream (2 cups): This gets whipped into soft peaks and folded into the marshmallow fluff, lightening the whole thing so it’s not a dense, sticky brick. Use cold cream straight from the fridge for best results. I’ve tried this with coconut cream for a dairy-free version, and it works—just make sure it’s full-fat and chilled.
- Powdered sugar (2 tablespoons): Just a touch to stabilize the whipped cream and add a hint of sweetness. You can skip it if you prefer a less sweet dessert, but I find it helps the cream hold its shape overnight.
- Vanilla extract (1 teaspoon): Pure vanilla adds warmth and rounds out the flavors. Imitation vanilla is fine in a pinch, but if you have the real stuff, use it. You’ll taste the difference.
For the Topping
- Additional graham cracker crumbs (about ¼ cup): Sprinkled on top for a finished look and extra crunch.
- Chocolate shavings or mini chocolate chips (optional): For garnish. I like to use a vegetable peeler on a dark chocolate bar to get those elegant curls. It’s a small touch that makes the cake look like you tried really hard (you didn’t).
Equipment Needed
You don’t need a fancy kitchen to pull this off. Here’s what you’ll need:
- 9-inch springform pan: This is ideal because the removable sides make it easy to unmold the cake without destroying the layers. If you don’t have one, a deep pie dish or a 9×9-inch baking dish lined with plastic wrap will work—you’ll just serve it directly from the dish.
- Electric mixer (hand or stand): Whipping cream by hand is a workout. Use a mixer unless you want a forearm cramp. I’ve done it with a whisk before, and let me tell you, it’s not worth it.
- Large mixing bowl: For the cream mixture. Make sure it’s chilled if you’re whipping cream in warm weather.
- Offset spatula or butter knife: For spreading the marshmallow cream mixture evenly. An offset spatula gives you better control, but a regular knife works fine.
- Rolling pin or food processor: For crushing graham crackers. A rolling pin and a zip-top bag is the low-tech option and honestly, it’s kind of therapeutic. A food processor gives you more uniform crumbs.
- Plastic wrap: To cover the pan while it chills. You want a tight seal so the cake doesn’t absorb fridge odors.
Preparation Method
This cake comes together in about 30 minutes of active work, then the fridge does the rest. Here’s how to build it.
- Crush the graham crackers: Place 12 full sheets of graham crackers in a zip-top bag and seal it. Use a rolling pin to crush them into coarse crumbs—you want a mix of fine crumbs and small chunks for texture. Set aside ¼ cup for the topping. You’ll use the rest between the layers.
- Make the marshmallow cream mixture: In a large mixing bowl, combine 1 ½ cups marshmallow fluff with 1 teaspoon vanilla extract. Give it a quick stir to loosen it up.
- Whip the cream: In a separate chilled bowl, pour in 2 cups of cold heavy whipping cream and 2 tablespoons powdered sugar. Beat on medium-high speed until soft peaks form—about 3-4 minutes. The cream should hold its shape but still be soft and billowy. Don’t overwhip, or you’ll end up with butter. I learned this the hard way during a particularly aggressive mixing session.
- Fold it together: Gently fold the whipped cream into the marshmallow fluff mixture. Use a rubber spatula and a light hand—you want to combine them fully without deflating the cream. The result should be a light, airy, fluffy mixture that tastes like a cloud made of marshmallows.
- Layer the cake: Spread a thin layer of the marshmallow cream mixture on the bottom of your springform pan—just enough to help the first cookies stick. Arrange a single layer of chocolate wafers on top, breaking a few to fill gaps. Spread a generous layer of the marshmallow cream over the wafers (about ⅓ of the remaining mixture). Sprinkle a handful of graham cracker crumbs over the cream. Repeat the layers: wafers, cream, graham crumbs. You should get about 4-5 layers total, ending with a layer of cream on top.
- Smooth the top: Use your offset spatula to smooth the top layer of cream evenly. Sprinkle the reserved graham cracker crumbs over the top. If you’re using chocolate shavings, sprinkle them on now.
- Chill: Cover the pan tightly with plastic wrap and refrigerate for at least 8 hours, or overnight. This is non-negotiable. The wafers need time to soften and meld with the cream into a cake-like texture. I’ve tried rushing it at 4 hours, and the wafers were still crunchy in the middle. Trust the process.
- Serve: When you’re ready to serve, run a thin knife around the edge of the pan to loosen the cake, then release the springform sides. Slice with a sharp knife, wiping the blade clean between cuts for neat slices. Serve cold.
Cooking Tips & Techniques
I’ve made this cake enough times to know where things can go sideways. Here’s what I’ve learned:
- Don’t skip the chill time: I know, I know—you’re impatient. But 8 hours is the minimum for the wafers to soften properly. If you cut into it too early, you’ll have crunchy layers that don’t hold together. Overnight is best. Your patience will be rewarded.
- Use cold cream: Warm cream won’t whip properly. Stick it in the fridge for at least 15 minutes before you start, or better yet, chill your bowl and beaters too. In summer, I even set my mixing bowl in an ice bath while I whip.
- Don’t overwhip the cream: Soft peaks are the goal. If you go too far, the cream will separate and turn grainy. If you accidentally overwhip (it happens to the best of us), you can try to rescue it by folding in a few tablespoons of fresh cold cream by hand.
- Layer evenly: Take the time to spread the cream mixture in an even layer each time. Uneven layers lead to a lopsided cake and some bites that are all cream. Use the back of a spoon or an offset spatula to smooth each layer before adding the next.
- Make it ahead: This cake actually improves after a day in the fridge. The flavors meld, the texture becomes uniformly soft, and it slices more cleanly. I often make it two days before a party. Just keep it covered.
Variations & Adaptations
This recipe is a great base for experimentation. Here are a few ways to change it up:
- Peanut Butter S’mores: Add ½ cup of creamy peanut butter to the marshmallow cream mixture before folding in the whipped cream. The peanut butter adds a savory richness that pairs beautifully with the chocolate. I tried this for a game night, and it was gone before halftime.
- Mint Chocolate Version: Swap the vanilla extract for ½ teaspoon peppermint extract and use mint-flavored chocolate wafers if you can find them. Top with crushed peppermint candies for a holiday-ready dessert.
- Vegan Adaptation: Use coconut cream (chilled overnight) in place of heavy cream, and vegan chocolate wafers. Most marshmallow fluff is actually vegan (check the label—many brands don’t use gelatin). This version is surprisingly creamy and rich.
- Berry Swirl: Warm ½ cup of raspberry or strawberry jam with a tablespoon of water until thin, then swirl it into the marshmallow cream before layering. The tart fruit cuts through the sweetness and adds a beautiful pink ribbon throughout the cake.
- Gluten-Free Option: Use gluten-free graham crackers and check that your chocolate wafers are certified gluten-free. Schar makes a good graham cracker alternative, and many chocolate wafer brands are naturally gluten-free.
Serving & Storage Suggestions
This cake is best served cold, straight from the fridge. The texture is at its peak when it’s well-chilled—firm enough to slice cleanly, but soft and creamy on the fork.
What to serve alongside: A dollop of fresh whipped cream on each slice is never a bad idea. If you want to go full dessert bar, serve it with a bowl of fresh berries on the side—the tartness of raspberries or blackberries cuts through the sweetness beautifully. For a drink pairing, cold milk is classic, but a dark roast coffee or espresso is even better. The bitterness balances the sugar.
Storage: Cover the cake tightly with plastic wrap or transfer leftovers to an airtight container. It will keep in the fridge for up to 5 days. The texture will continue to soften over time, so day 2 and 3 are actually the sweet spot. After that, the wafers get very soft, almost pudding-like, which some people prefer. I’m not here to judge.
Freezing: You can freeze this cake for up to 2 months. Wrap the entire springform pan in a layer of plastic wrap, then a layer of foil. Thaw in the fridge overnight before serving. The texture will be slightly icier than fresh, but it’s still delicious. I’ve done this for summer parties when I wanted to get ahead, and no one noticed the difference.
Nutritional Information & Benefits
Let’s be real—this is a dessert, not a health food. But here’s what you should know:
- Estimated per slice (based on 12 servings): 380 calories, 22g fat (14g saturated), 45g carbohydrates, 3g protein, 28g sugar, 1g fiber.
- Key ingredients: Heavy cream provides calcium and vitamin A, while the chocolate wafers offer a small amount of antioxidants from cocoa. Graham crackers contribute a bit of whole grain, depending on the brand. Marshmallow fluff is mostly sugar and air—no nutritional value, but plenty of joy.
- Dietary considerations: This recipe contains dairy and gluten. For a dairy-free version, use coconut cream and vegan wafers. For gluten-free, use certified gluten-free graham crackers and wafers. It’s not low-carb or keto-friendly due to the sugar content, but if you’re looking for a lower-sugar option, you can use sugar-free chocolate wafers and a sugar-free marshmallow fluff alternative.
- Allergens: Contains milk and wheat. May contain traces of soy and tree nuts depending on the brands you choose. Always check labels if you’re serving someone with allergies.
Personally, I think a slice of this cake is worth every calorie. It’s the kind of dessert that makes you slow down and actually enjoy the moment—and that has its own kind of nutritional value.
Conclusion
This crowd-pleasing no-bake s’mores icebox cake is the dessert you’ve been looking for. It’s simple enough to throw together on a Tuesday night, but impressive enough to be the star of your next dinner party. The combination of creamy marshmallow, rich chocolate, and crunchy graham cracker is a classic for a reason—and this version delivers all that nostalgic flavor without turning on the oven.
I love this recipe because it reminds me that sometimes the best things come from late-night improvisations and a willingness to try something weird. It’s forgiving, adaptable, and always, always a hit. Whether you’re serving it at a potluck, a backyard barbecue, or just treating yourself on a quiet evening, this cake will not disappoint.
Now I want to hear from you. Have you tried making this? Did you add your own twist? Drop a comment below and tell me about it—I love seeing how people make recipes their own. And if you loved this, share it with a friend who needs a no-fuss dessert in their life. Happy no-baking!
Frequently Asked Questions
Can I use mini marshmallows instead of marshmallow fluff?
You can, but the texture will be different. Mini marshmallows don’t spread as evenly and can leave gaps in the layers. They also don’t soften as much overnight, so you’ll end up with chewy pockets. Fluff gives you a smooth, creamy consistency throughout. If you only have marshmallows, melt them gently with a tablespoon of water in the microwave, let them cool, then fold into the whipped cream.
How long does this cake need to chill?
At least 8 hours, but overnight is better. The chocolate wafers need time to absorb moisture from the cream and soften into a cake-like texture. If you’re in a rush, 6 hours will work, but the layers won’t be as cohesive. I always make it the night before I plan to serve it.
Can I make this in a different pan?
Absolutely. A 9×9-inch square baking dish works well—just line it with plastic wrap for easy removal. A deep pie dish is another option, though you’ll get fewer layers. If you use a smaller pan, adjust the number of wafer layers accordingly. The key is to have enough depth for at least 4 layers of wafers.
Why did my cream separate when I folded it into the fluff?
This usually happens if the whipped cream is overwhipped or if the marshmallow fluff is too cold. Make sure your fluff is at room temperature before mixing. If the cream starts to look grainy, stop folding immediately and try to incorporate a tablespoon of fresh cold cream to bring it back together. Next time, fold gently and stop as soon as the mixture is uniform.
Can I add chocolate sauce or caramel between the layers?
Yes, but go easy. A thin drizzle of chocolate or caramel sauce between layers adds flavor, but too much liquid can make the cake soggy. I recommend no more than 1-2 tablespoons per layer. For a salted caramel version, drizzle caramel and sprinkle a pinch of flaky sea salt over each cream layer. It’s incredible.
Pin This Recipe!
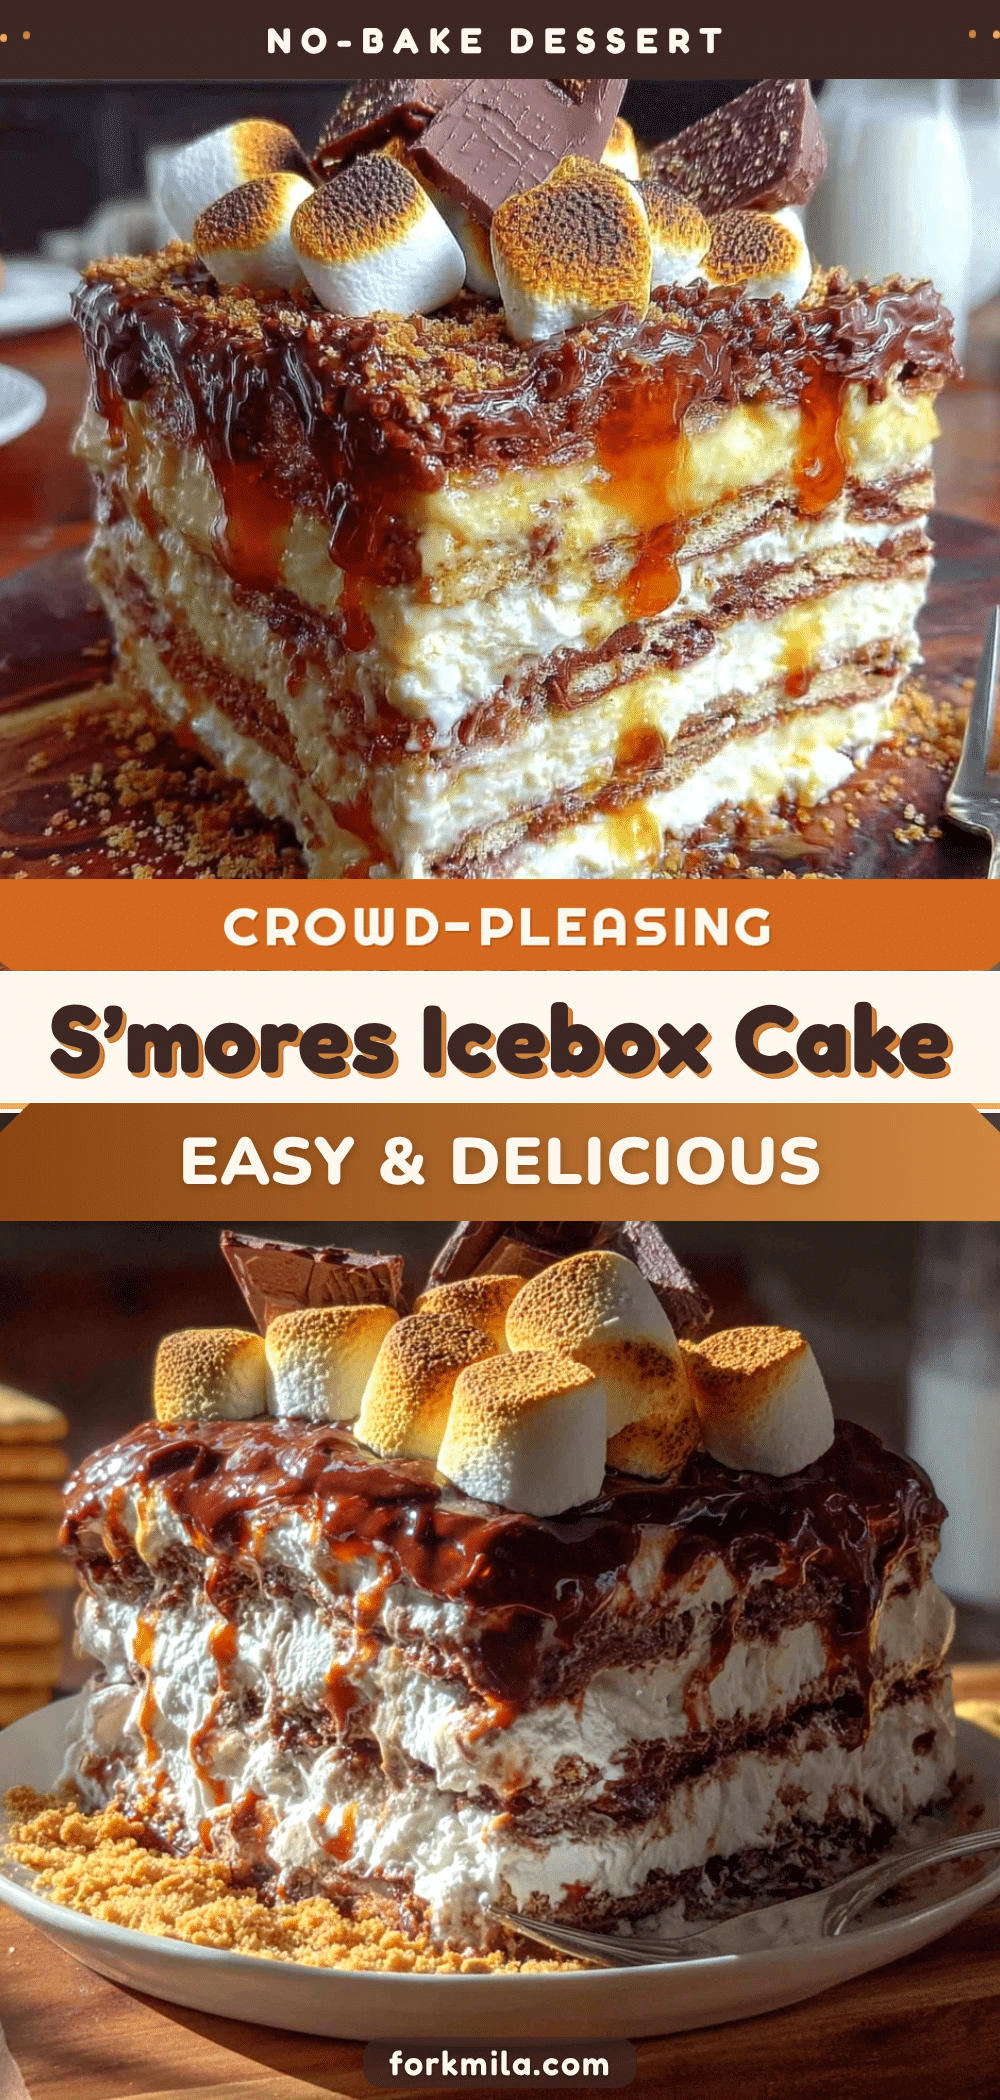
Easy No-Bake S’mores Icebox Cake: Best Summer Dessert
This crowd-pleasing no-bake s’mores icebox cake is the dessert you’ve been looking for. It’s simple enough to throw together on a Tuesday night, but impressive enough to be the star of your next dinner party.
- Prep Time: 30 minutes
- Cook Time: 0 minutes
- Total Time: 8 hours 30 minutes
- Yield: 12 servings
- Category: Dessert
- Cuisine: American
Ingredients
- Chocolate wafer cookies (about 40-45 cookies)
- Graham crackers (about 12 full sheets)
- Marshmallow fluff (1 ½ cups)
- Heavy whipping cream (2 cups)
- Powdered sugar (2 tablespoons)
- Vanilla extract (1 teaspoon)
- Additional graham cracker crumbs (about ¼ cup)
- Chocolate shavings or mini chocolate chips (optional, for garnish)
Instructions
- Crush the graham crackers: Place 12 full sheets of graham crackers in a zip-top bag and seal it. Use a rolling pin to crush them into coarse crumbs—you want a mix of fine crumbs and small chunks for texture. Set aside ¼ cup for the topping. You’ll use the rest between the layers.
- Make the marshmallow cream mixture: In a large mixing bowl, combine 1 ½ cups marshmallow fluff with 1 teaspoon vanilla extract. Give it a quick stir to loosen it up.
- Whip the cream: In a separate chilled bowl, pour in 2 cups of cold heavy whipping cream and 2 tablespoons powdered sugar. Beat on medium-high speed until soft peaks form—about 3-4 minutes. The cream should hold its shape but still be soft and billowy. Don’t overwhip, or you’ll end up with butter.
- Fold it together: Gently fold the whipped cream into the marshmallow fluff mixture. Use a rubber spatula and a light hand—you want to combine them fully without deflating the cream. The result should be a light, airy, fluffy mixture that tastes like a cloud made of marshmallows.
- Layer the cake: Spread a thin layer of the marshmallow cream mixture on the bottom of your springform pan—just enough to help the first cookies stick. Arrange a single layer of chocolate wafers on top, breaking a few to fill gaps. Spread a generous layer of the marshmallow cream over the wafers (about ⅓ of the remaining mixture). Sprinkle a handful of graham cracker crumbs over the cream. Repeat the layers: wafers, cream, graham crumbs. You should get about 4-5 layers total, ending with a layer …
- Smooth the top: Use your offset spatula to smooth the top layer of cream evenly. Sprinkle the reserved graham cracker crumbs over the top. If you’re using chocolate shavings, sprinkle them on now.
- Chill: Cover the pan tightly with plastic wrap and refrigerate for at least 8 hours, or overnight. This is non-negotiable. The wafers need time to soften and meld with the cream into a cake-like texture.
- Serve: When you’re ready to serve, run a thin knife around the edge of the pan to loosen the cake, then release the springform sides. Slice with a sharp knife, wiping the blade clean between cuts for neat slices. Serve cold.
Notes
Don’t skip the chill time—8 hours is the minimum for the wafers to soften properly. Use cold cream for best whipping results. Layer evenly to avoid a lopsided cake. This cake actually improves after a day in the fridge.
Nutrition
- Serving Size: 1 slice
- Calories: 380
- Sugar: 28
- Fat: 22
- Saturated Fat: 14
- Carbohydrates: 45
- Fiber: 1
- Protein: 3
Keywords: no-bake, s'mores, icebox cake, summer dessert, chocolate, marshmallow, graham cracker, easy dessert, make-ahead


