There used to be a tiny bakery tucked between a laundromat and a vintage shop on the edge of downtown Portland that made the best chocolate chip cookie I have ever had in my life. When they closed their doors back in 2018—a “for lease” sign went up overnight, no warning, no goodbye—I honestly felt a little lost. That cookie had this nutty, caramelized edge to it, a deep warmth that hit you before the chocolate even melted on your tongue. I asked around, tried to track down the baker, even left a note taped to the window. Nothing. After 17 tries—some burnt, some too flat, one that my neighbor politely called “edible”—I finally got it. This is that cookie.
The secret, as it turns out, is brown butter. I mean, I knew that going in, but I didn’t understand it until I watched the butter foam and turn amber in my own pan, smelling like toasted hazelnuts and something almost like butterscotch. The first time I nailed the color, I actually texted my sister a photo. She didn’t get it. That’s fine. The cookies speak for themselves.
It took me a solid two months of trial and error to figure out the exact timing for the brown butter, the right moment to fold in the chocolate chunks, and why chilling the dough matters so much. I ruined a good batch by rushing—honestly, I was hungry and impatient, and the cookies spread into sad, greasy discs. But when you get it right? The edges are crispy, the centers are soft, and that flaky sea salt on top cuts through the sweetness just enough to make you reach for another one before you’ve finished the first. Maybe you’ve been there, chasing a flavor you can’t forget. Let me tell you, this recipe is worth the obsession.
Why You’ll Love This Recipe
These aren’t just chocolate chip cookies. They are a whole mood—cozy, warm, and deeply satisfying in a way that feels like coming home after a long day. I have tested this recipe more times than I care to admit, and every single batch has taught me something new about how butter, sugar, and patience work together.
- Quick & Easy: The active prep time is about 20 minutes, though you’ll want to chill the dough for at least an hour. Perfect for when you need a baking project that doesn’t take all day.
- Simple Ingredients: No weird specialty items here. Butter, sugar, eggs, flour, chocolate chips, and sea salt. You probably have most of this in your kitchen right now.
- Perfect for Cozy Evenings: These cookies were made for cold weather, rainy afternoons, or any night when you need a little comfort. They pair beautifully with a cup of tea or a glass of cold milk.
- Crowd-Pleaser: I have brought these to potlucks, family gatherings, and casual get-togethers. They disappear fast. Kids love them, adults sneak extras, and someone always asks for the recipe.
- Unbelievably Delicious: The brown butter adds a nutty, toffee-like depth that regular butter just cannot match. It is next-level comfort food, honestly.
What makes this recipe different from the rest is the technique. Browning the butter might sound fancy, but it is actually dead simple—you just have to watch it closely and trust your nose. The result is a cookie that tastes like you spent hours in the kitchen, even though the actual hands-on time is minimal. It is comfort food reimagined: richer, warmer, and with the same soul-soothing satisfaction as the classic version, but with a little more personality.
This is the kind of cookie that makes you close your eyes after the first bite. I am not exaggerating. The first time I got it right, I stood in my kitchen, alone, and just… savored it. No distractions. Just the crunch of the edge, the soft center, and that little pop of salt at the end. It is perfect for impressing guests without stress, or for turning a quiet Tuesday night into something memorable.
What Ingredients You Will Need
This recipe uses simple, wholesome ingredients to deliver bold flavor and satisfying texture without the fuss. Most of these are pantry staples, which makes it easy to whip up a batch whenever the craving hits. Here is what you will need and why each ingredient matters.
- Unsalted butter, 1 cup (226 grams): You will brown this, so skip the salted butter—you want control over the salt level. I prefer Kerrygold for its rich flavor, but any good-quality unsalted butter works.
- Dark brown sugar, 1 cup (200 grams), packed: This gives the cookies their deep, molasses-like sweetness and helps create that chewy texture. Light brown sugar works too, but dark brown adds more complexity.
- Granulated sugar, 1/2 cup (100 grams): For sweetness and a slightly crisper edge. The combination of both sugars is key.
- Large eggs, 2, room temperature: Room-temperature eggs blend more smoothly into the brown butter, creating a better emulsion. If you forget to take them out early, place them in a bowl of warm water for 5 minutes.
- Vanilla extract, 2 teaspoons: Use pure vanilla extract if you can. It rounds out the nutty flavor of the brown butter beautifully.
- All-purpose flour, 2 1/4 cups (280 grams): Spoon and level your flour—don’t scoop directly from the bag, or you will end up with dry, dense cookies.
- Baking soda, 1 teaspoon: Helps the cookies spread just the right amount and gives them a tender crumb.
- Salt, 1 teaspoon: Regular table salt goes into the dough. The flaky sea salt on top is separate.
- Semi-sweet chocolate chips or chunks, 2 cups (340 grams): I like using a mix of chips and chopped chocolate bars for varied meltiness. Ghirardelli or Guittard are my go-to brands.
- Flaky sea salt, for finishing: Maldon is my favorite. The large, crunchy flakes add that perfect salty contrast.
For substitutions, you can use dairy-free butter if needed—just make sure it is suitable for browning. Coconut sugar can replace the brown sugar, though the texture will be slightly different. If you are gluten-sensitive, a good 1:1 gluten-free flour blend works, but chill the dough longer to prevent spreading.
Equipment Needed
You do not need a fancy kitchen to make these cookies. Here is what I use and what you can substitute if you are missing something.
- Light-colored saucepan or skillet: A light interior lets you see the butter change color as it browns. Dark pans make it hard to judge. I use a stainless steel saucepan.
- Mixing bowls: One large, one medium. Glass or stainless steel works best.
- Whisk: For combining the sugars and eggs. A wooden spoon works too, but a whisk gives you a smoother mixture.
- Rubber spatula: For folding in the chocolate and scraping every last bit of brown butter from the pan.
- Baking sheets: Two standard half-sheet pans. If you only have one, let it cool completely between batches.
- Parchment paper or silicone baking mats: Parchment is cheaper and disposable; silicone mats are reusable and give consistent results. I use parchment for easy cleanup.
- Cookie scoop or tablespoon: A 1.5-tablespoon scoop makes evenly sized cookies. A regular spoon works, but the cookies may vary in size.
- Wire cooling rack: Essential for letting the cookies cool evenly without getting soggy bottoms.
Budget-friendly tip: If you do not have a cookie scoop, use two spoons to portion the dough. It is a little messier, but it works fine. And if you are short on cooling racks, a clean kitchen towel laid flat works in a pinch—just flip the cookies halfway through cooling.
Preparation Method
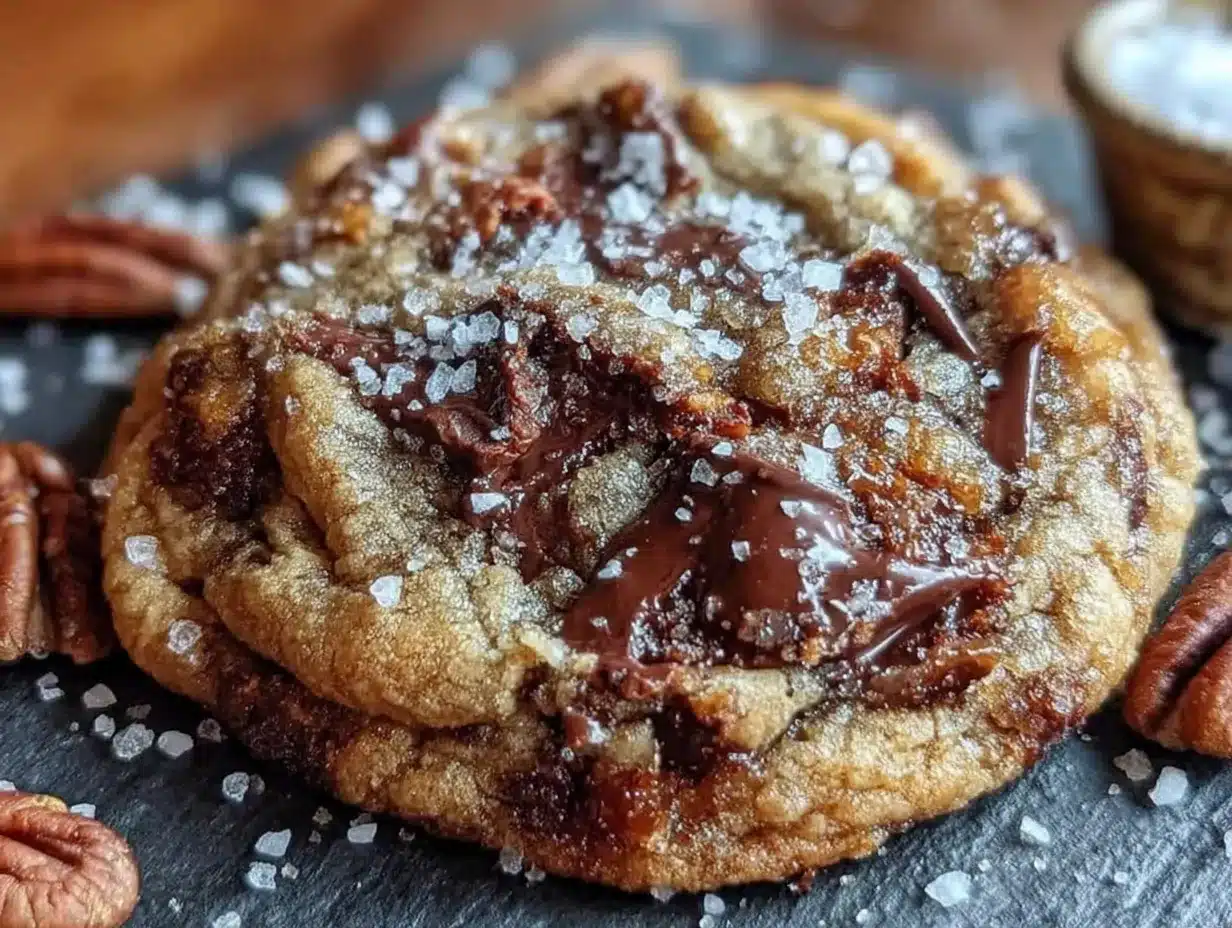
Let’s get to the fun part. Follow these steps closely, and you will have a batch of truly memorable cookies.
- Brown the butter: Place the 1 cup of unsalted butter in a light-colored saucepan over medium heat. Stir occasionally with a rubber spatula as it melts. The butter will foam, then bubble, then start to turn golden. Watch carefully—once you see brown specks forming at the bottom and smell a nutty aroma, remove it from the heat immediately. This takes about 5-7 minutes. Pour the brown butter into a large mixing bowl, including all the brown bits (that is where the flavor lives). Let it cool for 10 minutes.
- Mix the sugars: Add the packed dark brown sugar and granulated sugar to the warm brown butter. Whisk until combined. The mixture will look like wet sand—that is perfect. Let it cool for another 5 minutes so you don’t accidentally cook the eggs.
- Add the eggs and vanilla: Crack the two room-temperature eggs into the bowl. Add the vanilla extract. Whisk vigorously for about 1 minute until the mixture is smooth, glossy, and slightly thickened. It should look like caramel.
- Combine the dry ingredients: In a separate medium bowl, whisk together the all-purpose flour, baking soda, and salt. Make sure there are no clumps.
- Fold in the flour mixture: Add the dry ingredients to the wet mixture in two additions. Use a rubber spatula to fold gently until just combined. A few streaks of flour are okay—overmixing will make the cookies tough.
- Add the chocolate: Fold in the chocolate chips or chunks until evenly distributed. The dough will be thick and slightly sticky.
- Chill the dough: Cover the bowl with plastic wrap and refrigerate for at least 1 hour, or up to 48 hours. This step is non-negotiable. Chilling solidifies the brown butter, prevents excessive spreading, and deepens the flavor. I have let it go 24 hours, and the cookies were incredible.
- Preheat the oven: When you are ready to bake, preheat your oven to 375°F (190°C). Line two baking sheets with parchment paper.
- Portion the dough: Use a 1.5-tablespoon cookie scoop to portion the dough into balls. Place them 2 inches apart on the prepared baking sheets. If the dough is too firm to scoop, let it sit at room temperature for 10 minutes.
- Bake: Bake one sheet at a time for 10-12 minutes, or until the edges are golden brown and the centers look slightly underdone. They will continue to set on the hot baking sheet. I usually pull them at 11 minutes for soft centers.
- Add sea salt: Immediately after removing from the oven, sprinkle a pinch of flaky sea salt on top of each cookie. The salt sticks to the warm surface beautifully.
- Cool: Let the cookies cool on the baking sheet for 5 minutes, then transfer to a wire cooling rack. Try not to eat them all while they are still warm (but honestly, I won’t judge if you do).
Cooking Tips & Techniques
I have made plenty of mistakes with these cookies, so let me save you some trouble. Here are the things I wish someone had told me.
Watch the butter like a hawk. The line between browned and burnt is thin. Once the butter turns amber and smells nutty, pull it off the heat immediately. I once got distracted by my phone and ended up with black butter that smelled like burnt popcorn. The whole batch went in the trash.
Don’t skip the chilling step. I know it is tempting to rush, especially when you can already smell the brown butter. But warm dough spreads into flat, greasy cookies. Chilled dough bakes thick and chewy. I learned this the hard way when I made a batch for a party and ended up with cookie bark instead of cookies.
Use a light-colored pan for browning. Dark nonstick pans make it nearly impossible to see the color change. I ruined two batches before switching to a stainless steel saucepan. Trust me on this one.
Bake one sheet at a time. Putting two sheets in the oven at once creates uneven heat distribution. The cookies on the bottom rack will spread too much while the ones on top stay pale. It takes longer, but it is worth it.
Let them cool on the sheet. Those 5 minutes on the hot baking sheet are crucial. The cookies continue to bake and set, so they come out with crispy edges and gooey centers. If you move them too soon, they will fall apart.
Variations & Adaptations
One of the best things about this recipe is how easy it is to tweak. Here are a few variations I have tried and loved.
Gluten-Free Version: Swap the all-purpose flour with a good 1:1 gluten-free baking blend. I have used Bob’s Red Mill with great results. Chill the dough for at least 2 hours, as gluten-free dough tends to be softer.
Dark Chocolate Lovers: Use dark chocolate chips or chopped dark chocolate bars (70% cacao or higher). The bitterness pairs beautifully with the sweet, nutty brown butter. I made a batch with 85% cacao once, and it was dangerously good.
Add Nuts: Fold in 1 cup of toasted pecans or walnuts along with the chocolate. Toast them first in a dry skillet for 3-4 minutes to bring out their flavor. My sister-in-law requests this version every Christmas.
Seasonal Twist: In the fall, add 1 teaspoon of cinnamon and 1/2 teaspoon of nutmeg to the dry ingredients. It gives the cookies a warm, spiced flavor that is perfect for chilly evenings.
Vegan Adaptation: Use vegan butter that is suitable for browning (Miyoko’s works well) and replace the eggs with flax eggs (2 tablespoons ground flaxseed mixed with 6 tablespoons water, let sit for 5 minutes). The texture will be slightly different, but still delicious.
Serving & Storage Suggestions
These cookies are best served warm, straight from the oven, with a glass of cold milk or a hot cup of coffee. The contrast between the warm, melty chocolate and the cold drink is pure comfort.
For a dessert spread, arrange them on a wooden board with fresh berries, a bowl of whipped cream, and maybe some vanilla ice cream on the side. They also make fantastic ice cream sandwiches—just soften your favorite vanilla ice cream, spread it between two cookies, and freeze for an hour.
Storage: Keep leftover cookies in an airtight container at room temperature for up to 5 days. Place a slice of bread in the container to keep them soft—the cookies will absorb the moisture from the bread. Change the bread slice every other day.
Freezing: You can freeze the baked cookies for up to 3 months. Wrap them individually in plastic wrap, then place them in a freezer bag. Thaw at room temperature for 30 minutes, or pop them in a 300°F oven for 5 minutes to re-crisp the edges.
Freezing the dough: Scoop the chilled dough into balls, place them on a baking sheet, and freeze until solid. Transfer the frozen dough balls to a freezer bag. Bake straight from frozen, adding 2-3 minutes to the baking time. This is my favorite trick for having fresh cookies on demand.
The flavors actually deepen after a day or two in the fridge. I have snuck a cold cookie straight from the container, and honestly, it is a different experience—denser, chewier, almost like a cookie dough hybrid. Not better or worse, just different. Worth trying.
Nutritional Information & Benefits
Let’s be real: these are cookies, not health food. But knowing what is in them helps you enjoy them mindfully. Here is the estimated nutritional breakdown per cookie (based on 24 cookies per batch).
| Nutrient | Amount Per Cookie |
|---|---|
| Calories | 210 |
| Total Fat | 11g |
| Saturated Fat | 7g |
| Cholesterol | 35mg |
| Sodium | 150mg |
| Total Carbohydrates | 27g |
| Dietary Fiber | 1g |
| Sugars | 18g |
| Protein | 3g |
On the bright side, dark chocolate contains antioxidants and flavonoids that support heart health. The brown butter provides vitamin A and healthy fats. And the sea salt offers trace minerals. But honestly, I make these for the joy they bring, not the nutritional profile. Everything in moderation, right?
If you are watching your sugar intake, you can reduce the granulated sugar to 1/4 cup. The cookies will be less sweet but still delicious, thanks to the natural sweetness of the brown butter and chocolate.
Conclusion
These cozy brown butter chocolate chip cookies are more than just a recipe—they are a little piece of comfort you can create in your own kitchen. That bakery in Portland may be gone, but the memory of that perfect cookie lives on in every batch I make. And now, it can live on in yours too.
I encourage you to make these your own. Adjust the salt level, try different chocolate, add nuts or spices. The base recipe is forgiving and flexible. That is the beauty of baking—it is both science and art, and you get to be the artist.
Personally, I love these cookies because they remind me that good things take time. The brown butter, the chilling, the careful watching—it all matters. But the payoff is worth every minute. There is something deeply satisfying about pulling a tray of golden, sea-salt-speckled cookies out of the oven, knowing you made them from scratch.
Have you tried these cookies? Did you add your own twist? I would love to hear about it. Drop a comment below, share your photos, or tell me about the bakery you are trying to recreate. Let’s keep the cookie love going.
Happy baking, friend. You have got this.
Frequently Asked Questions
Can I use salted butter instead of unsalted?
You can, but reduce the added salt in the dough to 1/2 teaspoon. The brown butter will still be delicious, but you lose some control over the final salt level. I prefer unsalted for consistency.
Why did my cookies spread too much?
This usually happens when the dough is too warm. Make sure you chill it for at least 1 hour. Also, check that your baking soda is fresh—old baking soda loses its leavening power and can cause spreading.
Can I make the dough ahead of time?
Absolutely. The dough can be refrigerated for up to 48 hours. In fact, the flavor improves over time as the brown butter and sugars meld together. You can also freeze the dough balls for up to 3 months.
What is the best way to reheat leftover cookies?
Pop them in a 300°F oven for 3-5 minutes. This re-crisps the edges and softens the center. Avoid the microwave—it makes them rubbery. Trust me on this one.
Can I use milk chocolate instead of semi-sweet?
Yes, but the cookies will be significantly sweeter. If you go this route, consider reducing the granulated sugar to 1/4 cup and adding an extra pinch of flaky sea salt on top to balance the sweetness.
Pin This Recipe!
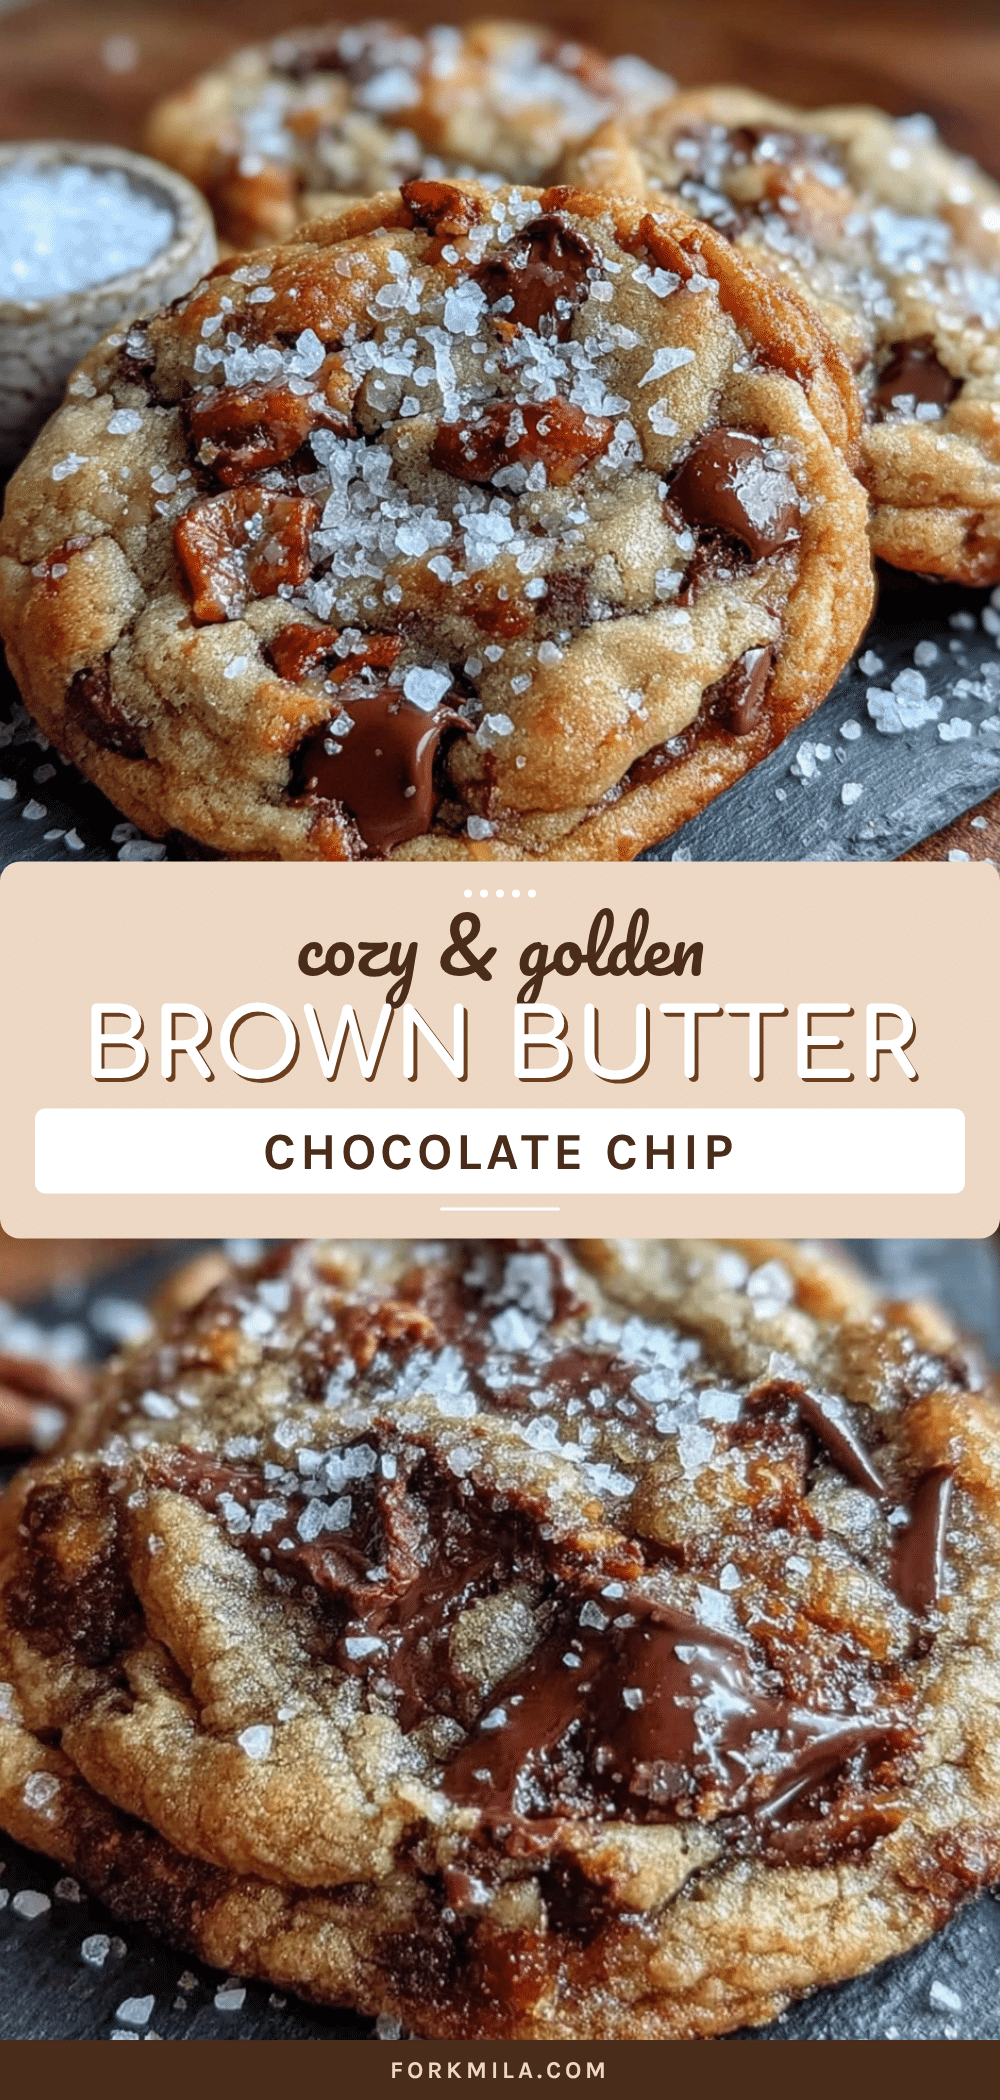
Cozy Brown Butter Chocolate Chip Cookies with Sea Salt

These brown butter chocolate chip cookies have a nutty, caramelized edge and a soft center, topped with flaky sea salt for the perfect sweet-salty balance. They are a cozy, comforting treat that tastes like a bakery classic.
- Prep Time: 20 minutes
- Cook Time: 10-12 minutes per batch
- Total Time: 1 hour 30 minutes (including chilling)
- Yield: 24 cookies 1x
- Category: Dessert
- Cuisine: American
Ingredients
- 1 cup (226 grams) unsalted butter
- 1 cup (200 grams) dark brown sugar, packed
- 1/2 cup (100 grams) granulated sugar
- 2 large eggs, room temperature
- 2 teaspoons vanilla extract
- 2 1/4 cups (280 grams) all-purpose flour
- 1 teaspoon baking soda
- 1 teaspoon salt
- 2 cups (340 grams) semi-sweet chocolate chips or chunks
- Flaky sea salt, for finishing
Instructions
- Brown the butter: Place the 1 cup of unsalted butter in a light-colored saucepan over medium heat. Stir occasionally with a rubber spatula as it melts. The butter will foam, then bubble, then start to turn golden. Watch carefully—once you see brown specks forming at the bottom and smell a nutty aroma, remove it from the heat immediately. This takes about 5-7 minutes. Pour the brown butter into a large mixing bowl, including all the brown bits. Let it cool for 10 minutes.
- Mix the sugars: Add the packed dark brown sugar and granulated sugar to the warm brown butter. Whisk until combined. The mixture will look like wet sand. Let it cool for another 5 minutes.
- Add the eggs and vanilla: Crack the two room-temperature eggs into the bowl. Add the vanilla extract. Whisk vigorously for about 1 minute until the mixture is smooth, glossy, and slightly thickened.
- Combine the dry ingredients: In a separate medium bowl, whisk together the all-purpose flour, baking soda, and salt.
- Fold in the flour mixture: Add the dry ingredients to the wet mixture in two additions. Use a rubber spatula to fold gently until just combined. A few streaks of flour are okay.
- Add the chocolate: Fold in the chocolate chips or chunks until evenly distributed. The dough will be thick and slightly sticky.
- Chill the dough: Cover the bowl with plastic wrap and refrigerate for at least 1 hour, or up to 48 hours.
- Preheat the oven: When you are ready to bake, preheat your oven to 375°F (190°C). Line two baking sheets with parchment paper.
- Portion the dough: Use a 1.5-tablespoon cookie scoop to portion the dough into balls. Place them 2 inches apart on the prepared baking sheets. If the dough is too firm to scoop, let it sit at room temperature for 10 minutes.
- Bake: Bake one sheet at a time for 10-12 minutes, or until the edges are golden brown and the centers look slightly underdone.
- Add sea salt: Immediately after removing from the oven, sprinkle a pinch of flaky sea salt on top of each cookie.
- Cool: Let the cookies cool on the baking sheet for 5 minutes, then transfer to a wire cooling rack.
Notes
Watch the butter carefully to avoid burning. Chilling the dough is essential for thick, chewy cookies. Bake one sheet at a time for even results. Let cookies cool on the baking sheet for 5 minutes before transferring.
Nutrition
- Serving Size: 1 cookie
- Calories: 210
- Sugar: 18
- Sodium: 150
- Fat: 11
- Saturated Fat: 7
- Carbohydrates: 27
- Fiber: 1
- Protein: 3
Keywords: brown butter chocolate chip cookies, sea salt cookies, easy cookie recipe, homemade cookies, comfort food


