It was 10:47 PM on a rainy Wednesday, and I had a restless energy that only a kitchen project could fix. The craving was specific—something warm, spiced, and portable for the chaos of Thursday morning. I didn’t have the energy for a full-blown baking session, but I had a half-can of pumpkin puree leftover from a failed soup experiment and a bag of oats staring at me from the pantry. The idea arrived like a quiet whisper: what if I just mixed it all in one bowl and pressed it into a pan? No stand mixer. No creaming butter and sugar. Just dump, stir, and bake. Honestly, I was skeptical. I mean, I’ve had my share of “healthy” bars that taste like cardboard dressed up in cinnamon. But something about the late hour loosened my usual rules—I wasn’t trying to impress anyone, not even myself. I just wanted something that smelled like fall and didn’t require a fork. So I grabbed a bowl, mashed a banana, dumped in the pumpkin, and started stirring. The oats soaked up the moisture, the maple syrup swirled in, and before I knew it, I had a batter that looked more like a promise than a recipe. I poured it in, set the timer, and sat on the kitchen floor scrolling my phone while the apartment filled with that unmistakable scent—the kind that makes you forget it’s almost midnight. When the timer beeped, I pulled out a pan of golden, perfectly set bars. I cut a corner piece while it was still warm, and let me tell you, that first bite had this unexpected softness—like a oatmeal cookie and a muffin had a baby, and that baby was healthy. Maybe you’ve been there—staring at a can of pumpkin with no plan and a fridge full of odds and ends. This recipe stayed with me because it proved that the best things happen when you stop overthinking and start stirring.
Why You’ll Love These Pumpkin Oat Breakfast Bars
After testing this recipe at least seven times (my neighbors have become very familiar with my baking schedule), I can confidently say these bars are a game-changer for busy mornings. They come together in under 30 minutes, which means you can make them on a Sunday afternoon and have breakfast sorted for the entire week. No fuss, no stress—just pure, wholesome goodness.
- Quick & Easy: From bowl to oven in less than 10 minutes. Seriously, the hardest part is waiting for them to bake.
- Simple Ingredients: You probably already have everything in your pantry. Oats, pumpkin, banana, maple syrup—no fancy trips to specialty stores required.
- Perfect for Meal Prep: These bars hold up beautifully in the fridge for up to a week, making them ideal for grab-and-go mornings or afternoon snack attacks.
- Crowd-Pleaser: I’ve served these to kids, picky eaters, and even my uncle who swears he “doesn’t do healthy food.” They disappeared in minutes.
- Naturally Sweetened: No refined sugar here—just the natural sweetness of ripe banana and a touch of maple syrup. Your taste buds won’t miss a thing.
What makes these bars different from the rest? It’s the texture, honestly. Most healthy breakfast bars end up either too dry or too mushy. But this recipe hits that sweet spot—chewy, moist, and just sturdy enough to hold its shape without crumbling. The secret is the ratio of oats to pumpkin, which I tweaked obsessively until it was just right. Plus, the blend of cinnamon, nutmeg, and ginger gives you that cozy pumpkin spice flavor without relying on a store-bought mix.
This isn’t just another healthy bar recipe—it’s the kind that makes you look forward to Monday morning. It’s comfort food reimagined: faster, healthier, but with the same soul-soothing satisfaction. Perfect for impressing house guests without breaking a sweat, or turning a chaotic morning into something a little more manageable.
What Ingredients You Will Need
This recipe uses simple, wholesome ingredients to deliver bold flavor and satisfying texture without the fuss. Most of these are pantry staples, so you can whip up a batch anytime the craving strikes.
For the Bars
- Rolled oats – 2 cups (use certified gluten-free if needed). I prefer Bob’s Red Mill for their consistent texture.
- Pumpkin puree – 1 cup (not pumpkin pie filling—make sure it’s 100% pure pumpkin). Libby’s is my go-to brand.
- Ripe banana – 1 large, mashed (the spottier the better for natural sweetness)
- Maple syrup – ¼ cup (adds richness without refined sugar)
- Egg – 1 large, room temperature (helps bind everything together)
- Coconut oil – 2 tablespoons, melted (or use melted butter for a richer flavor)
- Vanilla extract – 1 teaspoon
- Cinnamon – 1 teaspoon
- Nutmeg – ½ teaspoon (freshly grated if you have it—worth the extra effort)
- Ginger – ½ teaspoon (ground)
- Salt – ¼ teaspoon (balances the sweetness)
- Baking powder – ½ teaspoon (for a little lift)
Optional Add-Ins
- Dark chocolate chips – ¼ cup (because chocolate makes everything better)
- Chopped pecans or walnuts – ¼ cup (adds crunch and healthy fats)
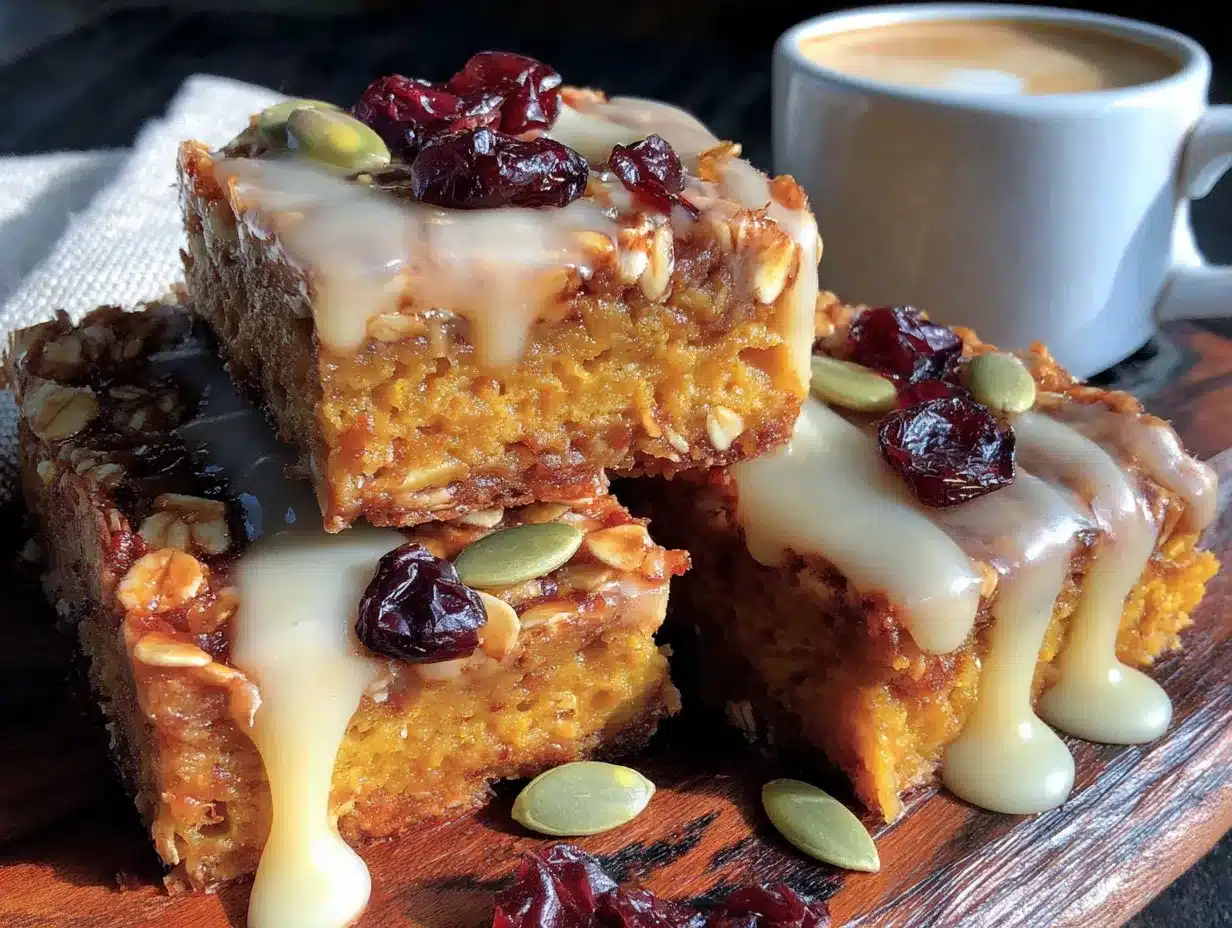
- Dried cranberries – ¼ cup (for a tart pop of flavor)
When selecting your pumpkin puree, look for a brand with no added sugar or spices—just pure pumpkin. For the oats, avoid instant oats as they tend to get mushy. Old-fashioned rolled oats give the best texture. If you’re dairy-free, this recipe is already friendly with coconut oil, but you can also use avocado oil for a neutral flavor.
Equipment Needed
You don’t need a fancy kitchen to make these bars. Here’s what you’ll need:
- 8×8 inch baking pan – The perfect size for thick, satisfying bars. A 9×9 pan works too, but your bars will be thinner.
- Parchment paper – Trust me on this one. It makes lifting the bars out so much easier, and cleanup is a breeze.
- Large mixing bowl – Any bowl will do, but I love my ceramic one for its heft.
- Whisk or fork – For mashing the banana and mixing the wet ingredients.
- Spatula – For spreading the batter evenly in the pan.
- Measuring cups and spoons – Accuracy matters, especially with the pumpkin puree.
If you don’t have an 8×8 pan, you can use a loaf pan and adjust the baking time slightly. I’ve also made these in a muffin tin for portable pumpkin oat bites—just reduce the baking time to 15-18 minutes. And if you’re like me and hate washing dishes, line your pan with parchment paper and you’ll barely have to scrub anything.
Preparation Method
These bars come together in one bowl, which means less mess and more time for sipping your coffee. Follow these steps carefully, and you’ll have perfect bars every time.
- Preheat your oven to 350°F (175°C). Line your 8×8 inch baking pan with parchment paper, leaving some overhang on two sides. This creates little handles that make lifting the bars out a dream.
- Mash the banana. In your large mixing bowl, mash the ripe banana with a fork until it’s mostly smooth. A few small lumps are totally fine—they add texture. This should take about 30 seconds.
- Mix the wet ingredients. Add the pumpkin puree, maple syrup, melted coconut oil, egg, and vanilla extract to the mashed banana. Whisk everything together until it’s smooth and well combined. The mixture should look like a thick, creamy orange batter. If your coconut oil solidifies on contact with cold ingredients, don’t panic—just keep whisking, and it will incorporate.
- Add the dry ingredients. Sprinkle the rolled oats, cinnamon, nutmeg, ginger, salt, and baking powder over the wet mixture. Stir with a spatula until everything is evenly combined. The batter will be thick and slightly sticky—that’s exactly what you want. If you’re adding chocolate chips, pecans, or cranberries, fold them in now.
- Press into the pan. Transfer the mixture to your prepared baking pan. Use the back of your spatula (or lightly wet your hands) to press the batter evenly into the corners. Make sure the surface is as flat as possible for even baking.
- Bake. Place the pan in the preheated oven and bake for 22-25 minutes. At the 20-minute mark, start checking for doneness. The edges should be golden brown, and the center should feel firm to the touch. A toothpick inserted in the center should come out clean or with just a few moist crumbs.
- Cool completely. This is the hardest part, I know. Let the bars cool in the pan for 10 minutes, then use the parchment paper handles to lift them out onto a wire rack. Let them cool completely before cutting—about 30 minutes. If you cut them while they’re warm, they’ll crumble. Patience pays off here.
- Slice and serve. Use a sharp knife to cut the bars into 9 even squares (or 12 if you want smaller portions). For clean cuts, wipe the knife between slices.
Pro tip: If your bars seem too soft after baking, they might need a few more minutes. Oven temperatures vary, so trust your senses more than the timer. The edges should be visibly set and slightly pulling away from the pan.
Cooking Tips & Techniques
I’ve made these bars more times than I can count, and I’ve learned a few things the hard way. Here are my best tips for success:
- Don’t overmix the batter. Stir just until the dry ingredients are incorporated. Overmixing can make the bars dense and tough instead of tender and chewy.
- Let your banana get really ripe. I’m talking brown spots, almost looking sad. The riper the banana, the sweeter your bars will be without adding extra sugar. I’ve frozen overripe bananas just for this purpose.
- Use room temperature ingredients. Cold egg or coconut oil can seize up and create lumps. Let everything sit on the counter for 15 minutes before you start. I learned this after making a batch with cold eggs that didn’t incorporate properly—the bars were fine, but the texture was off.
- Press firmly when spreading. Use the back of a spoon or your hands to really press the mixture into the pan. This ensures the bars hold together and bake evenly. I once got lazy and just dumped the batter in—the bars fell apart when I tried to cut them.
- Check for doneness with your finger. The center should spring back slightly when you press it. If it feels squishy, give it a few more minutes. Every oven has its quirks, and mine runs a little hot, so I start checking early.
One mistake I made early on was using quick oats instead of rolled oats. The texture turned out mushy and almost porridge-like. Rolled oats give that satisfying chewiness that makes these bars feel like a treat. Also, don’t skip the salt—it might seem like a small detail, but it balances the sweetness and brings out the warm spices.
Variations & Adaptations
These bars are incredibly forgiving, so feel free to make them your own. Here are some variations I’ve tried and loved:
- Vegan version: Replace the egg with a flax egg (1 tablespoon ground flaxseed mixed with 3 tablespoons water, let sit for 5 minutes). The bars will be slightly softer but just as delicious. I tested this for a friend who’s vegan, and she couldn’t tell the difference.
- Gluten-free option: Use certified gluten-free rolled oats. That’s it—the recipe is naturally gluten-free as long as your oats are safe. I’ve used Bob’s Red Mill gluten-free oats with great results.
- Nut-free version: Skip the pecans or walnuts and add sunflower seeds or pumpkin seeds instead. They add the same crunch without the allergens. My son’s school is nut-free, so this variation has saved many lunchbox moments.
- Protein boost: Add 2 tablespoons of your favorite protein powder (vanilla works best). You may need to add an extra tablespoon of milk or water to balance the moisture. I’ve used collagen powder and it blends in seamlessly.
- Flavor twist: Swap the pumpkin for sweet potato puree (same measurement) for a slightly different flavor profile. Or add a tablespoon of cocoa powder for a chocolate-pumpkin combo that’s surprisingly good.
I once made a batch with chai spice instead of the individual spices—cinnamon, cardamom, cloves, and ginger—and it was a revelation. The warm, aromatic flavors paired beautifully with the pumpkin. Don’t be afraid to experiment; these bars are hard to mess up.
Serving & Storage Suggestions
These bars are versatile enough for breakfast, snack time, or even dessert. Here’s how to serve and store them for maximum enjoyment:
- Serving temperature: They’re delicious at room temperature, but I love warming one up in the microwave for 15 seconds. It softens the oats and makes the spices smell incredible. Top with a drizzle of almond butter or a dollop of Greek yogurt for extra creaminess.
- Pairing ideas: Serve alongside a hot cup of coffee or chai tea for the ultimate fall breakfast. They also pair beautifully with a smoothie or a hard-boiled egg for a balanced meal. For a dessert twist, crumble one over vanilla ice cream—trust me on this.
- Refrigerator storage: Store bars in an airtight container in the fridge for up to 7 days. Layer them with parchment paper between each bar to prevent sticking. They actually get better after a day or two as the flavors meld together.
- Freezer storage: These freeze beautifully. Wrap each bar individually in plastic wrap, then place them in a freezer-safe bag. They’ll keep for up to 3 months. To thaw, just leave one on the counter for 30 minutes or microwave for 20 seconds.
- Reheating tips: For a warm breakfast, microwave a frozen bar for 30-40 seconds. If you’re reheating from the fridge, 15-20 seconds is plenty. You can also pop them in a toaster oven at 300°F for 5 minutes for a slightly crispier edge.
The flavors develop beautifully over time, so don’t be surprised if day-old bars taste even better than fresh ones. The spices deepen, the oats soften, and everything comes together in perfect harmony.
Nutritional Information & Benefits
These bars aren’t just delicious—they’re packed with nutrients that make you feel good about eating them. Here’s the breakdown per bar (based on 9 servings):
| Nutrient | Amount per bar |
|---|---|
| Calories | 185 |
| Total Fat | 7g |
| Saturated Fat | 4g |
| Carbohydrates | 28g |
| Fiber | 4g |
| Sugar | 10g (naturally occurring) |
| Protein | 5g |
| Vitamin A | 80% DV |
| Iron | 8% DV |
Pumpkin is a powerhouse of vitamin A, which supports eye health and immune function. Oats provide soluble fiber that helps keep you full and supports heart health. Bananas add potassium and natural sweetness without refined sugar. These bars are also dairy-free and can easily be made vegan or gluten-free, making them accessible for various dietary needs. The only potential allergen is gluten (from oats), so use certified gluten-free oats if needed.
From a wellness perspective, I love that these bars give me sustained energy without the crash that comes from sugary breakfast options. They’re perfect for busy mornings when I need something that will keep me going until lunch.
Frequently Asked Questions
Can I use quick oats instead of rolled oats?
You can, but the texture will be different. Quick oats absorb more liquid and will make the bars softer and less chewy. If you only have quick oats, reduce the pumpkin puree by 2 tablespoons to compensate for the extra absorption. Rolled oats are still my top recommendation for the best texture.
How do I know when the bars are fully baked?
The edges should be golden brown and slightly pulling away from the pan. The center should feel firm to the touch—if it jiggles, it needs more time. A toothpick inserted in the center should come out clean or with a few moist crumbs, not wet batter. Every oven is different, so start checking at 20 minutes.
Can I make these bars without banana?
Yes! Replace the mashed banana with ½ cup of unsweetened applesauce or an additional ½ cup of pumpkin puree. The bars will be slightly less sweet, so you might want to add an extra tablespoon of maple syrup. I’ve tested this substitution and the texture holds up beautifully.
How long do these bars last at room temperature?
They’ll keep at room temperature for about 2 days in an airtight container, but I recommend refrigerating them for longer storage. The moisture from the pumpkin and banana can cause them to spoil faster at room temperature. In the fridge, they stay fresh for up to a week.
Can I double this recipe?
Absolutely! Double all the ingredients and bake in a 9×13 inch pan. You’ll need to increase the baking time by about 5-8 minutes. Keep an eye on the center, and use the same doneness tests. I’ve made a double batch for brunch parties, and it works perfectly.
Conclusion
These Healthy Pumpkin Oat Breakfast Bars have become a staple in my kitchen for good reason. They’re quick, forgiving, and packed with flavor that makes healthy eating feel like a treat. Whether you’re meal-prepping for a busy week, looking for a wholesome snack, or just craving something that tastes like fall, these bars deliver every single time.
I encourage you to make this recipe your own—add your favorite mix-ins, adjust the spices to your liking, or try one of the variations I’ve shared. The beauty of these bars is that they’re a canvas for your creativity. And honestly, the best version is the one that makes you excited to eat breakfast.
I’d love to hear how yours turn out! Drop a comment below and let me know what variations you tried, or tag me in your photos if you share them online. Happy baking, and remember—the best recipes are the ones you actually make. So go ahead, preheat that oven, and give these bars a try. Your future self (the one rushing out the door on a Tuesday morning) will thank you.
Pin This Recipe!
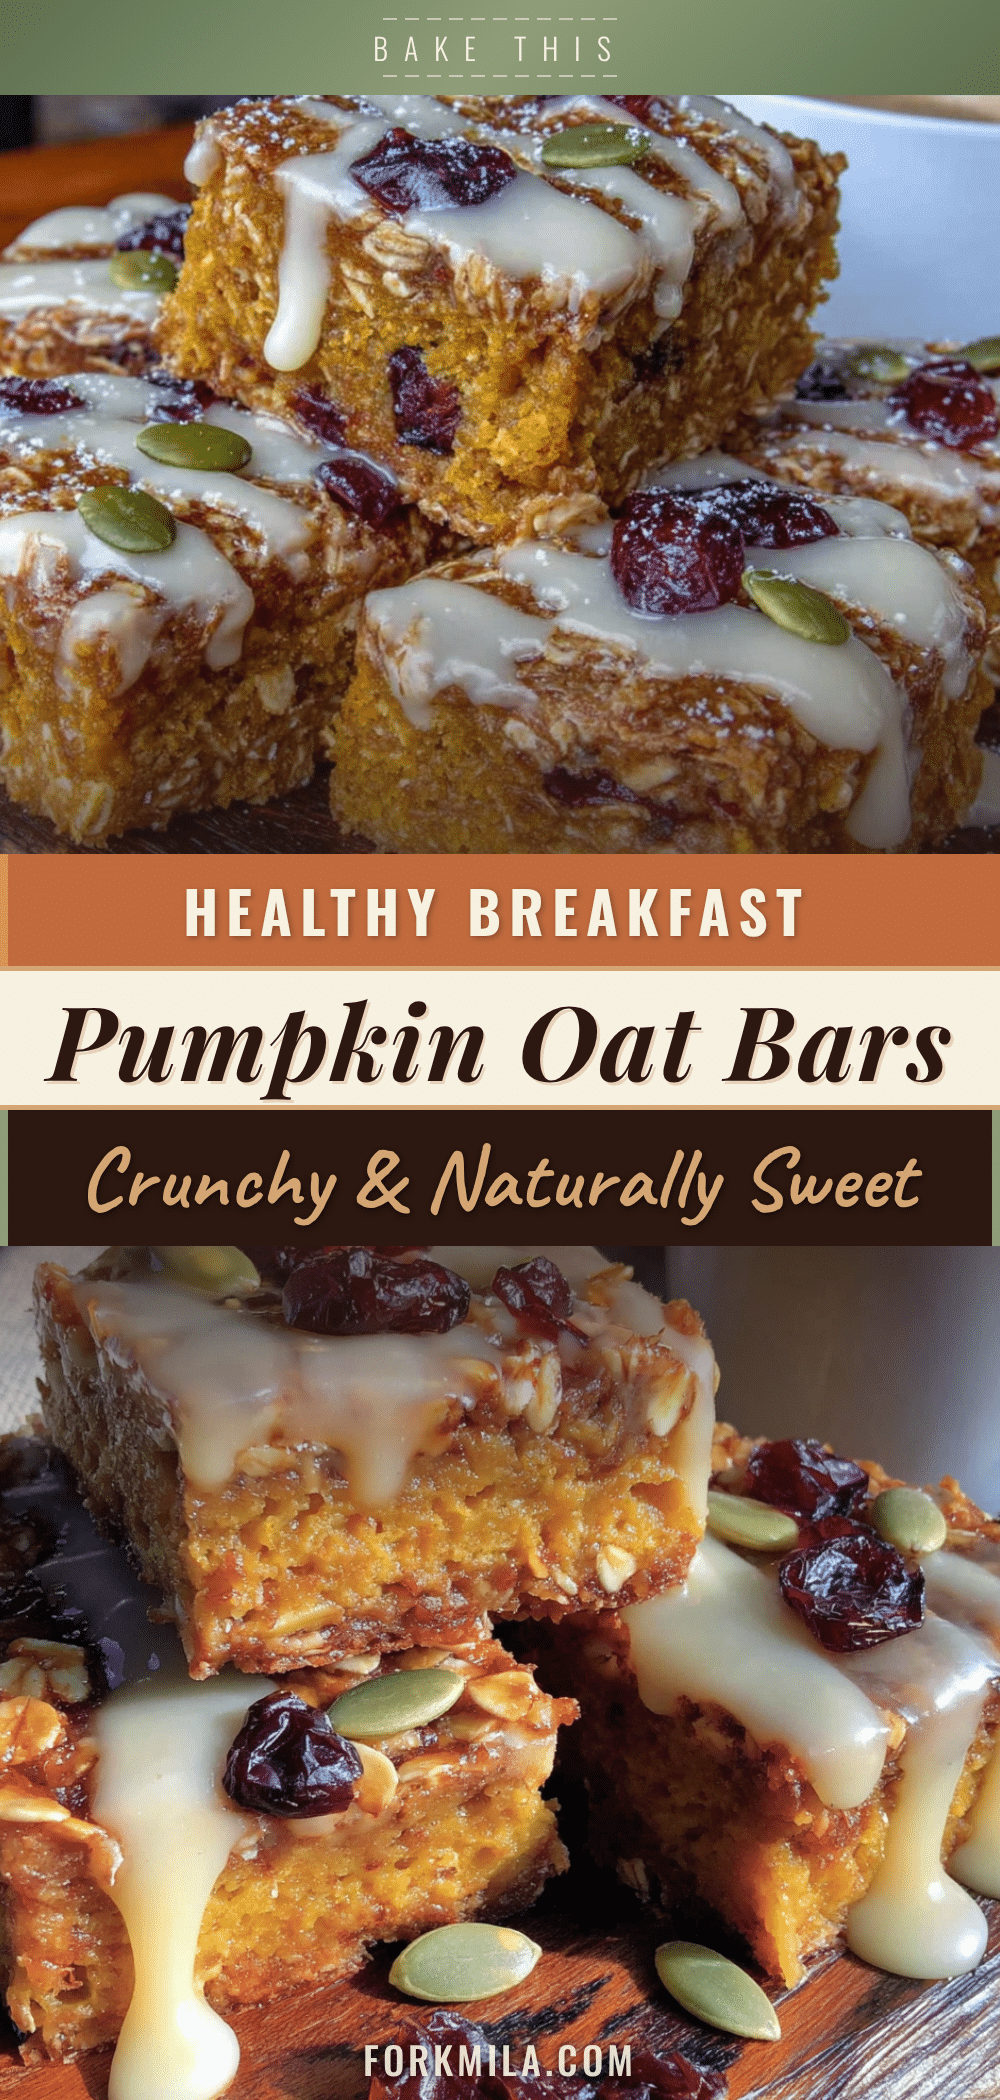
Best Healthy Pumpkin Oat Breakfast Bars: Easy 30-Min Recipe
These Healthy Pumpkin Oat Breakfast Bars are quick, easy, and perfect for busy mornings. Made with simple ingredients like oats, pumpkin, and banana, they come together in under 30 minutes for a wholesome, grab-and-go breakfast or snack.
- Prep Time: 10 minutes
- Cook Time: 25 minutes
- Total Time: 35 minutes
- Yield: 9 servings 1x
- Category: Breakfast
- Cuisine: American
Ingredients
- 2 cups rolled oats (use certified gluten-free if needed)
- 1 cup pumpkin puree (not pumpkin pie filling)
- 1 large ripe banana, mashed
- 1/4 cup maple syrup
- 1 large egg, room temperature
- 2 tablespoons coconut oil, melted (or melted butter)
- 1 teaspoon vanilla extract
- 1 teaspoon cinnamon
- 1/2 teaspoon nutmeg (freshly grated if possible)
- 1/2 teaspoon ground ginger
- 1/4 teaspoon salt
- 1/2 teaspoon baking powder
- 1/4 cup dark chocolate chips (optional)
- 1/4 cup chopped pecans or walnuts (optional)
- 1/4 cup dried cranberries (optional)
Instructions
- Preheat your oven to 350°F (175°C). Line an 8×8 inch baking pan with parchment paper, leaving overhang on two sides for easy removal.
- In a large mixing bowl, mash the ripe banana with a fork until mostly smooth (a few lumps are fine).
- Add the pumpkin puree, maple syrup, melted coconut oil, egg, and vanilla extract to the mashed banana. Whisk until smooth and well combined.
- Sprinkle the rolled oats, cinnamon, nutmeg, ginger, salt, and baking powder over the wet mixture. Stir with a spatula until evenly combined. If using optional add-ins (chocolate chips, nuts, cranberries), fold them in now.
- Transfer the mixture to the prepared baking pan. Use the back of a spatula or lightly wet hands to press the batter evenly into the pan, ensuring a flat surface.
- Bake for 22-25 minutes, or until the edges are golden brown and the center feels firm to the touch. A toothpick inserted in the center should come out clean or with a few moist crumbs.
- Let the bars cool in the pan for 10 minutes, then use the parchment paper handles to lift them out onto a wire rack. Cool completely (about 30 minutes) before cutting.
- Slice into 9 even squares (or 12 for smaller portions) using a sharp knife, wiping the knife between cuts for clean edges.
Notes
For best texture, use old-fashioned rolled oats (not instant). Let the banana get very ripe for natural sweetness. Use room temperature ingredients to avoid lumps. Press the mixture firmly into the pan to ensure bars hold together. Check for doneness at 20 minutes; oven temperatures vary. Cool completely before cutting to prevent crumbling. Store in an airtight container in the fridge for up to 7 days or freeze for up to 3 months.
Nutrition
- Serving Size: 1 bar
- Calories: 185
- Sugar: 10
- Sodium: 120
- Fat: 7
- Saturated Fat: 4
- Carbohydrates: 28
- Fiber: 4
- Protein: 5
Keywords: pumpkin oat bars, healthy breakfast bars, pumpkin breakfast bars, easy breakfast bars, meal prep breakfast, gluten-free breakfast bars, vegan breakfast bars


