I was standing in line at the hardware store on a Tuesday afternoon, holding a bag of sand and a replacement light fixture, when the woman behind me—a retired schoolteacher with a sensible haircut and a canvas tote bag—started talking about how she fueled her annual Appalachian Trail section hike. I wasn’t expecting hiking advice at the hardware store, but there I was, trying to balance the sand bag on my hip while she described the perfect portable energy snack. She called them “hiker crack,” and honestly, the name alone made me pay attention. She scribbled the recipe on the back of a receipt from her pocket, and I stuffed it into my wallet, forgetting about it completely until I found it three months later, crumpled and faded. Let me tell you, making them for the first time felt like discovering a secret. They were simple, no oven required, and somehow kept me full for hours. I’ve tweaked the original over the years, but the heart of it—that sticky, peanut buttery, satisfying bite—is all thanks to that chance encounter at the checkout line. Maybe you’ve been there, where the best recipe comes from the last place you’d think to look.
Why You’ll Love This Recipe
These Easy No-Bake Peanut Butter Protein Balls aren’t just another snack recipe. They’ve become my go-to for so many reasons, and I think they’ll become yours too. After making hundreds of these over the past few years, I can tell you they’re the real deal.
- Quick & Easy: You can whip up a batch in under 15 minutes. No oven, no mixer, no fuss. It’s the kind of recipe you can make while your coffee is brewing.
- Simple Ingredients: You probably have everything in your pantry right now. No trips to specialty stores or hunting for obscure superfoods.
- Perfect for Busy Weeks: I pack them for road trips, stash them in my desk drawer for afternoon slumps, and hand them to my kids before soccer practice. They’re the ultimate grab-and-go snack.
- Crowd-Pleaser: I’ve brought these to potlucks and watched them disappear. Kids love them, adults love them, even my picky uncle asked for the recipe.
- Unbelievably Satisfying: The combination of peanut butter, oats, and protein powder creates this chewy, hearty texture that actually keeps you full. It’s not just a snack—it’s fuel.
What makes these different from every other protein ball recipe out there? It’s the texture. I’ve tested countless ratios of wet to dry ingredients, and this one hits that perfect sweet spot—not too sticky, not too crumbly, with just enough chewiness to feel like a treat. Plus, they’re naturally sweetened with honey, so you don’t get that artificial aftertaste some recipes have. Honestly, this is comfort food that works for your body.
What Ingredients You Will Need
This recipe uses simple, wholesome ingredients that come together to create a snack that’s both delicious and nutritious. Most of these are pantry staples, so you can probably make a batch right now without a grocery run.
Main Ingredients
- 1 cup creamy peanut butter (natural or regular works; I prefer natural for less added sugar, but use what you have)
- 1 cup old-fashioned rolled oats (not quick oats—they make the texture too mushy)
- 1/2 cup honey (or maple syrup for a vegan option)
- 1/2 cup protein powder (vanilla or unflavored; I really like the texture of [brand name] vanilla whey, but plant-based works too)
- 1/4 cup ground flaxseed (adds fiber and helps bind everything together)
- 1/4 cup dark chocolate chips (optional but highly recommended—adds little pockets of melty goodness)
- 1/2 teaspoon vanilla extract (enhances the overall flavor profile)
- Pinch of sea salt (balances the sweetness and brings out the peanut butter flavor)
Ingredient Tips & Substitutions
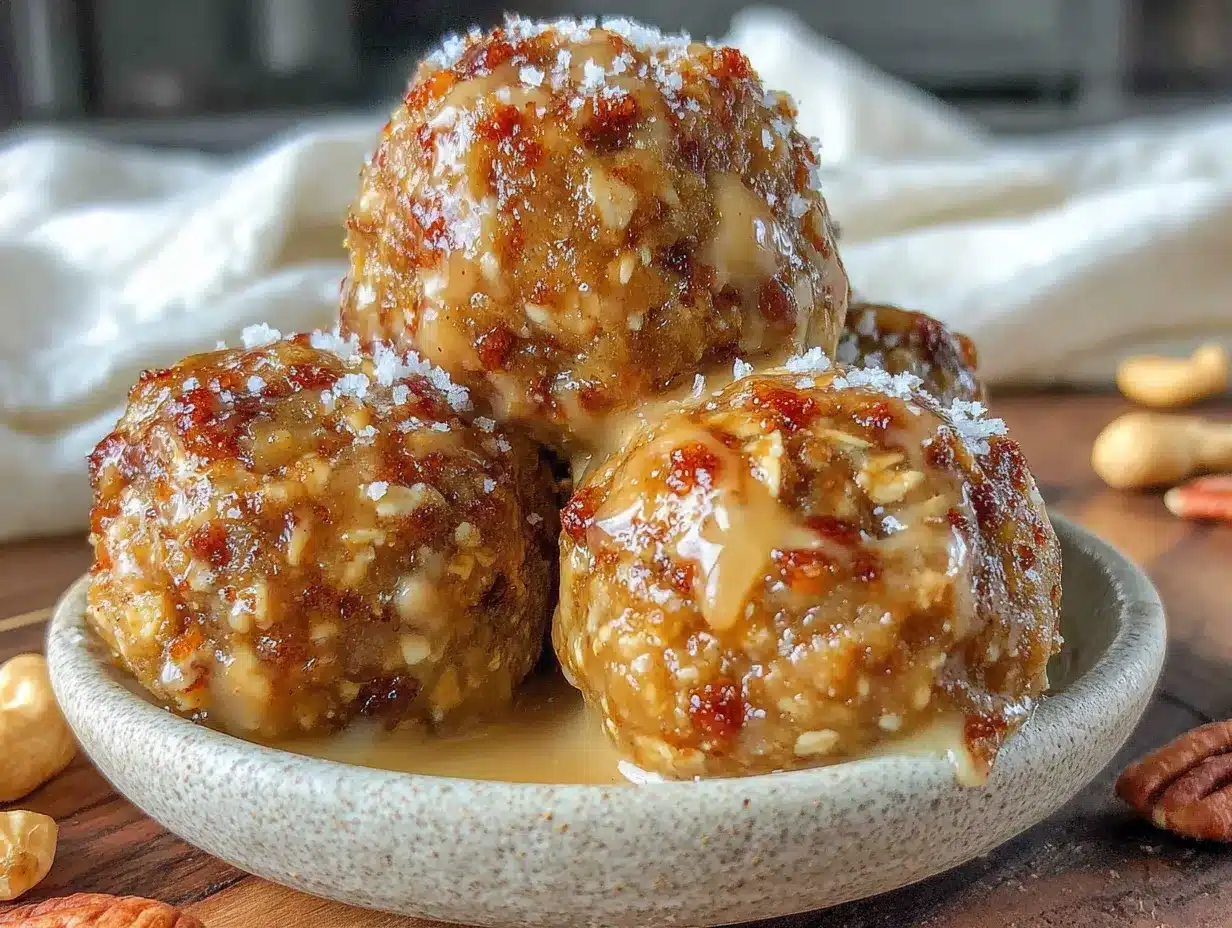
- Peanut Butter: If you’re using natural peanut butter that separates, stir it really well before measuring. The oil separation can make the balls too greasy if you don’t mix it thoroughly.
- Oats: For a gluten-free version, make sure you use certified gluten-free oats. Regular oats can sometimes be cross-contaminated.
- Protein Powder: I’ve tested this with whey, pea protein, and collagen peptides. Whey gives the best texture, but plant-based works if you add an extra tablespoon of honey or a splash of milk to help it bind.
- Honey: If you’re vegan, swap with maple syrup or agave nectar. The texture will be slightly softer, so you might need to chill them a bit longer before rolling.
- Chocolate Chips: Use mini chocolate chips if you have them—they distribute more evenly. But regular-sized ones work great too.
Equipment Needed
The beauty of this recipe is that you don’t need much. Here’s what you’ll need to have on hand:
- Large mixing bowl (any size will do, but bigger is easier for mixing without spilling)
- Measuring cups and spoons (for accuracy—I’ve learned the hard way that eyeballing protein powder leads to dry balls)
- Spatula or wooden spoon (for mixing the sticky dough)
- Baking sheet or plate (to hold the balls while they chill)
- Parchment paper or wax paper (prevents sticking and makes cleanup a breeze)
- Small cookie scoop or tablespoon (for uniform balls—my hands got so messy before I started using one)
If you don’t have a cookie scoop, just use a regular tablespoon and roll the mixture into balls with your hands. A tip I learned after my first sticky disaster: lightly wet your hands with cold water before rolling. It keeps the dough from sticking to your palms.
Preparation Method
Let me walk you through this step by step. It’s incredibly simple, but there are a few little tricks I’ve picked up along the way that make a big difference.
- Combine the dry ingredients. In your large mixing bowl, add the rolled oats, protein powder, ground flaxseed, and a pinch of sea salt. Whisk them together with a fork or spatula until they’re evenly distributed. This step ensures you don’t get pockets of plain protein powder in your final balls. I learned this after biting into a chalky one—not fun.
- Add the wet ingredients. Spoon the peanut butter, honey, and vanilla extract right on top of the dry mixture. Don’t stir yet—just pile everything together. It looks messy, but trust the process.
- Mix everything together. Using your spatula or wooden spoon, start folding the wet ingredients into the dry ones. At first, it’ll look like a crumbly mess. Keep going. The mixture will slowly come together into a thick, sticky dough. This takes about 1-2 minutes of vigorous stirring. If the dough seems too dry and isn’t holding together, add a teaspoon of honey or a splash of milk. If it’s too sticky, add a tablespoon more oats.
- Fold in the chocolate chips. Once the dough is uniform, gently fold in the dark chocolate chips. Make sure they’re evenly distributed so every ball gets a few chocolatey bites.
- Chill the dough. Cover the bowl with plastic wrap or a clean kitchen towel and pop it in the refrigerator for 15-20 minutes. This step is crucial. Chilled dough is way easier to handle and results in perfectly round balls. I’ve skipped this step when I was in a hurry, and let me tell you, it was a sticky mess.
- Roll into balls. Line a baking sheet or plate with parchment paper. Using a small cookie scoop or a tablespoon, scoop out portions of the dough. Roll each portion between your palms to form a smooth ball. If the dough starts sticking to your hands, wet your palms with a little cold water. Place each ball on the prepared baking sheet.
- Chill again. Place the baking sheet with the rolled balls in the refrigerator for at least 30 minutes. This helps them firm up and hold their shape. If you can wait an hour, even better.
The dough should be slightly tacky but not wet. You should be able to roll it without it falling apart. If it crumbles, you need more wet ingredients. If it’s too sticky, add more oats or protein powder a tablespoon at a time.
Cooking Tips & Techniques
After making these more times than I can count, I’ve collected a few tricks that make the process smoother and the results better.
Don’t overmix the dough. It’s tempting to keep stirring to make sure everything’s combined, but overmixing can make the oats break down too much and create a gummy texture. Just mix until everything comes together, then stop.
Use room temperature peanut butter. Cold peanut butter is hard to mix and doesn’t incorporate evenly. If your peanut butter has been in the fridge, let it sit out for 15 minutes before starting. Or microwave it for 10 seconds to soften it up.
Invest in a cookie scoop. I used to just eyeball the portions, and some balls were twice the size of others. A small cookie scoop (about 1.5 tablespoons) gives you uniform balls that look professional and chill evenly. Plus, it’s way less messy than using your hands for every single ball.
Chill between steps. I cannot stress this enough. Chilling the dough before rolling and then again after rolling makes a huge difference in texture and shape retention. I once tried to skip the second chill and the balls flattened into little discs in my lunch bag. Still tasty, but not as pretty.
One mistake I made early on: I used quick oats instead of old-fashioned oats. The texture was mushy and unappealing. Old-fashioned oats give you that satisfying chew. Stick with them.
Keep your hands cold. If your hands run warm like mine, run them under cold water before rolling. The cold helps the dough stay firm and less sticky.
Variations & Adaptations
One of the best things about this recipe is how flexible it is. Here are some of my favorite variations:
- Chocolate Peanut Butter: Replace 1/4 cup of the oats with unsweetened cocoa powder. You get a double chocolate-peanut butter flavor that’s absolutely decadent.
- Almond Joy: Swap the peanut butter for almond butter, use honey, and add 1/4 cup shredded coconut and 1/4 cup chopped almonds. It tastes like the candy bar, but actually healthy.
- Vegan Version: Use maple syrup instead of honey, and choose a plant-based protein powder. I’ve tested this with pea protein and it works great—just add an extra tablespoon of maple syrup to help with binding.
- Crunchy Texture: Add 2 tablespoons of chia seeds or hemp hearts along with the oats. They add a nice little crunch and extra omega-3s.
- Spiced Up: Add 1/2 teaspoon of cinnamon and a pinch of nutmeg to the dry ingredients. It gives the balls a warm, cozy flavor that’s perfect for fall.
- Low-Sugar Option: Use a sugar-free protein powder and reduce the honey to 1/4 cup. Add 1-2 tablespoons of unsweetened applesauce to help with moisture.
I once made a batch with sun butter instead of peanut butter for a friend with a nut allergy. It worked beautifully, though the flavor was a bit different—more savory, almost. If you try that, add an extra tablespoon of honey to balance the taste.
Serving & Storage Suggestions
These protein balls are best served cold or at room temperature. I personally love them straight from the fridge—they’re firm and satisfying, with a nice chew. If you prefer them softer, let them sit at room temperature for 5-10 minutes before eating.
Storage: Place the balls in an airtight container, separated by layers of parchment paper if you’re stacking them. They’ll keep in the refrigerator for up to 2 weeks. In my house, they never last that long—they’re usually gone within a few days.
Freezer: These freeze beautifully. Arrange the balls on a baking sheet and freeze until solid (about 1 hour), then transfer them to a freezer-safe bag or container. They’ll keep for up to 3 months. You can eat them straight from the freezer—they’re like little frozen protein bites—or let them thaw in the fridge for a few hours.
Reheating: You don’t need to reheat them, but if you want a softer texture, microwave one for 5-10 seconds. The chocolate chips get slightly melty and it’s heavenly.
How flavors develop: Honestly, these are even better the next day. The flavors meld together overnight, and the texture becomes more uniform. If you can wait, make them a day ahead.
Serving suggestions: Pair them with a glass of cold milk, a smoothie, or your morning coffee. They’re also great crumbled over yogurt or oatmeal for extra protein and texture.
Nutritional Information & Benefits
These little balls pack a serious nutritional punch. Here’s the estimated breakdown per ball (based on 18 balls per batch):
| Nutrient | Amount per ball |
|---|---|
| Calories | 145 |
| Protein | 8g |
| Carbohydrates | 16g |
| Fiber | 3g |
| Sugar | 9g |
| Fat | 7g |
| Sodium | 75mg |
Health benefits: The peanut butter provides healthy monounsaturated fats and protein, which help keep you full and satisfied. Oats are rich in soluble fiber, which supports heart health and digestion. Flaxseed adds omega-3 fatty acids and extra fiber. And the protein powder gives you a muscle-repairing boost, making these perfect for post-workout snacking.
Dietary considerations: These are naturally gluten-free if you use certified gluten-free oats. They’re also vegetarian. For a vegan option, swap the honey for maple syrup. They contain peanuts and may contain traces of other nuts, so they’re not suitable for those with nut allergies unless you use a seed butter substitute.
I personally love having these on hand for busy days when I know I’ll be tempted to grab something less nutritious. They’re my healthy safety net.
Conclusion
These Easy No-Bake Peanut Butter Protein Balls have become a staple in my kitchen, and I have a feeling they’ll become one in yours too. They’re quick, simple, and endlessly adaptable. Whether you need a post-workout snack, a healthy treat for your kids, or something to get you through the 3 PM slump, these little balls deliver every time.
Don’t be afraid to experiment with the variations I mentioned or come up with your own. That’s the beauty of a recipe like this—it’s a starting point, not a rigid formula. Add your favorite mix-ins, adjust the sweetness, make it your own. Honestly, the best version is the one that works for you and your family.
I’d love to hear how yours turn out. Drop a comment below and let me know what variations you tried, or if you have any questions. And if you share them on social media, tag me—I love seeing your creations. Now go make a batch. Your future self (and your taste buds) will thank you.
Frequently Asked Questions
Can I use a different nut butter?
Absolutely. Almond butter, cashew butter, or sun butter all work well. Just keep in mind that different nut butters have different consistencies—some are runnier than others. If your nut butter is very runny, you may need to add a bit more oats or protein powder to get the right texture.
Why are my protein balls too dry?
This usually happens if the peanut butter is too thick or if you added too much protein powder. Try adding an extra tablespoon of honey or a splash of milk (dairy or plant-based) to bring the dough together. Next time, make sure your peanut butter is well-stirred and at room temperature before mixing.
Can I make these without protein powder?
Yes, you can. Replace the 1/2 cup of protein powder with an additional 1/2 cup of oats or a combination of oats and ground flaxseed. The texture will be slightly different—less dense and a bit more crumbly—but they’ll still be delicious and satisfying.
How long do these last at room temperature?
They’re best stored in the refrigerator, but they can sit at room temperature for up to 2 hours without issue. If you’re taking them on a hike or to work, pack them in a cool bag or use an ice pack. In hot weather, they can get soft and melty, so refrigeration is your friend.
Can I double this recipe?
Definitely. This recipe doubles beautifully. Just make sure you have a big enough mixing bowl. The only thing to watch out for is the chilling time—with double the dough, you might need to chill it a bit longer before rolling to make sure it’s firm enough to handle.
Pin This Recipe!
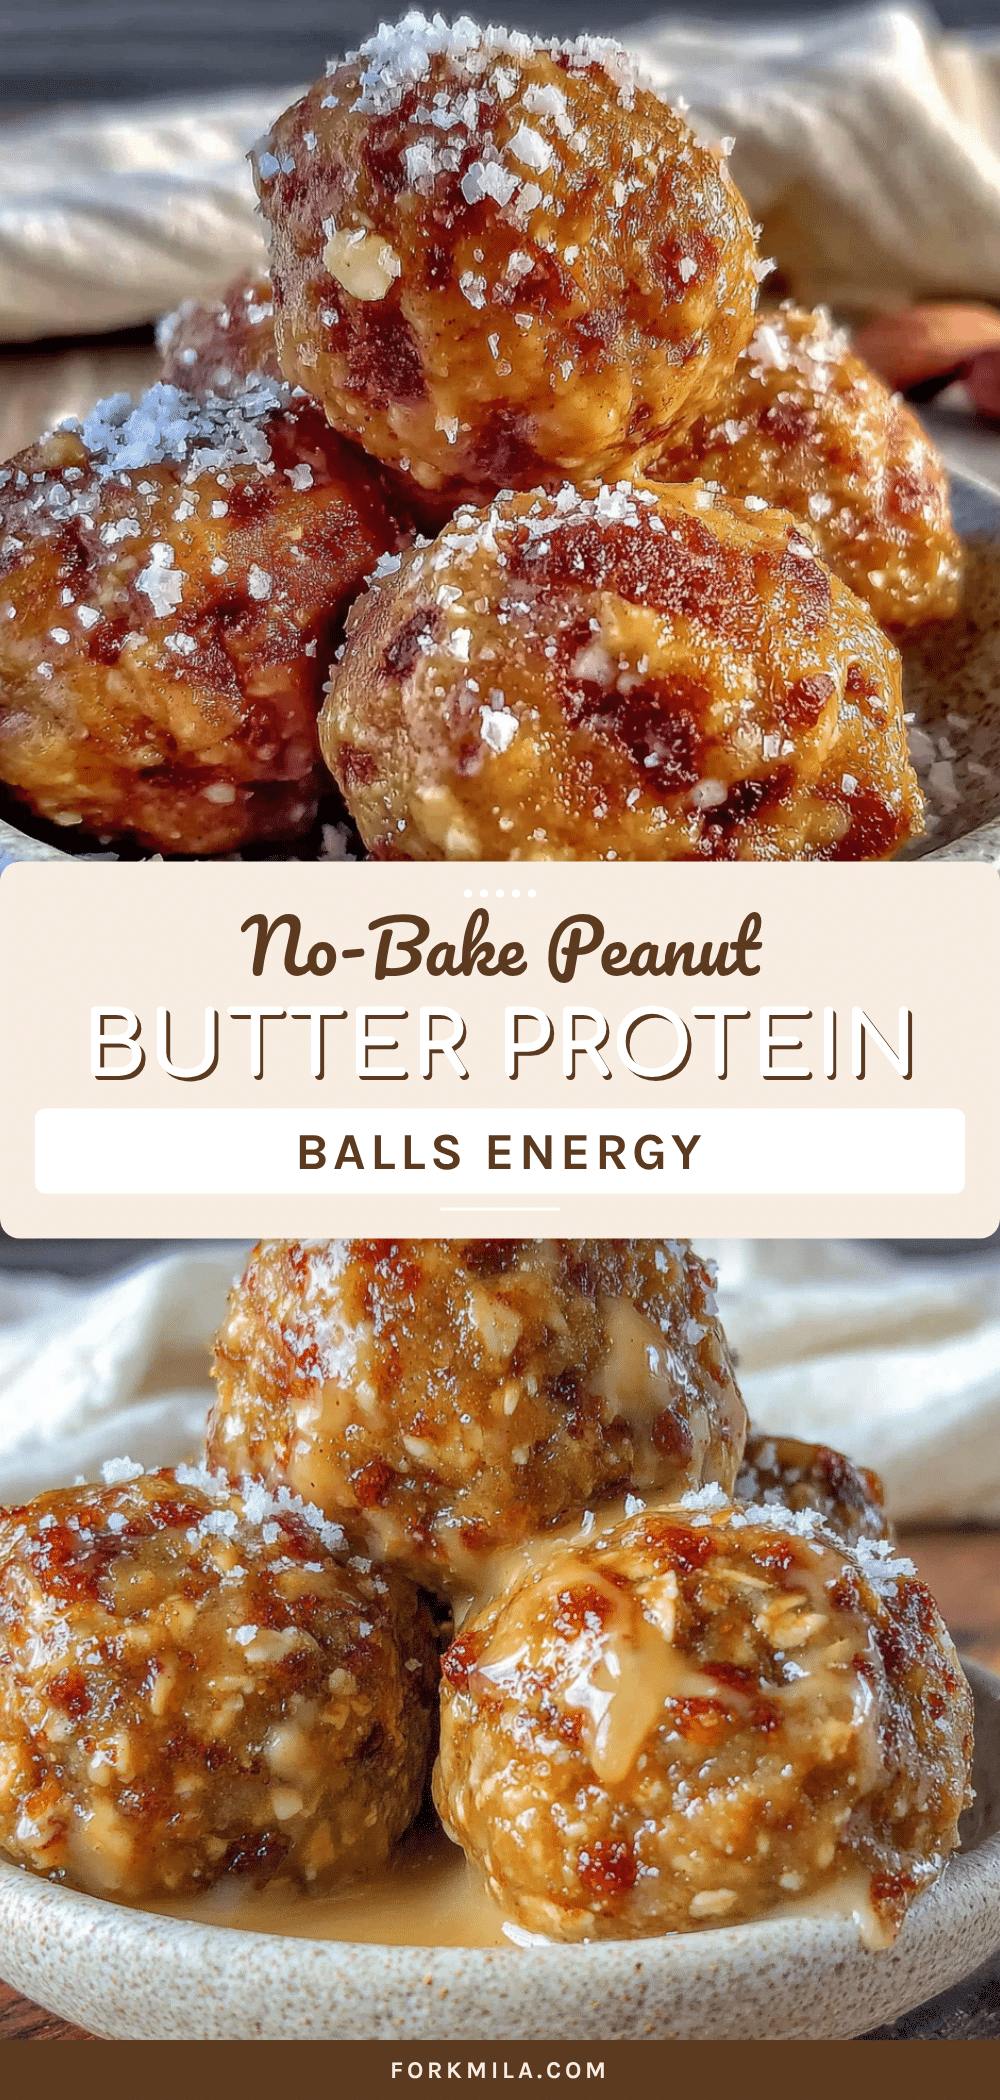
Easy No-Bake Peanut Butter Protein Balls (Best Healthy Snack)

These no-bake peanut butter protein balls are a quick, healthy snack made with simple pantry ingredients. They’re perfect for busy weeks, post-workout fuel, or a satisfying treat that keeps you full for hours.
- Prep Time: 15 minutes
- Cook Time: 0 minutes
- Total Time: 45 minutes
- Yield: 18 servings 1x
- Category: Snack
- Cuisine: American
Ingredients
- 1 cup creamy peanut butter (natural or regular)
- 1 cup old-fashioned rolled oats
- 1/2 cup honey (or maple syrup for vegan)
- 1/2 cup protein powder (vanilla or unflavored)
- 1/4 cup ground flaxseed
- 1/4 cup dark chocolate chips (optional)
- 1/2 teaspoon vanilla extract
- Pinch of sea salt
Instructions
- In a large mixing bowl, combine the rolled oats, protein powder, ground flaxseed, and a pinch of sea salt. Whisk together until evenly distributed.
- Add the peanut butter, honey, and vanilla extract on top of the dry mixture. Do not stir yet.
- Using a spatula or wooden spoon, fold the wet ingredients into the dry ones until a thick, sticky dough forms (about 1-2 minutes). If the dough is too dry, add a teaspoon of honey or a splash of milk. If too sticky, add a tablespoon more oats.
- Gently fold in the dark chocolate chips until evenly distributed.
- Cover the bowl with plastic wrap or a clean kitchen towel and refrigerate for 15-20 minutes.
- Line a baking sheet or plate with parchment paper. Using a small cookie scoop or tablespoon, scoop out portions of dough and roll each between your palms to form smooth balls. If the dough sticks, wet your hands with cold water.
- Place the rolled balls on the prepared baking sheet and refrigerate for at least 30 minutes (or up to 1 hour) to firm up.
Notes
Chilling the dough before rolling and again after rolling is crucial for texture and shape. Use room temperature peanut butter for easier mixing. If using natural peanut butter, stir well before measuring. For vegan option, use maple syrup and plant-based protein powder. Store in an airtight container in the refrigerator for up to 2 weeks or freeze for up to 3 months.
Nutrition
- Serving Size: 1 ball
- Calories: 145
- Sugar: 9
- Sodium: 75
- Fat: 7
- Saturated Fat: 1.5
- Carbohydrates: 16
- Fiber: 3
- Protein: 8
Keywords: no-bake protein balls, peanut butter protein balls, healthy snack, gluten-free snack, easy snack recipe


