My neighbor’s annual “First Frost” cookie swap was in eight hours and I had completely forgotten. Everyone else would be bringing their grandmother’s heirloom recipes—cranberry orange shortbread, German chocolate drops, those fancy Italian biscotti that take three days. I had a half-used stick of butter, some pumpkin puree from a can I’d opened for a totally different recipe last week, and a bag of brown sugar that was unfortunately more brick than granules. I stood in my kitchen, staring into the abyss of my pantry, feeling that familiar knot of panic in my stomach. “You can do this,” I whispered to myself, though I was not convinced.
I remembered a trick from a cooking class I took years ago—browning butter to add a nutty, almost caramel-like depth to baked goods. And I had that can of pumpkin. Snickerdoodles are already my go-to cookie because they’re forgiving, fast, and everyone loves them. So I thought, what if I just… combined them? I mean, what was the worst that could happen? A cookie that tastes like fall in a single bite? It sounded good in theory. I crumbled the rock-hard brown sugar with my fingers, melted the butter in a pan, and watched it turn a beautiful amber color, filling my kitchen with a warm, toasty smell. It was a gamble, honestly. A desperate, last-minute gamble.
That night, I walked into the swap carrying a tin of these golden-brown, crackled cookies, still slightly warm. I set them down next to the elaborate displays, feeling a bit sheepish. Let me tell you, by the end of the night, my tin was empty. People kept coming back, asking for the recipe. A woman named Carol, who is known for her legendary lemon bars, actually asked for my email. The brown butter and pumpkin created this incredible, soft, chewy texture with a toasty, spiced flavor that was completely unexpected. Maybe you’ve been there—that moment when a happy accident in the kitchen turns into something you can’t stop thinking about. That’s this cookie. It’s the recipe I keep coming back to, not because it’s fancy, but because it’s the one that won when I had nothing up my sleeve but a little luck and a lot of butter.
Why You’ll Love This Recipe
These aren’t just another cookie. After testing this recipe maybe a dozen times (and eating more than my fair share of “test subjects”), I can tell you with confidence that this is the cookie that will steal the show at any gathering. It combines two powerhouse flavors—nutty browned butter and earthy pumpkin—into a classic snickerdoodle that is anything but ordinary.
- Quick & Easy: From start to finish, these cookies come together in under 30 minutes. No chilling the dough required, which is a game-changer for those of us with zero patience.
- Simple Ingredients: You likely have almost everything in your pantry right now. The only “special” ingredient is pumpkin puree, which is easy to find in the fall.
- Perfect for Fall Gatherings: These are the ultimate cookie for a cozy Thanksgiving, a Halloween party, or just a rainy Sunday afternoon with a cup of coffee.
- Crowd-Pleaser: They have that classic snickerdoodle tang from the cream of tartar, but the brown butter and pumpkin add a depth of flavor that makes both kids and adults go back for seconds (and thirds).
- Unbelievably Delicious: The texture is what gets me every time. They are soft, chewy, and slightly puffy with a perfect crackly top from the cinnamon-sugar coating. The brown butter gives it a toasty, nutty flavor that pairs perfectly with the warm pumpkin spices.
What makes this recipe different from the dozens of other pumpkin cookie recipes out there? It’s the technique of browning the butter. This one step adds a complexity that you just can’t get from melted butter alone. It’s not just another pumpkin cookie—it’s your new favorite fall tradition. This is the kind of cookie that makes you close your eyes after the first bite. It’s comfort food reimagined—faster, more flavorful, but with the same soul-soothing satisfaction that a good cookie should always bring.
What Ingredients You Will Need
This recipe uses simple, wholesome ingredients to deliver a complex, bakery-worthy flavor. The magic really happens when the brown butter meets the pumpkin and the warm spices. Here’s what you need to grab from your pantry:
- For the Brown Butter:
- 1/2 cup (1 stick / 113g) unsalted butter (I prefer Kerrygold for its rich flavor, but any good quality butter will work)
- For the Cookie Dough:
- 1/2 cup (100g) granulated sugar
- 1/4 cup (50g) packed light or dark brown sugar (dark brown sugar will give a deeper molasses flavor)
- 1/3 cup (75g) pumpkin puree (make sure it’s 100% pumpkin, not pumpkin pie filling)
- 1 large egg yolk (adds richness and tenderness)
- 1 teaspoon vanilla extract
- 1 1/2 cups (190g) all-purpose flour (spooned and leveled)
- 1/2 teaspoon cream of tartar (essential for that classic snickerdoodle tang and chewiness)
- 1/2 teaspoon baking soda
- 1/4 teaspoon salt
- 1 1/2 teaspoons pumpkin pie spice (or a mix of 1 tsp cinnamon, 1/2 tsp ginger, 1/4 tsp nutmeg, and a pinch of cloves)
- For the Cinnamon-Sugar Coating:
- 1/4 cup (50g) granulated sugar
- 1 1/2 teaspoons ground cinnamon
Ingredient Tips: For the best texture, make sure your pumpkin puree is not too watery. If it looks a bit loose, blot it with a paper towel before adding it to the dough. I always use real butter for browning—margarine won’t work the same way. Also, make sure your egg yolk is at room temperature for easier mixing. If you don’t have pumpkin pie spice, you can easily make your own blend with cinnamon, ginger, nutmeg, and cloves.
Equipment Needed
You don’t need a professional bakery setup for these cookies, but a few key tools will make the process much smoother.
- Light-Colored Saucepan: This is crucial for browning the butter. A light-colored pan lets you see the color change of the butter as it cooks, preventing it from burning. I learned this the hard way with a dark non-stick pan—my first batch of brown butter looked like coffee grounds.
- Large Mixing Bowls: You’ll need one for the wet ingredients and one for the dry ingredients.
- Whisk and Rubber Spatula: A whisk for the dry ingredients and a spatula for folding everything together.
- Cookie Scoop (1.5 tablespoon size): This ensures all your cookies are the same size and bake evenly. A regular tablespoon works fine too.
- Baking Sheets: Two standard baking sheets are ideal so you can bake one batch while the other is cooling.
- Parchment Paper or Silicone Baking Mat: This prevents sticking and makes cleanup a breeze. I’ve used both, and a silicone mat gives a slightly softer bottom on the cookie.
- Wire Cooling Rack: Essential for letting the cookies cool completely so they don’t get soggy on the bottom.
If you don’t have a cookie scoop, don’t worry. Just use two spoons to portion out the dough. A good budget-friendly option for a saucepan is any stainless steel pot you already own.
Preparation Method
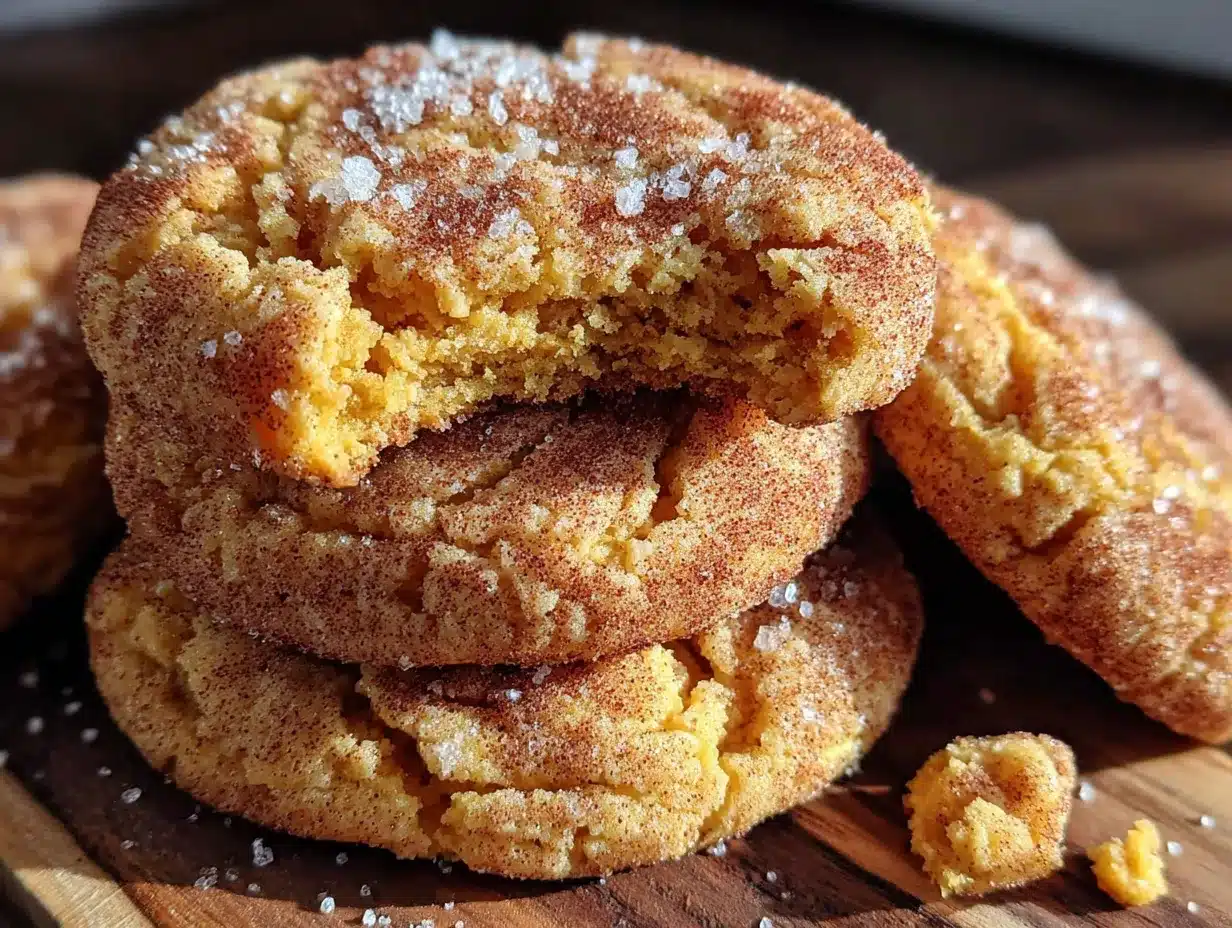
- Brown the Butter: Place the butter in your light-colored saucepan over medium heat. Let it melt completely, then continue cooking, swirling the pan occasionally. The butter will begin to foam and sizzle. After about 3-5 minutes, you’ll see small brown specks forming on the bottom of the pan. It will smell nutty and toasty. As soon as it turns a rich amber color and you see those brown bits, immediately remove the pan from the heat. Pour the browned butter into a heat-safe bowl (including all those delicious brown bits) and let it cool for 10-15 minutes. You want it warm, not hot, so it doesn’t cook the egg yolk later.
- Preheat the Oven: While the butter is cooling, preheat your oven to 350°F (175°C). Line two baking sheets with parchment paper or silicone mats.
- Mix the Dry Ingredients: In a medium bowl, whisk together the all-purpose flour, cream of tartar, baking soda, salt, and pumpkin pie spice. Set this aside.
- Make the Dough: In a large bowl, whisk together the cooled brown butter, granulated sugar, and brown sugar until well combined. It will look a bit grainy, and that’s perfectly fine. Add the pumpkin puree, egg yolk, and vanilla extract. Whisk vigorously until the mixture is smooth and fully combined. It should be a beautiful, creamy orange color.
- Combine Wet and Dry: Pour the dry ingredients into the wet ingredients. Using a rubber spatula, fold everything together until just combined. Be careful not to overmix—stop as soon as you no longer see streaks of flour. The dough will be soft and slightly sticky, just how it should be.
- Make the Coating: In a small, shallow bowl, mix together the 1/4 cup of granulated sugar and 1 1/2 teaspoons of cinnamon.
- Shape and Coat: Using your cookie scoop or a tablespoon, scoop out rounded balls of dough (about 1.5 tablespoons each). Drop each ball into the cinnamon-sugar mixture and roll it around to coat completely. Place the coated dough balls onto the prepared baking sheets, leaving about 2 inches of space between each one. They will spread a little, so don’t crowd them.
- Bake: Place one baking sheet on the middle rack of your preheated oven. Bake for 10-12 minutes. The cookies will look puffy and slightly cracked on top. They will look a little underdone in the center—that’s exactly what you want. They will continue to set as they cool on the hot baking sheet. For a softer, chewier cookie, bake for 10 minutes. For a slightly crisper edge, go for 11 or 12 minutes.
- Cool: Remove the baking sheet from the oven and let the cookies cool on the sheet for 5 minutes. This is an important step. They will be very soft and fragile right out of the oven. After 5 minutes, use a spatula to transfer them to a wire cooling rack to cool completely. They will firm up as they cool.
My Personal Tip: I always bang the baking sheet on the counter once or twice right after they come out of the oven. This creates those beautiful, crinkly cracks on the top of the cookies. It’s a little trick I picked up from a bakery I worked at briefly in college.
Cooking Tips & Techniques
Let me save you from a few of my own kitchen disasters. I’ve burned more butter than I care to admit, and I’ve made some cookies that were more like hockey pucks. Here are the lessons I learned the hard way.
- Don’t Walk Away from Browning Butter: This is the most important tip I can give you. Brown butter goes from perfect to burnt in about 15 seconds. Keep your eyes on the pan and swirl it constantly. The moment you see those brown specks and smell that nutty aroma, pull it off the heat. I once tried to multitask and answer a text message—let’s just say the fire alarm went off.
- Cool the Brown Butter Properly: If the butter is too hot when you add the egg yolk, you’ll end up with scrambled eggs in your cookie dough. Let it cool for at least 10 minutes. You want it warm to the touch, not hot.
- Measure Flour Correctly: The number one reason cookies turn out dry and dense is too much flour. Always spoon the flour into your measuring cup and level it off with a knife. Don’t scoop directly from the bag—you’ll pack it down and get way more than you need.
- Don’t Overmix the Dough: Once you add the dry ingredients, mix only until you don’t see any more white flour. Overmixing develops the gluten in the flour, which will make your cookies tough instead of tender.
- Use a Timer: Oven temperatures vary. My oven runs a little hot, so I always check my cookies at the 8-minute mark. If they are already golden brown, I know I need to pull them out early. Get to know your oven.
Variations & Adaptations
One of the best things about this recipe is how flexible it is. I’ve experimented with a few different versions, and they’ve all been delicious in their own way. Here are some ideas to make it your own.
- Gluten-Free Version: Swap the all-purpose flour with a 1:1 gluten-free baking flour blend. I’ve had great results with the King Arthur brand. The texture might be slightly more delicate, but the flavor is still spot on.
- Add Some Crunch: Fold in 1/2 cup of chopped pecans, walnuts, or even white chocolate chips after you’ve mixed the dough. The nuts add a lovely crunch that contrasts beautifully with the soft cookie. My personal favorite is toasted pecans.
- Spice it Up: If you like a little heat, add a pinch of cayenne pepper or a 1/4 teaspoon of ground cardamom to the dough. It gives the cookies a warm, unexpected kick that pairs perfectly with the brown butter.
- Maple Glaze Drizzle: For an extra-special treat, whisk together 1/2 cup of powdered sugar, 1 tablespoon of maple syrup, and 1-2 teaspoons of milk until smooth. Drizzle this over the cooled cookies. It takes them from “really good” to “I’m bringing these to the office party to show off.”
- Pumpkin Spice Coating: Instead of just cinnamon, mix 1 teaspoon of pumpkin pie spice into the sugar coating for an extra layer of fall flavor.
Serving & Storage Suggestions
These cookies are best enjoyed slightly warm, when the center is still gooey and the edges are just a little crisp. The aroma of brown butter and cinnamon is absolutely intoxicating right out of the oven. They are perfect on their own, but they also pair wonderfully with a cold glass of milk, a hot cup of apple cider, or a pumpkin spice latte (yes, go full fall mode).
Storage: Store any leftover cookies in an airtight container at room temperature. They will stay soft and fresh for up to 4 days. I usually put a slice of plain white bread in the container with them—the bread absorbs excess air and keeps the cookies from drying out. It sounds weird, but it works like a charm.
Freezing Instructions: These cookies freeze beautifully. You have two options. You can freeze the baked cookies in a freezer-safe bag for up to 3 months. Just thaw them at room temperature when you’re ready to eat. Or, you can freeze the unbaked dough balls. Roll them, coat them in the cinnamon sugar, and place them on a baking sheet in the freezer until solid. Then transfer them to a freezer bag. When you want fresh cookies, just bake them straight from frozen, adding an extra 2-3 minutes to the baking time. This is my go-to trick for having fresh cookies ready in 15 minutes when unexpected guests show up.
Nutritional Information & Benefits
Let’s be real—these are cookies, not a health food. But that doesn’t mean they can’t be part of a balanced life. Here’s a rough nutritional breakdown per cookie (based on making 18 cookies):
- Calories: ~165
- Fat: 7g
- Carbohydrates: 24g
- Protein: 2g
- Sugar: 14g
A Note on Ingredients: Pumpkin is packed with Vitamin A and fiber, which is a nice bonus. The brown butter, while high in fat, adds a richness that means you’re satisfied with just one or two cookies (okay, maybe three). If you’re watching your sugar intake, you can reduce the sugar in the dough by a tablespoon or two without affecting the texture too much. For a dairy-free version, you can use a high-quality vegan butter stick for browning, though the flavor will be slightly different. These cookies are nut-free as written, making them a safe option for school bake sales.
Conclusion
This recipe started as a panic-driven experiment, but it quickly became my most-requested fall cookie. The combination of nutty brown butter, earthy pumpkin, and warm cinnamon sugar is something truly special. It’s the kind of cookie that makes people stop mid-conversation and ask, “Wait, what’s in this?” It’s forgiving, it’s fast, and it tastes like you spent hours in the kitchen.
I really hope you give these a try. Don’t be afraid to make them your own—add some nuts, drizzle on some glaze, or just enjoy them exactly as they are. Honestly, the best part of baking is the little moments of happiness you get to share with the people you love. And these cookies? They deliver that in every single bite.
If you make this recipe, I would love to hear about it. Leave a comment below and tell me how they turned out, or tag me in your photos on social media. Did you add your own twist? Did you burn your butter on the first try like I did? Share your story! Happy baking, friends.
Frequently Asked Questions (FAQs)
1. Can I use salted butter instead of unsalted?
Yes, you can. Just reduce the added salt in the recipe to a pinch (about 1/8 teaspoon) to avoid the cookies being too salty. The browning process works the same way.
2. My dough is very sticky. Is that normal?
Yes, totally normal. The pumpkin puree adds a lot of moisture, which makes the dough softer and stickier than a standard snickerdoodle dough. This is why a cookie scoop is so helpful. If it’s too sticky to handle, you can chill it in the fridge for 15 minutes to firm it up.
3. Why did my cookies spread too much?
This usually happens if the butter was too warm when you mixed the dough, or if your baking soda is old. Make sure your brown butter is cooled to room temperature. Also, check that your baking soda is fresh—it should fizz when you drop a bit into vinegar.
4. Can I make these cookies without a mixer?
Absolutely! This entire recipe can be made by hand with a whisk and a spatula. In fact, I prefer it that way. It’s less cleanup, and you’re less likely to overmix the dough.
5. Can I use coconut oil instead of butter?
I wouldn’t recommend it for this specific recipe. The browning process is what gives these cookies their signature flavor, and coconut oil doesn’t brown the same way as butter. If you need a dairy-free option, use a vegan butter stick that is specifically formulated for baking.
Pin This Recipe!
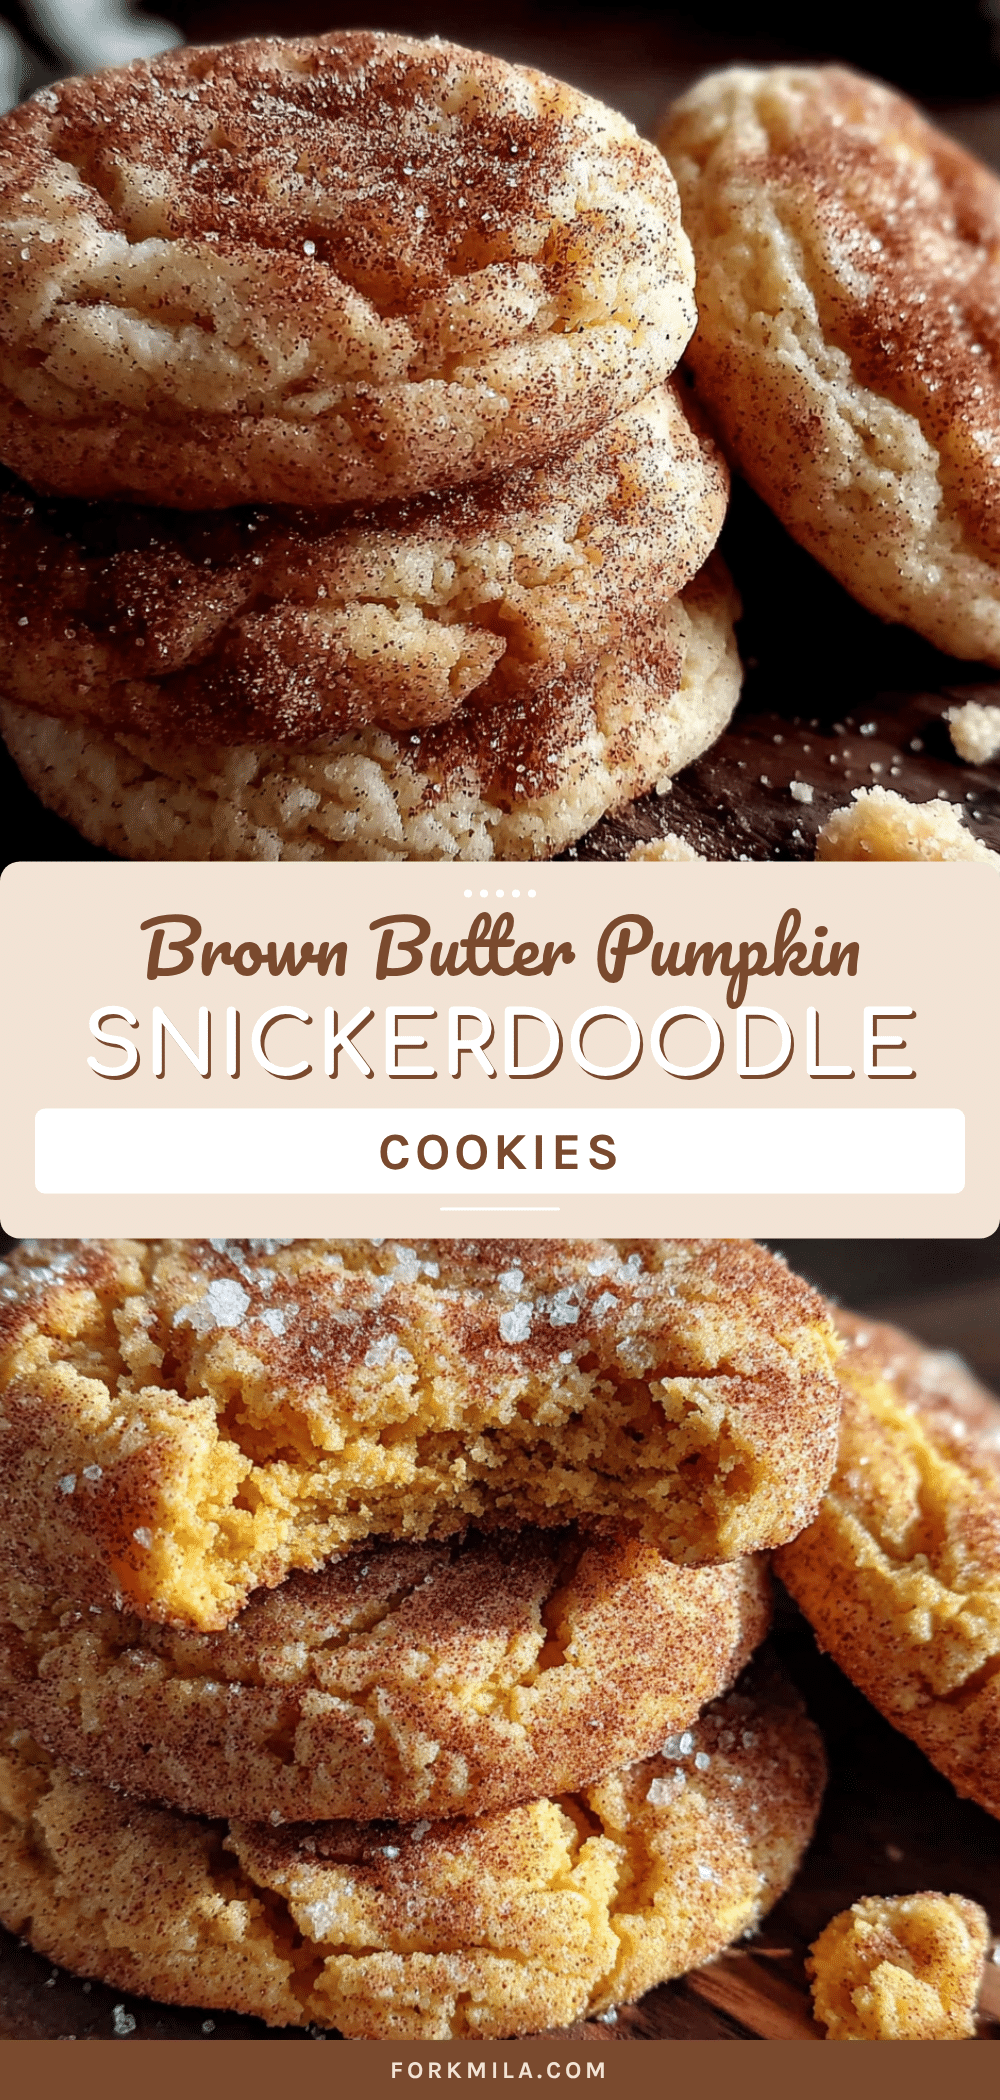
Best Brown Butter Pumpkin Snickerdoodle Cookies Recipe
These soft, chewy snickerdoodles combine nutty browned butter and earthy pumpkin puree for a fall-inspired twist on a classic cookie. Ready in under 30 minutes with no chilling required, they’re a crowd-pleasing treat perfect for any gathering.
- Prep Time: 15 minutes
- Cook Time: 10-12 minutes per batch
- Total Time: 25-27 minutes
- Yield: 18 cookies 1x
- Category: Dessert
- Cuisine: American
Ingredients
- 1/2 cup (1 stick / 113g) unsalted butter
- 1/2 cup (100g) granulated sugar
- 1/4 cup (50g) packed light or dark brown sugar
- 1/3 cup (75g) pumpkin puree (100% pumpkin, not pie filling)
- 1 large egg yolk
- 1 teaspoon vanilla extract
- 1 1/2 cups (190g) all-purpose flour (spooned and leveled)
- 1/2 teaspoon cream of tartar
- 1/2 teaspoon baking soda
- 1/4 teaspoon salt
- 1 1/2 teaspoons pumpkin pie spice (or 1 tsp cinnamon, 1/2 tsp ginger, 1/4 tsp nutmeg, pinch cloves)
- 1/4 cup (50g) granulated sugar (for coating)
- 1 1/2 teaspoons ground cinnamon (for coating)
Instructions
- Brown the butter: Place butter in a light-colored saucepan over medium heat. Melt completely, then continue cooking, swirling occasionally, until it foams, turns amber, and smells nutty (3-5 minutes). Immediately remove from heat and pour into a heat-safe bowl. Cool for 10-15 minutes until warm, not hot.
- Preheat oven to 350°F (175°C). Line two baking sheets with parchment paper or silicone mats.
- In a medium bowl, whisk together flour, cream of tartar, baking soda, salt, and pumpkin pie spice. Set aside.
- In a large bowl, whisk together cooled brown butter, granulated sugar, and brown sugar until combined. Add pumpkin puree, egg yolk, and vanilla extract. Whisk until smooth and creamy.
- Pour dry ingredients into wet ingredients. Fold with a rubber spatula until just combined (do not overmix). Dough will be soft and slightly sticky.
- In a small shallow bowl, mix 1/4 cup granulated sugar and 1 1/2 teaspoons cinnamon for coating.
- Using a cookie scoop or tablespoon, scoop rounded balls of dough (about 1.5 tablespoons each). Roll each ball in cinnamon-sugar mixture to coat completely. Place on prepared baking sheets, 2 inches apart.
- Bake one sheet at a time on middle rack for 10-12 minutes. Cookies should look puffy and slightly cracked on top, with underdone centers. For softer cookies, bake 10 minutes; for crisper edges, 11-12 minutes.
- Remove from oven and let cool on baking sheet for 5 minutes. For crinkly tops, bang the sheet on the counter once or twice. Transfer to a wire rack to cool completely.
Notes
For best results, do not walk away while browning butter—it can burn quickly. Cool brown butter to warm before adding egg yolk to avoid scrambling. Measure flour by spooning and leveling. Dough is sticky; a cookie scoop helps. For softer cookies, bake 10 minutes; for crisper edges, 11-12 minutes. Bang baking sheet after removing from oven for crinkly tops. Store in airtight container at room temperature up to 4 days; add a slice of bread to keep soft. Freeze baked cookies up to 3 months or unbaked dough balls (bake from frozen, add 2-3 minutes).
Nutrition
- Serving Size: 1 cookie
- Calories: 165
- Sugar: 14
- Sodium: 95
- Fat: 7
- Saturated Fat: 4
- Carbohydrates: 24
- Fiber: 1
- Protein: 2
Keywords: brown butter, pumpkin, snickerdoodle, fall cookies, easy cookie recipe, no chill cookies


