There used to be a tiny French pastry shop tucked between a laundromat and a used bookstore in my old neighborhood that made the most delicate ghost meringues every October. When they closed their doors two years ago—the owner retired to the south of France, lucky her—I honestly felt a little pang of loss. It sounds dramatic, I know, but those little ghost cookies were my unofficial start to the Halloween season. After six tries—some that looked like sad, deflated clouds and one batch that I accidentally left in the oven overnight—I finally got it. These easy ghost meringue cookies for Halloween are the exact replica of that bakery magic, and let me tell you, the first time I bit into one and got that perfect crisp-then-melt texture, I actually teared up a little. Maybe you’ve been there, chasing a food memory that feels impossible to recreate.
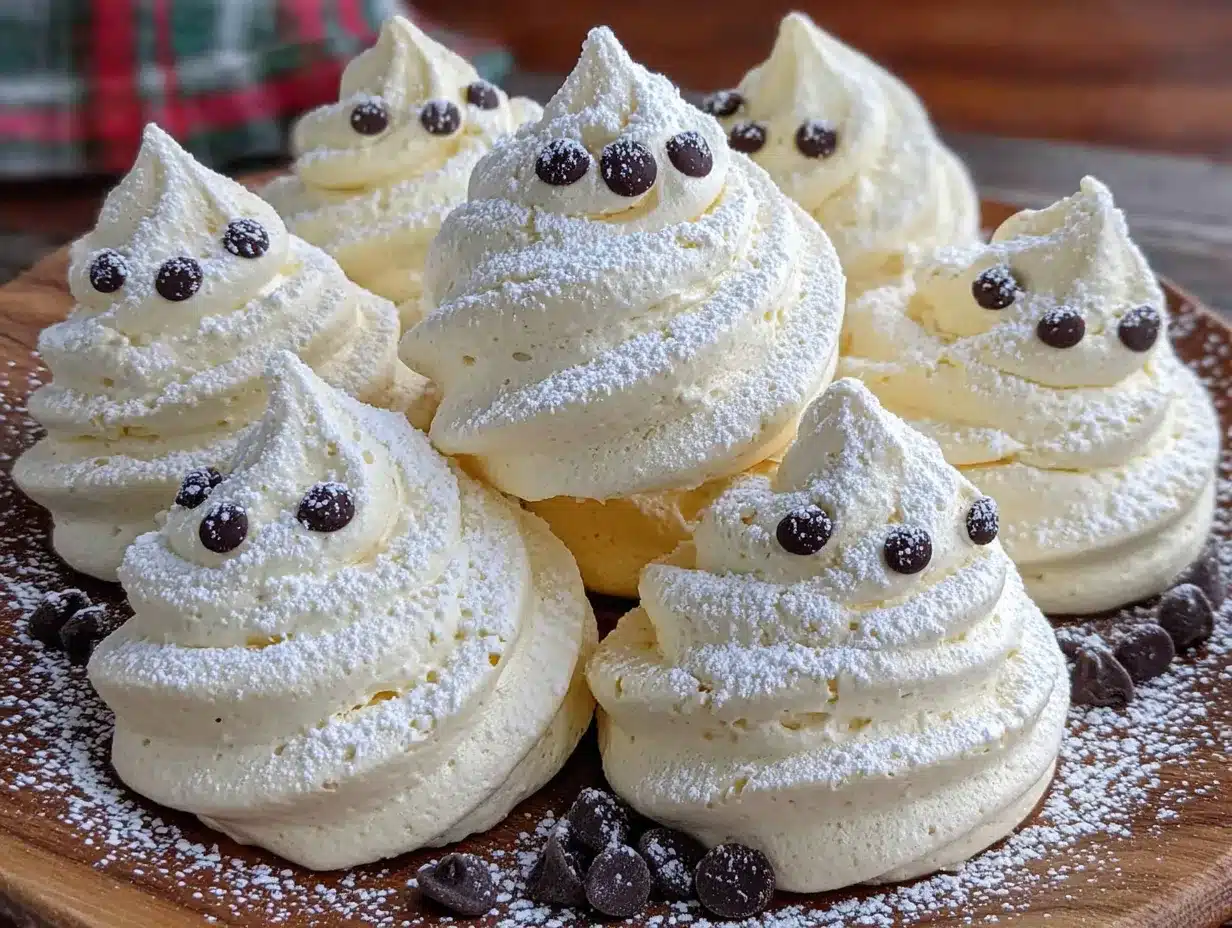
These aren’t just any meringues, either. They have that signature ghost shape with little peaks that look like they’re floating, and the texture is spot-on—crunchy on the outside with that slightly chewy, marshmallowy center. I tested this recipe on my neighbor’s kids during a Halloween block party, and they disappeared faster than the candy bars. Honestly, that’s when I knew I had cracked the code. The secret? A tiny bit of patience and a trick with the oven temperature that I learned the hard way after melting a batch into puddles. If you’ve ever struggled with meringue, I promise this version is foolproof. It’s the kind of recipe that makes you look like a pastry pro without all the fuss, and that’s exactly why I keep making it every single October.
Why You’ll Love This Recipe
Let me be real with you—I’ve made a lot of meringue in my time, and these ghost cookies are by far the most forgiving recipe I’ve ever developed. I’ve tested them in humid weather, dry weather, and even that weird rainy-afternoon-in-October situation, and they hold up every single time. Here’s what makes these easy ghost meringue cookies for Halloween stand out from the crowd:
- Quick & Easy: From start to finish, you’re looking at about 2 hours total—but most of that is hands-off baking time. The active prep is only 15 minutes.
- Simple Ingredients: You need exactly 4 ingredients, and I bet you already have three of them in your pantry right now.
- Perfect for Halloween: These little ghosts are the star of any spooky spread—trunk-or-treats, classroom parties, or a cozy night in watching Hocus Pocus.
- Crowd-Pleaser: Kids go wild for them, and adults can’t stop eating them. They’re naturally gluten-free and low-fat, which is a bonus nobody complains about.
- Unbelievably Delicious: That first bite where the shell shatters and the inside melts is pure magic. It’s like eating a cloud that tastes like vanilla.
What makes this recipe different from all the other ghost meringue recipes out there? It’s the texture. I spent weeks perfecting the ratio of sugar to egg whites to get that signature crunchy shell with a soft, chewy center. Most recipes give you one or the other—either rock-hard meringues or ones that collapse into sad little discs. This one gives you both textures, and it works every single time. Plus, I figured out a trick for piping the ghost shape that makes them look professional without any fancy equipment. Trust me, I’ve made the mistakes so you don’t have to.
This recipe is the kind that makes you close your eyes after the first bite. It’s comfort food reimagined for Halloween—healthier than a candy bar, faster than baking a cake, but with the same soul-soothing satisfaction. Perfect for impressing your spooky guests without stress, or turning a simple October evening into something memorable.
What Ingredients You Will Need
This recipe uses simple, wholesome ingredients to deliver that perfect meringue texture without any fuss. Every ingredient plays a specific role, and I’ll walk you through what to look for so you get the best results. Here’s what you need for these easy ghost meringue cookies for Halloween:
For the Meringue Base
- 4 large egg whites, at room temperature (this is crucial—cold egg whites won’t whip up as high; leave them on the counter for 30 minutes)
- 1 cup (200g) granulated white sugar (I prefer Domino brand for consistent results, but any fine white sugar works)
- 1/4 teaspoon cream of tartar (this stabilizes the meringue and helps it hold its shape; don’t skip it)
- 1 teaspoon vanilla extract (pure vanilla extract gives the best flavor, but imitation works in a pinch)
For the Ghost Faces
- 1/4 cup mini chocolate chips (or black decorating gel if you want a smoother look; I use Enjoy Life brand for dairy-free)
- Optional: 1-2 drops black food coloring (if using gel instead of chips for the faces)
A few ingredient selection tips I learned the hard way: First, make sure your eggs are fresh but not too fresh—eggs that are about a week old actually whip up better than super fresh ones because the whites are slightly thinner. Second, don’t use superfine sugar unless you have to; regular granulated sugar works perfectly as long as you whip it long enough. And here’s a trick I picked up from a pastry chef friend: if you’re in a humid climate, add an extra 1/4 teaspoon of cream of tartar to help the meringues hold their shape.
For substitutions, you can use aquafaba (the liquid from a can of chickpeas) instead of egg whites for a vegan version—use 1/2 cup aquafaba for the 4 egg whites. The texture will be slightly different, but still delicious. And if you’re avoiding refined sugar, coconut sugar works but the meringues will be a darker brown color and won’t look as ghost-like. I’ve tried it, and honestly, the visual effect is more “spooky ghost” than “cute ghost,” so it still works for Halloween!
Equipment Needed
You don’t need a professional pastry kitchen for these easy ghost meringue cookies for Halloween, but having the right tools makes a huge difference. Here’s what you’ll need:
- Electric stand mixer or hand mixer (I use my KitchenAid for this, but a hand mixer works fine—just be prepared to hold it for 8-10 minutes)
- Large mixing bowl (make sure it’s completely clean and grease-free; even a tiny bit of oil will ruin your meringue)
- Piping bag with a round tip (I use a Wilton #12 tip, but you can also use a zip-top bag with the corner snipped off in a pinch)
- Baking sheet lined with parchment paper (silicone mats work too, but I find parchment gives better results)
- Cooling rack (for letting the meringues cool completely)
- Small offset spatula (optional but helpful for smoothing the ghost shapes)
A quick note on budget-friendly options: I’ve made these with a $15 hand mixer from Target and they turned out just as good as with my expensive stand mixer. The key is making sure your bowl and beaters are spotless. Also, if you don’t have a piping bag, a sturdy zip-top bag works perfectly—just don’t use the cheap ones that split open. I learned that one the messy way!
Preparation Method
Making these easy ghost meringue cookies for Halloween is actually pretty straightforward, but there are a few tricks that make all the difference. Let me walk you through it step by step, including all the little details I wish someone had told me when I first started.
- Preheat your oven to 200°F (95°C). This is the low-and-slow method that gives you that perfect texture. Line a large baking sheet with parchment paper and set aside. Pro tip: put a tiny dab of meringue under each corner of the parchment to keep it from sliding around.
- Separate your eggs while they’re cold, then let the whites come to room temperature (about 30 minutes). Cold egg whites won’t whip up as high, and nobody wants flat ghosts. Make sure absolutely no yolk gets in the whites—even a speck will prevent them from whipping properly. I always separate each egg into a small bowl first before adding to the main bowl, just in case I break a yolk.
- Wipe your mixing bowl and beaters with a little lemon juice or white vinegar on a paper towel. This removes any trace of grease that could sabotage your meringue. I know it sounds extra, but trust me, I’ve lost a batch to a slightly greasy bowl before.
- Add the egg whites and cream of tartar to the bowl. Beat on medium speed until foamy and soft peaks form, about 2-3 minutes. You’ll know it’s ready when the bubbles are tiny and uniform, and the mixture looks like a foamy cloud.
- Start adding the sugar, one tablespoon at a time, with the mixer running on medium-high speed. This is the most important step—don’t rush it! Each addition should be fully incorporated before you add the next. If you dump all the sugar in at once, your meringue will be grainy and never reach stiff peaks. I usually set a timer for 1 minute between each spoonful.
- Once all the sugar is added, continue beating on high speed for 5-7 minutes. The mixture should be glossy, thick, and hold stiff peaks. Here’s how to test: stop the mixer and lift the whisk—the meringue should stand straight up without drooping. Rub a tiny bit between your fingers—if it feels gritty, keep beating. If it feels smooth, you’re done.
- Add the vanilla extract and beat for another 30 seconds until combined. Don’t overmix at this point or you’ll deflate all that beautiful air you just whipped in.
- Transfer the meringue to your piping bag fitted with a round tip. If you’re using a zip-top bag, snip about 1/2 inch off the corner. Twist the top of the bag to push the meringue down toward the tip.
- Pipe ghost shapes onto the prepared baking sheet. Hold the piping bag straight up and down, about 1/2 inch above the parchment. Squeeze gently to create a round base, then lift the bag straight up while still squeezing slightly to create a tall peak. Release pressure and pull away quickly to get that classic ghost shape. Space them about 1 inch apart—they don’t spread much, but they need a little breathing room.
- Add the ghost faces. While the meringues are still wet, gently press two mini chocolate chips for eyes and one for the mouth. You can also pipe on faces with black decorating gel if you prefer a smoother look. I like the chocolate chip version because it adds a little extra chocolate crunch.
- Bake for 1 hour and 15 minutes at 200°F (95°C). Do NOT open the oven door during baking! The steam will ruin your meringues. After 1 hour 15 minutes, turn the oven off but leave the meringues inside to cool completely—at least 1 hour, preferably overnight. This drying step is what gives them that perfect crisp texture.
- Remove from the oven only when the meringues are completely cool. They should peel easily off the parchment paper. If they stick, they need more drying time—pop them back in the turned-off oven for another 30 minutes.
A few sensory cues to watch for: during whipping, the meringue should go from clear-ish liquid to white foam to glossy, thick marshmallow cream. When it’s ready, it should look like shaving cream and feel like marshmallow fluff between your fingers. The ghosts should feel dry and light when they’re done baking—if they feel soft or sticky, they need more time.
Cooking Tips & Techniques
After making these easy ghost meringue cookies for Halloween probably a dozen times, I’ve collected a few tricks that make the process smoother and the results more consistent. Let me share what I’ve learned, including a few spectacular failures that taught me important lessons.
The biggest mistake people make with meringue is not being patient enough with the sugar. I once tried to speed things up by adding the sugar in three big additions instead of tablespoon by tablespoon, and the result was a grainy, weepy mess that never reached stiff peaks. The sugar needs time to dissolve completely into the egg whites, and rushing that process is a recipe for disaster. Set a timer if you have to—each tablespoon should get about 30 seconds of mixing before the next addition.
Humidity is the enemy of meringue. I learned this the hard way when I tried to make these on a rainy October afternoon and ended up with sticky, flat ghosts that wouldn’t crisp up. If you live in a humid climate, make these on a dry day if possible, or bake them a little longer (add 15-20 minutes) and let them dry in the oven overnight. The extra cream of tartar I mentioned earlier really helps too.
Here’s a pro tip for perfect ghost shapes: When you’re piping, imagine you’re drawing a ghost in one continuous motion. Start with a firm squeeze to create the base, then as you lift the bag, gradually ease up on the pressure. The top should be a sharp peak, not a round blob. If your first few ghosts look more like blobs than ghosts, don’t worry—just scrape them back into the bag and try again. I usually have to re-pipe my first three before I get into the rhythm.
Timing strategy: I like to make the meringue mixture first thing in the morning, pipe the ghosts, and then let them bake and dry while I go about my day. They’re ready by evening, and I can store them overnight. This works great for Halloween parties since you can prep them a day ahead.
One last tip for consistency: Make sure your eggs are at room temperature, your bowl is spotless, and your oven is properly preheated. I always use an oven thermometer because I’ve found that oven temperature dials can be off by as much as 25 degrees. Consistency comes from controlling the variables you can control, and these three things make the biggest difference.
Variations & Adaptations
One of the best things about these easy ghost meringue cookies for Halloween is how adaptable they are. I’ve tested several variations over the years, and here are my favorites:
Chocolate Ghosts: Replace 2 tablespoons of the granulated sugar with 2 tablespoons of unsweetened cocoa powder. Sift the cocoa powder with the sugar before adding it to the egg whites. The ghosts will be a light brown color, which actually looks kind of spooky—perfect for a haunted house theme. I made these for a friend’s Halloween party and they were a hit with the chocolate lovers.
Peppermint Ghosts: Add 1/4 teaspoon peppermint extract along with the vanilla extract. These are perfect for a winter-themed Halloween party or if you just love the minty flavor. I like to top these with crushed candy canes for extra crunch, but that’s more of a Christmas crossover, so I save them for November.
Vegan Ghosts: Use 1/2 cup aquafaba (the liquid from a can of chickpeas) instead of the 4 egg whites. The whipping process takes a bit longer—about 10-12 minutes—but the results are surprisingly close to the original. I’ve served these to non-vegans and nobody could tell the difference. Just make sure your aquafaba is at room temperature and beat it with the cream of tartar until stiff peaks form before adding the sugar.
Gluten-Free Ghosts: These are naturally gluten-free since they don’t contain any flour, but if you’re serving someone with celiac disease, make sure your vanilla extract is certified gluten-free (some brands use alcohol derived from wheat). Also, avoid any chocolate chips that might have cross-contamination warnings.
Flavor Twist: I once made a batch with 1/2 teaspoon almond extract instead of vanilla, and they tasted like marzipan—absolutely divine. You can also try coconut extract, lemon extract, or even a little pumpkin pie spice for a fall-inspired version. Just don’t add more than 1 teaspoon total of any extract, or the texture will be affected.
Serving & Storage Suggestions
These easy ghost meringue cookies for Halloween are best served at room temperature, straight from the baking sheet if you can manage the self-control. They have that perfect crisp exterior that shatters when you bite into it, giving way to a soft, marshmallowy interior. I love arranging them on a platter with some fake spiderwebs and plastic spiders for a fun Halloween presentation.
What to serve with them: These ghosts pair beautifully with a cup of hot cocoa, a pumpkin spice latte, or even a glass of cold milk for the kids. If you’re hosting a Halloween party, arrange them around a bowl of punch or set them out on a dessert table with other spooky treats like chocolate-covered pretzels and caramel apples. They also make fantastic cake toppers—just stick them into the frosting of a Halloween cake for an instant decoration.
Storage instructions: Store these meringue ghosts in an airtight container at room temperature for up to 2 weeks. Do NOT refrigerate them—the moisture in the fridge will make them sticky and ruin the texture. If you live in a humid climate, add a food-safe silica gel packet to the container to absorb excess moisture. I learned this trick after losing a batch to Florida humidity.
Freezing tips: You can freeze these meringues for up to 3 months. Place them in a single layer in an airtight container with parchment paper between layers. Thaw at room temperature for about 30 minutes before serving. They won’t be quite as crisp as fresh ones, but they’re still delicious.
How flavors develop: These meringues actually taste better the next day—the flavors meld together and the texture becomes even more consistent. I always try to make them at least a day before I plan to serve them. Just store them properly and they’ll be perfect.
Nutritional Information & Benefits
Per serving (1 ghost meringue cookie): approximately 25 calories, 0g fat, 6g carbohydrates, 6g sugar, 0g fiber, 1g protein. These numbers are estimates and will vary based on exact ingredients and portion sizes.
These easy ghost meringue cookies for Halloween are naturally low in calories and fat-free, making them a lighter alternative to traditional Halloween treats like candy bars or cookies. The egg whites provide a small amount of protein, and since they’re gluten-free and dairy-free, they work for many dietary restrictions.
From a health perspective, meringues are one of the simplest desserts you can make—just sugar and egg whites, with no butter, oil, or flour. They’re a great option if you’re watching your fat intake or looking for a treat that won’t weigh you down. That said, they are still sugar-heavy, so enjoy them in moderation. I like to think of them as a “sometimes food” that happens to be a little more forgiving than a slice of cake.
Potential allergens: egg whites (obviously), and if you use chocolate chips, those may contain dairy and soy. Always check labels if serving to someone with allergies.
Conclusion
These easy ghost meringue cookies for Halloween have become a non-negotiable tradition in my house, and I honestly can’t imagine October without them. They’re the perfect combination of spooky and sweet, simple enough for a beginner baker but impressive enough to wow a crowd. Whether you’re making them for a Halloween party, a classroom treat, or just because you want something fun to bake on a crisp autumn afternoon, I promise they’ll deliver.
I’d love to hear how yours turn out! Did you try any of the variations? Did your ghosts come out perfectly spooky or hilariously misshapen? Drop a comment below and let me know—bonus points if you share a photo of your creations. And if you’re looking for more Halloween baking ideas, check out my spiderweb brownies or pumpkin sugar cookies for more spooky treats. Happy Halloween, and happy baking!
Frequently Asked Questions
Can I make these ghost meringue cookies ahead of time?
Absolutely! These cookies store beautifully in an airtight container at room temperature for up to 2 weeks. In fact, they often taste better the next day. Just make sure they’re completely cool and dry before storing, and keep them away from humidity.
Why did my meringue turn out flat and runny?
This usually happens for one of three reasons: your bowl or beaters had grease on them, a tiny bit of egg yolk got into the whites, or you didn’t whip them long enough. Make sure everything is spotless and your egg whites are at room temperature before you start.
Can I use liquid egg whites from a carton?
I don’t recommend it. Carton egg whites are pasteurized differently and often contain stabilizers that prevent them from whipping up properly. Fresh eggs give you the best volume and texture for meringue.
How do I know when the meringue is fully baked?
The meringues should be dry to the touch and peel easily off the parchment paper. They should sound hollow when tapped. If they feel soft or sticky, they need more time in the oven. Let them cool completely in the turned-off oven before testing.
Can I double this recipe?
Yes, but I recommend making it in two separate batches unless you have a very large stand mixer. Meringue needs room to expand as it whips, and overcrowding the bowl will prevent it from reaching stiff peaks. Better to make two batches than one failed batch!
Pin This Recipe!
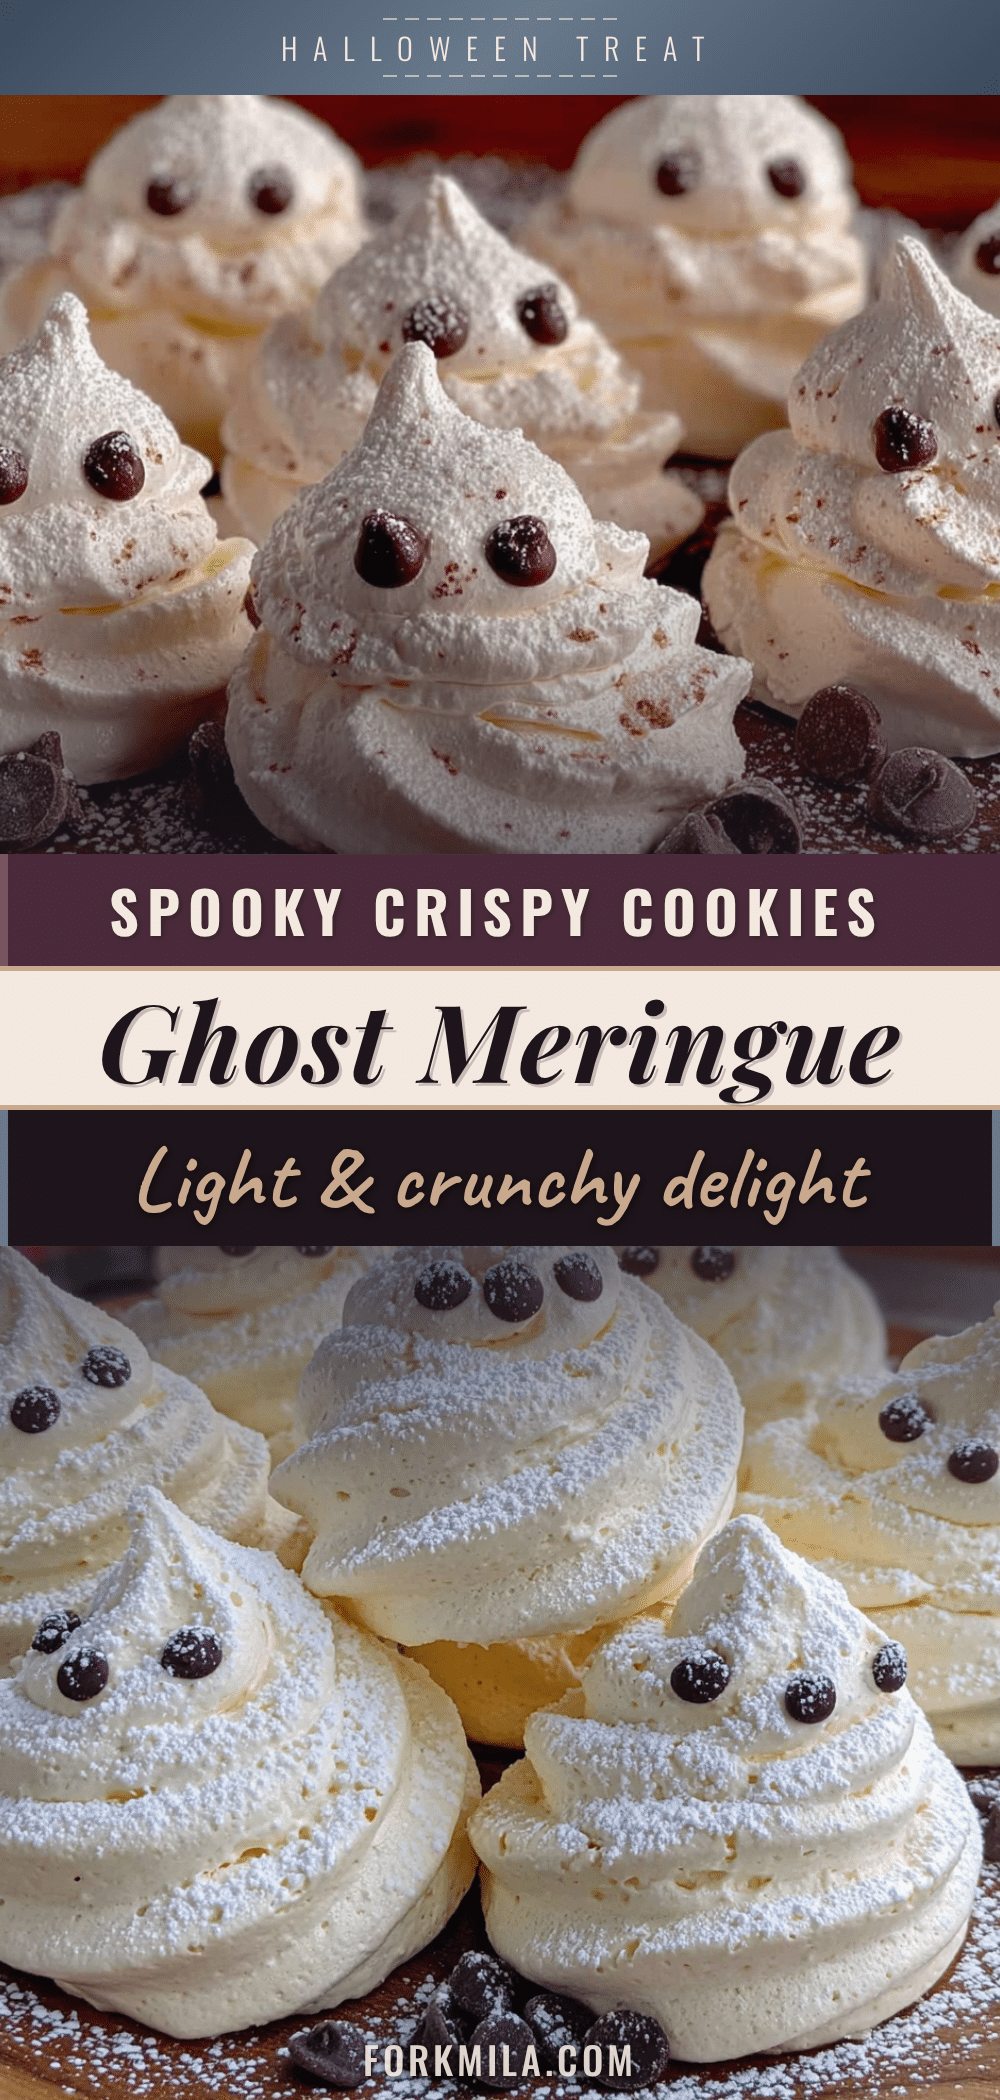
Best Easy Ghost Meringue Cookies for Halloween

These easy ghost meringue cookies for Halloween are the perfect spooky treat—crisp on the outside with a soft, marshmallowy center. Made with just 4 simple ingredients, they’re naturally gluten-free and low-fat, making them a lighter alternative to traditional Halloween sweets.
- Prep Time: 15 minutes
- Cook Time: 1 hour 15 minutes
- Total Time: 2 hours (including cooling)
- Yield: 24 servings 1x
- Category: Dessert
- Cuisine: American
Ingredients
- 4 large egg whites, at room temperature
- 1 cup (200g) granulated white sugar
- 1/4 teaspoon cream of tartar
- 1 teaspoon vanilla extract
- 1/4 cup mini chocolate chips (or black decorating gel)
Instructions
- Preheat your oven to 200°F (95°C). Line a large baking sheet with parchment paper.
- Separate your eggs while they’re cold, then let the whites come to room temperature (about 30 minutes).
- Wipe your mixing bowl and beaters with a little lemon juice or white vinegar on a paper towel to remove any grease.
- Add the egg whites and cream of tartar to the bowl. Beat on medium speed until foamy and soft peaks form, about 2-3 minutes.
- Start adding the sugar, one tablespoon at a time, with the mixer running on medium-high speed. Each addition should be fully incorporated before adding the next.
- Once all the sugar is added, continue beating on high speed for 5-7 minutes until the mixture is glossy, thick, and holds stiff peaks.
- Add the vanilla extract and beat for another 30 seconds until combined.
- Transfer the meringue to a piping bag fitted with a round tip. Pipe ghost shapes onto the prepared baking sheet, holding the bag straight up and down, about 1/2 inch above the parchment. Squeeze gently to create a round base, then lift the bag straight up while still squeezing slightly to create a tall peak.
- While the meringues are still wet, gently press two mini chocolate chips for eyes and one for the mouth.
- Bake for 1 hour and 15 minutes at 200°F (95°C). Do NOT open the oven door during baking.
- After 1 hour 15 minutes, turn the oven off but leave the meringues inside to cool completely—at least 1 hour, preferably overnight.
- Remove from the oven only when the meringues are completely cool. They should peel easily off the parchment paper.
Notes
For best results, ensure eggs are at room temperature and bowl is completely grease-free. If in a humid climate, add an extra 1/4 teaspoon cream of tartar. Meringues can be stored in an airtight container at room temperature for up to 2 weeks. Do not refrigerate.
Nutrition
- Serving Size: 1 ghost meringue coo
- Calories: 25
- Sugar: 6
- Sodium: 10
- Carbohydrates: 6
- Protein: 1
Keywords: ghost meringue cookies, Halloween cookies, easy meringue, gluten-free Halloween treat, low-fat dessert


