It was 11:47 PM on a random Wednesday in October, and I had a very specific craving for something sweet, savory, and deeply nutty. I didn’t have the acorn squash I usually roast, but I had three honeynut squashes sitting in a bowl on my counter, looking at me like they knew something I didn’t. The idea arrived all at once: brown butter. Crispy sage. A little salt. Maybe even a touch of maple syrup if I was feeling wild. I was wearing my rattiest hoodie, the kitchen was a mess from dinner, but something about that late-night quiet made me want to try something I’d never done before. And honestly? That’s when the best cooking happens.
I grabbed my heaviest skillet, cut the honeynut squashes in half (which, let me tell you, takes some elbow grease), and started browning butter at midnight. The smell alone was enough to wake up my roommate, who wandered in asking if I was okay. “I’m making something,” I said, not entirely sure what I was making yet. But as the sage leaves crisped up in that foamy, golden butter, I knew I was onto something. This wasn’t just roasted squash. This was comfort in a cast iron pan.
That first bite had this unexpected warmth that spread through me like a hug I didn’t know I needed. The honeynut squash gets all caramelized and tender, the brown butter adds this nutty, almost toffee-like richness, and the crispy sage? It’s like little crunchy flavor bombs. I’ve made this at least a dozen times since that night, tweaking it here and there, but the late-night version is still my favorite. Maybe you’ve been there—standing in your kitchen at an unreasonable hour, following a craving to see where it leads. If you have, you’ll understand why this recipe stuck with me. If you haven’t, trust me, it’s time to start.
Why You’ll Love This Recipe
This cozy brown butter honeynut squash with crispy sage isn’t just another side dish. It’s the kind of recipe that makes you close your eyes after the first bite. I’ve tested this version more times than I can count, and I can tell you with confidence: it’s the one. Here’s why you’ll fall for it too:
- Quick & Easy: Comes together in under 30 minutes, perfect for busy weeknights or when that craving hits late at night.
- Simple Ingredients: No fancy grocery trips needed. Honeynut squash, butter, sage, salt, and maybe a little maple syrup are all you need.
- Perfect for Cozy Evenings: Great for fall dinners, Thanksgiving sides, or a quiet night when you need something warm and comforting.
- Crowd-Pleaser: Always gets rave reviews from both vegetable lovers and skeptics alike.
- Unbelievably Delicious: The combination of caramelized squash, nutty brown butter, and crispy sage is next-level comfort food.
What makes this recipe different from the rest? It’s the technique. Browning the butter until it’s just right—golden with those little brown specks—transforms the entire dish. It’s not just melted butter on squash. It’s a rich, nutty, almost magical sauce that coats every bite. Plus, cutting the honeynut squash into wedges instead of cubes means more surface area for caramelization and that beautiful brown butter to cling to.
This recipe isn’t just good—it is the kind that makes you feel like everything is going to be okay. It’s comfort food reimagined: simple, fast, but with the same soul-soothing satisfaction as something that took hours. Perfect for impressing dinner guests without stress, or turning a simple Tuesday night into something memorable. I mean, honestly, who knew a squash could do all that?
What Ingredients You Will Need
This recipe uses simple, wholesome ingredients to deliver bold flavor and satisfying texture without any fuss. Most of these are pantry staples or easy to find at your local grocery store during fall and winter.
- Honeynut squash (2 medium, about 1.5 lbs / 680g total) – Look for ones that feel heavy for their size with firm, unblemished skin. Honeynut squash is smaller and sweeter than butternut, with a thinner skin that doesn’t need peeling. (I love getting mine from the farmers’ market in October—they’re always the sweetest.)
- Unsalted butter (4 tablespoons / 56g) – You want unsalted so you can control the salt level. The browning process concentrates the flavor, so good-quality butter makes a difference. I recommend Kerrygold or Plugrà for the best nutty result.
- Fresh sage leaves (10-12 leaves) – Don’t use dried sage here. Fresh sage crisps up beautifully in the brown butter and adds that earthy, slightly peppery flavor that makes this dish sing. Look for leaves that are bright green and not wilted.
- Maple syrup (1 tablespoon / 15ml, optional) – Adds a touch of sweetness that complements the natural sugars in the squash. Use pure maple syrup, not pancake syrup. You can skip it if your squash is already very sweet, but I usually add it for that extra cozy factor.
- Kosher salt (1/2 teaspoon, plus more to taste) – I use Diamond Crystal kosher salt. It’s less salty by volume than table salt, so adjust if you’re using a different kind.
- Black pepper (1/4 teaspoon, freshly ground) – Freshly ground pepper adds a subtle warmth that balances the richness of the brown butter.
- Flaky sea salt (for finishing, optional but recommended) – A pinch of Maldon or another flaky salt right before serving adds a lovely crunch and burst of saltiness.
Substitution Guidance: If you can’t find honeynut squash, you can use butternut squash instead. Just peel it first and cut into similar-sized wedges. The cooking time might increase by 5-10 minutes since butternut is denser. For a dairy-free version, use vegan butter or coconut oil (though you won’t get the same nutty browning). If sage isn’t your thing, fresh thyme or rosemary also work beautifully—just add them to the butter after it’s browned.
Equipment Needed
You don’t need much for this recipe, which is part of its beauty. Here’s what you’ll want to have on hand:
- Large cast iron skillet or heavy-bottomed oven-safe skillet (12-inch / 30cm) – Cast iron is ideal for even browning and goes from stovetop to oven seamlessly. If you don’t have cast iron, a stainless steel skillet works too, just make sure it’s oven-safe.
- Sharp chef’s knife (8-inch / 20cm) – Honeynut squash is small but dense. A sharp knife makes cutting through it much safer and easier. I learned this the hard way after nearly losing a fingertip to a dull blade.
- Cutting board – A sturdy wooden or plastic board that won’t slip.
- Spoon or melon baller – For scooping out the seeds. A regular spoon works fine, but a melon baller is oddly satisfying for this task.
- Small saucepan or skillet – For browning the butter separately. I use a small stainless steel pan so I can see the color change clearly.
- Parchment paper or aluminum foil – Optional, for easier cleanup if you’re not using a well-seasoned cast iron skillet.
If you don’t have an oven-safe skillet, you can roast the squash on a baking sheet lined with parchment paper, then drizzle the brown butter and sage over it before serving. It’s not quite the same, but it still tastes amazing. Budget-friendly tip: a pre-seasoned cast iron skillet from Lodge is around $20 and will last you forever. Worth every penny.
Preparation Method
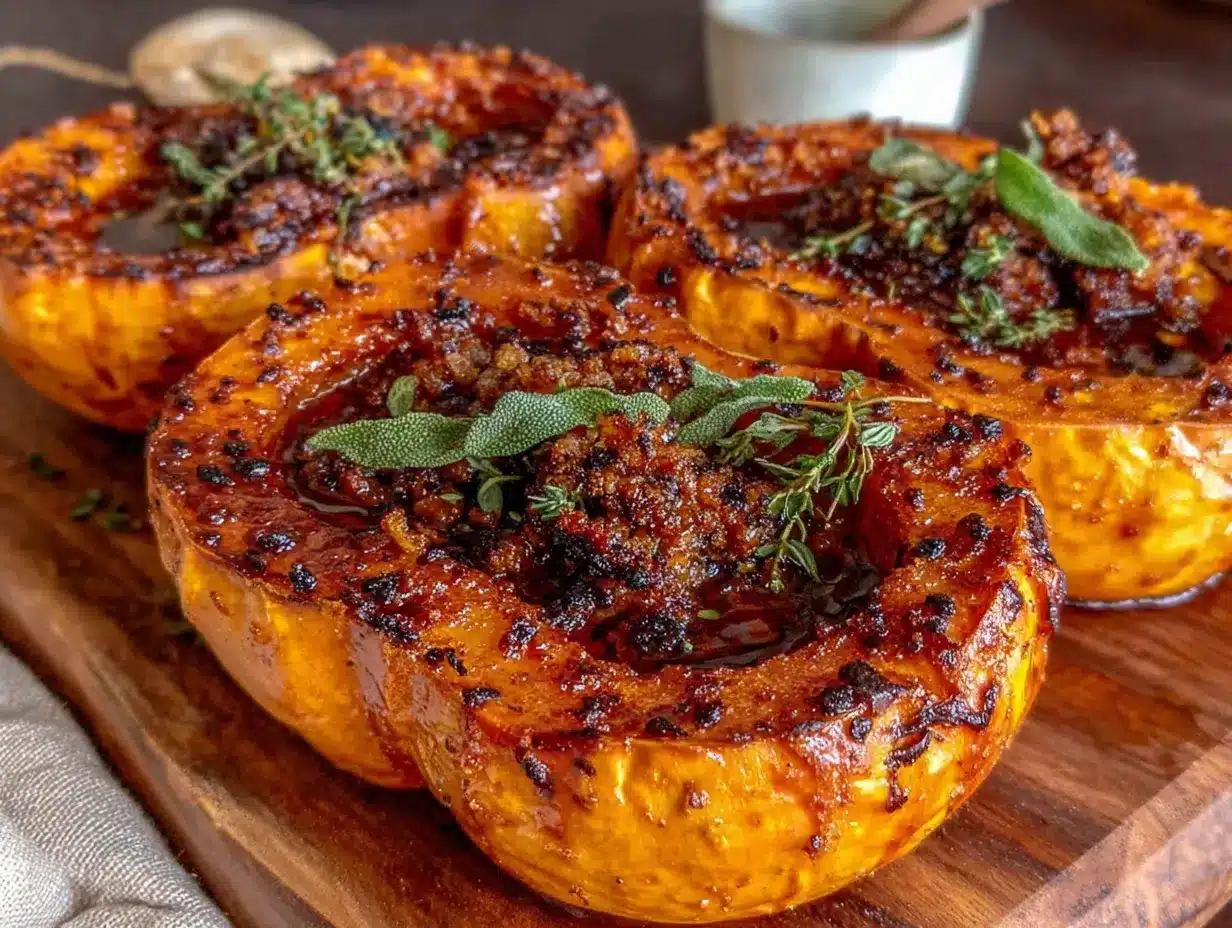
Let me walk you through this step by step. Trust me, it’s easier than it looks, and the results are absolutely worth it.
- Preheat your oven to 400°F (200°C). Position a rack in the middle of the oven. While it’s heating up, get your squash ready.
- Cut the honeynut squash. Using your sharp chef’s knife, carefully trim off the stem end and the very bottom of each squash. Stand the squash upright on one flat end and slice it in half lengthwise. Be careful—these little guys are dense! Use a spoon or melon baller to scoop out the seeds and stringy bits. Discard the seeds (or save them for roasting later—they’re delicious).
- Cut each half into wedges. Place each squash half cut-side down on your cutting board and slice into 1-inch (2.5cm) wide wedges. You should get about 4-5 wedges per half, depending on the size of your squash. The wedges should be roughly uniform in thickness so they cook evenly.
- Season the squash. Place the wedges in a large bowl. Drizzle with 1 tablespoon of olive oil (or melted butter if you’re feeling decadent), sprinkle with 1/2 teaspoon kosher salt and 1/4 teaspoon black pepper. Toss gently with your hands to coat each wedge evenly. Don’t be shy—get in there.
- Arrange in the skillet. If using a cast iron skillet, place it over medium heat for about 2 minutes. Add the squash wedges in a single layer, cut-side down. If they don’t all fit, don’t overcrowd—use two skillets or work in batches. Let them sear undisturbed for 3-4 minutes until the cut sides are golden brown. This step adds so much flavor, don’t skip it.
- Transfer to the oven. Place the skillet (or baking sheet) in the preheated oven. Roast for 15-20 minutes, flipping halfway through, until the squash is tender and caramelized. You should be able to easily pierce a wedge with a fork. The edges will look slightly crispy and browned.
- Make the brown butter while the squash roasts. In a small saucepan over medium heat, add the 4 tablespoons of unsalted butter. Let it melt completely, then continue cooking, swirling the pan occasionally. The butter will foam up, then subside, then foam again. Watch closely—it will go from golden to amber to brown quite quickly. When you see brown specks forming at the bottom of the pan and it smells nutty and toasty (about 3-4 minutes total), immediately remove it from the heat. Don’t walk away during this step—I’ve burned more batches of brown butter than I care to admit.
- Crisp the sage leaves. While the butter is still hot, add the fresh sage leaves. They’ll sizzle and crisp up in about 30 seconds. Use a fork to flip them once, then transfer them to a paper towel-lined plate. They’ll continue to crisp as they cool.
- Add the maple syrup (optional). If using, stir the maple syrup into the brown butter. It will bubble up a bit—that’s normal. Give it a quick stir to combine.
- Finish and serve. Once the squash is done roasting, remove the skillet from the oven. Drizzle the brown butter mixture over the squash wedges, making sure to get some on each piece. Sprinkle the crispy sage leaves on top. Finish with a pinch of flaky sea salt if you’re using it. Serve immediately while everything is warm and the sage is still crispy.
Sensory cues to watch for: When the squash is done, it should look deeply caramelized with golden-brown edges. The brown butter should smell nutty and toasty—like toasted hazelnuts. The sage leaves should be crisp enough to crumble between your fingers. If they’re still soft, give them another 10 seconds in the hot butter.
Cooking Tips & Techniques
I’ve made this cozy brown butter honeynut squash more times than I can count, and I’ve learned a few things along the way. Here are my best tips for getting it perfect every time.
Don’t skip the sear. I know it’s tempting to just throw everything in the oven and call it a day, but that initial sear in the skillet is where the magic happens. It creates a caramelized crust that adds depth and sweetness to the squash. Trust me, those extra 3-4 minutes are worth it.
Watch the brown butter like a hawk. This is the most important tip I can give you. Brown butter goes from perfect to burnt in about 15 seconds. The moment you see those brown specks form and smell that nutty aroma, pull it off the heat immediately. I once got distracted by a phone call and ended up with black butter that smelled like burnt popcorn. Not my finest moment.
Cut the wedges evenly. Uniform thickness isn’t just for looks—it ensures everything cooks at the same rate. If some wedges are thicker than others, the thin ones will burn while the thick ones are still raw. Take the extra 30 seconds to make them even.
Use a thermometer if you’re unsure. If you’re new to brown butter, use an instant-read thermometer. The butter will be ready when it reaches about 250°F (120°C). It’s a foolproof way to get it right every time.
Multitasking strategy. Start the squash in the oven first, then make the brown butter while it roasts. The timing works out perfectly—the butter will be done right when the squash comes out of the oven. This way, everything is hot and ready to serve at the same time.
Don’t overcrowd the pan. If your skillet is too full, the squash will steam instead of sear. Use two skillets or work in batches if needed. Your patience will be rewarded with better caramelization.
Variations & Adaptations
This recipe is wonderfully adaptable. Here are some variations I’ve tried and loved:
Maple-Balsamic Version: Instead of just maple syrup, add 1 tablespoon of balsamic vinegar to the brown butter along with the maple syrup. The acidity cuts through the richness beautifully. I tried this on a whim when I ran out of maple syrup and only had half the amount—the balsamic saved the day.
Spicy Kick: Add a pinch of red pepper flakes or a drizzle of hot honey to the brown butter before drizzling. The heat pairs surprisingly well with the sweet squash and nutty butter. My spice-loving friend requests this version every time she comes over for dinner.
Herb Swap: If sage isn’t your thing, try fresh thyme, rosemary, or even tarragon. Each brings its own personality to the dish. Rosemary is especially good if you’re serving this alongside roasted chicken or pork.
Vegan Adaptation: Use vegan butter or coconut oil instead of regular butter. For the sage, you can crisp it in a little olive oil instead. It won’t have the same nutty depth, but it’s still delicious. I made this for a vegan friend’s Thanksgiving and she asked for the recipe three times.
Nutty Crunch: Add 1/4 cup of toasted pecans or walnuts to the brown butter along with the sage. The crunch adds another layer of texture that makes this feel extra special. I did this for a dinner party and everyone fought over the nuts.
Air Fryer Method: If you’re short on time, you can cook the squash in an air fryer at 375°F (190°C) for 12-15 minutes, shaking halfway through. Make the brown butter on the stovetop while it cooks. The air fryer gives the squash an incredibly crispy exterior. Just don’t overcrowd the basket.
Serving & Storage Suggestions
This cozy brown butter honeynut squash is best served warm, right after you’ve drizzled the brown butter and sprinkled the crispy sage on top. The contrast between the warm, tender squash and the crispy sage is something special.
How to serve: Arrange the wedges on a platter, drizzle the brown butter over them, and scatter the crispy sage leaves on top. A final pinch of flaky sea salt is non-negotiable in my book. It adds that little burst of saltiness that makes everything pop. This dish works beautifully as a side for roasted chicken, pork chops, or a holiday turkey. It’s also hearty enough to be a vegetarian main course alongside a grain salad or crusty bread.
What to pair it with: A simple arugula salad with lemon vinaigrette cuts through the richness perfectly. For drinks, a dry hard cider or a crisp white wine like Sauvignon Blanc complements the nutty, sweet flavors. If you’re feeling cozy, a hot mug of apple cider on the side is never a bad idea.
Storage instructions: Leftover squash can be stored in an airtight container in the refrigerator for up to 4 days. The sage will lose its crispness, unfortunately, so I recommend storing it separately if you have leftovers. To reheat, place the squash in a 350°F (175°C) oven for 5-7 minutes, or until warmed through. You can also reheat in a skillet over medium heat for a few minutes. The microwave works in a pinch, but the texture won’t be as good.
Freezing: You can freeze the roasted squash (without the brown butter and sage) for up to 3 months. Let it cool completely, then place in a freezer-safe bag or container. To serve, thaw in the refrigerator overnight, then reheat in the oven and add fresh brown butter and sage. The flavors actually deepen a bit after freezing, which is a nice surprise.
Flavor development: Honestly, this dish is best fresh. The brown butter and crispy sage are at their peak right after you make them. That said, leftovers are still delicious—just don’t expect the sage to stay crispy. I’ve been known to eat cold leftovers straight from the fridge, and I have no regrets.
Nutritional Information & Benefits
Here’s the nutritional breakdown for one serving (about 1/2 of the recipe, made without the optional maple syrup):
| Nutrient | Amount per Serving |
|---|---|
| Calories | 215 |
| Total Fat | 14g |
| Saturated Fat | 8g |
| Carbohydrates | 22g |
| Fiber | 4g |
| Sugar | 8g |
| Protein | 3g |
| Vitamin A | 180% DV |
| Vitamin C | 25% DV |
| Potassium | 450mg |
Honeynut squash is a nutritional powerhouse. It’s packed with vitamin A (more than 180% of your daily needs in one serving), which is essential for eye health and immune function. It’s also a great source of vitamin C, potassium, and fiber. The brown butter adds healthy fats that help your body absorb the fat-soluble vitamins in the squash. Sage is rich in antioxidants and has anti-inflammatory properties. This dish is naturally gluten-free, vegetarian, and can be made vegan with a simple swap. If you’re watching your sodium, reduce the salt and skip the flaky sea salt finish. I personally love that this recipe feels indulgent but is actually pretty good for you—it’s comfort food that nourishes at the same time.
Conclusion
This cozy brown butter honeynut squash with crispy sage is the kind of recipe that proves simple ingredients, treated with care, can create something truly special. It’s warm, comforting, and deeply satisfying—exactly what you want on a chilly evening or when you need a little culinary hug.
I love this recipe because it’s forgiving. You can tweak it to match your mood, swap ingredients based on what you have, and it still turns out delicious. It’s become my go-to for fall dinners, Thanksgiving sides, and those nights when I just want something that feels like home. The first time I made it at midnight, I didn’t know it would become a staple. But now, every time I smell brown butter and sage, I’m transported back to that quiet kitchen, following a craving and discovering something wonderful.
I’d love to hear how this turns out for you! Did you add the maple syrup? Try the spicy version? Serve it with something unexpected? Drop a comment below and let me know—I read every single one. And if you share a photo on Pinterest or Instagram, tag me so I can see your beautiful creation. Now go make some cozy magic in your kitchen. You deserve it.
Frequently Asked Questions
Can I use butternut squash instead of honeynut?
Absolutely! Butternut squash is a great substitute. Just peel it first and cut into similar-sized wedges. The cooking time may increase by 5-10 minutes since butternut is denser. The flavor will be slightly less sweet, so you might want to add the maple syrup for extra sweetness.
How do I know when the brown butter is done?
Watch for three signs: the butter will turn a golden-amber color, you’ll see brown specks forming at the bottom of the pan, and it will smell nutty and toasty—like toasted hazelnuts. The whole process takes about 3-4 minutes over medium heat. Remove it from the heat immediately once you see those signs.
Can I make this ahead of time?
You can roast the squash up to a day ahead and store it in the refrigerator. When you’re ready to serve, reheat it in a 350°F oven for 5-7 minutes, then make fresh brown butter and crispy sage. The sage is best made fresh, as it loses its crispness within a few hours.
Is this recipe gluten-free?
Yes! This recipe is naturally gluten-free. Just make sure your maple syrup and any additional seasonings are certified gluten-free if you have celiac disease or a severe sensitivity. All the main ingredients—honeynut squash, butter, sage, salt, and pepper—are naturally gluten-free.
Can I double this recipe?
Definitely! Just make sure not to overcrowd your skillet or baking sheet. Use two skillets or work in batches to ensure even browning and caramelization. The brown butter recipe can be doubled as well—just use a slightly larger saucepan and keep a close eye on it, as larger quantities can brown faster than you’d expect.
Pin This Recipe!
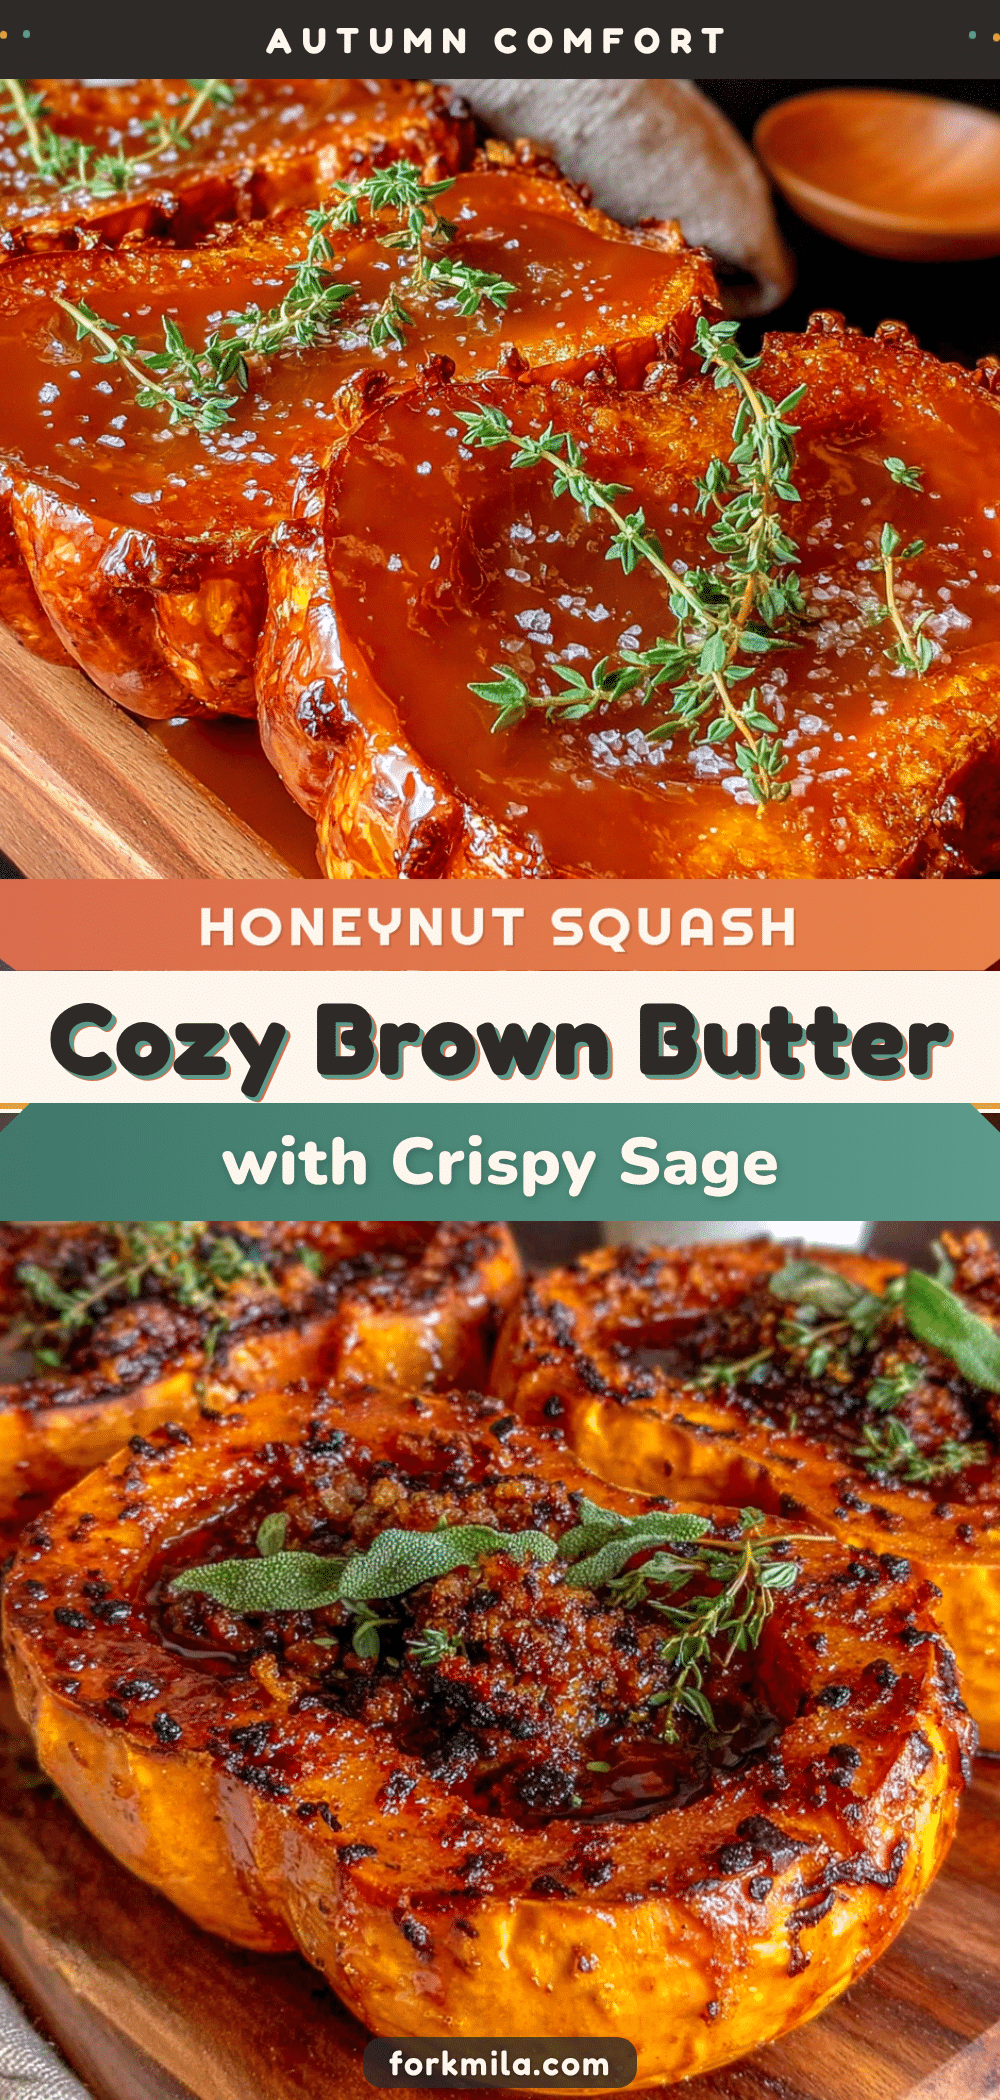
Cozy Brown Butter Honeynut Squash with Crispy Sage
This cozy brown butter honeynut squash with crispy sage is a quick and easy side dish that combines caramelized squash, nutty brown butter, and crispy sage for a deeply comforting flavor. Perfect for fall dinners, Thanksgiving sides, or a quiet night when you need something warm and satisfying.
- Prep Time: 10 minutes
- Cook Time: 20 minutes
- Total Time: 30 minutes
- Yield: 4 servings 1x
- Category: Side Dish
- Cuisine: American
Ingredients
- 2 medium honeynut squashes (about 1.5 lbs / 680g total)
- 4 tablespoons unsalted butter (56g)
- 10–12 fresh sage leaves
- 1 tablespoon maple syrup (optional, 15ml)
- 1/2 teaspoon kosher salt, plus more to taste
- 1/4 teaspoon freshly ground black pepper
- Flaky sea salt for finishing (optional)
Instructions
- Preheat your oven to 400°F (200°C). Position a rack in the middle of the oven.
- Cut the honeynut squash: Trim off the stem end and bottom of each squash. Stand upright and slice in half lengthwise. Scoop out seeds and stringy bits with a spoon or melon baller.
- Cut each half into 1-inch (2.5cm) wide wedges. Aim for uniform thickness for even cooking.
- Place wedges in a large bowl. Drizzle with 1 tablespoon olive oil (or melted butter), sprinkle with 1/2 teaspoon kosher salt and 1/4 teaspoon black pepper. Toss gently to coat.
- Heat a large cast iron skillet over medium heat for 2 minutes. Add squash wedges in a single layer, cut-side down. Sear undisturbed for 3-4 minutes until golden brown.
- Transfer skillet to the oven. Roast for 15-20 minutes, flipping halfway, until tender and caramelized (easily pierced with a fork).
- While squash roasts, make brown butter: In a small saucepan over medium heat, melt 4 tablespoons unsalted butter. Continue cooking, swirling occasionally, until butter foams, subsides, then foams again. When brown specks form and it smells nutty (about 3-4 minutes), remove from heat immediately.
- Add fresh sage leaves to the hot brown butter. They will sizzle and crisp in about 30 seconds. Flip once, then transfer to a paper towel-lined plate.
- If using, stir 1 tablespoon maple syrup into the brown butter (it will bubble).
- Remove roasted squash from oven. Drizzle brown butter mixture over the wedges. Sprinkle crispy sage leaves on top. Finish with a pinch of flaky sea salt if desired. Serve immediately.
Notes
Don’t skip the sear—it creates a caramelized crust. Watch the brown butter closely; it goes from perfect to burnt in about 15 seconds. Cut wedges evenly for uniform cooking. For best results, serve immediately while the sage is still crispy. Leftover squash can be stored in an airtight container in the refrigerator for up to 4 days; reheat in a 350°F oven for 5-7 minutes.
Nutrition
- Serving Size: 1/2 of recipe (about
- Calories: 215
- Sugar: 8
- Sodium: 300
- Fat: 14
- Saturated Fat: 8
- Carbohydrates: 22
- Fiber: 4
- Protein: 3
Keywords: brown butter, honeynut squash, crispy sage, fall recipe, Thanksgiving side, vegetarian, gluten-free, easy side dish


