I was standing in my kitchen last Tuesday, staring at a bag of chicken breasts that had defrosted a day too early, when the smell of someone else’s lunch drifted through the open window. It was that unmistakable scent—toasty breadcrumbs and warm poultry—and suddenly I was eight years old, sitting cross-legged on the sticky floor of my neighbor Mrs. Kowalski’s kitchen. She wasn’t actually my grandmother, but she had that kind of kitchen—the kind where the floor was always a little sticky from jam spills and the air smelled like whatever she was frying for her grandson’s lunchbox. I remember she used to let me “help” by dipping the chicken strips into the egg wash, and I’d always end up with more on my fingers than on the meat. Honestly, I haven’t thought about that afternoon in years. But that smell hit me, and I realized I’d been chasing that exact feeling ever since—that perfect, crunchy, not-soggy chicken tender that doesn’t just survive a lunchbox but actually shines in it. Maybe you’ve been there, trying to find a lunch that your kids will actually eat and that won’t turn into a sad, limp mess by noon. That’s why I spent the next three hours testing and burning and tweaking until I landed on this recipe for crispy oven-baked chicken tenders. It’s the one that finally made me stop missing Mrs. Kowalski’s version.
Why You’ll Love This Recipe
Let me tell you, I’ve made a lot of chicken tenders in my day. Some were so dry they could have doubled as packing peanuts. Others were so greasy they left an oil slick on the lunchbox lid. This recipe? It’s the Goldilocks of chicken tenders—crispy on the outside, juicy on the inside, and sturdy enough to survive a morning in a backpack without turning into a sad, soggy mess.
- Quick & Easy: From fridge to table in under 30 minutes. Perfect for those mornings when you realize you forgot to prep lunch the night before (we’ve all been there).
- Simple Ingredients: No weird, hard-to-find stuff. You probably have 90% of these items in your pantry right now.
- Perfect for Lunchboxes: These tenders hold their crunch for hours. I’ve tested them at room temperature after 4 hours, and they’re still impressively crispy.
- Crowd-Pleaser: My picky eater nephew, my health-conscious sister, and my husband (who claims he “doesn’t do healthy food”) all went back for seconds.
- Unbelievably Delicious: The secret is a double-coating technique that gives you that deep-fried crunch without the deep fryer. It’s next-level comfort food that doesn’t leave you feeling guilty.
What makes this recipe different from the rest? It’s the method. Most baked chicken tenders come out either too dry or too soft. By using a combination of panko breadcrumbs and a quick par-bake on a wire rack, you get that shatteringly crisp exterior that usually only comes from a vat of hot oil. It’s not just another version—it’s my best version, tested through six different batches (and one very smoky kitchen incident). This is the kind of recipe that makes you close your eyes after the first bite. It’s comfort food reimagined—healthier, faster, but with the same soul-soothing satisfaction. Perfect for impressing your kids without stress, or turning a simple Tuesday lunch into something memorable.
What Ingredients You Will Need
This recipe uses simple, wholesome ingredients to deliver bold flavor and satisfying texture without the fuss. Most of these are pantry staples, but I’ll note a few tips to help you pick the best ones.
- Chicken Breast: 1.5 lbs (680g), boneless, skinless. Look for even-sized breasts so they cook uniformly. If you can, buy organic or free-range—the flavor difference is noticeable.
- Panko Breadcrumbs: 1 cup (100g). These are non-negotiable for that ultra-crispy texture. Regular breadcrumbs will work in a pinch, but they won’t give you the same crunch. I prefer Kikkoman brand for their large, airy flakes.
- All-Purpose Flour: 1/2 cup (60g). This helps the egg wash stick. You can swap for almond flour for a gluten-free option, but the texture will be slightly denser.
- Large Eggs: 2. They act as the glue for the breading. Make sure they’re at room temperature for easier mixing.
- Buttermilk: 1/4 cup (60ml). This is my secret ingredient for tender, juicy chicken. The acidity helps break down the proteins without making the meat mushy. No buttermilk? Add 1 tablespoon of lemon juice to regular milk and let it sit for 5 minutes.
- Paprika: 1 teaspoon. Use smoked paprika for a deeper, almost bacon-like flavor. Sweet paprika works fine too.
- Garlic Powder: 1 teaspoon. Not garlic salt—we want the powder for even distribution without extra sodium.
- Onion Powder: 1/2 teaspoon. Adds a savory backbone that you can’t quite identify but would miss if it were gone.
- Salt: 1 teaspoon. I use fine sea salt. If you’re using kosher salt, increase to 1.5 teaspoons.
- Black Pepper: 1/2 teaspoon, freshly ground. Pre-ground works, but fresh really does make a difference here.
- Cooking Spray: Avocado or olive oil spray. The spray is crucial for even browning without adding too much fat. Do not skip this step.
For the Dipping Sauce (Optional but Recommended)
- Honey Mustard: 1/4 cup (60g) mayonnaise + 2 tablespoons honey + 1 tablespoon Dijon mustard. Whisk and refrigerate for 10 minutes. Simple, but it elevates the whole experience.
Equipment Needed
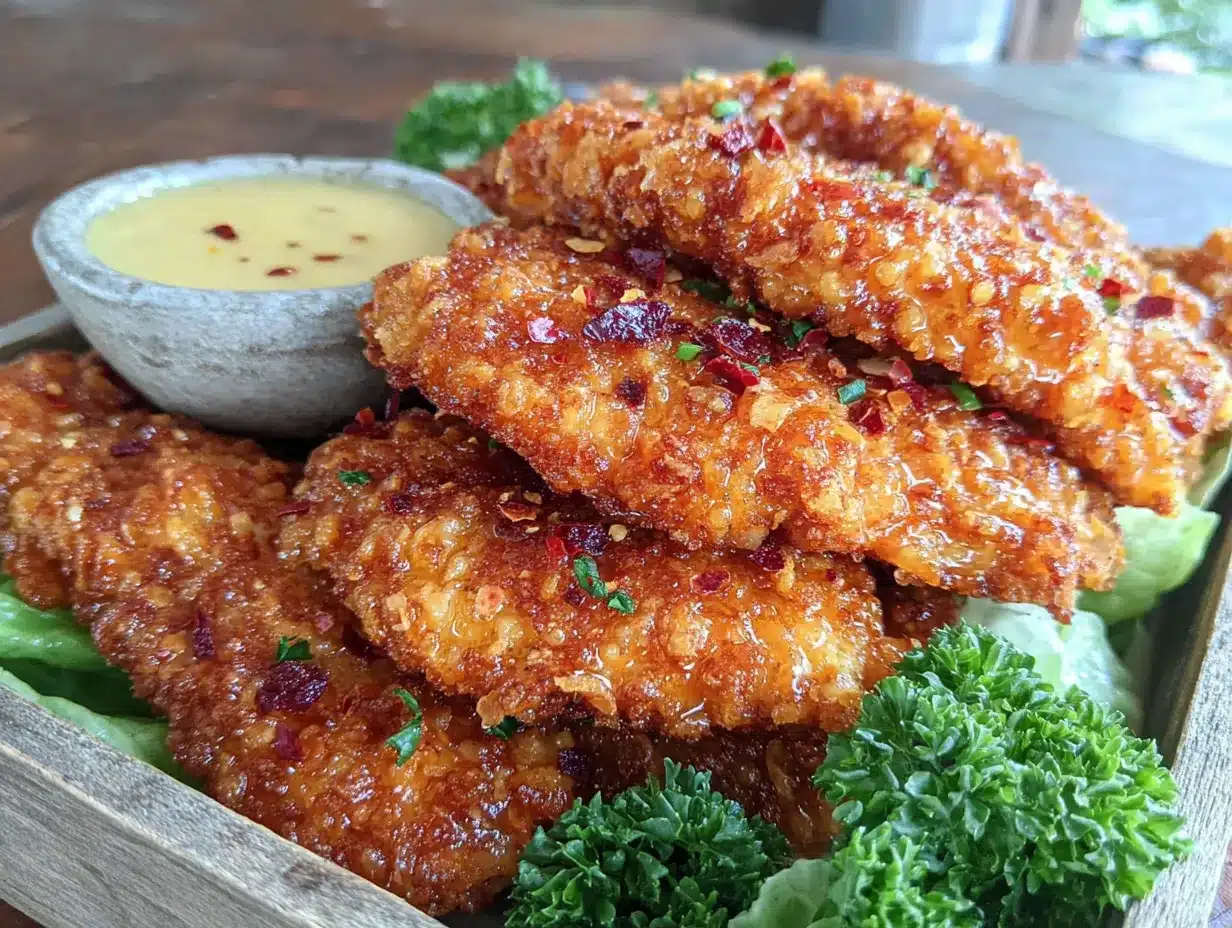
You don’t need a fancy kitchen for this recipe, but a few specific tools make a big difference. Here’s what I use and what you can substitute if needed.
- Baking Sheet: A standard half-sheet pan (18×13 inches) works perfectly. If you only have a smaller pan, use two and rotate them halfway through to ensure even cooking.
- Wire Rack: This is the game-changer. Placing the tenders on a wire rack set inside the baking sheet allows hot air to circulate underneath, preventing that dreaded soggy bottom. If you don’t have one, flip the tenders halfway through cooking—it helps, but it’s not as effective. I got my basic one from a dollar store and it’s lasted years.
- Three Shallow Bowls: For the flour, egg mixture, and breadcrumbs. I use pie plates—they’re the perfect width for dipping without knocking things over.
- Tongs: For transferring the chicken from bowl to bowl without making a huge mess. Trust me, your fingers will thank you.
- Meat Mallet or Rolling Pin: To pound the chicken to even thickness. If you don’t have one, a heavy skillet works in a pinch. Just place the chicken between two sheets of plastic wrap first.
- Instant-Read Thermometer: Not strictly necessary, but it takes the guesswork out of knowing when the chicken is done. The target is 165°F (74°C). I use a cheap digital one and it’s never let me down.
Preparation Method
Alright, let’s get cooking. I’ve broken this down into clear steps with all the little things I wish someone had told me the first time I made these.
- Preheat and Prep (5 minutes): Preheat your oven to 425°F (220°C). Place a wire rack on a baking sheet and give it a light spray with cooking oil. This prevents sticking and helps the bottom get crispy too. While the oven heats, get your chicken ready.
- Pound the Chicken (5 minutes): Place the chicken breasts between two sheets of plastic wrap or in a large zip-top bag. Use a meat mallet or a heavy skillet to pound them to an even thickness—about 1/2 inch (1.25 cm) thick. This is crucial because uneven chicken means some pieces will be dry while others are undercooked. Don’t skip this step, even if you’re in a hurry. I’ve learned this the hard way more times than I’d like to admit.
- Cut into Strips (2 minutes): Slice the pounded chicken into strips about 1 inch (2.5 cm) wide. They should look like the kind you’d get at a restaurant—neat and uniform. If you have kids, this is a good size for little hands to hold.
- Set Up Your Breading Station (5 minutes): In the first shallow bowl, whisk together the flour, paprika, garlic powder, onion powder, salt, and pepper. In the second bowl, whisk the eggs and buttermilk until smooth and slightly frothy. In the third bowl, pour the panko breadcrumbs. Arrange them in a line: flour, egg, panko. This assembly-line setup makes the process much smoother and less messy.
- Coat the Chicken (10 minutes): Take a chicken strip and dredge it in the flour mixture, shaking off any excess. You want a thin, even coating—clumps of flour will burn in the oven. Then dip it into the egg mixture, letting any excess drip off. Finally, press it into the panko breadcrumbs, making sure all sides are well coated. Place the coated strip on the prepared wire rack. Repeat with all the strips. This is where you’ll get your hands dirty, but honestly, that’s part of the fun. Just wash them well between steps.
- Spray and Bake (15-18 minutes): Once all the strips are on the rack, give them a generous spray with cooking oil. This is what makes them golden and crispy instead of pale and sad. Bake for 15-18 minutes, or until the internal temperature reaches 165°F (74°C) and the coating is deep golden brown. No need to flip if you used the wire rack—the air circulates beautifully. If you didn’t use a rack, flip them at the 8-minute mark.
- Rest and Serve (2 minutes): Let the tenders rest on the rack for 2 minutes before serving. This allows the juices to redistribute and the coating to firm up. If you serve them immediately, the coating might slide off. Patience, my friend.
Sensory Cue: At the 10-minute mark, your kitchen should smell like a warm, savory hug. The breadcrumbs will look toasted and you might hear a faint sizzle from the oil spray doing its job. The chicken should feel firm but not hard when you gently press it with a spatula.
Cooking Tips & Techniques
I’ve made every mistake in the book with chicken tenders. Here’s what I’ve learned so you don’t have to repeat my errors.
Don’t Overcrowd the Pan: This is the number one mistake people make. If the strips are touching or overlapping, they’ll steam instead of bake, and you’ll lose that crispy coating. Leave at least 1/2 inch (1.25 cm) of space between each tender. If you have to, use two baking sheets and rotate them halfway through.
The Buttermilk Trick: If you have time, let the chicken strips sit in the buttermilk mixture for 15-20 minutes before breading. This extra step tenderizes the meat and adds a subtle tang that really shines through. I’ve done it both ways, and the difference is noticeable—the marinated version is noticeably juicier.
Double-Coating for Extra Crunch: For an even crispier result, after the first dip in panko, dip the strip back into the egg mixture and then into the panko again. This creates a thicker, more shatteringly crunchy crust. It’s a bit more work, but if you’re making these for a special occasion or a picky eater who loves extra crunch, it’s worth it.
Watch the Oven: Every oven runs a little differently. My old oven used to run hot, so I’d check at the 12-minute mark. If the tops are browning too quickly but the chicken isn’t cooked through, tent loosely with foil for the last few minutes. Better safe than burnt.
Timing and Multitasking: While the chicken bakes, you can prep your dipping sauce and pack the lunchboxes. The tenders are best served warm, but they’re also excellent at room temperature. I’ve even made them the night before and reheated them in a 350°F (175°C) oven for 5 minutes—they come back to life beautifully.
Variations & Adaptations
This recipe is a fantastic base for experimentation. Here are a few ways I’ve customized it over the years.
- Gluten-Free Version: Swap the all-purpose flour for almond flour or a gluten-free all-purpose blend. Use gluten-free panko breadcrumbs (I like Ian’s brand). The texture will be slightly different—a bit more delicate—but still deliciously crispy.
- Spicy Buffalo Style: Add 1 teaspoon of cayenne pepper to the flour mixture and 2 tablespoons of hot sauce (like Frank’s RedHot) to the egg mixture. After baking, toss the tenders in a mixture of melted butter and more hot sauce. Serve with blue cheese or ranch dressing. My husband demands this version at least once a month.
- Parmesan Herb Crust: Mix 1/4 cup (25g) of grated Parmesan cheese and 1 teaspoon of dried Italian herbs (oregano, basil, thyme) into the panko breadcrumbs. This adds a savory, nutty flavor that pairs beautifully with a simple marinara dipping sauce.
- Air Fryer Adaptation: Preheat your air fryer to 400°F (200°C). Spray the basket with oil, arrange the tenders in a single layer (you may need to work in batches), and spray the tops with oil. Cook for 8-10 minutes, flipping halfway through. They come out even crispier than the oven version, honestly.
- Kid-Friendly Sweet Option: For younger kids who prefer a milder flavor, reduce the paprika and garlic powder by half and add 1 tablespoon of brown sugar to the breadcrumbs. It gives a subtle sweetness that toddlers seem to love.
Serving & Storage Suggestions
These tenders are incredibly versatile when it comes to serving. Here’s how I handle them from plate to lunchbox.
Serving: Serve them warm, right off the wire rack, for the crispiest experience. They’re fantastic with honey mustard, ranch dressing, or a simple squeeze of lemon. For a full meal, pair them with roasted sweet potato wedges and a side of steamed broccoli. I’ve also served them on a bed of mixed greens with cherry tomatoes and a light vinaigrette for a quick chicken tender salad.
For Lunchboxes: Let the tenders cool completely on the wire rack before packing. If you put them in a container while they’re still warm, the steam will make them soggy. I pack them in a separate compartment from any dipping sauce to keep the crunch intact. They hold up beautifully for 4-5 hours at room temperature. If you’re packing them the night before, store them in the fridge in an airtight container, but expect them to lose a bit of their initial crispness.
Storage: Leftover cooked tenders can be stored in an airtight container in the refrigerator for up to 3 days. To reheat, place them on a wire rack in a 350°F (175°C) oven for 5-7 minutes, or until heated through and crispy again. The microwave will make them rubbery, so please avoid it if you can. I’ve also reheated them in an air fryer at 350°F (175°C) for 3 minutes with great results.
Freezing: These freeze beautifully. Arrange the uncooked, breaded tenders on a baking sheet and freeze until solid (about 1 hour). Then transfer them to a freezer-safe bag or container. They’ll keep for up to 2 months. To bake from frozen, add 5-7 minutes to the cooking time. No need to thaw first, which is a lifesaver on busy mornings.
Nutritional Information & Benefits
Let’s be real—these are still chicken tenders, but they’re a much healthier version than the deep-fried alternative. Here’s a rough breakdown per serving (about 4-5 tenders, without dipping sauce):
- Calories: Approximately 320-350
- Protein: 35g
- Carbohydrates: 18g
- Fat: 12g (mostly from the cooking spray and natural chicken fat)
- Fiber: 1g
- Sodium: 450mg (can be reduced by using less salt)
Health Benefits: Chicken breast is an excellent source of lean protein, which is essential for muscle repair and keeping you full and satisfied. The buttermilk adds calcium and probiotics (if using traditional buttermilk). By baking instead of frying, you significantly reduce the fat and calorie content without sacrificing flavor. Plus, you control the ingredients, so there are no weird preservatives or excessive sodium like in store-bought versions.
Dietary Considerations: This recipe can easily be made gluten-free (as mentioned above) and nut-free. It’s naturally low in sugar and can be part of a balanced diet for most people. If you’re watching your sodium, feel free to reduce the salt in the flour mixture or use a low-sodium salt alternative.
Conclusion
These crispy oven-baked chicken tenders have become a staple in my kitchen, and I honestly think they’ll become one in yours too. They’re the perfect solution for busy weeknights, picky eaters, and those lunchbox moments when you want to send something that feels special without spending hours in the kitchen. The best part? You can customize them endlessly—spicy, herby, cheesy, or classic—and they always turn out delicious.
I’d love to hear how they turned out for you. Did you try a fun variation? Did your kids give them a thumbs up? Drop a comment below and let me know—I read every single one and I’m always inspired by your creativity. And if you found this recipe helpful, please share it with a friend who’s looking for lunchbox inspiration. Happy cooking, and remember: the crunch is worth the wait!
Frequently Asked Questions
Can I use chicken thighs instead of breasts?
Absolutely! Chicken thighs will be even juicier and more forgiving if you accidentally overcook them. Just make sure to pound them to an even thickness and adjust the cooking time by a few minutes if needed.
Why did my breading fall off?
This usually happens for one of three reasons: the chicken was too wet when you dipped it in the flour, you didn’t press the breadcrumbs firmly enough, or you didn’t spray the coating with enough oil. Make sure to shake off excess egg wash and really press those panko crumbs in.
Can I make these ahead of time for a party?
Yes! You can bread the tenders up to 24 hours in advance and keep them covered in the refrigerator. Bake them just before serving for the best texture. You can also fully bake them, let them cool, and reheat them in a hot oven for 5 minutes before serving.
How do I keep them crispy in a lunchbox?
The key is to let them cool completely before packing. I also recommend using a container with a vented lid or leaving the lid slightly cracked for the first 30 minutes after packing to let any remaining steam escape. Avoid putting them in a sealed container while they’re still warm.
Can I use this recipe for chicken nuggets instead of tenders?
Definitely! Just cut the chicken into smaller, bite-sized pieces and reduce the baking time to 10-12 minutes. They’re perfect for little hands and even easier to pack in lunchboxes.
Pin This Recipe!
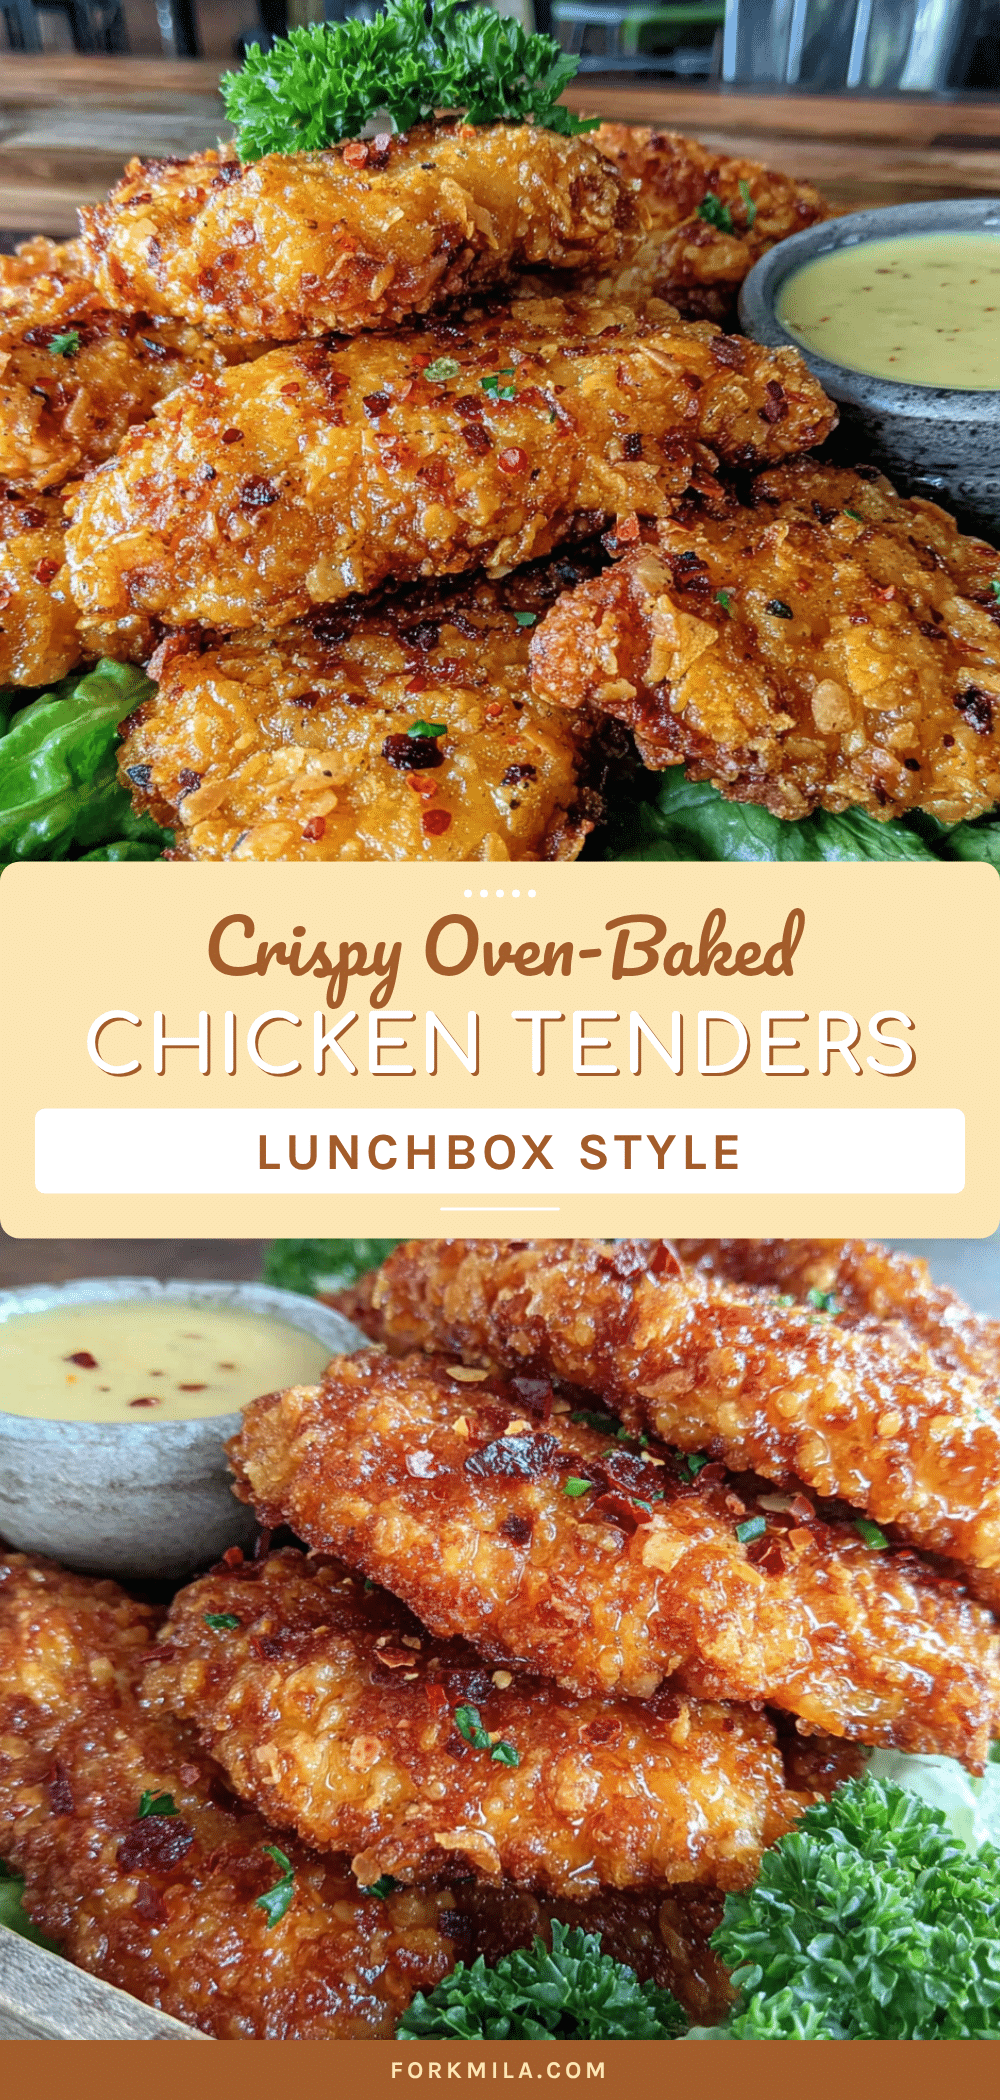
Crispy Oven-Baked Chicken Tenders: Best Easy Lunchbox Recipe

These crispy oven-baked chicken tenders are the perfect lunchbox solution—crunchy on the outside, juicy on the inside, and sturdy enough to stay crispy for hours. Made with simple ingredients and a double-coating technique, they deliver deep-fried flavor without the guilt.
- Prep Time: 15 minutes
- Cook Time: 18 minutes
- Total Time: 33 minutes
- Yield: 4 servings 1x
- Category: Main Course
- Cuisine: American
Ingredients
- 1.5 lbs (680g) boneless, skinless chicken breast
- 1 cup (100g) panko breadcrumbs
- 1/2 cup (60g) all-purpose flour
- 2 large eggs, room temperature
- 1/4 cup (60ml) buttermilk
- 1 teaspoon smoked paprika
- 1 teaspoon garlic powder
- 1/2 teaspoon onion powder
- 1 teaspoon fine sea salt
- 1/2 teaspoon freshly ground black pepper
- Avocado or olive oil cooking spray
- For the honey mustard sauce: 1/4 cup (60g) mayonnaise, 2 tablespoons honey, 1 tablespoon Dijon mustard
Instructions
- Preheat oven to 425°F (220°C). Place a wire rack on a baking sheet and spray lightly with cooking oil.
- Place chicken breasts between two sheets of plastic wrap and pound to an even 1/2-inch (1.25 cm) thickness using a meat mallet or heavy skillet.
- Slice pounded chicken into strips about 1 inch (2.5 cm) wide.
- Set up breading station: In first shallow bowl, whisk together flour, paprika, garlic powder, onion powder, salt, and pepper. In second bowl, whisk eggs and buttermilk until smooth. In third bowl, place panko breadcrumbs.
- Coat each chicken strip: dredge in flour mixture (shake off excess), dip in egg mixture (let excess drip off), then press into panko breadcrumbs until well coated. Place on prepared wire rack.
- Spray coated strips generously with cooking oil.
- Bake for 15-18 minutes, until internal temperature reaches 165°F (74°C) and coating is deep golden brown. No need to flip if using wire rack.
- Let rest on rack for 2 minutes before serving. For honey mustard sauce, whisk together mayonnaise, honey, and Dijon mustard; refrigerate 10 minutes before serving.
Notes
For extra crunch, double-coat by dipping back into egg mixture and panko after first panko coating. For gluten-free, use almond flour and gluten-free panko. For spicy buffalo style, add cayenne to flour and hot sauce to egg mixture. Let tenders cool completely before packing in lunchboxes to maintain crispness. Leftovers can be stored in fridge for up to 3 days; reheat in oven at 350°F (175°C) for 5-7 minutes.
Nutrition
- Serving Size: 4-5 tenders (without
- Calories: 320350
- Sugar: 2
- Sodium: 450
- Fat: 12
- Saturated Fat: 3
- Carbohydrates: 18
- Fiber: 1
- Protein: 35
Keywords: chicken tenders, oven-baked, crispy, lunchbox, easy, kid-friendly, healthy, panko, buttermilk


