My friend Jenna asked me last fall why I couldn’t just dump a box of cake mix over canned pumpkin and call it a day. I laughed—politely, I think—and launched into a whole speech about moisture ratios, blending techniques, and the importance of layering flavors. She just nodded along, scrolling through her phone. Then she sent me a link to something called “dump cake” and said, “Try it. Trust me.”
I started to explain why that wouldn’t work—then stopped. Honestly, I had nothing. No good reason. So I tried it. And the first time I pulled that pan out of the oven, I actually laughed out loud. It was perfect. Golden on top, soft and almost pudding-like underneath, with that unmistakable pumpkin spice aroma filling my entire kitchen. I mean, I’d been making pumpkin desserts from scratch for years, measuring out flour and spices like some kind of baking purist. And here was this ridiculously simple method that worked better. Let me tell you, it stung a little.
But you know what? That humbling moment turned into my most-requested fall recipe. This easy 5-ingredient pumpkin dump cake has saved me more times than I can count—hurried weeknights, surprise guests, that one Thanksgiving when my pie crust absolutely refused to cooperate. It’s the dessert that keeps proving good food doesn’t have to be complicated. Maybe you’ve been there too, overthinking something that really just needed a little trust and a warm oven.
Why You’ll Love This Recipe
Look, I’ve tested this pumpkin dump cake about seven different ways. I tried adding extra spices, mixing in cream cheese swirls, even attempting a homemade crumble topping. And every single time, I came back to the original five ingredients. That’s not stubbornness—it’s experience talking. This version just works.
- Quick & Easy: You need about 10 minutes of active prep. The oven does the rest. Perfect for those evenings when you want dessert but don’t want to work for it.
- Simple Ingredients: Canned pumpkin, yellow cake mix, butter, sweetened condensed milk, and pumpkin pie spice. That’s it. No fancy grocery store runs required.
- Perfect for Fall Gatherings: Bring this to any potluck, Friendsgiving, or holiday dinner, and watch it disappear. It’s not fancy, but it’s the pan people hover around.
- Crowd-Pleaser: Kids love it. Adults love it. That one relative who “doesn’t really like pumpkin desserts”? They’ll ask for the recipe.
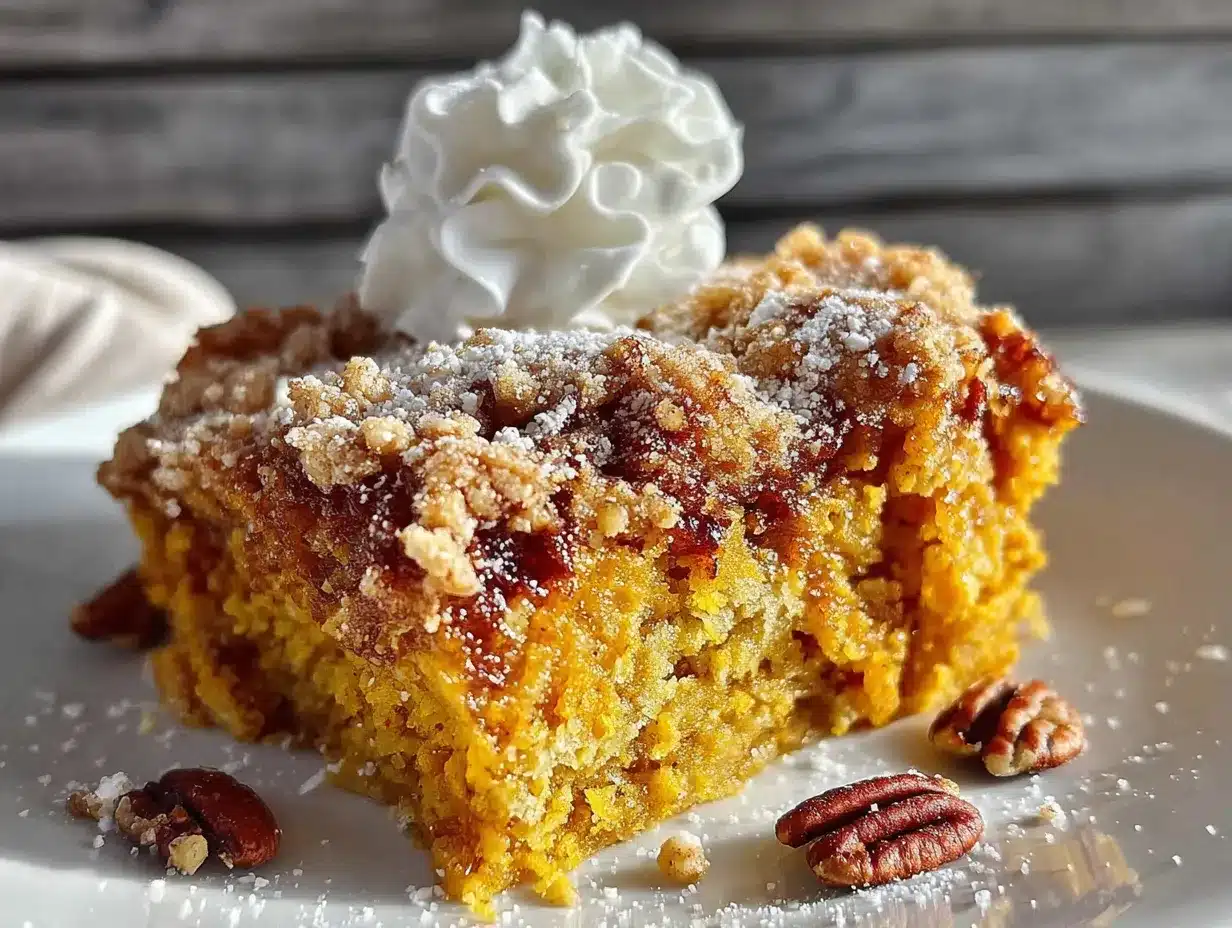
- Unbelievably Delicious: The top gets this beautiful, buttery, almost cookie-like crust. Underneath, it’s soft, creamy, and tastes like autumn in a spoonful. It’s comfort food, no apologies needed.
This isn’t just another dump cake recipe. It’s the one where the texture actually works—not too wet, not too dry. The sweetened condensed milk does something magical here, creating that rich, caramel-like sweetness without any extra effort. And honestly, after a long day, don’t we all deserve a dessert that asks almost nothing from us but delivers everything?
What Ingredients You Will Need
This recipe uses five simple ingredients that work together to create something surprisingly complex. Most of these are pantry staples during fall, which makes this dump cake dangerously easy to throw together on a whim.
- 1 can (15 oz) pumpkin puree (not pumpkin pie filling—make sure you grab the pure stuff. I prefer Libby’s for consistent texture, but store brands work fine too)
- 1 can (14 oz) sweetened condensed milk (this is your secret weapon for sweetness and that silky texture. Eagle Brand is my go-to, but any brand works)
- 1 box (15.25 oz) yellow cake mix (Duncan Hines or Betty Crocker both work great. Don’t use the pudding-in-the-mix kind—it changes the texture too much)
- 1/2 cup unsalted butter, melted (salted butter works if that’s what you have, just reduce any added salt. I recommend melting it in the microwave in 15-second bursts)
- 2 teaspoons pumpkin pie spice (homemade or store-bought. If you only have cinnamon, use 1 teaspoon cinnamon plus 1/2 teaspoon nutmeg and 1/4 teaspoon cloves)
A quick note on ingredient selection: look for pumpkin puree that lists only pumpkin as the ingredient. Some brands add spices or sugar, which will throw off the balance here. And please, please don’t use low-fat or fat-free sweetened condensed milk. I tried it once—it was a watery, sad situation that I don’t want you to experience.
For the cake mix, yellow cake mix gives the best buttery flavor and golden color. White cake mix works in a pinch, but the flavor is a little more neutral. Spice cake mix is actually amazing here too—just skip the extra pumpkin pie spice if you go that route.
Equipment Needed
The beauty of this recipe is that it doesn’t demand much from your kitchen. Here’s what you’ll need:
- 9×13-inch baking dish (glass or metal both work. I use a glass Pyrex dish because I like seeing the bottom layer through the sides)
- Large mixing bowl (any size works, you’re just combining two ingredients)
- Whisk or spatula (for mixing the pumpkin and condensed milk)
- Measuring spoons (for the pumpkin pie spice)
- Small microwave-safe bowl (for melting butter)
That’s genuinely it. No stand mixer, no hand mixer, no sifter, no piping bag. I’ve made this in a rental cabin kitchen with a bent whisk and a chipped Pyrex dish, and it came out perfect. If you don’t have a 9×13 dish, you can use two 8×8 square pans—just check them about 5 minutes early since they’ll bake faster.
One tip: spray your baking dish well with nonstick spray, even if it’s nonstick. The sweetened condensed milk layer can be sticky, and you’ll want every last bit to come out cleanly.
Preparation Method
- Preheat your oven to 350°F (175°C). While it’s heating, spray your 9×13 baking dish with nonstick cooking spray. Don’t skip this step—I learned the hard way when my first dump cake required serious scraping.
- In a large bowl, combine the pumpkin puree and sweetened condensed milk. Whisk them together until completely smooth. It should look like thick, creamy orange pudding. This takes about 30 seconds. No lumps allowed here, friends.
- Pour the pumpkin mixture into your prepared baking dish. Spread it evenly with a spatula. It won’t look like much—just a flat orange layer—but trust the process. This is where all that creamy goodness lives.
- Sprinkle the pumpkin pie spice evenly over the pumpkin layer. Don’t dump it all in one spot. Use your fingers to pinch and scatter if you need to. You want every bite to have that warm spice flavor.
- Sprinkle the dry cake mix evenly over the top. Here’s the trick: pour it slowly and spread it with your fingers or a fork. You want complete coverage with no gaps. Some people sift it, but honestly, I just sprinkle carefully. The cake mix should form a solid, even layer over the pumpkin.
- Drizzle the melted butter evenly over the cake mix. This is the most important step. Pour it slowly in a zigzag pattern across the entire surface. Try to get butter on every bit of cake mix—dry spots will result in powdery patches after baking. If you need more butter, add another tablespoon. I’ve been there.
- Bake for 40-45 minutes. The top should be golden brown and slightly puffed. You might see some butter bubbling around the edges—that’s normal and good. The center should still be slightly jiggly (it sets as it cools).
- Let it cool for at least 15-20 minutes before serving. I know it’s hard to wait. The smell will drive you crazy. But warm dump cake is soupy dump cake. Give it time to set up, and you’ll be rewarded with perfect slices.
A sensory cue for you: when it’s done, the kitchen will smell like a pumpkin spice candle exploded in the best way. The top should look golden and slightly crackled, like a streusel topping. If you tap the pan gently, the center should barely wobble.
Cooking Tips & Techniques
I’ve messed up this recipe more times than I’d like to admit. Here’s what I’ve learned so you don’t have to repeat my mistakes.
Don’t stir the layers. This is the number one error I see people make. You layer the ingredients and leave them alone. No stirring, no swirling, no mixing. The magic happens when the cake mix absorbs the moisture from the pumpkin and butter during baking. If you stir it, you get a gluey mess instead of distinct, beautiful layers.
Melt your butter completely. I used to just slice cold butter over the top, thinking it would melt in the oven. It doesn’t. Not evenly, anyway. You end up with greasy spots and dry patches. Melt it fully, then drizzle with intention.
Watch your oven temperature. Every oven runs a little differently. If your dump cake is browning too quickly on top but still liquid in the center, tent it with foil for the last 10 minutes. If it’s not browning at all after 35 minutes, bump the temperature to 375°F for the final stretch.
Let it rest. I cannot stress this enough. The first time I made this, I dug in after 5 minutes. It was essentially pumpkin soup with cake crumbs floating in it. Delicious, sure, but not what I was going for. Give it those 15-20 minutes. Go set the table. Make coffee. Do something with your hands.
Use room temperature ingredients. Cold pumpkin straight from the fridge can create temperature shock that affects baking time. Let it sit on the counter for 15 minutes while you preheat. Small habit, big difference.
Variations & Adaptations
This easy 5-ingredient pumpkin dump cake is a fantastic base for experimentation. Here are some variations I’ve tried and loved:
Gluten-Free Version: Use a gluten-free yellow cake mix. I’ve tested this with King Arthur’s gluten-free yellow cake mix, and honestly, even my gluten-eating friends couldn’t tell the difference. Everything else stays the same.
Dairy-Free Adaptation: Substitute the butter with melted coconut oil or a plant-based butter alternative. Use sweetened condensed coconut milk instead of regular. The texture is slightly less creamy, but still absolutely delicious.
Spice Cake Variation: Swap the yellow cake mix for spice cake mix and omit the pumpkin pie spice. The cake mix already has all those warm spices built in. This version tastes like gingerbread met pumpkin pie and decided to get married.
Add-In Options: Sprinkle 1/2 cup chopped pecans or walnuts over the cake mix before adding the butter for extra crunch. Or scatter 1/3 cup butterscotch chips over the pumpkin layer—trust me on this one, it’s incredible.
Pumpkin Cheesecake Dump Cake: Before adding the cake mix, drop spoonfuls of softened cream cheese (about 4 oz) over the pumpkin layer. Swirl gently with a knife. The cream cheese bakes into these tangy pockets that are absolutely dreamy.
I personally love the pecan version for Thanksgiving. It adds that little bit of texture that makes people ask, “Wait, what’s in this?” And the butterscotch version? That one’s my secret weapon for fall potlucks. It disappears every single time.
Serving & Storage Suggestions
This pumpkin dump cake is best served warm, but it’s honestly good at any temperature. Here’s how I like to serve it:
Serving: Scoop it into bowls while it’s still slightly warm. Top with a generous dollop of whipped cream (homemade or store-bought, no judgment here). A scoop of vanilla ice cream is also fantastic—the cold creaminess against the warm, buttery cake is next-level. For a fancy touch, drizzle a little caramel sauce over the top and sprinkle with cinnamon.
Storage: Cover the baking dish tightly with foil or plastic wrap and store in the refrigerator for up to 5 days. The flavors actually deepen and meld together overnight, so leftovers are arguably even better. I’ve been known to eat it cold straight from the fridge with a spoon—don’t judge me until you’ve tried it.
Reheating: Individual portions microwave beautifully in 20-second bursts. For a larger portion, reheat in a 300°F oven for about 10 minutes. If the top starts to dry out, cover with foil while reheating.
Freezing: This freezes surprisingly well. Let it cool completely, then wrap the entire dish in plastic wrap, followed by a layer of foil. Freeze for up to 3 months. Thaw overnight in the refrigerator and reheat as directed above. I usually make two pans in the fall—one for now, one for January when I’m craving that autumn warmth.
Nutritional Information & Benefits
Here’s the honest truth: this is a dessert, and it tastes like one. But let’s look at what’s actually in it:
Estimated per serving (based on 12 servings):
- Calories: 320
- Fat: 14g
- Carbohydrates: 47g
- Protein: 5g
- Fiber: 2g
- Sugar: 32g
Health Highlights: Pumpkin is packed with vitamin A (over 200% of your daily needs in just one cup), fiber, and antioxidants. It’s great for eye health and immune function. The sweetened condensed milk adds calcium and protein. Is this a health food? No. But it’s not empty calories either—there’s real nutritional value hiding in that creamy layer.
Dietary Considerations: This recipe contains gluten, dairy, and eggs (in the cake mix). For gluten-free or dairy-free options, check the variations section above. It’s vegetarian as written.
My personal take? I don’t believe in labeling desserts as “healthy” or “unhealthy.” This is a treat made with real ingredients. Enjoy it in moderation, savor every bite, and don’t feel guilty about going back for seconds. Life’s too short for that nonsense.
Conclusion
This easy 5-ingredient pumpkin dump cake has become my fall signature for good reason. It’s forgiving enough for beginners, impressive enough for guests, and delicious enough to earn a permanent spot in your recipe collection. Every time I make it, I think about Jenna scrolling through her phone, ignoring my baking lecture, and sending me that link. Sometimes the best lessons come from being wrong.
I’d love to hear how yours turns out. Did you try one of the variations? Add your own twist? Forget to melt the butter and do it anyway? Drop a comment below and let me know—I read every single one, and I promise I won’t judge your kitchen shortcuts. After all, I learned from the best.
Happy baking, friends. Here’s to warm spoons, full bellies, and the simple joy of a dessert that asks for almost nothing but gives you everything.
Frequently Asked Questions
Can I use pumpkin pie filling instead of pumpkin puree?
I wouldn’t recommend it. Pumpkin pie filling already has sugar and spices added, which will throw off the sweetness and texture. Stick with 100% pure pumpkin puree for the best results.
Why is my dump cake soupy in the middle?
This usually means it needs more baking time, or it hasn’t cooled long enough. Every oven runs differently, so check yours at the 40-minute mark. If the center is still very liquid, give it another 5-10 minutes. And remember—let it rest for 15-20 minutes after baking. It continues to set as it cools.
Can I make this in a slow cooker?
Yes! Spray your slow cooker insert, layer everything the same way, and cook on low for 3-4 hours or on high for 1.5-2 hours. The texture will be softer and more pudding-like, but it’s still delicious. Place a paper towel under the lid to catch condensation.
Do I need to refrigerate leftovers?
Yes, because of the sweetened condensed milk and butter. Cover the dish tightly and store in the fridge for up to 5 days. It actually tastes amazing cold, so don’t be afraid to enjoy it straight from the refrigerator.
Can I use a different cake mix flavor?
Absolutely! Spice cake mix is my favorite alternative. White cake mix works but is milder. Butter pecan cake mix adds a lovely nutty flavor. Just avoid chocolate—it clashes with the pumpkin in a not-great way (trust me, I tried it).
Pin This Recipe!
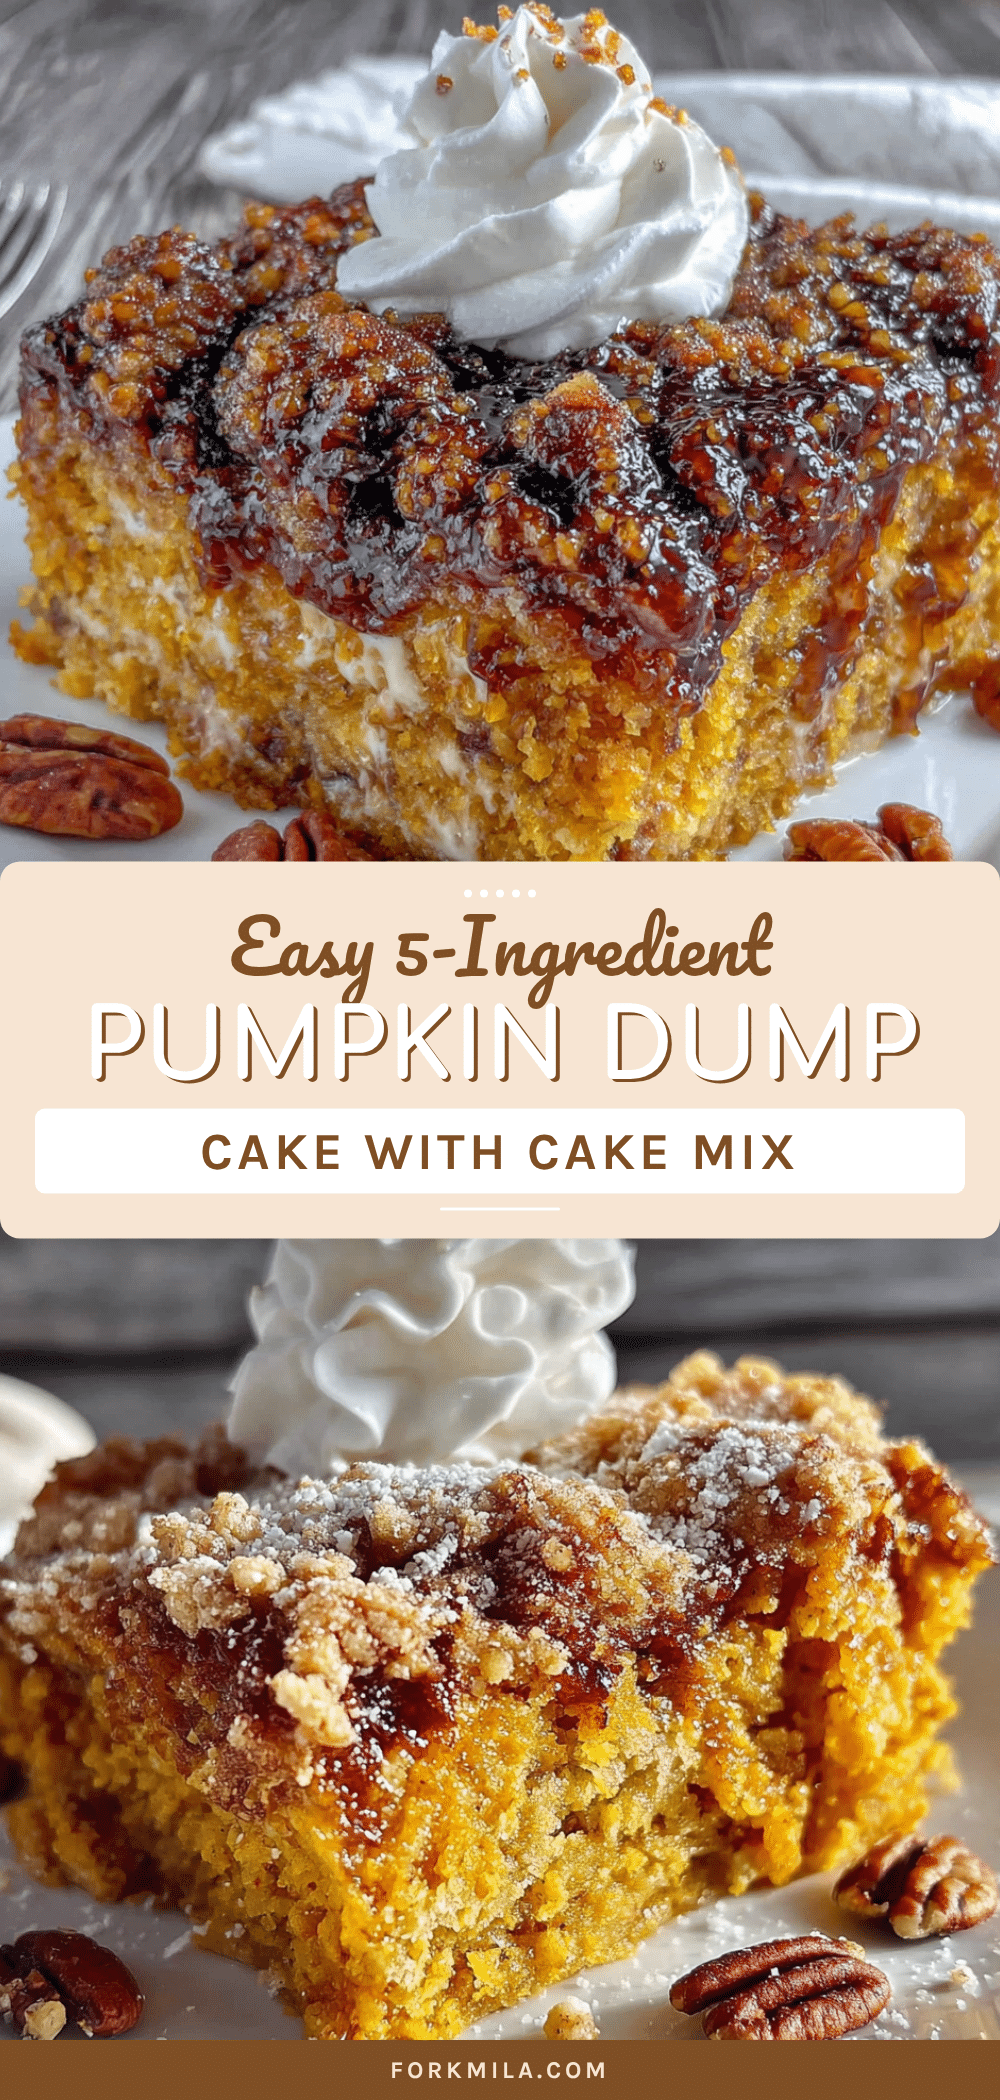
Easy 5-Ingredient Pumpkin Dump Cake: The Best Fall Dessert
This incredibly easy pumpkin dump cake requires just 5 simple ingredients and 10 minutes of prep. A buttery, golden cake top with a creamy, pumpkin-spiced bottom layer makes it the perfect no-fuss fall dessert for any gathering.
- Prep Time: 10 minutes
- Cook Time: 45 minutes
- Total Time: 55 minutes
- Yield: 12 servings 1x
- Category: Dessert
- Cuisine: American
Ingredients
- 1 can (15 oz) pumpkin puree (not pumpkin pie filling)
- 1 can (14 oz) sweetened condensed milk
- 1 box (15.25 oz) yellow cake mix (not pudding-in-the-mix kind)
- 1/2 cup unsalted butter, melted
- 2 teaspoons pumpkin pie spice
Instructions
- Preheat your oven to 350°F (175°C). Spray a 9×13-inch baking dish with nonstick cooking spray.
- In a large bowl, combine the pumpkin puree and sweetened condensed milk. Whisk until completely smooth and creamy.
- Pour the pumpkin mixture into the prepared baking dish and spread evenly with a spatula.
- Sprinkle the pumpkin pie spice evenly over the pumpkin layer.
- Sprinkle the dry cake mix evenly over the top, making sure to cover completely with no gaps.
- Drizzle the melted butter evenly over the cake mix in a zigzag pattern, ensuring all dry mix is coated.
- Bake for 40-45 minutes until the top is golden brown and slightly puffed. The center should still be slightly jiggly.
- Let cool for at least 15-20 minutes before serving to allow the dessert to set properly.
Notes
Don’t stir the layers – the magic happens when the cake mix absorbs moisture during baking. Melt butter completely before drizzling. Let the dessert rest for 15-20 minutes after baking to set properly. For best results, use room temperature ingredients. If browning too quickly, tent with foil for last 10 minutes.
Nutrition
- Serving Size: 1 serving
- Calories: 320
- Sugar: 32
- Sodium: 320
- Fat: 14
- Saturated Fat: 8
- Carbohydrates: 47
- Fiber: 2
- Protein: 5
Keywords: pumpkin dump cake, easy pumpkin dessert, 5-ingredient dessert, fall dessert, pumpkin spice, dump cake


