My friend Jen asked why I couldn’t just use candy corn instead of melting down regular marshmallows for a Halloween treat. I started to explain why that wouldn’t work—then stopped. I honestly had no good reason. It was just one of those cooking assumptions I’d never questioned.
So we tried it. Right there in her tiny apartment kitchen on a drizzly October afternoon, we dumped a bag of candy corn into a pot with butter and watched it transform into something completely unexpected. The candy melted into this gorgeous, sunset-colored syrup that smelled like pure autumn. I was convinced it would be cloyingly sweet or turn into a sticky mess. Let me tell you, I have never been happier to be wrong.
The first batch came out uneven—some corners were thicker than others, and we may have snitched a few warm pieces before they set properly. But that first bite? The texture was somehow softer and more tender than traditional Rice Krispie treats. The candy corn added this subtle vanilla-honey flavor that regular marshmallows just don’t have. Jen looked at me with this smug grin, and I had to admit she’d stumbled onto something brilliant.
Now these Easy Candy Corn Rice Krispie Treats have become my go-to fall dessert. They come together in about fifteen minutes, use just four ingredients, and somehow manage to feel both nostalgic and completely new. Maybe you’ve had that moment where someone suggests something so simple you can’t believe you never thought of it yourself. That’s this recipe. It stayed with me because it proved that sometimes the best ideas come from questioning what you think you know about cooking.
Why You’ll Love This Recipe
These aren’t your average Rice Krispie treats. The candy corn adds a unique sweetness and a gorgeous orange-and-yellow marbled look that screams fall. Here is why this recipe has earned a permanent spot in my dessert rotation:
- Quick & Easy: Ready in under 15 minutes with zero baking required. Perfect for last-minute Halloween parties or when a sugar craving hits out of nowhere.
- Simple Ingredients: You only need butter, marshmallows, crispy rice cereal, and candy corn. That’s it. No fancy baking supplies or specialty stores required.
- Perfect for Fall Gatherings: These treats work for Halloween parties, Thanksgiving dessert tables, or just a cozy night in with a scary movie.
- Crowd-Pleaser: Kids go wild for the candy corn flavor, and adults love the nostalgic twist on a classic treat. I have yet to meet someone who doesn’t reach for a second piece.
- Unbelievably Delicious: The candy corn melts into the marshmallow mixture, creating pockets of gooey, vanilla-honey sweetness throughout each bite. The texture is softer and more tender than traditional treats—honestly, it’s next-level comfort food.
What makes this recipe different from every other Rice Krispie treat out there is the candy corn itself. When it melts, it releases a subtle floral sweetness that regular marshmallows just can’t replicate. I tested this recipe six times before I got the ratio exactly right—too much candy corn and the treats get sticky, too little and you lose that signature flavor. This version hits the sweet spot perfectly.
This is the kind of dessert that makes you close your eyes after the first bite. It’s comfort food reimagined—faster, simpler, but with the same soul-soothing satisfaction that only a buttery, marshmallow-y treat can deliver.
What Ingredients You Will Need
This recipe uses simple, pantry-friendly ingredients that come together to create something truly special. Most of these items you probably already have in your kitchen, which makes these treats dangerously easy to whip up on a whim.
- 3 tablespoons unsalted butter (salted butter works too, just reduce any added salt. I prefer using Land O’Lakes for consistent results)
- 1 package (10 ounces) regular marshmallows (not mini marshmallows—they melt too fast and can throw off the texture. Jet-Puffed is my go-to brand)
- 6 cups crispy rice cereal (Kellogg’s Rice Krispies are classic, but any store brand works fine. Just make sure it’s fresh and not stale)
- 1 cup candy corn (Brach’s is the most widely available and melts consistently. Avoid seasonal store brands that sometimes have a waxy texture)
- Optional: 1/4 teaspoon vanilla extract (adds depth to the sweetness, but honestly, the candy corn brings plenty of vanilla flavor on its own)
- Optional: Pinch of flaky sea salt (sprinkle on top after pressing—trust me on this one. The salty-sweet combo is incredible)
When selecting candy corn, look for bags that feel fresh and slightly soft when you squeeze them through the package. Stale candy corn will be hard and won’t melt as smoothly. If you’re shopping early in the season, you’ll find the freshest options. I’ve noticed that candy corn from discount stores sometimes has a different melting point, so stick with a trusted brand for best results.
For the crispy rice cereal, check the expiration date before you start. Stale cereal will result in treats that are chewy rather than crisp. I learned this the hard way when I made a batch with cereal that had been sitting in my pantry for months—the texture was disappointing and the treats didn’t hold their shape well.
Equipment Needed
You don’t need any fancy equipment for these treats, which is part of their charm. Here is what you’ll need:
- Large pot or Dutch oven: You need something big enough to stir everything together without spilling. A 5-quart pot works perfectly. I use my old enameled cast iron pot, but any heavy-bottomed pot will do.
- Spatula: A silicone spatula is ideal because it won’t scratch your pot and it handles the sticky mixture well. A wooden spoon works in a pinch, but expect some extra cleanup.
- 9×13-inch baking dish: This gives you the perfect thickness—not too thin, not too thick. An 8×8 dish will give you taller treats if that’s your preference.
- Parchment paper or wax paper: Line your dish with this for easy removal. Trust me, trying to cut these without parchment is a sticky nightmare.
- Sharp knife: For clean cuts. A chef’s knife works great, but a long serrated knife also does the job.
- Measuring cups and spoons: For accurate measurements. This recipe is forgiving, but precision helps.
If you don’t have a 9×13 dish, you can use a rimmed baking sheet for thinner, crunchier treats. Just adjust the pressing technique to spread the mixture evenly. I’ve also used disposable aluminum pans for parties—they’re cheap and make cleanup even easier.
Preparation Method
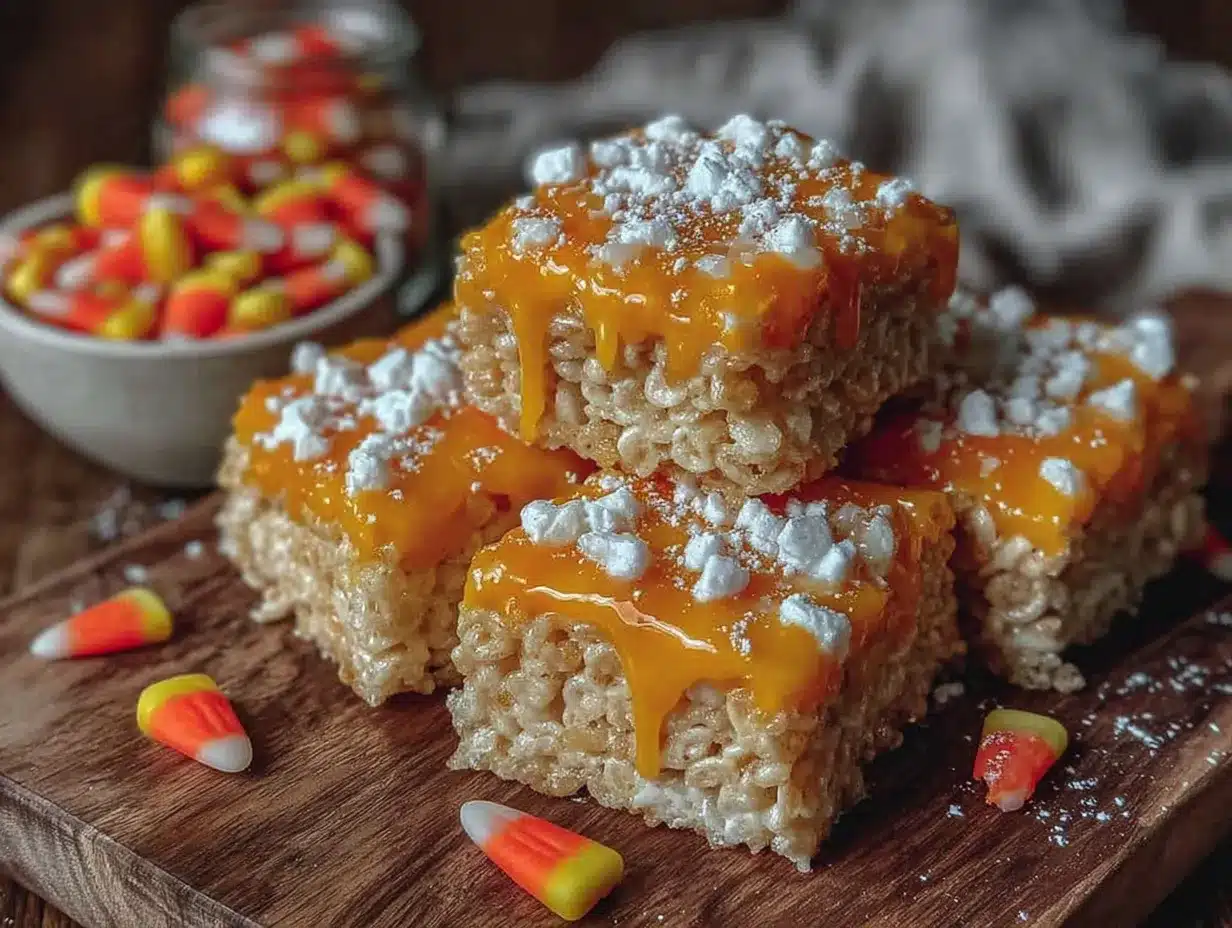
These Easy Candy Corn Rice Krispie Treats come together in about 15 minutes. The key is working quickly once the marshmallow mixture is ready because it sets fast. Here is how to do it:
- Prepare your pan. Line a 9×13-inch baking dish with parchment paper, leaving some overhang on two sides. This creates handles that make lifting the treats out super easy. Lightly grease the parchment with butter or non-stick spray so nothing sticks.
- Melt the butter. Place your large pot over medium-low heat and add the 3 tablespoons of butter. Let it melt slowly, swirling the pan occasionally. You want it fully melted but not browned—browned butter will change the flavor profile completely. This takes about 2 minutes.
- Add the marshmallows. Dump in the entire 10-ounce bag of marshmallows. Stir constantly with your silicone spatula as they melt. The mixture will look lumpy at first, then smooth out. Keep the heat on medium-low—if the heat is too high, the marshmallows will scorch and you’ll get brown specks throughout. This takes about 3-4 minutes.
- Add the candy corn. Once the marshmallows are completely melted and smooth, pour in the cup of candy corn. Stir continuously. The candy corn will start to soften and melt into the mixture, creating beautiful streaks of orange and yellow. Don’t worry if it looks a little separated at first—keep stirring and it will come together. This takes about 2-3 minutes. The mixture should be completely smooth with no lumps of unmelted candy.
- Remove from heat and add cereal. Take the pot off the burner completely. Pour in the 6 cups of crispy rice cereal all at once. Fold everything together gently but quickly. You want every piece of cereal coated in the marshmallow-candy mixture without crushing the cereal. Use a folding motion—lift the mixture from the bottom and fold it over the top. Stop as soon as everything looks evenly coated.
- Press into the pan. Scrape the mixture into your prepared pan. This part gets sticky. I lightly grease my spatula with butter or non-stick spray, then press the mixture evenly into the pan. Work from the center outward, pressing firmly but not smashing. You want the treats to hold together without being compressed into hard bricks. If the mixture keeps sticking to your spatula, grease it again.
- Optional salt sprinkle. If you’re using flaky sea salt, sprinkle it over the top immediately while the treats are still warm. The salt will stick to the surface and create that perfect sweet-salty contrast.
- Cool completely. Let the treats sit at room temperature for at least 1 hour before cutting. I know it’s tempting to dig in while they’re warm, but they need time to set properly. Warm treats will fall apart when you try to cut them. If you’re in a hurry, pop the pan in the fridge for 30 minutes.
- Cut and serve. Lift the treats out of the pan using the parchment paper handles. Place them on a cutting board. Use a sharp knife to cut into squares or rectangles. For clean cuts, wipe the knife clean between each slice. I usually cut 12 large squares or 24 smaller ones, depending on the occasion.
One thing I learned through trial and error: don’t press the mixture too hard when spreading it in the pan. The first time I made these, I compacted them like I was making sandcastles, and the treats came out dense and hard. A gentle, even press is all you need. The treats should look light and airy, with visible cereal shapes throughout.
Cooking Tips & Techniques
After making these treats more times than I care to admit, here are the tips that make the biggest difference:
Work quickly but don’t rush. The marshmallow-candy mixture starts setting as soon as it leaves the heat. Have your pan prepped and your cereal measured before you even start melting the butter. Once you add the cereal, you have about 60 seconds to get everything mixed and pressed before it becomes too stiff to work with.
Low and slow is the way to go. I ruined my first two batches by cranking up the heat to speed things up. The marshmallows scorched, the candy corn seized up, and I ended up with a grainy, brown mess. Keep your burner on medium-low and be patient. The gentle heat gives the candy corn time to melt completely without burning.
Watch for the candy corn to disappear. You’ll know the mixture is ready when you can no longer see distinct pieces of candy corn. The color should be a uniform pale orange with maybe a few faint streaks. If you still see white marshmallow and orange candy corn separately, keep stirring.
Don’t overmix the cereal. Once you add the cereal, fold it just until everything is coated. Overmixing crushes the cereal and makes the treats dense and chewy instead of light and crisp. You want to hear that satisfying crunch when you bite into them.
Use a wet knife for clean cuts. Run your knife under hot water and dry it quickly before each cut. The heat helps the knife glide through the treats without sticking or tearing. This trick works for brownies and bars too.
I once made the mistake of trying to cut these treats while they were still warm because I was in a hurry for a party. The knife dragged through the mixture, pulling chunks of cereal loose. The treats looked terrible and fell apart on the serving platter. Learn from my impatience—let them cool completely.
Variations & Adaptations
These treats are surprisingly versatile. Here are some ways I’ve adapted the basic recipe:
Chocolate Drizzle: Melt 1/2 cup of chocolate chips with 1 teaspoon of coconut oil and drizzle it over the cooled treats. The chocolate pairs beautifully with the candy corn sweetness. I did this for a Halloween party and they disappeared within minutes.
Peanut Butter Twist: Stir 1/4 cup of creamy peanut butter into the marshmallow mixture right after the candy corn melts. The peanut butter adds richness and a savory note that balances the sweetness. My husband, who claims he doesn’t like candy corn, ate half a pan of these.
Gluten-Free Option: Most crispy rice cereals are naturally gluten-free, but double-check the label if you’re serving someone with celiac disease. The remaining ingredients are all gluten-free, so this is an easy adaptation.
Vegan Version: Use vegan butter and vegan marshmallows (Dandies brand works well). Candy corn is typically vegan, but check the ingredients since some brands use gelatin. The texture will be slightly different, but the flavor is still fantastic.
Spiced Autumn Variation: Add 1/2 teaspoon of pumpkin pie spice to the marshmallow mixture along with the candy corn. The warm spices complement the candy corn flavor and make these treats taste even more like fall. I tried this last November and it’s become my new favorite version.
Extra Crunchy: Swap 1 cup of the crispy rice cereal for 1 cup of crushed pretzels or salted peanuts. The salty crunch adds texture and balances the sweetness. This is perfect if you find the original version too sweet.
Serving & Storage Suggestions
These treats are best served at room temperature. The texture is soft and chewy without being sticky, and the candy corn flavor really shines when they’re not cold.
For presentation, I like to arrange the squares on a wooden board or a fall-themed platter. A sprinkle of extra candy corn on top makes them look festive. If you’re serving them at a Halloween party, try cutting them into small triangles to look like candy corn pieces—it’s a cute visual joke that always gets a laugh.
These treats pair wonderfully with a glass of cold milk, a warm cup of apple cider, or even a pumpkin spice latte. For adults, they go surprisingly well with a dark stout beer—the bitterness cuts through the sweetness perfectly.
Storage Instructions: Store leftover treats in an airtight container at room temperature for up to 3 days. Layer them between sheets of parchment paper to prevent sticking. Do not refrigerate them—the cold air makes them hard and stale. I learned this the hard way when I put a batch in the fridge overnight and they turned into dense, chewy bricks the next morning.
Freezer Instructions: You can freeze these treats for up to 2 months. Wrap each square individually in plastic wrap, then place them in a freezer-safe bag. Thaw at room temperature for about 30 minutes before serving. The texture will be slightly softer after freezing, but the flavor holds up beautifully.
The flavors actually meld together and improve after the first day. The candy corn flavor becomes more integrated, and the marshmallow softens into a perfectly chewy texture. If you can resist eating them all immediately, they’re even better on day two.
Nutritional Information & Benefits
Let’s be honest—these are a treat, not a health food. But here is the estimated nutritional breakdown for one square (based on 12 servings):
- Calories: Approximately 220
- Total Fat: 6g
- Saturated Fat: 3.5g
- Carbohydrates: 42g
- Sugar: 28g
- Protein: 2g
- Sodium: 180mg
While these treats aren’t packed with nutritional benefits, they do offer a small amount of iron from the fortified cereal. The butter contains vitamin A, and if you add the optional salt, you get a tiny bit of electrolytes. But really, these are about joy and celebration, not daily nutrition.
For those with dietary restrictions, please note that candy corn contains corn syrup and sugar, and the treats contain dairy from the butter. Traditional marshmallows also contain gelatin, so they are not vegetarian. If you need to accommodate allergies, check the variation suggestions above for alternatives.
I believe in balance—these treats are for special occasions, holidays, and moments when you need a little sweetness in your life. They’re meant to be enjoyed without guilt, shared with people you love, and remembered long after the last crumb is gone.
Conclusion
These Easy Candy Corn Rice Krispie Treats have become my signature fall dessert for good reason. They’re ridiculously simple to make, use ingredients you probably already have, and deliver a flavor that feels both nostalgic and fresh. The candy corn melts into something magical—soft, vanilla-sweet, and perfectly autumn.
I love that this recipe started with a friend questioning my assumptions. It’s a reminder that some of the best kitchen discoveries come from being willing to try something unexpected. Jen was right, and I’m so glad she pushed me to test her idea. Now every time I make these treats, I think of that rainy October afternoon and the happy accident that became a tradition.
I’d love to hear how your batch turns out. Did you try any of the variations? Did you discover your own twist? Drop a comment below and share your experience. And if you’re looking for more easy fall desserts, check out my pumpkin spice bites or these baked apple cider donuts. Happy fall baking, friends—may your kitchen be warm and your treats be perfectly chewy!
Frequently Asked Questions
Can I use mini marshmallows instead of regular marshmallows?
You can, but the texture will be slightly different. Mini marshmallows melt faster and can make the mixture thinner. If you use mini marshmallows, reduce the amount to about 8 ounces and watch them carefully so they don’t overcook.
Why did my candy corn not melt completely?
This usually happens when the heat is too low or the candy corn is stale. Make sure your pot is at medium-low heat and stir constantly. If your candy corn feels hard and dry in the bag, it’s probably too old to melt smoothly. Fresh candy corn should feel slightly soft when squeezed.
How do I keep the treats from sticking to my hands when pressing them?
Lightly grease your spatula or your hands with butter or non-stick cooking spray. You can also lay a piece of parchment paper over the mixture and press down through the paper. This keeps everything clean and prevents sticky fingers.
Can I make these treats ahead of time for a party?
Absolutely! These treats actually taste better the next day after the flavors have melded together. Make them up to 2 days in advance and store them in an airtight container at room temperature. Wait to cut them until right before serving for the freshest edges.
Can I use other types of candy corn like the autumn mix?
Yes, the autumn mix with the brown and green pieces works great. The flavor will be slightly different—the brown pieces add a caramel note and the green adds a mild fruitiness. The color will be more muted but still beautiful. Just avoid candy corn with hard candy coatings, as those won’t melt properly.
Pin This Recipe!
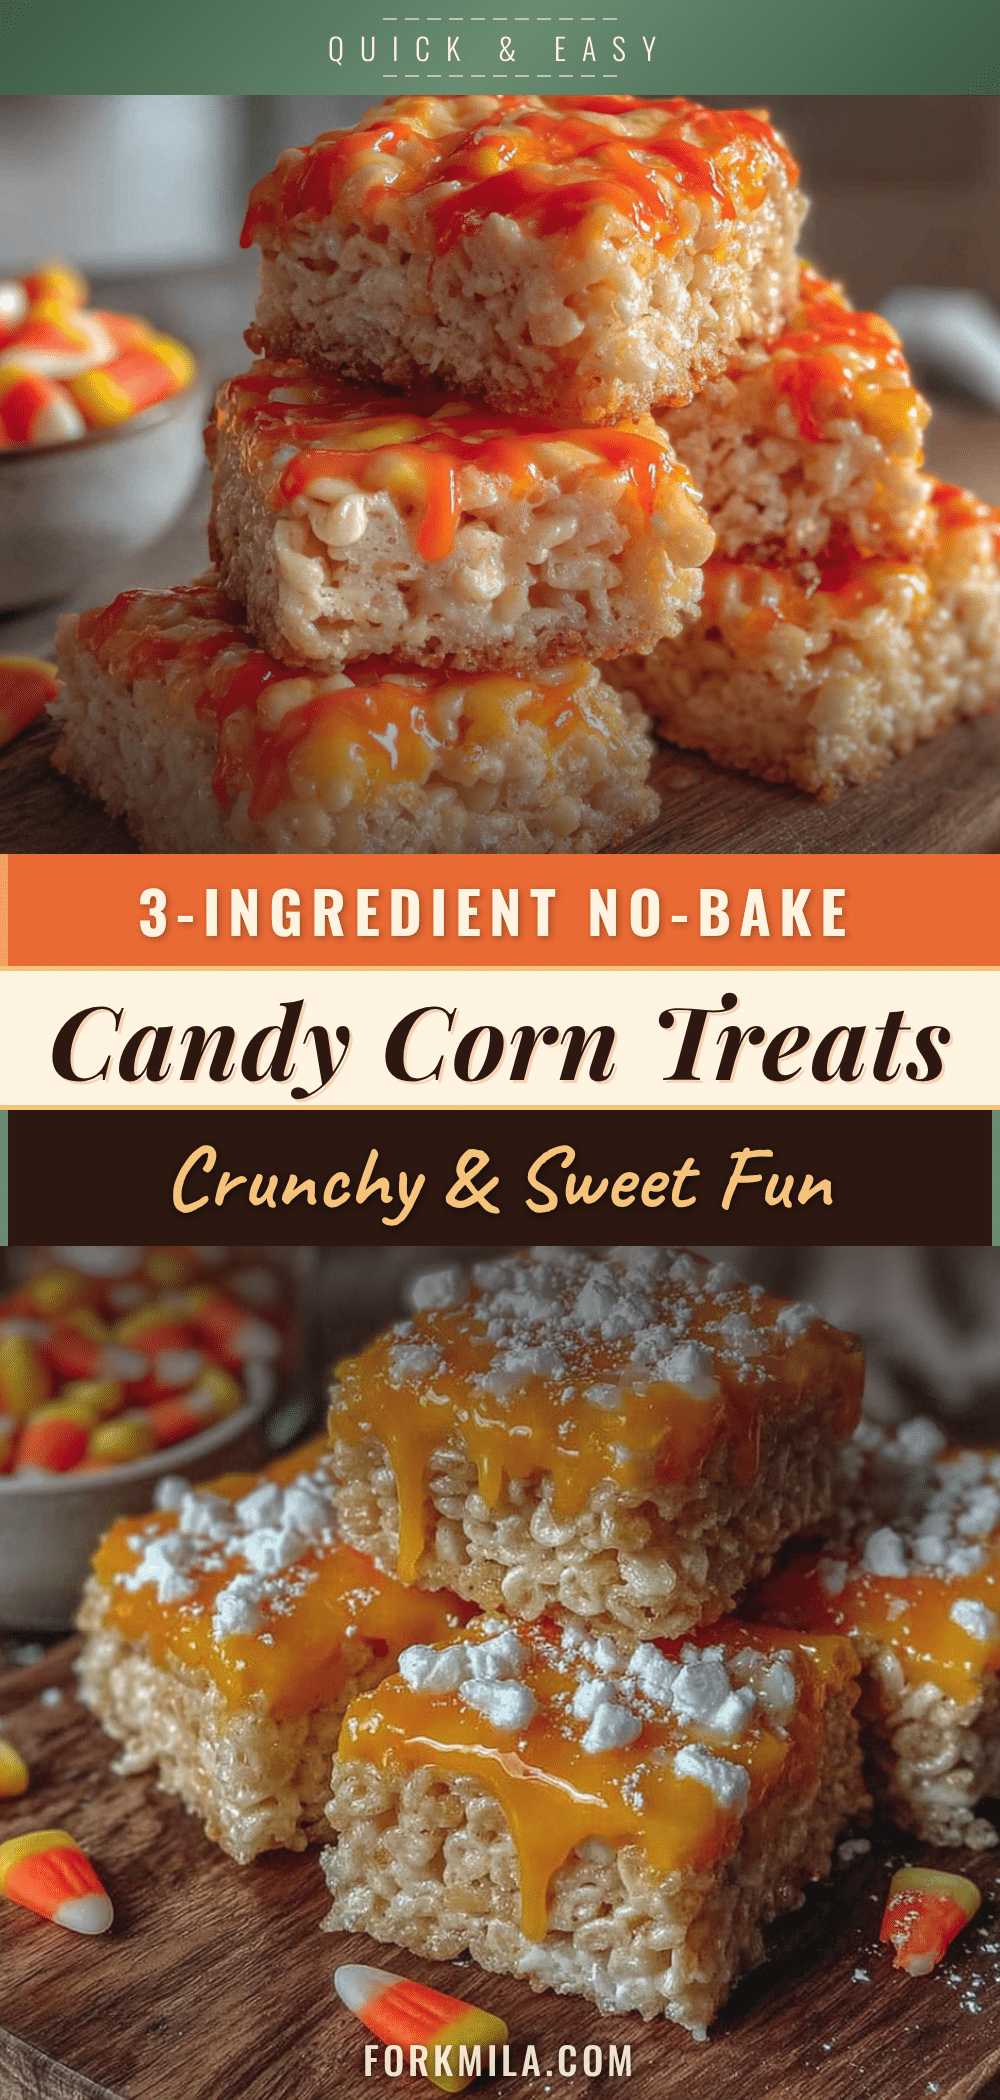
Easy Candy Corn Rice Krispie Treats: Best Fall Dessert

These Easy Candy Corn Rice Krispie Treats are a quick and delicious fall dessert made with just four ingredients. The candy corn melts into a gorgeous sunset-colored syrup, creating a softer, more tender treat with a subtle vanilla-honey flavor that’s perfect for Halloween parties or cozy autumn nights.
- Prep Time: 5 minutes
- Cook Time: 10 minutes
- Total Time: 15 minutes
- Yield: 12 servings 1x
- Category: Dessert
- Cuisine: American
Ingredients
- 3 tablespoons unsalted butter
- 1 package (10 ounces) regular marshmallows
- 6 cups crispy rice cereal
- 1 cup candy corn
- Optional: 1/4 teaspoon vanilla extract
- Optional: Pinch of flaky sea salt
Instructions
- Prepare your pan. Line a 9×13-inch baking dish with parchment paper, leaving some overhang on two sides. Lightly grease the parchment with butter or non-stick spray.
- Melt the butter. Place your large pot over medium-low heat and add the 3 tablespoons of butter. Let it melt slowly, swirling the pan occasionally. This takes about 2 minutes.
- Add the marshmallows. Dump in the entire 10-ounce bag of marshmallows. Stir constantly with your silicone spatula as they melt. Keep the heat on medium-low. This takes about 3-4 minutes.
- Add the candy corn. Once the marshmallows are completely melted and smooth, pour in the cup of candy corn. Stir continuously until the candy corn is fully melted and the mixture is smooth. This takes about 2-3 minutes.
- Remove from heat and add cereal. Take the pot off the burner completely. Pour in the 6 cups of crispy rice cereal all at once. Fold everything together gently but quickly until every piece of cereal is coated.
- Press into the pan. Scrape the mixture into your prepared pan. Lightly grease your spatula with butter or non-stick spray, then press the mixture evenly into the pan. Work from the center outward, pressing firmly but not smashing.
- Optional salt sprinkle. If you’re using flaky sea salt, sprinkle it over the top immediately while the treats are still warm.
- Cool completely. Let the treats sit at room temperature for at least 1 hour before cutting. If you’re in a hurry, pop the pan in the fridge for 30 minutes.
- Cut and serve. Lift the treats out of the pan using the parchment paper handles. Place them on a cutting board. Use a sharp knife to cut into squares or rectangles. For clean cuts, wipe the knife clean between each slice.
Notes
Work quickly once the marshmallow mixture is ready because it sets fast. Don’t press the mixture too hard when spreading it in the pan to avoid dense treats. For clean cuts, use a wet knife. The treats actually taste better the next day after the flavors have melded together.
Nutrition
- Serving Size: 1 square
- Calories: 220
- Sugar: 28
- Sodium: 180
- Fat: 6
- Saturated Fat: 3.5
- Carbohydrates: 42
- Protein: 2
Keywords: candy corn, rice krispie treats, fall dessert, Halloween treats, easy dessert, no-bake dessert


