This was supposed to be a fancy teriyaki situation. I had this whole vision in my head—glazed salmon fillets with a sesame sprinkle, served over jasmine rice with a side of steamed broccoli that my kids would, in my fantasy, eat without complaint. Tuesday night, I was feeling ambitious. I’d even printed out the recipe from that website I always forget to bookmark. Then I opened the fridge.
No salmon. Not a single fillet. Just a family pack of chicken thighs I’d bought on sale three days ago and a half-empty bottle of soy sauce. The power went out for a second—just long enough to make the oven clock blink 12:00—and I stood there, holding the raw chicken, feeling that familiar knot of “well, this plan is dead.” I had maybe twenty minutes before the hangry meltdowns started, you know the ones. I grabbed the honey, some garlic I was pretty sure was still good, and just started throwing things into the crockpot. Honestly, I wasn’t thinking. I was just trying to make something edible before my youngest started asking for the fifth time when dinner was ready.
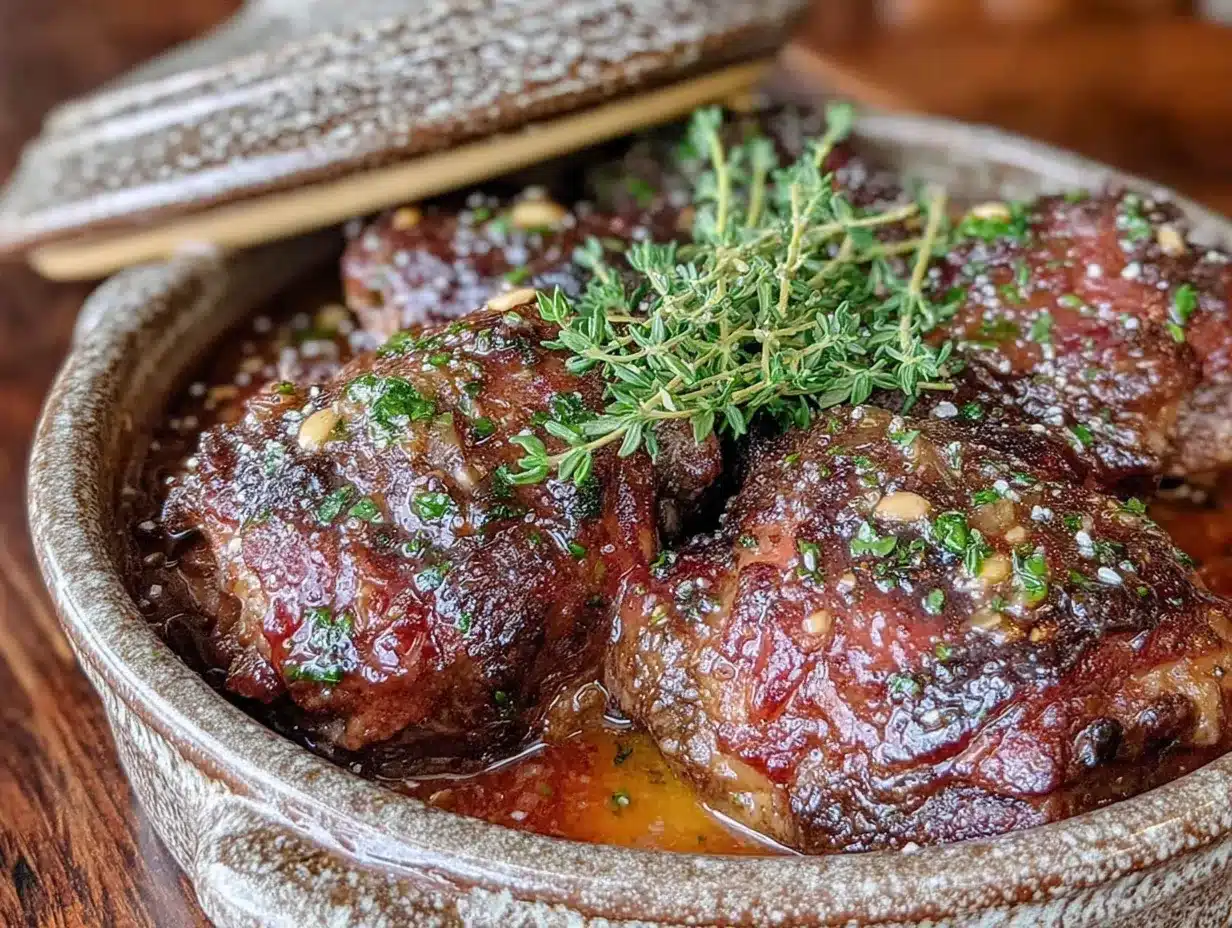
What came out of that crockpot four hours later was nothing like the teriyaki salmon I’d planned. It was better. The sauce had caramelized into this sticky, glossy coating that clung to each thigh like it was meant to be there. The garlic had mellowed into something sweet and savory, and the chicken was so tender it practically fell off the bone when I tried to lift it out. My oldest, who usually picks at anything that isn’t mac and cheese, asked for seconds. Then thirds. I stood there with the ladle in my hand, a little stunned, wondering how my kitchen disaster had turned into the most popular meal I’d made all month. Maybe you’ve been there—when the backup plan becomes the new favorite. This crockpot honey garlic chicken is that recipe for us now, and I keep making it because it proves that sometimes the best things happen when you stop trying so hard.
Why You’ll Love This Recipe
Let’s be real for a second. Feeding a family on a budget while trying to keep everyone happy is no small feat. I’ve tested this recipe more times than I can count—through busy school nights, after soccer practice, and even on those days when I forgot to thaw the meat. It’s become my secret weapon, and here’s why it will be yours too.
- Quick & Easy: Five minutes of prep, then your crockpot does all the work. Dinner is ready when you are, no stress required.
- Simple Ingredients: You likely have everything in your pantry right now. Honey, soy sauce, garlic, and chicken thighs—that’s it. No fancy grocery trips needed.
- Perfect for Busy Weeknights: This is the definition of set-it-and-forget-it. Throw everything in before school drop-off, and come home to a meal that smells like you spent hours in the kitchen.
- Crowd-Pleaser: I’ve served this to picky toddlers, skeptical teenagers, and adults who “don’t really like chicken thighs.” Every single one of them went back for more. It’s that good.
- Unbelievably Delicious: The sauce reduces into this thick, sticky glaze that coats every bite. It’s sweet, savory, and has just enough garlic to make it interesting without overwhelming little palates.
What makes this recipe different from every other chicken recipe out there? It’s the texture. The slow cooking breaks down the chicken thighs until they’re impossibly tender, and then we thicken the sauce on the stovetop to create that restaurant-quality glaze. No dry chicken, no watery sauce—just pure comfort food that feels fancy but costs pennies per serving. This isn’t just another weeknight dinner; it’s the kind of meal that makes you close your eyes after the first bite and forget about the chaotic day you had.
What Ingredients You Will Need
This recipe uses simple, wholesome ingredients that work together to create something truly special. The beauty of it is that you don’t need anything exotic or expensive—just good, honest pantry staples that do the heavy lifting for you.
For the Chicken
- 2 pounds boneless, skinless chicken thighs (about 6-8 thighs) – I prefer thighs over breasts here because they stay juicy and tender during the long cook time. Look for thighs that are roughly the same size so they cook evenly.
- 1/2 cup low-sodium soy sauce – Regular soy sauce works fine too, but low-sodium gives you more control over the saltiness. If you’re gluten-sensitive, swap in tamari or coconut aminos.
- 1/3 cup honey – Use a good quality honey here. I like the local stuff from the farmer’s market because it has a more complex flavor, but any honey will work. If your honey is crystallized, just microwave it for 10 seconds to loosen it up.
- 4 cloves garlic, minced – Fresh garlic is non-negotiable here. The pre-minced stuff in a jar just doesn’t have the same punch. Trust me on this one—I’ve tried both, and fresh makes a noticeable difference.
- 1 tablespoon rice vinegar – This adds a little acidity to balance the sweetness. Apple cider vinegar or even white wine vinegar can work in a pinch.
- 1 tablespoon sesame oil – For that subtle nutty flavor. You can skip it if you don’t have it, but it really rounds out the sauce nicely.
- 1/2 teaspoon ground ginger – Fresh ginger is lovely, but ground is easier and still gives that warm, aromatic note. If you have fresh, use about 1 teaspoon grated.
For the Thickener (at the end)
- 2 tablespoons cornstarch – This is what gives the sauce that glossy, thick texture. Arrowroot powder or potato starch are great substitutes.
- 3 tablespoons cold water – Cold water is key here. Hot water will make the cornstarch clump up, and nobody wants lumpy sauce.
For Serving
- Cooked rice – White rice, brown rice, or cauliflower rice all work beautifully. The rice soaks up that extra sauce, which is honestly the best part.
- Sesame seeds and sliced green onions – Optional, but they make it look pretty and add a little freshness.
- Steamed broccoli or green beans – A simple veggie side rounds out the meal. My kids actually eat broccoli when it’s drizzled with a little of that honey garlic sauce.
Equipment Needed
You don’t need a ton of fancy equipment for this recipe, which is part of what makes it so great. Here’s what you’ll need:
- Crockpot or Slow Cooker: A 4-6 quart slow cooker is ideal. I use a 5-quart model, and it fits 2 pounds of chicken perfectly with room for the sauce. If you have a larger one, that’s fine too—just make sure the chicken is in a single layer.
- Small Skillet or Saucepan: You’ll need this to thicken the sauce at the end. A non-stick skillet works best because the honey can get sticky. I learned this the hard way after scrubbing my stainless steel pan for twenty minutes.
- Whisk: For mixing the cornstarch slurry. A fork works in a pinch, but a whisk gives you a smoother result.
- Tongs: For removing the chicken from the crockpot without it falling apart. Trust me, it will be tender.
- Cutting Board and Knife: For mincing the garlic and slicing the green onions. A microplane works great for garlic if you want it even finer.
- Measuring Cups and Spoons: For accurate measurements. I know some people eyeball it, but with honey and soy sauce, the balance matters.
One thing I’ve learned over the years is that a good crockpot makes all the difference. I started with a $20 model from the discount store, and while it worked, the heat distribution was uneven. I upgraded to a mid-range one a few years ago, and my food cooks so much more consistently now. You don’t need to break the bank, but investing in a decent slow cooker is worth it if you use it often. And honestly, once you make this chicken, you’ll be using it a lot.
Preparation Method
Alright, let’s get cooking. This is the part where the magic happens. I’ll walk you through every step so you feel confident, even if this is your first time using a crockpot.
Step 1: Prepare the Sauce
In a small bowl, whisk together the 1/2 cup low-sodium soy sauce, 1/3 cup honey, 4 minced garlic cloves, 1 tablespoon rice vinegar, 1 tablespoon sesame oil, and 1/2 teaspoon ground ginger. Give it a good stir until the honey is fully incorporated. The sauce will look thin now, but don’t worry—it will concentrate and thicken as it cooks.
Step 2: Layer the Chicken
Place the 2 pounds of boneless, skinless chicken thighs in the bottom of your crockpot. Try to arrange them in a single layer if possible, but it’s okay if they overlap a little. Pour the sauce evenly over the chicken, making sure each piece gets some of that honey garlic goodness. Use a spoon to spread it around if needed.
Step 3: Slow Cook to Perfection
Cover the crockpot with the lid and cook on LOW for 4-5 hours or on HIGH for 2-3 hours. I prefer low and slow because it gives the chicken more time to absorb the flavors and become fall-apart tender. The chicken is done when it reaches an internal temperature of 165°F and shreds easily with a fork. If you’re using frozen chicken thighs (yes, you can!), add an extra hour on low.
Pro tip: Don’t peek! Every time you lift that lid, you release heat and add about 20 minutes to the cooking time. I know it’s tempting, but resist the urge. Set a timer and walk away.
Step 4: Remove the Chicken
Once the chicken is cooked through, use tongs to carefully transfer the thighs to a plate or cutting board. They will be very tender, so handle them gently. Cover loosely with foil to keep warm while you work on the sauce.
Step 5: Thicken the Sauce
Pour the cooking liquid from the crockpot into a small saucepan or skillet. In a separate small bowl, whisk together 2 tablespoons cornstarch and 3 tablespoons cold water until smooth—this is your slurry. Place the saucepan over medium-high heat and bring the liquid to a simmer. Slowly pour in the cornstarch slurry while whisking constantly. Continue cooking for 2-3 minutes, whisking the whole time, until the sauce thickens to a glossy, syrupy consistency. It should coat the back of a spoon. If it gets too thick, add a tablespoon of water at a time to thin it out.
Step 6: Coat the Chicken
Return the chicken thighs to the crockpot (or place them in a serving dish) and pour the thickened sauce over the top. Toss gently to coat each piece. At this point, you can also shred the chicken with two forks if you prefer, but I like to keep them whole for a more impressive presentation. The sauce will cling to every nook and cranny, creating that sticky, caramelized finish that makes this recipe so addictive.
Step 7: Serve and Enjoy
Serve the chicken over steamed rice and spoon any extra sauce from the pan over the top. Garnish with sesame seeds and sliced green onions if you’re feeling fancy. Watch as everyone at the table asks for seconds—and maybe thirds.
Cooking Tips & Techniques
I’ve made this recipe more times than I can count, and I’ve learned a few things along the way. Let me save you from the mistakes I made so your first try is perfect.
Don’t overcrowd the crockpot. I know it’s tempting to double the recipe and feed a crowd, but if you overload the slow cooker, the chicken won’t cook evenly and the sauce won’t reduce properly. Stick to a single layer of chicken for best results. If you need to feed more people, use a larger crockpot or cook in batches.
Pat the chicken dry. Before you add the chicken to the crockpot, pat it dry with paper towels. This helps the sauce cling better and prevents the final dish from being watery. I skipped this step once because I was in a hurry, and the sauce was thin and disappointing. Never again.
Taste and adjust. Everyone’s palate is different. Before you thicken the sauce, give it a taste. Need more sweetness? Add a little honey. Want more tang? A splash more rice vinegar. Too salty? A tiny bit more honey will balance it out. This is your dish, so make it yours.
Timing is everything. Chicken thighs are forgiving, but they can overcook if left too long. On low, 4 hours is usually perfect. On high, check at the 2-hour mark. The chicken should be tender but not falling apart into mush. If it shreds with a gentle pull of a fork, you’re golden.
Thicken the sauce right before serving. If you thicken it too early and let it sit, the cornstarch can break down and the sauce will thin out again. I learned this the hard way when I made the sauce an hour before dinner and ended up with a watery mess. Do this step right before you’re ready to eat.
Use a liner for easy cleanup. This is a pro tip from someone who has scrubbed honey residue off a crockpot more times than I’d like to admit. Slow cooker liners are cheap and make cleanup a breeze. Just lift it out and toss it when you’re done. Your future self will thank you.
Variations & Adaptations
One of the best things about this recipe is how adaptable it is. Here are some ways to change it up based on what you have on hand or who you’re feeding.
Dietary Variations
Gluten-Free: Swap the soy sauce for tamari or coconut aminos. Everything else in the recipe is naturally gluten-free, so you’re good to go. I’ve tested this with tamari, and the flavor is almost identical.
Low-Carb/Keto: Use a sugar-free honey substitute or monk fruit sweetener instead of honey. Serve over cauliflower rice instead of regular rice. The sauce will still be delicious, just a little less sweet.
Dairy-Free: This recipe is already dairy-free, so no changes needed. Just double-check that your soy sauce doesn’t have any added dairy (most don’t).
Flavor Twists
Spicy Honey Garlic: Add 1/2 teaspoon red pepper flakes or a squirt of sriracha to the sauce before cooking. The heat balances beautifully with the sweet honey. My husband loves this version, though the kids prefer the original.
Orange Honey Garlic: Replace the rice vinegar with fresh orange juice and add a tablespoon of orange zest. The citrus brightens everything up and makes it feel fresh and summery.
Ginger-Sesame: Use fresh grated ginger instead of ground (about 1 tablespoon), and add an extra teaspoon of sesame oil. Top with toasted sesame seeds for a nutty finish.
Different Cooking Methods
Instant Pot: Sear the chicken thighs on sauté mode first (2 minutes per side), then add the sauce and cook on high pressure for 10 minutes. Quick release, remove the chicken, and thicken the sauce using the sauté function. Total time: about 30 minutes.
Oven-Baked: Place the chicken and sauce in a baking dish and bake at 375°F for 35-40 minutes, basting halfway through. The sauce will caramelize beautifully in the oven.
Serving & Storage Suggestions
This chicken is incredibly versatile when it comes to serving. Here’s how I like to do it, along with tips for keeping leftovers delicious.
Serving Suggestions
Serve the chicken hot over a bed of fluffy white rice or jasmine rice. The rice soaks up that extra sauce, which is honestly the best part. For a low-carb option, cauliflower rice works beautifully. I also love serving this with a simple steamed vegetable—broccoli, green beans, or snap peas are all great choices. The slight bitterness of the greens balances the sweetness of the sauce perfectly.
For a complete meal that feels special, add a side of cucumber salad with rice vinegar and sesame seeds. The cool, crunchy texture is a nice contrast to the warm, tender chicken. My kids actually eat the cucumber salad without complaint, which feels like a parenting win every time.
Storage Instructions
Leftovers keep beautifully in the refrigerator for up to 4 days. Store the chicken and sauce together in an airtight container. The flavors actually meld and deepen overnight, so leftovers taste even better the next day. I often make a double batch just so we can have it for lunch.
To freeze, place the cooled chicken and sauce in a freezer-safe bag or container. It will keep for up to 3 months. Thaw overnight in the refrigerator before reheating. The sauce might separate a little after freezing, but a quick stir will bring it back together.
Reheating Tips
The best way to reheat is in a skillet over medium-low heat. Add a splash of water or chicken broth to loosen the sauce, and stir until heated through. The microwave works in a pinch, but the stovetop gives you a better texture. If you’re reheating from frozen, thaw first and then use the stovetop method.
Nutritional Information & Benefits
Here’s a rough estimate of the nutritional content per serving (based on 4 servings, served without rice or vegetables):
| Nutrient | Amount per Serving |
|---|---|
| Calories | 385 |
| Protein | 32g |
| Fat | 18g |
| Saturated Fat | 5g |
| Carbohydrates | 24g |
| Fiber | 0g |
| Sugar | 20g |
| Sodium | 890mg |
Chicken thighs are a great source of lean protein, iron, and B vitamins, which support energy levels and immune function. Honey provides natural sweetness along with antioxidants and antibacterial properties. Garlic is known for its immune-boosting benefits and adds depth of flavor without extra sodium.
This recipe is naturally dairy-free and can easily be made gluten-free with a simple soy sauce swap. It’s also lower in carbs than many takeout alternatives, especially if you serve it with vegetables instead of rice. From my perspective, this is the kind of meal that makes you feel good about feeding your family—real food, real ingredients, real flavor.
Conclusion
This crockpot honey garlic chicken thighs recipe has become a staple in my kitchen for a reason. It’s the kind of meal that solves the “what’s for dinner” problem without creating a disaster zone in your kitchen. The ingredients are simple, the prep is minimal, and the results are consistently delicious. Whether you’re feeding picky kids, hungry teenagers, or just yourself on a busy weeknight, this recipe delivers.
I love that I can customize it based on what I have in the pantry or how much time I have. Some nights I add extra garlic and ginger for a bolder flavor. Other nights I keep it simple and let the honey shine. However you make it, I promise it will become a regular in your rotation too. The fact that my kids ask for it by name tells me everything I need to know.
So go ahead—give it a try. Let me know in the comments how it turned out for you. Did your kids go back for seconds? Did you try a variation that was even better than the original? I’d love to hear about it. And if you have a picky eater who finally cleaned their plate, I want to celebrate that win with you. Happy cooking, friend. You’ve got this.
Frequently Asked Questions
Can I use chicken breasts instead of thighs?
Yes, you can, but I don’t recommend it. Chicken breasts are leaner and can dry out during the long slow cooking time. If you must use breasts, reduce the cooking time to 2-3 hours on low and check for doneness early. Thighs are much more forgiving and stay juicy.
Can I cook this on high instead of low?
Absolutely. If you’re short on time, cook on high for 2-3 hours instead of 4-5 on low. The texture will be slightly different—the chicken won’t be quite as fall-apart tender—but it will still be delicious. Just keep an eye on it so it doesn’t overcook.
Can I add vegetables to the crockpot?
Sure! Broccoli florets, sliced bell peppers, or snap peas can be added in the last 30 minutes of cooking. If you add them at the beginning, they’ll turn to mush. I like to steam my veggies separately and serve them with the sauce drizzled on top.
How do I prevent the sauce from being too salty?
Use low-sodium soy sauce and taste the sauce before thickening. If it’s too salty, add a little more honey or a splash of water to balance it out. Remember that the sauce will concentrate as it reduces, so start with less salt than you think you need.
Can I make this in advance for a party?
Yes, and I actually prefer it that way. Make the chicken a day ahead, refrigerate it in the sauce, and reheat gently in a skillet or the crockpot before serving. The flavors meld and deepen overnight, making it even more delicious. Just thicken the sauce right before serving for the best texture.
Pin This Recipe!
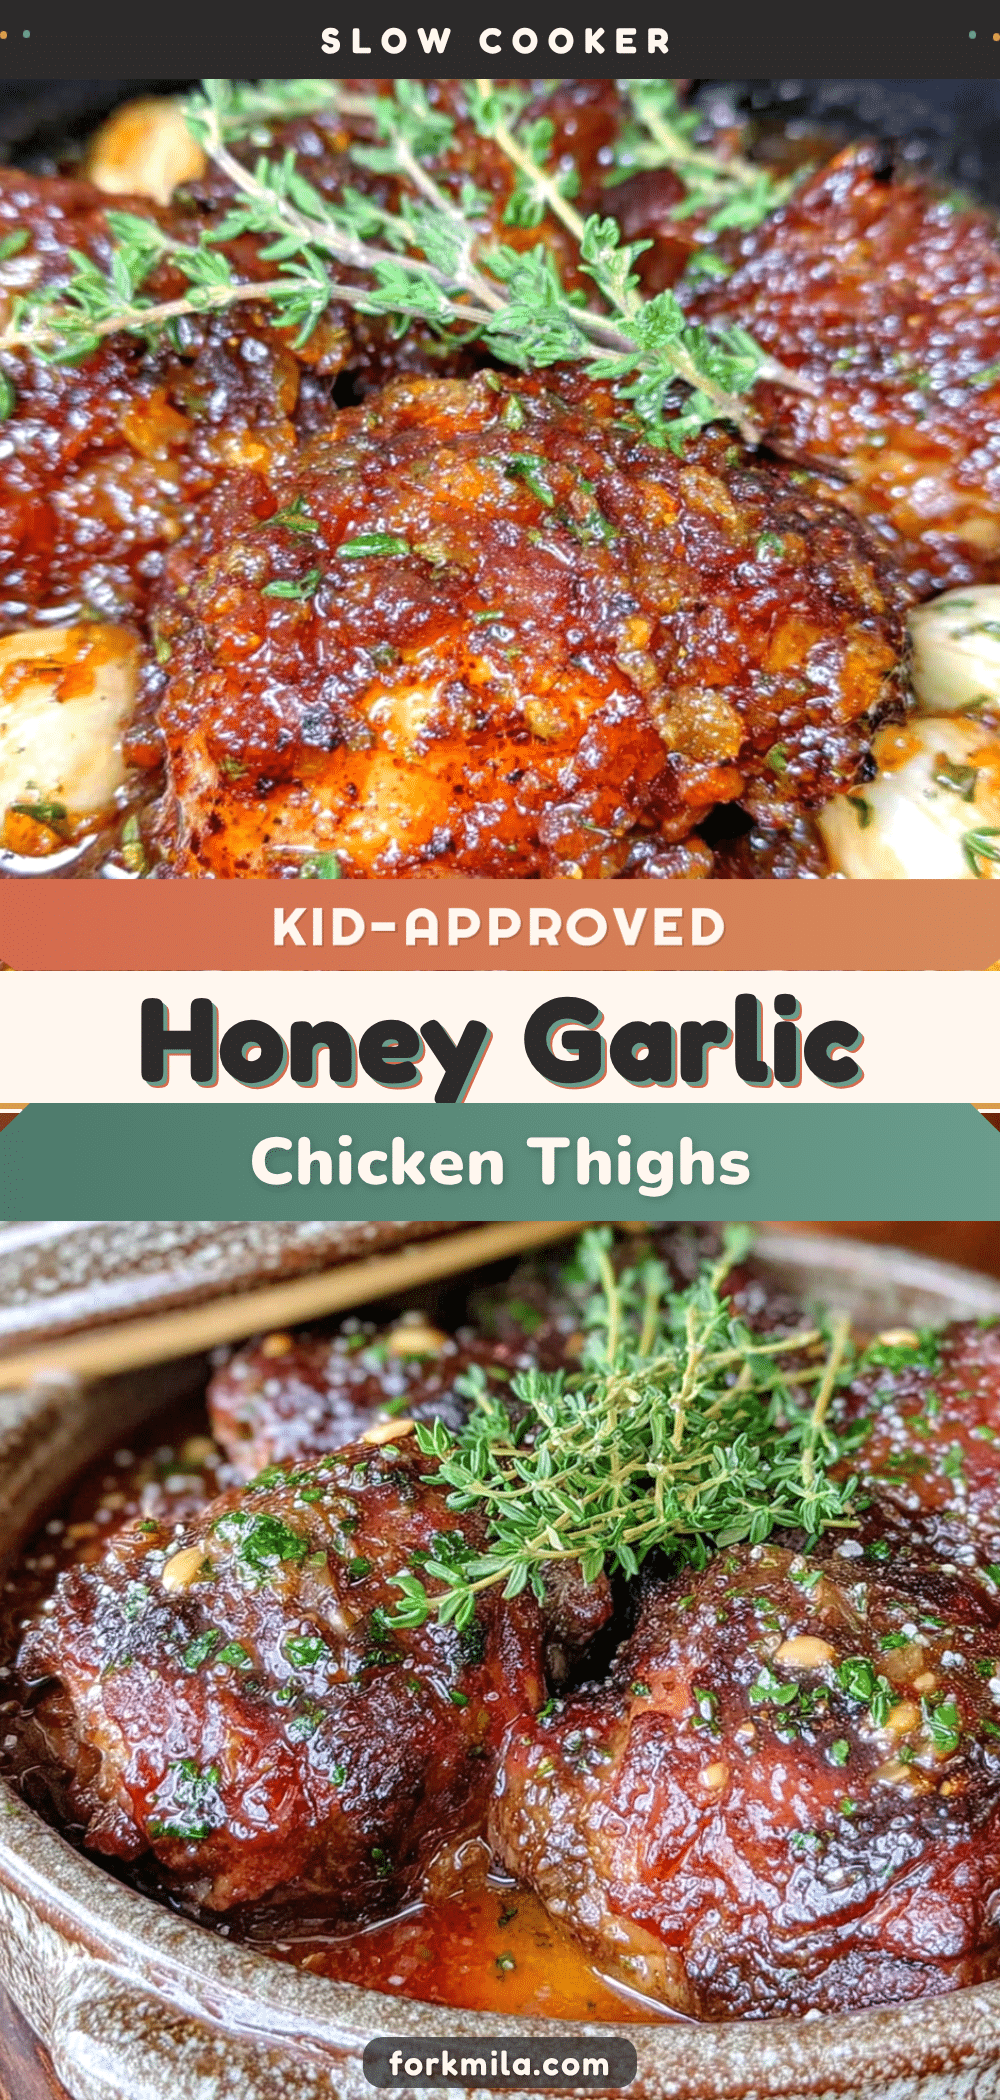
Easy Crockpot Honey Garlic Chicken Thighs for Kids

This crockpot honey garlic chicken thighs recipe is a family-friendly weeknight dinner that’s quick to prep and incredibly delicious. The chicken becomes fall-apart tender in a sweet and savory sauce that kids and adults love.
- Prep Time: 5 minutes
- Cook Time: 4 hours
- Total Time: 4 hours 5 minutes
- Yield: 4 servings 1x
- Category: Main Course
- Cuisine: Asian-inspired
Ingredients
- 2 pounds boneless, skinless chicken thighs (about 6–8 thighs)
- 1/2 cup low-sodium soy sauce
- 1/3 cup honey
- 4 cloves garlic, minced
- 1 tablespoon rice vinegar
- 1 tablespoon sesame oil
- 1/2 teaspoon ground ginger
- 2 tablespoons cornstarch
- 3 tablespoons cold water
- Cooked rice for serving
- Sesame seeds and sliced green onions for garnish (optional)
- Steamed broccoli or green beans for serving (optional)
Instructions
- In a small bowl, whisk together soy sauce, honey, minced garlic, rice vinegar, sesame oil, and ground ginger until well combined.
- Place chicken thighs in the bottom of a 4-6 quart crockpot in a single layer. Pour the sauce evenly over the chicken.
- Cover and cook on LOW for 4-5 hours or on HIGH for 2-3 hours, until chicken is tender and reaches an internal temperature of 165°F.
- Carefully remove chicken thighs with tongs and place on a plate; cover loosely with foil to keep warm.
- Pour the cooking liquid from the crockpot into a small saucepan. In a separate bowl, whisk together cornstarch and cold water to make a slurry.
- Bring the liquid to a simmer over medium-high heat. Slowly whisk in the cornstarch slurry and cook for 2-3 minutes, whisking constantly, until the sauce thickens to a glossy, syrupy consistency.
- Return the chicken to the crockpot or a serving dish and pour the thickened sauce over the top. Toss gently to coat.
- Serve the chicken over cooked rice, spooning extra sauce on top. Garnish with sesame seeds and sliced green onions if desired.
Notes
For best results, pat chicken dry before adding to crockpot. Don’t lift the lid during cooking. Thicken sauce right before serving. Use a slow cooker liner for easy cleanup.
Nutrition
- Serving Size: 1 serving (about 2 t
- Calories: 385
- Sugar: 20
- Sodium: 890
- Fat: 18
- Saturated Fat: 5
- Carbohydrates: 24
- Protein: 32
Keywords: crockpot honey garlic chicken, slow cooker chicken thighs, easy chicken dinner, kid-friendly chicken, honey garlic chicken


