I was supposed to be making energy bars. You know the kind—the baked ones with oats and honey that take forty-five minutes and leave you with a sticky mess of a bowl to scrub. It was a Tuesday, I was already running late for a call, and I grabbed the wrong jar off the shelf. Instead of almond butter, I grabbed the peanut butter. Instead of measuring carefully, I just dumped. And instead of turning on the oven, I realized it was preheating to 450°F because my kid had been “helping” earlier. The oven was useless. The batter was too wet to bake anyway. I stood there, spatula in hand, thinking, well, this is a disaster. But I rolled the mixture into balls anyway, more out of spite than hope. And honestly? They were better than any bar I’d ever baked. That’s how these Easy No-Bake Peanut Butter Protein Balls were born—not from a plan, but from a happy, chaotic accident. Maybe you’ve been there, staring at a kitchen fail that somehow turns into your most-requested recipe. That first bite had this unexpected softness, a perfect balance of salty and sweet, and I knew I’d stumbled onto something worth keeping. I’ve made them every week since, and they’ve never let me down.
Why You’ll Love This Recipe
Let me tell you why these Easy No-Bake Peanut Butter Protein Balls have earned a permanent spot in my fridge. I’ve tested this recipe about a dozen times—tweaking the ratio of oats to peanut butter, trying different protein powders, even accidentally using chunky peanut butter once (which was actually pretty great). What I landed on is the version I trust completely.
- Quick & Easy: These come together in under 5 minutes. No oven, no stovetop, no waiting. Just mix, roll, and eat.
- Simple Ingredients: You probably have everything in your pantry right now. No fancy health food store trips required.
- Perfect for Busy Mornings: Grab one on your way out the door, toss it in a lunchbox, or keep a batch in the fridge for that 3 PM energy crash.
- Crowd-Pleaser: I’ve brought these to potlucks, kids’ soccer games, and even office meetings. They disappear fast.
- Unbelievably Delicious: The texture is soft and chewy, not dry or crumbly like some protein snacks. It’s the kind that makes you close your eyes after the first bite.
What makes this recipe different from all the other protein ball recipes out there? It’s the ratio. I spent weeks getting the peanut butter-to-oats-to-protein-powder balance just right, so you get a ball that holds together perfectly without being greasy or sticky. Plus, I use a pinch of sea salt on top that makes the flavor pop in a way you won’t expect. This isn’t just another version—it’s the best version.
What Ingredients You Will Need
This recipe uses simple, wholesome ingredients to deliver bold flavor and satisfying texture without the fuss. Most of these are pantry staples, which is exactly what you want in a no-bake snack.
- Peanut Butter (1 cup / 240g): Use creamy, natural peanut butter for best results. I prefer the kind with just peanuts and salt—no added sugar or oils. My go-to brand is Smucker’s Natural or Kirkland Signature. If you only have processed peanut butter (like Jif or Skippy), it works too, but the balls will be slightly sweeter and firmer. Stir your natural peanut butter well before measuring—that oil separation is normal!
- Rolled Oats (1 ½ cups / 135g): Old-fashioned rolled oats give the best texture. Quick oats work in a pinch but make the balls softer and less chewy. Avoid steel-cut oats—they’re too hard and won’t bind properly. I’ve tested both and rolled oats win every time.
- Protein Powder (½ cup / 60g): Vanilla or unflavored protein powder works best. I use Orgain Simple vanilla plant-based protein powder because it’s not overly sweet and blends smoothly. If you use chocolate protein powder, you’ll get a chocolate-peanut butter flavor—delicious! Whey, pea, or collagen protein all work, but adjust the liquid if needed (pea protein tends to be drier).
- Honey or Maple Syrup (⅓ cup / 80ml): Honey adds a floral sweetness that pairs beautifully with peanut butter. Maple syrup works too and makes these vegan-friendly. If you’re avoiding sugar, try using 2 tablespoons of sugar-free maple syrup—just note the texture will be slightly less sticky.
- Ground Flaxseed (2 tablespoons / 14g): This is my secret ingredient! It helps bind the balls together and adds a boost of omega-3s and fiber. You can skip it if you don’t have it, but the balls may be a bit crumblier. Chia seeds work as a substitute.
- Dark Chocolate Chips (¼ cup / 45g): Mini chocolate chips are ideal—they distribute evenly and add little pockets of melty goodness. I like Enjoy Life dark chocolate chips for a dairy-free option. If you’re using regular-sized chips, chop them roughly first.
- Pinch of Sea Salt (optional but recommended): A sprinkle of flaky sea salt on top before chilling takes these from good to wow. It balances the sweetness and makes the peanut butter flavor sing.
Equipment Needed
You don’t need much for this recipe, which is part of the beauty. Here’s what you’ll need:
- Large Mixing Bowl: Any bowl works, but I prefer a wide, shallow one for easy mixing. My favorite is a ceramic Pyrex bowl—it’s heavy enough to stay put while you stir.
- Measuring Cups and Spoons: Accurate measurements matter here, especially for the peanut butter and honey. I’ve learned the hard way that eyeballing sticky ingredients leads to sad, dry balls.
- Spatula or Wooden Spoon: A sturdy spatula is your best friend for folding everything together. I use a silicone spatula from OXO—it scrapes the bowl clean and doesn’t bend under pressure.
- Baking Sheet or Plate: For chilling the balls. Line it with parchment paper for easy cleanup.
- Cookie Scoop (optional): A small cookie scoop (about 1 tablespoon size) makes uniform balls and keeps your hands clean. I snagged mine from a dollar store years ago, and it’s still going strong.
- Parchment Paper: Not strictly necessary, but it prevents sticking and makes clean-up a breeze.
Preparation Method
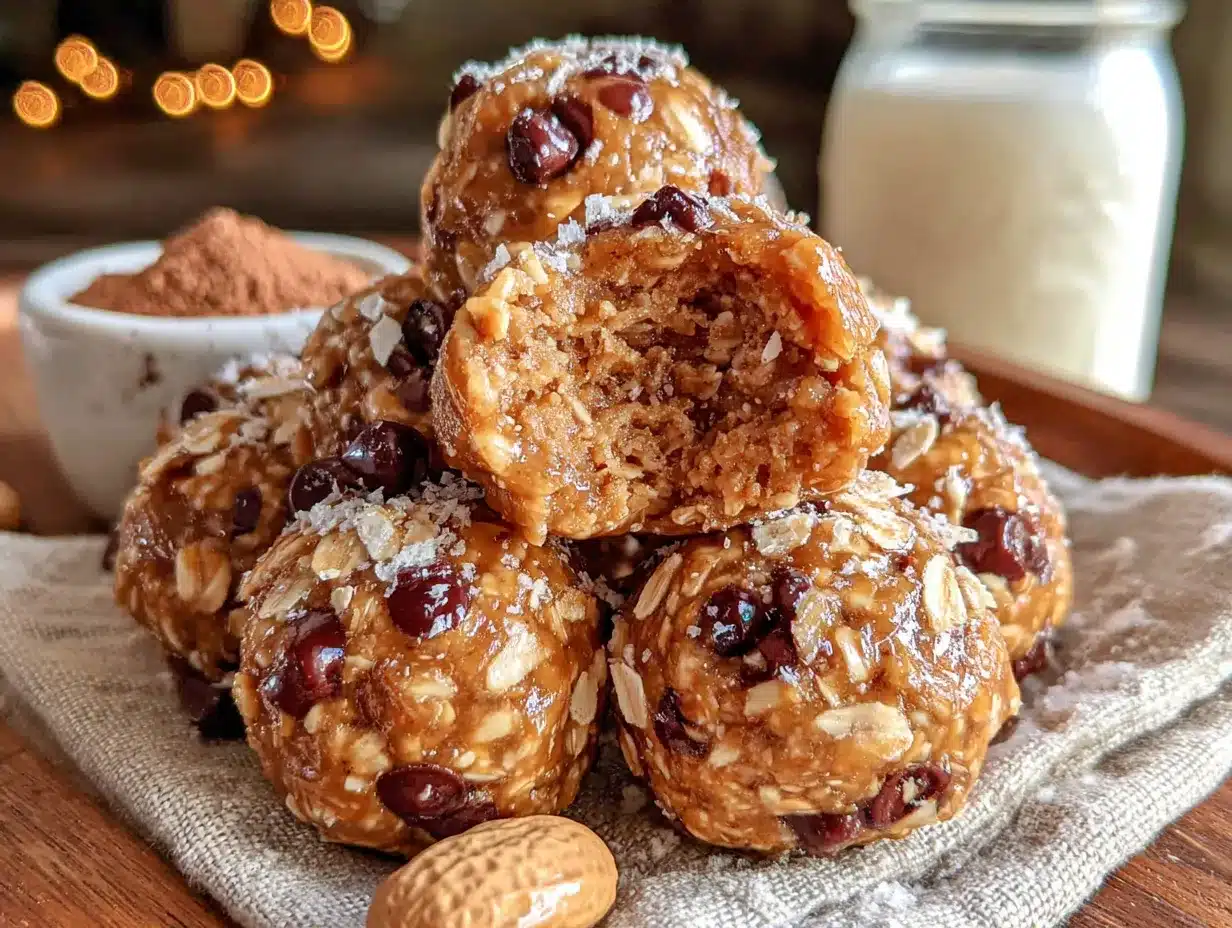
- Combine the dry ingredients. In a large mixing bowl, whisk together the rolled oats (1 ½ cups / 135g), protein powder (½ cup / 60g), and ground flaxseed (2 tablespoons / 14g). Make sure there are no clumps in the protein powder—break them up with the back of a spoon if needed. This step takes about 30 seconds.
- Add the wet ingredients. Add the peanut butter (1 cup / 240g) and honey or maple syrup (⅓ cup / 80ml) to the bowl. Don’t dump them on top of each other—place them in separate spots so they distribute more evenly. This is a trick I learned after making a batch where half the balls were too sweet and half were too dry.
- Mix until combined. Use your spatula to fold everything together. Start with a cutting motion, then switch to a folding motion. The mixture will look crumbly at first—that’s normal. Keep going. After about 1 minute of mixing, it should come together into a cohesive, slightly sticky dough. If it’s too dry, add 1 tablespoon of warm water or extra honey. If it’s too wet, add 1 tablespoon of oats.
- Fold in the chocolate chips. Add the dark chocolate chips (¼ cup / 45g) and fold them in gently. You want them distributed evenly, not crushed into the dough. This takes about 30 seconds.
- Chill the mixture (optional but helpful). Pop the bowl in the fridge for 10-15 minutes. This firms up the peanut butter and makes the mixture easier to roll. I skip this step when I’m in a hurry, but it does make for prettier, rounder balls.
- Roll into balls. Using your hands (or a cookie scoop), scoop about 1 tablespoon of the mixture and roll it between your palms into a smooth ball. Place each ball on the parchment-lined baking sheet. You should get about 18-20 balls, depending on size. Wet your hands slightly if the mixture sticks—this is a game-changer.
- Add a finishing touch. Sprinkle a tiny pinch of flaky sea salt on top of each ball. Press it in gently so it sticks. This step is optional but highly recommended—it adds that professional touch.
- Chill to set. Place the baking sheet in the fridge for at least 30 minutes. This allows the balls to firm up and the flavors to meld. They’re edible immediately, but they hold their shape much better after chilling. I once served them after only 10 minutes in the fridge, and they were a bit too soft—still delicious, but messy.
- Store and enjoy. Transfer the balls to an airtight container. Keep them in the fridge for up to 2 weeks, or in the freezer for up to 3 months. I like to keep a small jar in the fridge for snacking and stash the rest in the freezer for later.
Cooking Tips & Techniques
After making these Easy No-Bake Peanut Butter Protein Balls more times than I can count, I’ve picked up a few tricks that make a real difference. Here’s what I’ve learned:
- Use room temperature peanut butter. Cold peanut butter is stiff and hard to mix. Let it sit out for 15 minutes before starting. I learned this the hard way when I tried to mix fridge-cold peanut butter and ended up with a lumpy mess that took 10 minutes to smooth out.
- Don’t overmix. Once the dough comes together, stop. Overmixing can make the balls dense and tough, especially if you’re using a protein powder with a strong flavor. Mix just until everything is incorporated—about 2 minutes total.
- Chill your hands. If the mixture is sticking to your palms, run your hands under cold water before rolling. The cool temperature helps the peanut butter firm up slightly, making the balls easier to shape. I keep a bowl of ice water nearby when I’m making a double batch.
- Test one ball first. Roll one ball and taste it before rolling the rest. This is your chance to adjust—add more honey if it’s not sweet enough, more salt if it’s flat, or more oats if it’s too sticky. I’ve saved many batches this way.
- Use a cookie scoop for consistency. Uniform balls not only look better but also chill evenly. A 1-tablespoon scoop gives you the perfect size for a snack. I bought mine for $3 at a kitchen supply store, and it’s one of my most-used tools.
Variations & Adaptations
One of the best things about this recipe is how adaptable it is. I’ve experimented with all sorts of variations, and here are my favorites:
- Chocolate Peanut Butter: Use chocolate protein powder instead of vanilla, and add 2 tablespoons of cocoa powder to the dry ingredients. The result is a rich, fudgy ball that tastes like dessert. My kids beg for these.
- Vegan Option: Swap honey for maple syrup or agave nectar. Make sure your chocolate chips are dairy-free (most dark chocolate chips are). I’ve made this version for vegan friends, and they couldn’t tell the difference.
- Nut-Free Version: Use sunflower seed butter or tahini instead of peanut butter. Sunflower seed butter works beautifully—just note that it can react with baking soda (not an issue here since we’re not baking) and may turn slightly green over time (totally safe, just weird-looking).
- Add-Ins: Try shredded coconut, chopped nuts, dried cranberries, or hemp seeds. I once added a tablespoon of chia seeds and a handful of dried cherries, and it was incredible—like a PB&J in ball form.
- Lower Sugar: Use unsweetened protein powder and reduce the honey to 2 tablespoons. Add 1-2 tablespoons of unsweetened applesauce to maintain moisture. The balls will be less sweet but still satisfying.
Serving & Storage Suggestions
These Easy No-Bake Peanut Butter Protein Balls are incredibly versatile when it comes to serving. Here’s how I like to enjoy them:
- Serving Temperature: I prefer them straight from the fridge—firm, cold, and satisfying. But they’re also delicious at room temperature, especially if you let them sit out for 5-10 minutes. The texture softens slightly, and the chocolate chips become a bit melty.
- Presentation Ideas: Arrange them on a small platter with fresh fruit for a party. Or pack them in a mason jar for a thoughtful homemade gift. I gave a jar to my neighbor last Christmas, and she’s been asking for the recipe ever since.
- Pairings: They pair beautifully with a glass of cold almond milk, a cup of coffee, or a smoothie. For a quick breakfast, I’ll grab two balls and an apple on my way out the door.
- Refrigerator Storage: Store in an airtight container in the fridge for up to 2 weeks. I use a glass Pyrex container with a tight lid. Layer them between sheets of parchment paper if stacking to prevent sticking.
- Freezer Storage: These freeze beautifully! Place the balls on a baking sheet and freeze until solid (about 1 hour), then transfer to a freezer-safe bag or container. They’ll keep for up to 3 months. I always keep a stash for busy weeks.
- Reheating: No need to reheat! Just eat them straight from the fridge or freezer. If you prefer a softer texture, let them sit at room temperature for 10 minutes. I’ve never microwaved them, but I imagine 10-15 seconds would soften them nicely.
Nutritional Information & Benefits
Here’s the approximate nutritional breakdown for one ball (based on 20 balls per batch):
| Nutrient | Amount per Ball |
|---|---|
| Calories | 120 |
| Protein | 6g |
| Carbohydrates | 12g |
| Fiber | 2g |
| Sugar | 6g |
| Fat | 6g |
| Saturated Fat | 1.5g |
| Sodium | 60mg |
These numbers are estimates and can vary based on your specific ingredients. The peanut butter provides healthy monounsaturated fats and protein, while the oats offer slow-release energy and fiber. The flaxseed adds omega-3 fatty acids, which are great for heart health. I love that these balls give me a steady energy boost without the crash you get from sugary snacks. They’re naturally gluten-free if you use certified gluten-free oats, and they’re easy to make dairy-free. Just be aware of the peanut allergen if you’re serving them to others.
FAQs
Can I use quick oats instead of rolled oats?
Yes, you can! Quick oats will work, but the texture will be softer and less chewy. I prefer rolled oats for their hearty texture, but quick oats are a fine substitute if that’s what you have on hand.
My mixture is too dry. What should I do?
Add 1 tablespoon of warm water, honey, or maple syrup at a time until the mixture comes together. The warmth helps soften the peanut butter and makes it easier to mix. I’ve rescued many batches this way.
How long do these protein balls last?
They’ll keep in the fridge for up to 2 weeks in an airtight container. In the freezer, they’ll last up to 3 months. I’ve never had a batch last that long because we eat them too quickly!
Can I make these without protein powder?
Absolutely! Substitute the protein powder with an equal amount of rolled oats or almond flour. The texture will be slightly different—a bit softer and less dense—but they’ll still be delicious. I’ve made them this way for friends who don’t use protein powder.
Are these safe for kids?
Yes, but be mindful of the peanut butter and honey. For children under 1 year old, avoid honey due to the risk of botulism. Use maple syrup instead. Also, make sure the balls are small enough to prevent choking hazards. I’ve been making these for my own kids for years with no issues.
Conclusion
These Easy No-Bake Peanut Butter Protein Balls are proof that the best recipes often come from the most unexpected moments. What started as a kitchen mistake has become my go-to snack for busy mornings, afternoon slumps, and everything in between. They’re quick, simple, and endlessly customizable—you really can’t go wrong. I love that I can make a batch in under 10 minutes and have healthy snacks ready for the whole week. Whether you’re a seasoned meal prepper or someone who just wants a better option than a granola bar, these balls are for you. I’d love to hear how they turn out in your kitchen! Leave a comment below and share your favorite variation—I’m always looking for new ideas. Happy snacking, friends.
Pin This Recipe!
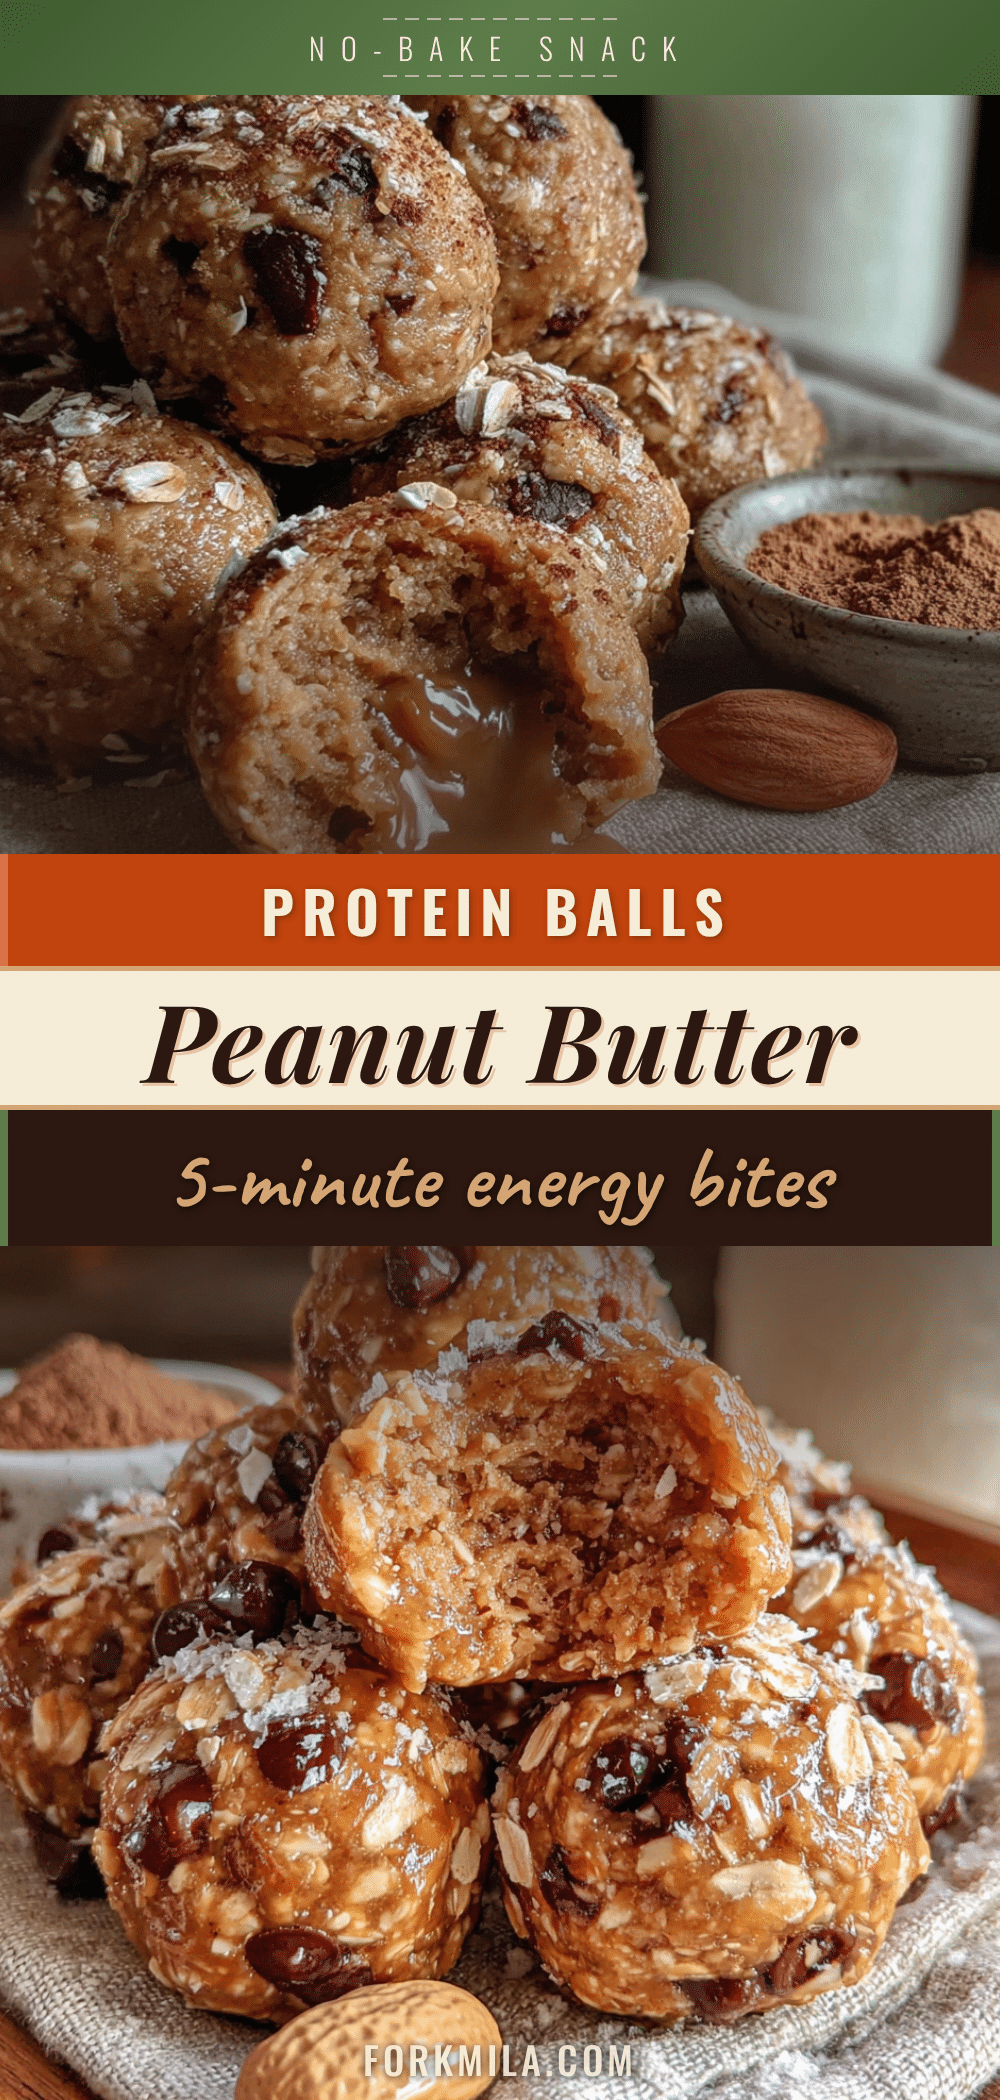
Easy No-Bake Peanut Butter Protein Balls – Best 5-Minute Snack
These Easy No-Bake Peanut Butter Protein Balls are a quick, healthy snack made with simple pantry ingredients. They come together in under 5 minutes and are perfect for busy mornings, post-workout fuel, or a 3 PM energy boost.
- Prep Time: 5 minutes
- Cook Time: 0 minutes
- Total Time: 35 minutes (includes 30 minutes chilling)
- Yield: 18-20 balls 1x
- Category: Snack
- Cuisine: American
Ingredients
- 1 cup (240g) creamy natural peanut butter
- 1 ½ cups (135g) rolled oats
- ½ cup (60g) vanilla or unflavored protein powder
- ⅓ cup (80ml) honey or maple syrup
- 2 tablespoons (14g) ground flaxseed
- ¼ cup (45g) dark chocolate chips (mini preferred)
- Pinch of flaky sea salt (optional)
Instructions
- In a large mixing bowl, whisk together the rolled oats, protein powder, and ground flaxseed until no clumps remain.
- Add the peanut butter and honey (or maple syrup) to the bowl in separate spots for even distribution.
- Mix with a spatula using a cutting and folding motion until a cohesive, slightly sticky dough forms (about 1 minute). If too dry, add 1 tablespoon warm water or extra honey; if too wet, add 1 tablespoon oats.
- Fold in the dark chocolate chips gently until evenly distributed.
- Optional: Chill the mixture in the fridge for 10-15 minutes to make rolling easier.
- Using your hands or a 1-tablespoon cookie scoop, roll the mixture into smooth balls (about 18-20 balls). Wet your hands slightly if sticky.
- Sprinkle a tiny pinch of flaky sea salt on top of each ball and press gently to adhere.
- Place the balls on a parchment-lined baking sheet and refrigerate for at least 30 minutes to set.
- Transfer to an airtight container and store in the fridge for up to 2 weeks or freeze for up to 3 months.
Notes
Use room temperature peanut butter for easier mixing. Don’t overmix the dough to avoid dense balls. Chill your hands with cold water if the mixture sticks while rolling. Test one ball before rolling the rest to adjust sweetness or texture. For uniform balls, use a 1-tablespoon cookie scoop.
Nutrition
- Serving Size: 1 ball
- Calories: 120
- Sugar: 6
- Sodium: 60
- Fat: 6
- Saturated Fat: 1.5
- Carbohydrates: 12
- Fiber: 2
- Protein: 6
Keywords: no-bake protein balls, peanut butter protein balls, healthy snack, easy snack, gluten-free snack, high protein snack, no-bake energy balls


