Introduction
Three Fridays ago, I was waiting in the parking lot of the local grocery store when the faint scent of vanilla and sugar from a nearby bakery cart hit me—just like that, I was seven years old again, standing beside Mrs. Thompson’s kitchen counter. She was the neighborhood’s unofficial cookie queen, and her school bus-shaped treats were an annual tradition around our little cul-de-sac. The kitchen was always buzzing with chatter and the cheerful clatter of cookie cutters, but what stuck with me most was the way the colorful sprinkles seemed to dance on the dough, promising a burst of fun in every bite. I remember the cracked yellow mixing bowl she used, chipped from years of love and use, and how I accidentally knocked over the jar of sprinkles, sending a cascade of confetti all over the floor. Honestly, it was a mess, but a mess that tasted like childhood.
I’ve been chasing that exact feeling ever since—trying to recreate not just those Funfetti School Bus Cookies with Vanilla Royal Icing, but the whole experience of that carefree afternoon. You know that feeling when a simple cookie brings back more than just taste? That’s what this recipe is all about. Maybe you’ve been there too, trying to capture a slice of joy from the past. This recipe isn’t just about making cookies; it’s about holding onto those small moments that make life sweeter.
Why You’ll Love This Recipe
Let me tell you, these Funfetti School Bus Cookies aren’t your average sugar cookies. I’ve tested and tweaked this recipe through countless batches, and it’s become a family favorite that’s always a hit at school events and neighborhood parties. Here’s why you’re going to love making and eating them:
- Quick & Easy: Ready to bake in under 30 minutes, perfect for last-minute celebrations or sweet cravings.
- Simple Ingredients: You probably already have everything in your pantry—no extra trips required!
- Perfect for School Events: These cookies bring smiles to kids and adults alike, making them ideal for bake sales, classroom parties, or just after-school treats.
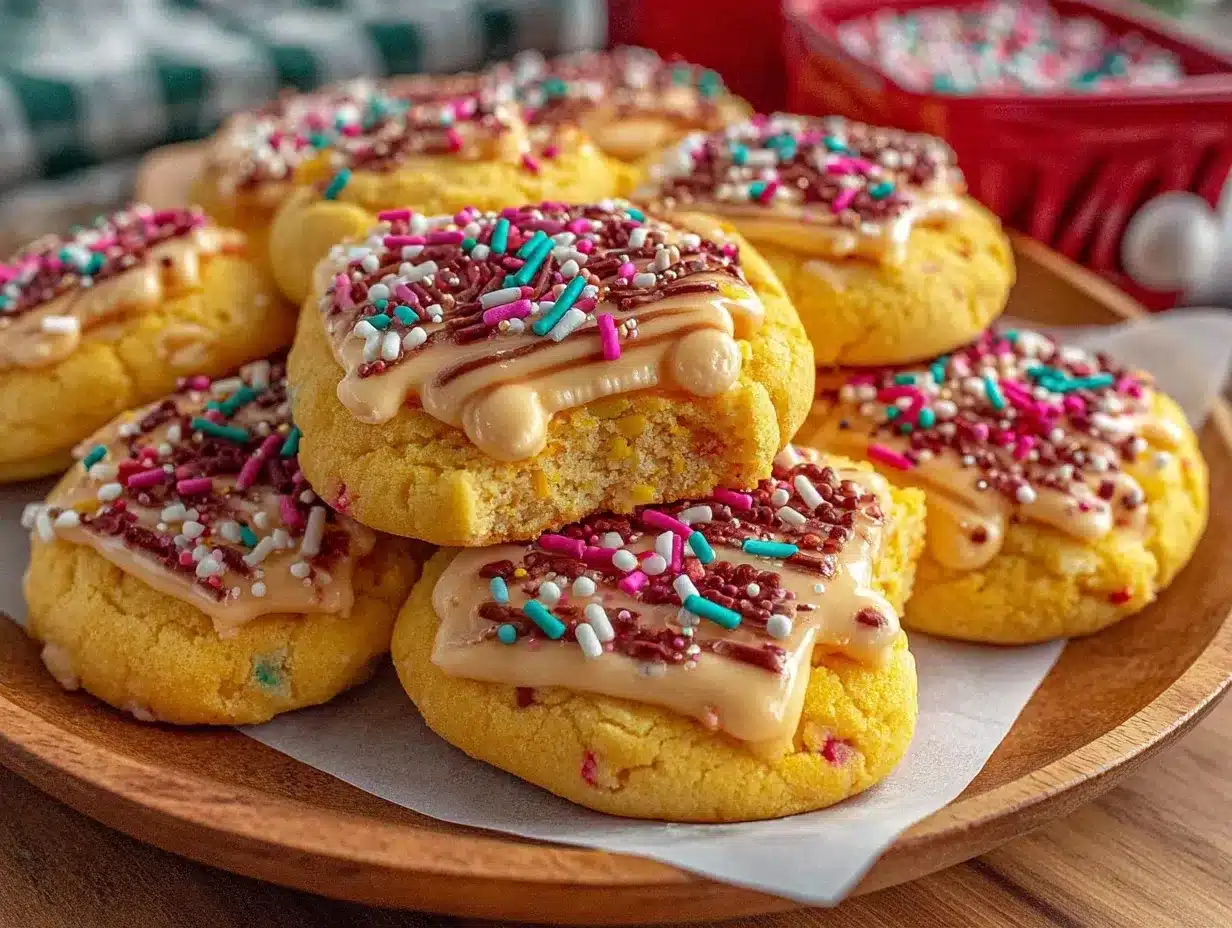
- Crowd-Pleaser: The funfetti specks inside add a burst of color and excitement that’s irresistible to kids and nostalgic for adults.
- Unbelievably Delicious: The vanilla royal icing adds that perfect smooth, sweet finish that’s not too overpowering but just right.
This recipe stands apart because the royal icing is simple but silky, allowing you to pipe smooth edges and crisp designs without fuss. Plus, the funfetti in the dough offers a surprise pop of color that feels like a tiny party in every bite. Honestly, it’s the kind of cookie that makes you pause and smile, eyes closed, savoring that perfect blend of sweet, buttery texture and playful sprinkles. If you want to impress without stress or just bring a little whimsy to your kitchen, this recipe’s a winner.
What Ingredients You Will Need
This recipe uses straightforward, wholesome ingredients to deliver cheerful, flavorful cookies with a satisfying texture. The funfetti adds a playful touch, while the vanilla royal icing ties everything together with a silky sweetness. Most of these ingredients are pantry staples, and substitutions are easy if you need them.
- For the Cookie Dough:
- 2 ¾ cups (345g) all-purpose flour (Bob’s Red Mill works great for consistent texture)
- 1 teaspoon baking powder
- ½ teaspoon salt
- 1 cup (226g) unsalted butter, softened (use room temperature for easier creaming)
- 1 cup (200g) granulated sugar
- 1 large egg, room temperature
- 1 teaspoon pure vanilla extract (preferably Madagascar for deepest flavor)
- ½ cup (90g) rainbow sprinkles (the sturdy non-melting type hold up best during baking)
- For the Vanilla Royal Icing:
- 3 cups (360g) powdered sugar, sifted
- 2 large egg whites or 4 tablespoons meringue powder mixed with ¼ cup water (for safer, no-raw-egg alternative)
- 1 teaspoon vanilla extract
- Optional: a few drops of yellow gel food coloring for the bus body
- Optional: black gel food coloring for details like wheels and windows
If you’re short on sprinkles, you can swap in finely chopped mini chocolate chips or colored sugar crystals. For a dairy-free version, coconut oil can replace butter, but the texture will be a smidge different—still tasty though! If you want to keep things gluten-free, almond flour can work, but expect a denser cookie.
Equipment Needed
- Stand mixer or hand mixer – for creaming the butter and sugar smoothly
- Mixing bowls – medium and large sizes for dough and icing
- Measuring cups and spoons – precise measurements make a big difference here
- Rolling pin – essential for evenly rolling out cookie dough
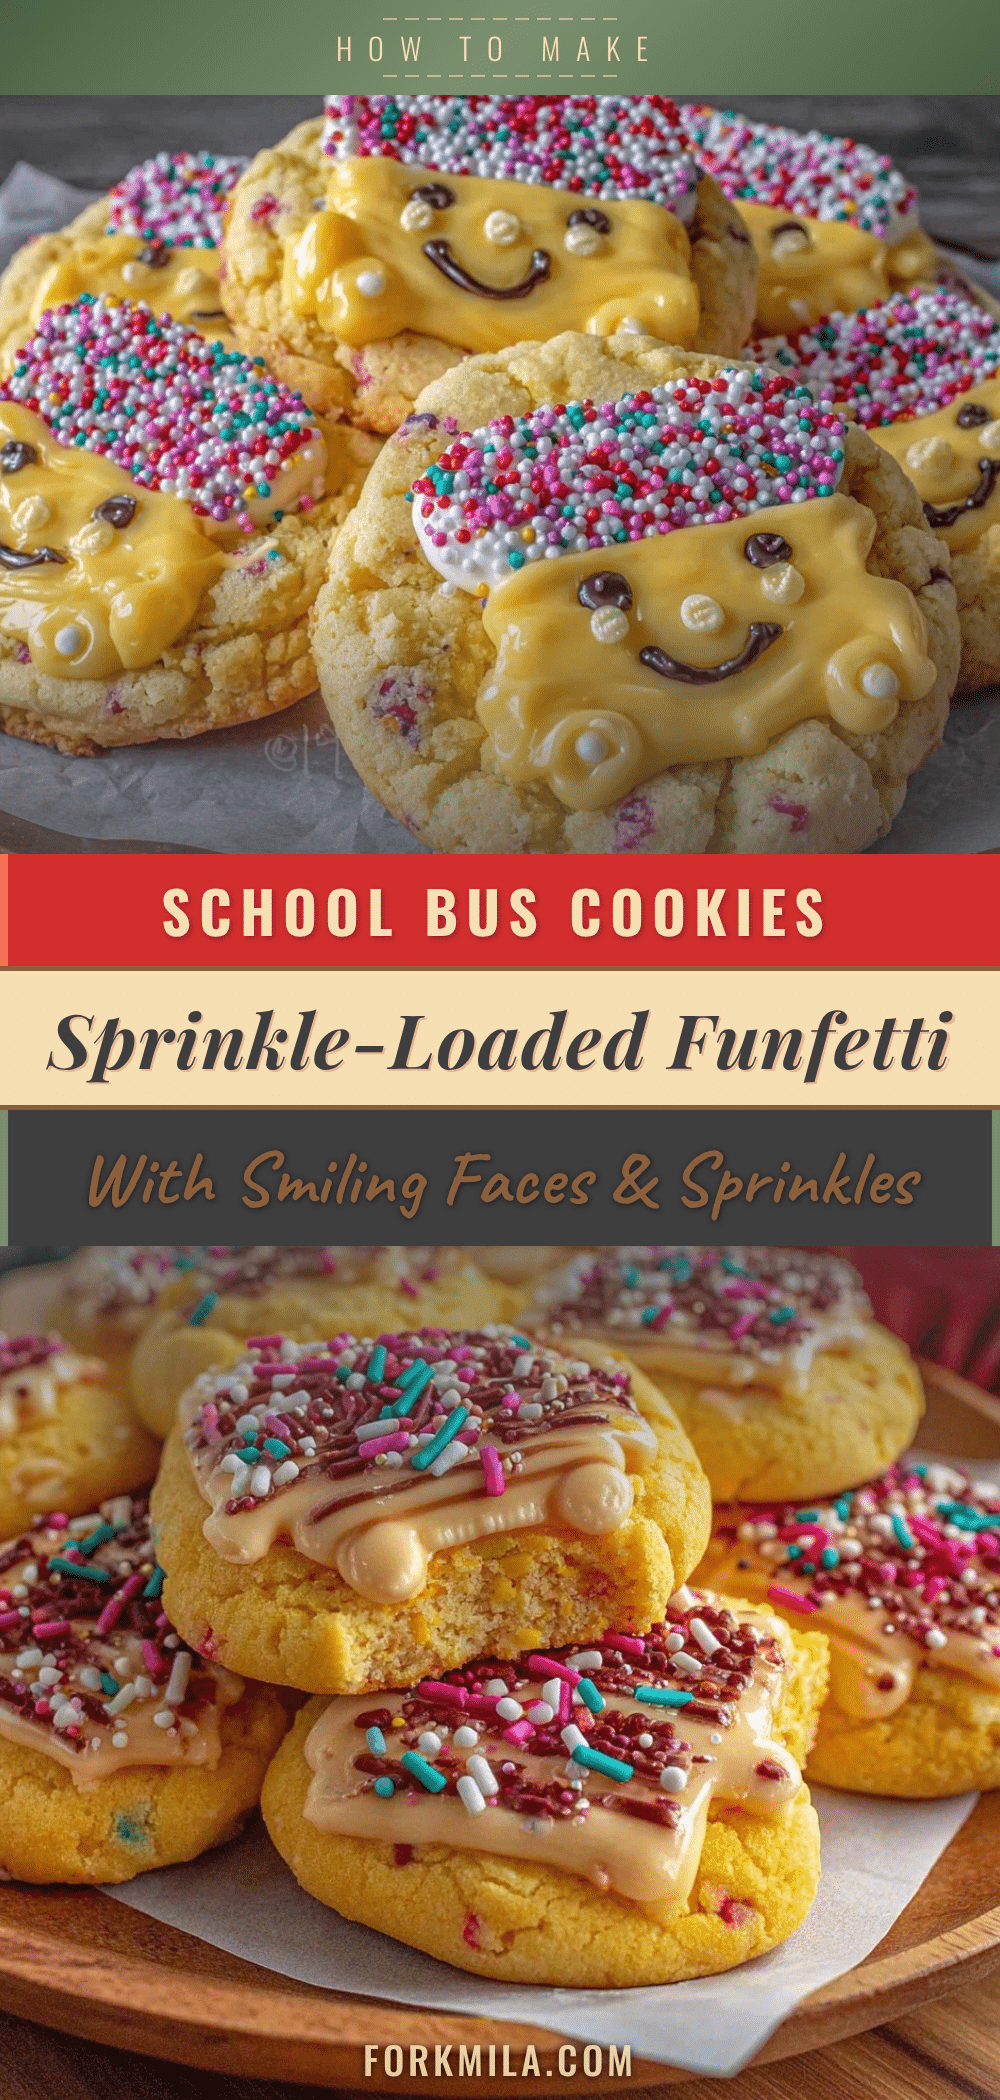
- School bus-shaped cookie cutter – if you don’t have one, a simple rectangle with rounded edges works
- Baking sheets lined with parchment paper or silicone mats – helps cookies bake evenly and clean up easily
- Piping bags with small round tips – for the vanilla royal icing details
- Sifter – to avoid lumps in powdered sugar and flour
If you don’t have a stand mixer, a sturdy hand mixer works just fine. When I started baking these, I used a wooden spoon and muscle power, which was a workout but totally doable! For piping, if you lack bags, you can fashion one from parchment paper. And don’t forget a cooling rack; letting your cookies rest properly keeps that icing crisp and shiny.
Preparation Method
- Mix dry ingredients: In a medium bowl, whisk together 2 ¾ cups (345g) all-purpose flour, 1 teaspoon baking powder, and ½ teaspoon salt. Set aside. (5 minutes)
- Cream butter and sugar: Using a stand mixer fitted with a paddle attachment, or a hand mixer, beat 1 cup (226g) softened unsalted butter and 1 cup (200g) granulated sugar on medium speed until pale and fluffy—about 3 to 4 minutes. This step is crucial for that tender, melt-in-your-mouth texture. (7 minutes)
- Add egg and vanilla: Beat in 1 large room temperature egg and 1 teaspoon pure vanilla extract until combined. Scrape down the sides to avoid any unmixed pockets. (2 minutes)
- Combine wet and dry: Gradually add the flour mixture to the butter mixture, mixing on low speed just until incorporated. Over-mixing here can make the cookies tough. (3 minutes)
- Fold in sprinkles: Gently fold in ½ cup (90g) rainbow sprinkles with a spatula, being careful not to crush them too much so they keep their vibrant colors. (2 minutes)
- Chill dough: Form the dough into two flat discs, wrap in plastic wrap, and chill in the refrigerator for at least 1 hour. This resting time helps the dough firm up for easier rolling and better shape retention during baking. (1 hour resting)
- Preheat oven and prepare baking sheets: Heat oven to 350°F (175°C). Line baking sheets with parchment paper or silicone mats. (10 minutes)
- Roll and cut cookies: On a lightly floured surface, roll out one dough disc about ¼ inch (6 mm) thick. Use your school bus cookie cutter to cut shapes, transferring them carefully to the baking sheet about 1 inch (2.5 cm) apart. Re-roll scraps once or twice. (15 minutes)
- Bake: Bake cookies for 9 to 11 minutes until edges are just beginning to turn golden. Avoid overbaking—they should stay soft and tender. (10 minutes)
- Cool: Let cookies cool on the baking sheet for 5 minutes, then transfer to a wire rack to cool completely before icing. (30 minutes cooling)
- Prepare royal icing: In a clean bowl, whisk 3 cups (360g) sifted powdered sugar with 2 large egg whites (or meringue powder mix) and 1 teaspoon vanilla extract until smooth and glossy. Add gel food coloring to achieve your desired yellow base for the bus. Adjust consistency with a few drops of water if too thick. (10 minutes)
- Pipe the icing: Using piping bags fitted with small round tips, outline and flood the cookie bodies with yellow icing. Let dry for 30 minutes, then pipe black details like wheels, windows, and outlines. (1 hour decorating)
- Dry completely: Allow cookies to dry at room temperature for several hours or overnight to set the icing fully before storing or stacking. (Several hours drying)
Tip: If your dough feels too sticky while rolling, pop it back into the fridge for 10-15 minutes. Also, don’t rush the icing drying process—trust me, it’s worth the wait for that perfect crack-free finish.
Cooking Tips & Techniques
Making these Funfetti School Bus Cookies feel easy once you get the hang of a few tricks. First, when creaming your butter and sugar, patience is key—don’t rush this step, or you’ll lose that light, airy texture.
Always sift your powdered sugar and flour to avoid lumps that can mess with the dough or icing consistency. When folding in sprinkles, gentle hands keep them intact, which makes all the difference visually.
One mistake I learned the hard way was skipping the chilling step. Without chilling, the dough spreads too much and loses its shape. Trust me, the hour in the fridge pays off. Also, when rolling out dough, flour your surface lightly—too much flour makes the dough dry and crumbly.
For the royal icing, consistency matters. Too thick and it’s hard to pipe smoothly; too thin and it runs off the cookie. Start thicker for outlines, then thin slightly for flooding. If you’re new to piping, practice on parchment paper first to get comfortable with pressure and flow.
Timing-wise, bake one sheet at a time, and rotate halfway through if your oven has hotspots. Multitasking during icing drying times helps speed things up—maybe prep your next batch or clean up.
Variations & Adaptations
- Dietary: Swap butter for vegan margarine and use aquafaba instead of egg whites for vegan royal icing. Use gluten-free flour blends for a celiac-friendly version.
- Seasonal: Instead of funfetti, add finely chopped dried cranberries and orange zest in the fall for a festive twist. Fresh berries mixed into the dough work wonderfully in summer.
- Flavor: Add a teaspoon of almond extract to the dough for a nutty depth, or swap vanilla for lemon extract in the icing to brighten up the flavor.
- Cooking Methods: If you want to skip shaping, roll the dough into balls, flatten slightly, and bake for funfetti sugar cookies without the bus shape but with the same flavor.
- Personal Variation: Once, I added a thin layer of peanut butter before icing for a creamy surprise under the vanilla glaze—highly recommend if you like a little extra indulgence.
Serving & Storage Suggestions
These cookies are best served at room temperature once the icing is fully set. Arrange them on a bright platter for a cheerful presentation that’s perfect for school parties or afternoon tea. They pair beautifully with a cold glass of milk or a warm cup of vanilla chai.
To store, place cookies in an airtight container with parchment paper between layers to avoid sticking. They keep well at room temperature for up to 4 days, or in the fridge for a week if your kitchen is warm.
For longer storage, freeze the un-iced cookies in a single layer, wrapped tightly, for up to 3 months. Thaw completely before decorating. Icing-covered cookies freeze best if the icing is fully hardened—wrap gently and thaw in a cool spot to prevent moisture damage.
Over time, the flavors meld and the cookies soften slightly, which can be a nice change if you prefer a tender bite. Just don’t wait too long or the sprinkles lose their snap!
Nutritional Information & Benefits
Each Funfetti School Bus Cookie (including icing) contains approximately:
| Calories | 150 kcal |
|---|---|
| Fat | 7g |
| Carbohydrates | 20g |
| Protein | 1g |
| Sugar | 12g |
While these cookies are a treat and moderately high in sugar, they do contain real butter and eggs, which provide some beneficial fats and protein. Using high-quality vanilla extract and fresh ingredients makes a noticeable difference in flavor and satisfaction.
If you need to avoid gluten or dairy, simple substitutions can keep the recipe inclusive. Note the presence of egg in the royal icing if allergies are a concern—meringue powder is a safe alternative. From a wellness perspective, I see these as a joyful indulgence—sometimes you just need a cookie that brings back laughter and light.
Conclusion
These Funfetti School Bus Cookies with Vanilla Royal Icing are more than just a sweet snack—they’re a little piece of happiness you can bake at home. Whether you’re aiming to surprise your kid’s class, make a memorable gift, or just enjoy a slice of your own childhood, this recipe is easy, fun, and endlessly rewarding.
Feel free to tweak the colors, flavors, or shapes to match your mood or occasion. I keep coming back to this recipe because it reminds me how something simple can hold so much joy. I’d love to hear how your batch turns out—drop a comment or share your own twists below!
Now, grab that rolling pin and sprinkle jar, and make some magic happen in your kitchen!
FAQs About Funfetti School Bus Cookies
Can I make the cookie dough ahead of time?
Absolutely! The dough can be refrigerated overnight or frozen for up to 2 months. Just thaw before rolling and cutting.
What if I don’t have a school bus cookie cutter?
You can use a simple rectangle or square cutter and decorate with icing to resemble a bus, or freehand cut with a knife for a rustic look.
Is royal icing safe to eat with raw egg whites?
Traditional royal icing uses raw whites, but you can substitute meringue powder or pasteurized egg whites for safety.
How do I store decorated cookies without the icing smudging?
Let the icing dry completely—ideally overnight—and then store cookies in a single layer or with parchment paper between layers in an airtight container.
Can I use gluten-free flour for this recipe?
Yes, a 1:1 gluten-free baking flour blend works best. The texture might be a bit different but still delicious.
Pin This Recipe!
Funfetti School Bus Cookies Recipe Easy Homemade Vanilla Royal Icing

These Funfetti School Bus Cookies are a nostalgic, colorful treat featuring a tender sugar cookie base with rainbow sprinkles and a smooth vanilla royal icing perfect for school events and celebrations.
- Prep Time: 20 minutes
- Cook Time: 10 minutes
- Total Time: 2 hours 30 minutes
- Yield: 24 cookies 1x
- Category: Dessert
- Cuisine: American
Ingredients
- 2 ¾ cups (345g) all-purpose flour
- 1 teaspoon baking powder
- ½ teaspoon salt
- 1 cup (226g) unsalted butter, softened
- 1 cup (200g) granulated sugar
- 1 large egg, room temperature
- 1 teaspoon pure vanilla extract
- ½ cup (90g) rainbow sprinkles (non-melting type)
- 3 cups (360g) powdered sugar, sifted
- 2 large egg whites or 4 tablespoons meringue powder mixed with ¼ cup water
- 1 teaspoon vanilla extract
- Optional: a few drops of yellow gel food coloring
- Optional: black gel food coloring
Instructions
- Mix dry ingredients: whisk together flour, baking powder, and salt in a medium bowl. Set aside.
- Cream butter and sugar: beat softened butter and granulated sugar on medium speed until pale and fluffy, about 3 to 4 minutes.
- Add egg and vanilla: beat in egg and vanilla extract until combined, scraping down sides.
- Combine wet and dry: gradually add flour mixture to butter mixture, mixing on low speed just until incorporated.
- Fold in sprinkles gently with a spatula to keep colors vibrant.
- Chill dough: form dough into two discs, wrap in plastic, and chill for at least 1 hour.
- Preheat oven to 350°F (175°C) and line baking sheets with parchment paper or silicone mats.
- Roll and cut cookies: roll dough to ¼ inch thickness, cut with school bus cookie cutter, place 1 inch apart on baking sheets.
- Bake cookies for 9 to 11 minutes until edges begin to turn golden; avoid overbaking.
- Cool cookies on baking sheet for 5 minutes, then transfer to wire rack to cool completely.
- Prepare royal icing: whisk powdered sugar, egg whites (or meringue powder mix), and vanilla until smooth and glossy; add yellow gel food coloring for bus body.
- Pipe icing: outline and flood cookie bodies with yellow icing, let dry 30 minutes, then pipe black details like wheels and windows.
- Allow cookies to dry completely at room temperature for several hours or overnight before storing or stacking.
Notes
If dough is too sticky while rolling, chill for 10-15 minutes. Sift powdered sugar and flour to avoid lumps. Chill dough for at least 1 hour to prevent spreading. For royal icing, start with thicker consistency for outlines and thin slightly for flooding. Bake one sheet at a time and rotate halfway if oven has hotspots. Let icing dry completely before storing to avoid smudging.
Nutrition
- Serving Size: 1 cookie
- Calories: 150
- Sugar: 12
- Fat: 7
- Carbohydrates: 20
- Protein: 1
Keywords: Funfetti cookies, school bus cookies, vanilla royal icing, sugar cookies, kids party cookies, colorful cookies, easy cookie recipe