I was standing in the baking aisle at the grocery store, staring at a box of rainbow sprinkles, when an older woman next to me laughed. “You’re planning a party, aren’t you?” She nodded at my cart, which already held three sticks of butter and a bag of powdered sugar. “I can always tell. The butter gives it away.”
She was right, of course. My daughter’s fifth birthday was the next day, and I had grand plans for a homemade cake that would rival the bakery ones she’d been eyeing in the shop windows. But here’s the thing—I’d never actually made a confetti cake from scratch before. I’d watched enough YouTube videos to feel confident, but let’s be honest, watching and doing are two very different things, especially when a five-year-old is watching your every move with eagle eyes.
“My granddaughter loves the one with the sprinkles inside,” the woman continued, reaching for the same brand of sprinkles I was holding. “But she won’t eat it unless the frosting is thick enough to hold a candle.” She winked and walked away, leaving me with that one perfect piece of advice and a sudden, fierce determination to get this right.
That night, after the kids were in bed, I pulled out my stand mixer and got to work. I won’t pretend the first attempt was flawless—I overmixed the batter and ended up with a slightly dense crumb. But the look on my daughter’s face the next morning when she saw that cake, with its rainbow-flecked interior and clouds of vanilla buttercream, was worth every single mistake. She didn’t care that it wasn’t perfect. She cared that it was made for her, with sprinkles that she’d helped choose.
And honestly? That’s what this kid-approved confetti birthday cake is all about. It’s not about perfection. It’s about the joy of making something special for the people you love, even when you’re not entirely sure you know what you’re doing. Maybe you’ve been there—standing in the baking aisle, hoping for the best, wondering if this time the cake will actually turn out. I promise you, this recipe is the one that will.
Why You’ll Love This Recipe
Let me tell you why this confetti birthday cake has become my go-to for every family celebration. I’ve tested it more times than I care to admit, tweaking and adjusting until it was just right. Here’s what makes it special:
- Quick & Easy: From start to finish, this cake comes together in under an hour. The batter takes about 15 minutes to mix, and the cake bakes in 25-30 minutes. Perfect for last-minute birthday cravings or when you realize the store-bought cake just won’t cut it.
- Simple Ingredients: You probably already have most of these in your pantry. No fancy extracts, no hard-to-find flours—just good old-fashioned baking staples that won’t break the bank.
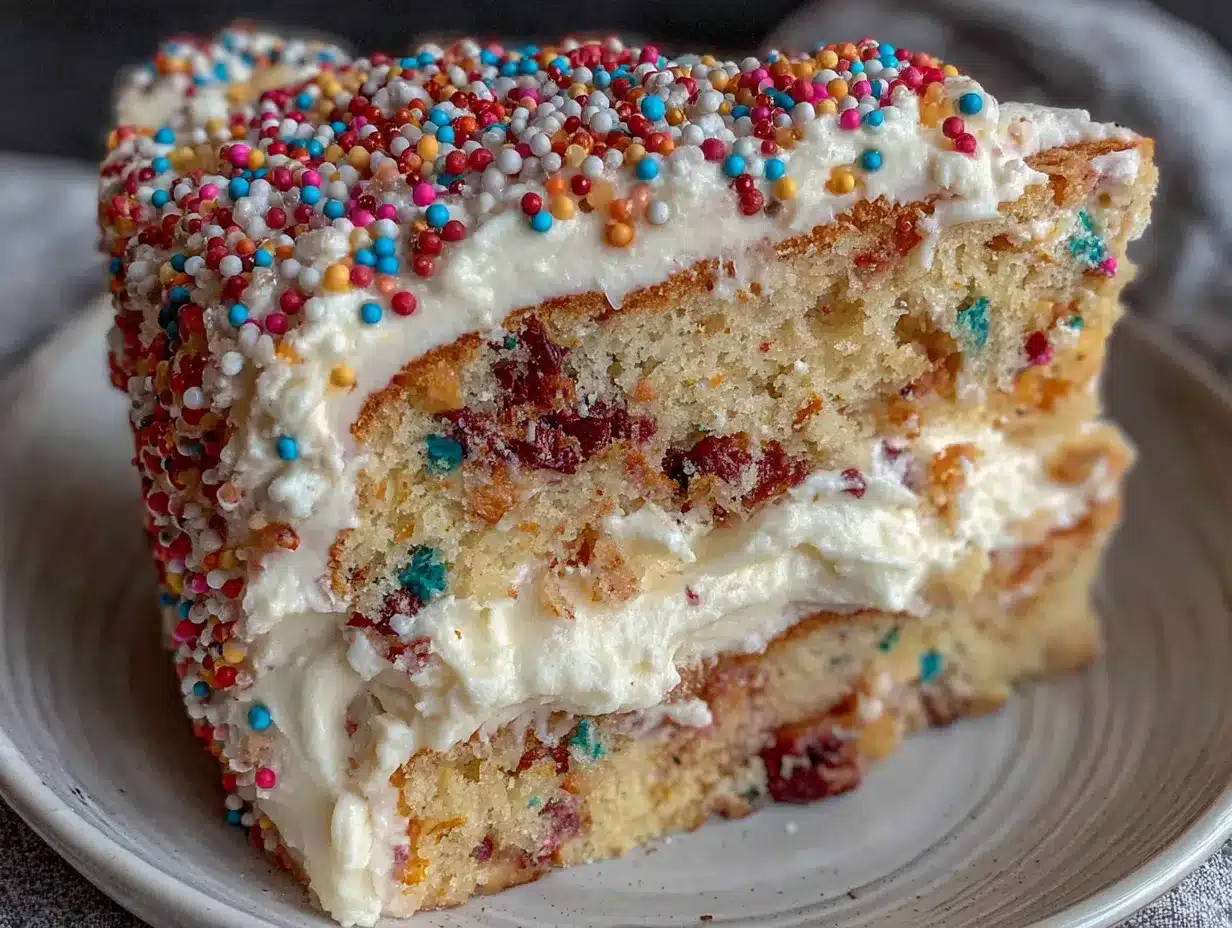
- Perfect for Birthdays: This isn’t just any cake. It’s the cake that makes kids’ eyes light up and adults sneak seconds. The rainbow sprinkles throughout create that classic confetti look that screams “celebration.”
- Crowd-Pleaser: I’ve brought this to school parties, family gatherings, and neighborhood picnics. It gets rave reviews every single time. Kids love the fun colors, and adults appreciate that it’s not overly sweet.
- Unbelievably Delicious: The texture is where this cake really shines. It’s moist without being dense, tender without being crumbly. The vanilla buttercream is silky smooth and perfectly sweetened—not that greasy, overly sugary frosting you get from a can.
What makes this version different from all the other confetti cake recipes out there? It’s the technique. I use a combination of cake flour and all-purpose flour for the perfect crumb, and I fold the sprinkles in by hand at the very end to prevent the colors from bleeding. It’s a small thing, but it makes a huge difference. The result is a cake that looks as good as it tastes—bright, cheerful, and absolutely irresistible.
This is the kind of cake that makes you close your eyes after the first bite. It’s comfort food at its finest—the taste of childhood birthdays, summer parties, and lazy Sunday afternoons all rolled into one. And the best part? It’s completely doable for any home baker, even if you’ve never made a layer cake before.
What Ingredients You Will Need
This confetti birthday cake uses simple, wholesome ingredients to deliver that classic birthday cake flavor without any fuss. Here’s what you’ll need to gather:
For the Cake
- 2 ½ cups cake flour (I recommend Swan’s Down for the best texture—it makes the cake extra tender)
- 1 cup all-purpose flour (adds structure without making the cake tough)
- 2 ¼ cups granulated sugar (you can reduce to 2 cups if you prefer a less sweet cake)
- 1 tablespoon baking powder (make sure it’s fresh—check the date!)
- 1 teaspoon salt (fine sea salt works best)
- 1 cup unsalted butter, softened to room temperature (I use Land O’Lakes—it’s consistently good)
- 4 large eggs, room temperature (this is important for proper emulsification)
- 1 ½ cups whole milk, room temperature (you can substitute 2% if that’s what you have)
- 2 teaspoons vanilla extract (pure vanilla, not imitation—trust me on this)
- ½ cup rainbow sprinkles (jimmies, not nonpareils) (jimmies hold their color better during baking)
For the Vanilla Buttercream
- 1 ½ cups unsalted butter, softened to room temperature (let it sit out for at least an hour)
- 5 cups powdered sugar, sifted (sifting prevents lumps—I know it’s a pain, but it’s worth it)
- 3 tablespoons heavy cream (or whole milk if you’re out of cream)
- 2 teaspoons vanilla extract (again, pure vanilla is non-negotiable here)
- ¼ teaspoon salt (balances the sweetness beautifully)
For Decoration (Optional but Fun)
- Extra rainbow sprinkles (for the sides and top)
- Birthday candles (obviously!)
- Fresh flowers or edible glitter (for that extra special touch)
A quick note on ingredient selection: When it comes to sprinkles, look for jimmies—those long, rod-shaped sprinkles. They hold their shape and color much better than round nonpareils, which tend to bleed and create a muddy-looking batter. I learned this the hard way after one particularly sad-looking cake that turned an unfortunate shade of gray.
If you’re on a budget, don’t worry. You can use store-brand butter and it’ll still turn out great. The only place I’d recommend splurging is on the vanilla extract. A good quality vanilla makes a noticeable difference in both the cake and the frosting.
Equipment Needed
You don’t need a professional bakery setup to make this confetti birthday cake. Here’s what you’ll actually use:
- Two 9-inch round cake pans (I prefer light-colored metal pans for even baking)
- Stand mixer or hand mixer (a hand mixer works fine—I’ve made this cake with both)
- Large mixing bowls (at least two—one for dry ingredients, one for wet)
- Measuring cups and spoons (get a set with both dry and liquid measures)
- Kitchen scale (optional but helpful for consistent results)
- Rubber spatula (for folding in sprinkles and scraping the bowl)
- Parchment paper (cut circles for the pan bottoms—trust me, it saves headaches)
- Cooling rack (wire rack works best for even cooling)
- Offset spatula (for frosting—a butter knife works in a pinch)
- Cake stand or serving plate (something sturdy enough to hold a two-layer cake)
If you don’t have a stand mixer, don’t sweat it. I made this cake for years with a $20 hand mixer from the grocery store. The key is to make sure your butter is properly softened so the mixer doesn’t have to work too hard. If you’re investing in new equipment, a good offset spatula is worth every penny—it makes frosting so much easier and gives you that professional finish.
Preparation Method
Alright, let’s get to the fun part. Here’s how to make this kid-approved confetti birthday cake step by step:
- Preheat and prepare your pans. Preheat your oven to 350°F (175°C). Grease two 9-inch round cake pans with butter or cooking spray, then line the bottoms with parchment paper circles. Grease the parchment too. This extra step ensures your cakes release perfectly every time.
- Whisk the dry ingredients. In a large bowl, whisk together the cake flour, all-purpose flour, baking powder, and salt. Make sure there are no lumps—baking powder loves to clump up. Set this aside.
- Cream the butter and sugar. In the bowl of your stand mixer (or a large bowl if using a hand mixer), beat the softened butter on medium speed for about 2 minutes until it’s smooth and creamy. Add the sugar gradually, about ½ cup at a time, beating on medium-high speed after each addition. Keep beating for 3-4 minutes until the mixture is light, fluffy, and pale in color. This is called “creaming,” and it’s crucial for a tender crumb. Scrape down the sides of the bowl halfway through.
- Add the eggs one at a time. With the mixer on medium speed, add the eggs one at a time, beating well after each addition (about 30 seconds each). The mixture should look smooth and glossy. Add the vanilla extract and beat until combined.
- Alternate adding dry ingredients and milk. With the mixer on low speed, add about ⅓ of the dry ingredients, then half the milk, then another ⅓ of the dry ingredients, then the remaining milk, then the remaining dry ingredients. Mix just until combined after each addition. Do not overmix—stop as soon as you no longer see streaks of flour. Overmixing develops gluten and makes the cake tough.
- Fold in the sprinkles. Remove the bowl from the mixer and grab your rubber spatula. Gently fold the rainbow sprinkles into the batter using a few swift, gentle strokes. Don’t overmix here—you want the sprinkles distributed evenly without their colors bleeding into the batter. The batter should look like a confetti explosion.
- Divide and bake. Divide the batter evenly between the two prepared pans (a kitchen scale helps here, but eyeballing works too). Smooth the tops with your spatula. Bake for 25-30 minutes, or until a toothpick inserted in the center comes out clean or with a few moist crumbs. The tops should be golden and spring back when lightly touched.
- Cool completely. Let the cakes cool in the pans for 10 minutes, then turn them out onto a wire rack to cool completely. Remove the parchment paper. Do not attempt to frost the cakes while they’re still warm—you’ll end up with a melty mess. Patience, my friend.
- Make the buttercream. While the cakes cool, make the frosting. In a clean mixer bowl, beat the softened butter on medium speed for 3-4 minutes until it’s pale, fluffy, and almost doubled in volume. This is called “whipping” the butter, and it’s the secret to silky smooth frosting. Gradually add the sifted powdered sugar, about 1 cup at a time, beating on low speed until incorporated. Add the heavy cream, vanilla extract, and salt, then increase the speed to medium-high and beat for 2-3 minutes until the frosting is light, fluffy, and spreadable. If it’s too thick, add another tablespoon of cream. If it’s too thin, add more powdered sugar.
- Assemble the cake. Place one cooled cake layer on your serving plate or cake stand. Spread about 1 cup of buttercream evenly over the top. Place the second layer on top, making sure it’s centered. Spread a thin layer of frosting over the entire cake (this is called a “crumb coat”—it seals in the crumbs so your final layer is smooth). Refrigerate for 15-20 minutes to set the crumb coat.
- Finish frosting and decorate. Apply the remaining buttercream to the top and sides of the cake, using your offset spatula to create smooth swirls or rustic texture—whatever you prefer. Press extra rainbow sprinkles into the sides of the cake if desired. Add candles, fresh flowers, or edible glitter for that finishing touch.
A few troubleshooting notes: If your cake domes in the center (which happens to the best of us), simply use a serrated knife to level the tops before assembling. If your buttercream looks curdled, don’t panic—your butter was probably too cold. Let it sit at room temperature for 15 minutes, then beat it again on medium-high until it comes together.
Cooking Tips & Techniques
After making this confetti birthday cake more times than I can count, I’ve learned a few things the hard way. Here are my best tips to ensure your cake turns out perfect every time:
Room temperature ingredients matter—a lot. I used to think this was just baking snobbery, but it’s not. Cold eggs and cold milk don’t emulsify properly with the butter, which means your batter can look curdled and your cake can turn out dense. Let your eggs sit on the counter for 30 minutes, and microwave your milk for 15 seconds if you’re in a hurry.
Don’t overmix the batter. I’ve ruined more cakes than I care to admit by getting distracted and letting the mixer run too long. Once you add the flour, mix just until it disappears. Overmixing develops gluten, which makes your cake tough and chewy instead of tender and soft. When in doubt, stop mixing and finish incorporating by hand with a spatula.
Use a kitchen scale for consistent results. I know it’s an extra step, but measuring flour by weight (rather than volume) is the single best way to ensure your cake turns out the same every time. One cup of all-purpose flour should weigh 120 grams. If you’re scooping flour directly from the bag, you could be adding up to 50% more flour than the recipe calls for—and that’s a surefire way to end up with a dry, crumbly cake.
Let the cake cool completely before frosting. I know you’re excited. I know the house smells amazing. But if you frost a warm cake, the buttercream will melt and slide right off. I learned this lesson when I tried to rush a cake for my son’s first birthday and ended up with a sad, lopsided mess. Give it at least an hour on the counter, or pop the layers in the fridge for 20 minutes to speed things up.
Make the frosting while the cake bakes. This is a great multitasking strategy. While the cakes are in the oven, clean your mixer bowl and make the buttercream. That way, by the time the cakes are cool, your frosting is ready to go. Just give it a quick re-whip if it’s been sitting for a while.
Variations & Adaptations
One of the best things about this confetti birthday cake is how versatile it is. Here are some ways to make it your own:
Gluten-Free Version: Substitute the cake flour and all-purpose flour with a high-quality gluten-free flour blend that includes xanthan gum (I like Bob’s Red Mill 1-to-1 Baking Flour). The texture will be slightly different—a bit more tender and delicate—but it’s still delicious. Just be careful not to overmix, as gluten-free batters can become gummy if overworked.
Dairy-Free Adaptation: Use plant-based butter (like Miyoko’s or Earth Balance) and substitute the milk with unsweetened almond milk or oat milk. For the buttercream, use a solid coconut oil-based vegan butter. The flavor will be slightly different, but the texture holds up surprisingly well.
Chocolate Confetti Cake: Add ½ cup of unsweetened cocoa powder to the dry ingredients and increase the milk by ¼ cup. The combination of chocolate cake with rainbow sprinkles is absolutely irresistible—my nephew requests this version for every single birthday.
Cupcake Version: This batter makes about 24 cupcakes. Fill lined muffin tins about ⅔ full and bake at 350°F for 18-20 minutes. The buttercream recipe will generously frost all 24 cupcakes with a nice swirl on top.
Lemon Confetti Cake: Add the zest of two lemons to the sugar and rub it in with your fingers before creaming with the butter. Replace ¼ cup of the milk with fresh lemon juice. The bright citrus flavor pairs beautifully with the vanilla buttercream and gives the cake a lovely summery vibe.
My Personal Favorite Variation: I once made this cake for a Fourth of July party and swapped the rainbow sprinkles for red, white, and blue ones. I also added a layer of strawberry jam between the cake layers for a fruity surprise. It was a huge hit and has become my go-to for patriotic holidays.
Serving & Storage Suggestions
This confetti birthday cake is best served at room temperature, so take it out of the fridge about 30 minutes before you plan to cut it. The buttercream softens slightly and the cake becomes incredibly tender and flavorful.
How to Cut the Perfect Slice: Use a long, sharp knife and wipe it clean between each cut. For clean slices, dip the knife in hot water and dry it off before cutting. This trick works like magic—no smeared frosting, just perfect, Instagram-worthy slices.
What to Serve With It: This cake is pretty perfect on its own, but if you want to go all out, serve it with a scoop of vanilla ice cream or a dollop of freshly whipped cream. A glass of cold milk is the classic pairing for a reason. For an adult gathering, a cup of strong coffee or a glass of cold brew balances the sweetness beautifully.
Storage Instructions: Store leftover cake in an airtight container at room temperature for up to 3 days. If your kitchen is warm, you can refrigerate it—just let it come to room temperature before serving. The cake actually gets more moist and flavorful on the second day, so don’t be afraid to make it a day ahead.
Freezing Instructions: This cake freezes beautifully. You can freeze unfrosted cake layers (wrapped tightly in plastic wrap and then foil) for up to 3 months. Thaw at room temperature before frosting. You can also freeze the assembled, unfrosted cake for up to 2 months. I often make two cakes at once—one for now and one for the freezer. It’s a lifesaver when a birthday sneaks up on you.
Reheating Tips: If you prefer your cake slightly warm (which I absolutely do), pop individual slices in the microwave for 10-15 seconds. The buttercream gets slightly melty, and the cake becomes incredibly soft and almost pudding-like. It’s a completely different experience from room temperature cake, and it’s absolutely worth trying.
Nutritional Information & Benefits
Let’s be real—this is a birthday cake, not a health food. But here’s the nutritional breakdown per slice (based on 12 servings) for those who like to know:
- Calories: Approximately 520-580 per slice
- Fat: 28g (mostly from butter, so at least it’s real food)
- Carbohydrates: 72g
- Protein: 5g
- Sugar: 52g
Now, let’s talk about what’s actually good about this cake. It’s made with real butter, eggs, and milk—not hydrogenated oils or preservatives. You know exactly what’s going into it, which is more than you can say for a box mix or a store-bought cake. There’s something deeply satisfying about feeding your family food that you made with your own hands, even if it’s a treat.
The rainbow sprinkles might not offer any nutritional value, but they offer something just as important: joy. There’s a reason confetti cake is associated with celebration. It’s fun, it’s colorful, and it makes people smile. Sometimes that’s worth more than any vitamin or mineral.
For those with dietary concerns, this recipe contains gluten, dairy, and eggs. If you’re looking for allergen-friendly options, check out the variations section above for gluten-free and dairy-free adaptations.
Conclusion
This kid-approved confetti birthday cake with vanilla buttercream is more than just a recipe—it’s a tradition waiting to happen. It’s the cake you’ll make for first birthdays and tenth birthdays, for school celebrations and summer parties. It’s the cake that your kids will remember when they’re grown, the one they’ll ask you to make for their own children someday.
I love this recipe because it’s forgiving. It doesn’t demand perfection. It welcomes mistakes and turns them into something delicious anyway. The first time I made it, I forgot the vanilla extract. The second time, I overbaked it by five minutes. But every single time, the people I served it to ate it with joy, and that’s what matters.
So go ahead—preheat your oven, pull out your mixing bowl, and make a mess. Let the sprinkles scatter across your counter. Let the frosting get on your fingers. This is what celebration looks like, and it’s absolutely worth the effort.
I’d love to hear how your cake turns out! Drop a comment below and tell me about your birthday cake adventures. Did you try a variation? Did your kids help with the sprinkles? What’s your favorite birthday memory? Share your stories, your photos, and your questions—I read every single one and I promise to respond.
Happy baking, friends. Here’s to many more birthdays, many more cakes, and many more moments of pure, sprinkle-covered joy. 🎂
Frequently Asked Questions
Can I use store-bought sprinkles, or do I need specific ones?
You can absolutely use store-bought sprinkles! Just look for “jimmies” (the long, rod-shaped ones) rather than nonpareils (the tiny round ones). Jimmies hold their color better during baking and won’t turn your batter gray. I’ve tested this with multiple brands, and the store-brand jimmies work just as well as the fancy ones.
Why did my cake sink in the middle?
This usually happens for one of three reasons: your oven temperature was too low, you opened the oven door too early, or your baking powder is expired. Make sure your oven is properly preheated (an oven thermometer is a great investment), resist the urge to peek until at least 20 minutes have passed, and check the date on your baking powder. If it’s more than 6 months old, replace it.
Can I make this cake ahead of time?
Absolutely! This is actually a great make-ahead recipe. You can bake the cake layers up to 2 days in advance, wrap them tightly in plastic wrap, and store them at room temperature. You can also make the buttercream up to a week ahead and keep it in the fridge—just let it come to room temperature and re-whip it before using. The assembled cake can be refrigerated (unfrosted) for up to 2 days before you’re ready to decorate.
How do I get my buttercream smooth and not lumpy?
The secret is sifting your powdered sugar and making sure your butter is properly softened. Cold butter creates lumps that are nearly impossible to beat out. If your buttercream does end up lumpy, try warming the bowl slightly by placing it over a pan of warm water for a minute, then beat it again. You can also pass the finished buttercream through a fine-mesh sieve if you’re really struggling—it’s a pain, but it works.
Can I turn this into a sheet cake instead?
Yes! This recipe works beautifully as a 9×13-inch sheet cake. Grease and flour the pan, pour in the batter, and bake at 350°F for 30-35 minutes. The baking time will vary depending on your pan, so start checking around 28 minutes. You’ll need about 1 ½ times the buttercream recipe to frost a sheet cake generously. Sheet cakes are actually my preferred method for large gatherings—they’re easier to transport and serve.
Pin This Recipe!
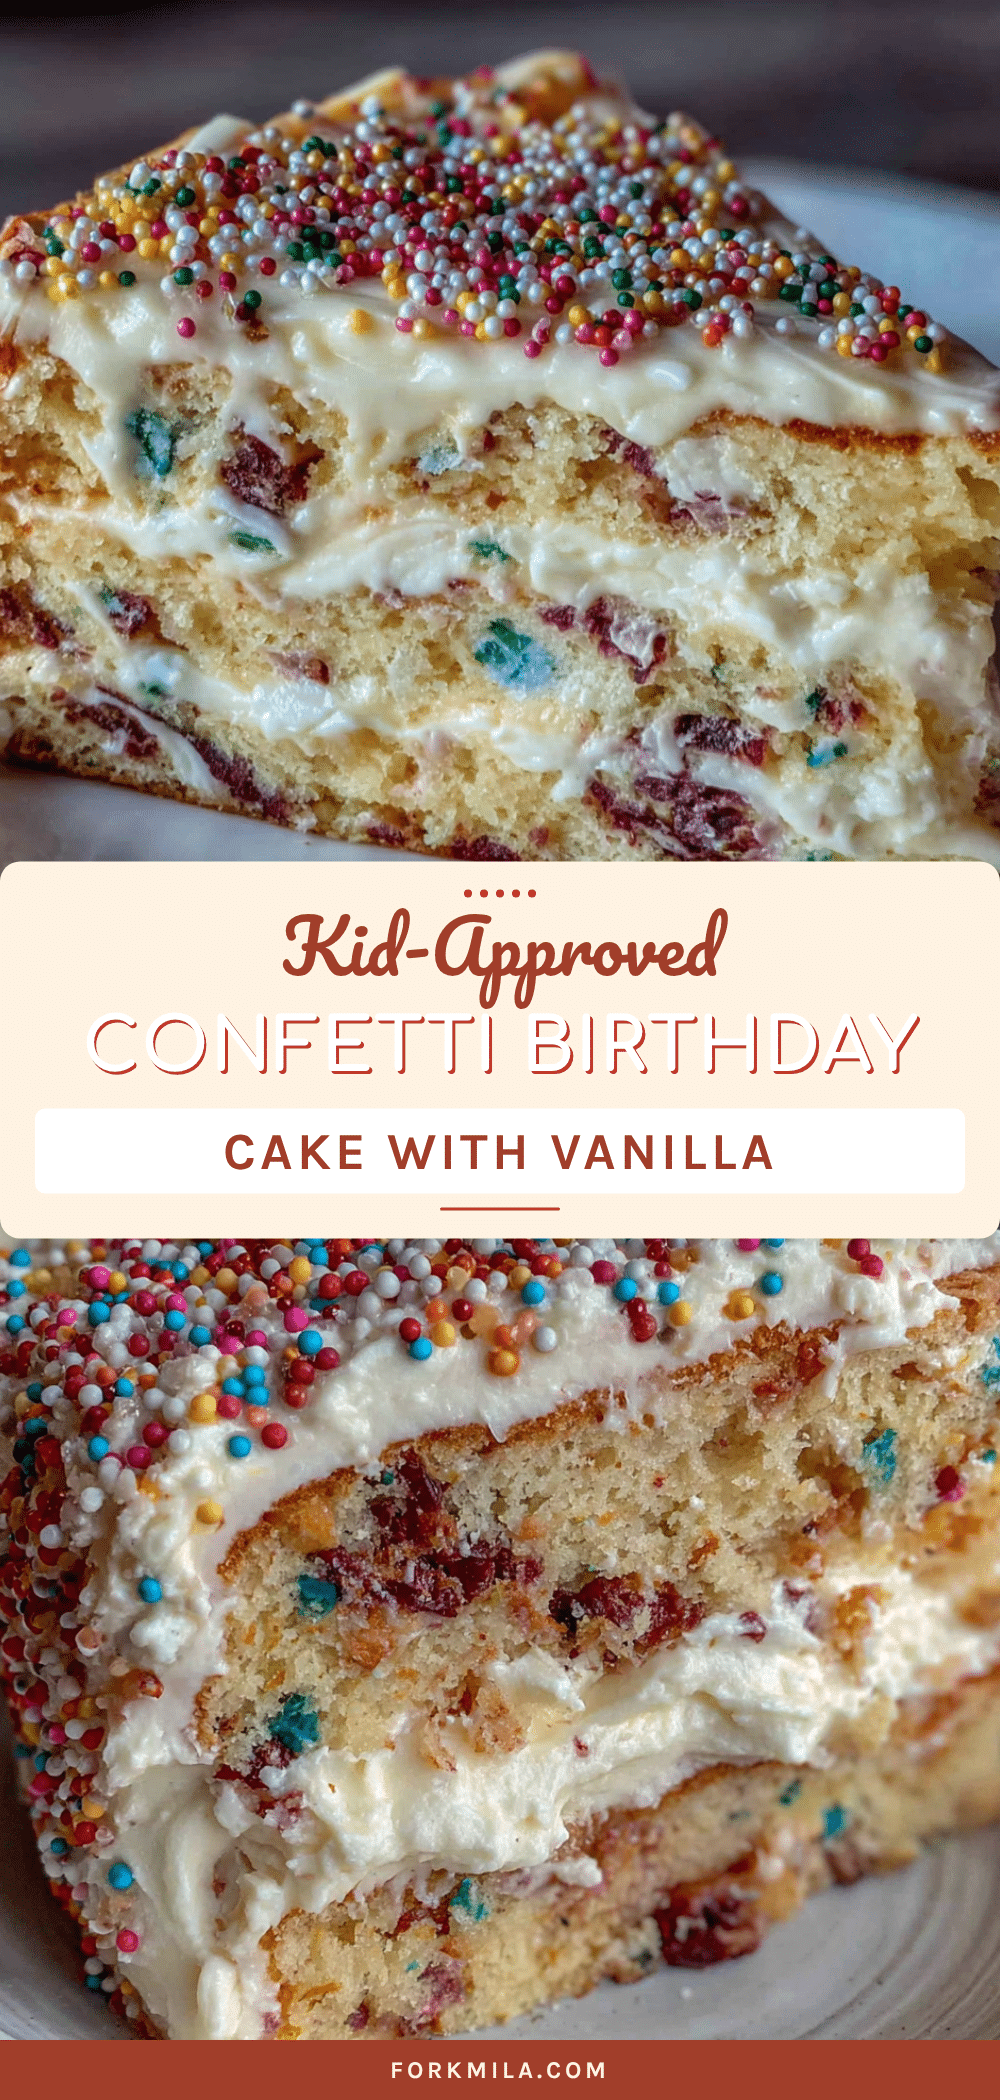
Kid-Approved Confetti Birthday Cake – Easy Homemade Vanilla Buttercream
A moist, tender confetti birthday cake with rainbow sprinkles and silky vanilla buttercream. Perfect for celebrations, this easy homemade cake comes together in under an hour and is sure to delight kids and adults alike.
- Prep Time: 15 minutes
- Cook Time: 25-30 minutes
- Total Time: 40-45 minutes
- Yield: 12 servings 1x
- Category: Dessert
- Cuisine: American
Ingredients
- 2 ½ cups cake flour (recommended: Swan’s Down)
- 1 cup all-purpose flour
- 2 ¼ cups granulated sugar (can reduce to 2 cups for less sweet cake)
- 1 tablespoon baking powder
- 1 teaspoon fine sea salt
- 1 cup unsalted butter, softened to room temperature
- 4 large eggs, room temperature
- 1 ½ cups whole milk, room temperature (can substitute 2%)
- 2 teaspoons pure vanilla extract
- ½ cup rainbow sprinkles (jimmies, not nonpareils)
- 1 ½ cups unsalted butter, softened to room temperature (for buttercream)
- 5 cups powdered sugar, sifted
- 3 tablespoons heavy cream (or whole milk)
- 2 teaspoons pure vanilla extract (for buttercream)
- ¼ teaspoon salt (for buttercream)
- Extra rainbow sprinkles for decoration (optional)
- Birthday candles (optional)
- Fresh flowers or edible glitter (optional)
Instructions
- Preheat oven to 350°F (175°C). Grease two 9-inch round cake pans with butter or cooking spray, line bottoms with parchment paper circles, and grease the parchment.
- In a large bowl, whisk together cake flour, all-purpose flour, baking powder, and salt. Set aside.
- In a stand mixer or large bowl, beat softened butter on medium speed for 2 minutes until smooth and creamy. Gradually add sugar, about ½ cup at a time, beating on medium-high after each addition. Continue beating for 3-4 minutes until light, fluffy, and pale. Scrape down sides halfway through.
- Add eggs one at a time, beating well after each addition (about 30 seconds each). Add vanilla extract and beat until combined.
- With mixer on low speed, add about ⅓ of dry ingredients, then half the milk, then another ⅓ of dry ingredients, then remaining milk, then remaining dry ingredients. Mix just until combined after each addition. Do not overmix.
- Remove bowl from mixer. Gently fold rainbow sprinkles into batter using a rubber spatula with a few swift, gentle strokes. Do not overmix.
- Divide batter evenly between prepared pans. Smooth tops with spatula. Bake for 25-30 minutes, until a toothpick inserted in center comes out clean or with a few moist crumbs. Tops should be golden and spring back when lightly touched.
- Let cakes cool in pans for 10 minutes, then turn out onto a wire rack to cool completely. Remove parchment paper.
- While cakes cool, make buttercream: In a clean mixer bowl, beat softened butter on medium speed for 3-4 minutes until pale, fluffy, and almost doubled in volume. Gradually add sifted powdered sugar, about 1 cup at a time, beating on low until incorporated. Add heavy cream, vanilla extract, and salt. Increase speed to medium-high and beat for 2-3 minutes until light, fluffy, and spreadable. Adjust consistency with additional cream or powdered sugar if needed.
- Place one cooled cake layer on serving plate. Spread about 1 cup buttercream evenly over top. Place second layer on top, centered. Spread a thin layer of frosting over entire cake (crumb coat). Refrigerate for 15-20 minutes to set.
- Apply remaining buttercream to top and sides of cake, creating desired texture. Press extra sprinkles into sides if desired. Add candles, fresh flowers, or edible glitter for decoration.
Notes
Use jimmies (long, rod-shaped sprinkles) instead of nonpareils to prevent color bleeding. Ensure all ingredients are at room temperature for best results. Do not overmix batter to avoid a tough cake. For a crumb coat, refrigerate cake for 15-20 minutes before final frosting. Cake can be made ahead: bake layers up to 2 days in advance, or freeze unfrosted layers for up to 3 months.
Nutrition
- Serving Size: 1 slice
- Calories: 520580
- Sugar: 52
- Sodium: 320
- Fat: 28
- Saturated Fat: 17
- Carbohydrates: 72
- Fiber: 1
- Protein: 5
Keywords: confetti cake, birthday cake, vanilla buttercream, rainbow sprinkles, homemade cake, kid-friendly, celebration cake


