I wasn’t expecting baking advice from my plumber, but there I was, ankle-deep in a minor kitchen flood, listening to Marco describe exactly how to make the perfect soft-baked sugar cookie for Halloween. He was on his knees under my sink, wrench in hand, and somehow between explaining the PVC trap situation, he started talking about his grandmother’s cookie recipe. “The secret,” he said, pausing to tighten something, “is using cake flour. She never told anyone that.” And just like that, between the drip of the leak and the clang of his tools, I got the foundation for what would become my go-to Halloween cookie.
I scribbled his tips on a soggy napkin while he worked—honestly, the most unlikely cooking class I’ve ever taken. That was three Halloweens ago, and I’ve been tweaking the recipe ever since, adding a bit more butter for softness, perfecting the royal icing consistency, and figuring out how to get those spooky spiderwebs just right. Maybe you’ve been there, standing in a mess, when the best idea comes out of nowhere. That’s how this recipe was born—from a flooded kitchen and a plumber’s family secret. Now, it’s the cookie I bring to every Halloween party, and let me tell you, it disappears faster than the candy bowl.
Why You’ll Love This Recipe
These soft-baked Halloween sugar cookies aren’t just another sugar cookie recipe. They’re the result of three years of testing, a plumber’s grandmother’s wisdom, and a whole lot of trial and error in my own kitchen. Here’s why they’ll become your new Halloween tradition:
- Perfectly Soft-Baked: The texture is everything—pillowy, tender, and stays soft for days. No crunchy edges here.
- Simple Ingredients: You probably have most of these in your pantry right now. No weird specialty items needed.
- Easy Royal Icing: I’ve simplified the royal icing to be forgiving and beginner-friendly. No stress, just beautiful cookies.
- Perfect for Halloween: These are ideal for parties, trick-or-treaters, or just a spooky baking session with kids.
- Crowd-Pleaser: I’ve brought these to three different Halloween gatherings and they always get rave reviews.
What makes these different from every other sugar cookie out there? It’s the combination of cake flour and a specific chilling technique that creates that signature soft texture. Plus, the royal icing recipe I’m sharing has a secret ingredient—a tiny splash of vanilla—that makes it taste as good as it looks. This isn’t just another version; it’s the one you’ll come back to year after year.
What Ingredients You Will Need
This recipe uses simple, wholesome ingredients to deliver that perfect soft-baked texture and delicious flavor. Most are pantry staples you likely already have on hand.
For the Cookies
- Unsalted butter, softened (1 cup / 2 sticks) – I prefer Land O’Lakes for consistent results
- Granulated sugar (1 cup / 200g)
- Large egg (1, room temperature)
- Vanilla extract (2 teaspoons, pure is best)
- Cake flour (2 1/4 cups / 270g) – This is the secret ingredient for softness! Don’t substitute with all-purpose
- Baking powder (1/2 teaspoon)
- Baking soda (1/4 teaspoon)
- Salt (1/4 teaspoon, fine sea salt)
- Milk (2 tablespoons, whole milk works best)
For the Royal Icing
- Powdered sugar (2 cups / 240g, sifted)
- Meringue powder (2 tablespoons) – I recommend Wilton brand for reliability
- Warm water (3-4 tablespoons)
- Vanilla extract (1/4 teaspoon, optional but recommended)
- Gel food coloring (orange, black, purple, green) – Avoid liquid food coloring as it thins the icing
For the decorations, you’ll want some Halloween-themed sprinkles, edible glitter, or candy eyes. I always grab a mix from the baking aisle at Michaels or Joann Fabrics.
Equipment Needed
You don’t need a professional bakery setup for these cookies, but having the right tools makes everything easier.
- Stand mixer or hand mixer – I use my KitchenAid for the cookies and a simple hand mixer for the icing
- Large mixing bowls (at least 2)
- Measuring cups and spoons
- Whisk for combining dry ingredients
- Rubber spatula for scraping down the bowl
- Baking sheets (I prefer light-colored ones for even baking)
- Parchment paper or silicone baking mats
- Cookie cutters (Halloween shapes like pumpkins, ghosts, bats, and cats)
- Rolling pin (with thickness guides if possible)
- Piping bags or squeeze bottles for the royal icing
- Small round piping tips (size 2 or 3 works great)
- Cooling rack
If you don’t have piping bags, you can use a ziplock bag with a tiny corner snipped off. It’s not as precise, but it works in a pinch!
Preparation Method
Let’s get baking! Here’s the step-by-step process for perfect soft-baked Halloween sugar cookies.
Step 1: Make the Cookie Dough
In a large bowl, cream together the softened butter and granulated sugar until light and fluffy—about 3 minutes with a hand mixer or 2 minutes in a stand mixer. You want it to look pale and airy. Add the egg and vanilla extract, then mix until just combined. Don’t overmix here.
In a separate bowl, whisk together the cake flour, baking powder, baking soda, and salt. Gradually add the dry ingredients to the wet mixture, mixing on low speed. Add the milk and mix until a soft dough forms. It should be slightly sticky but hold together when pressed.
Step 2: Chill the Dough
This step is crucial for soft-baked cookies. Wrap the dough in plastic wrap and flatten it into a disc. Refrigerate for at least 2 hours, or up to overnight. I’ve learned the hard way—skipping this means your cookies will spread too much and lose that perfect soft texture. The dough needs to be firm enough to roll out without sticking.
Step 3: Roll and Cut
Preheat your oven to 350°F (175°C). Line your baking sheets with parchment paper. On a lightly floured surface, roll the chilled dough to about 1/4-inch thickness. Use your Halloween cookie cutters to cut out shapes. Re-roll the scraps once—after that, the dough gets tough.
Place the cutouts about 2 inches apart on the prepared baking sheets. If the dough gets too soft to handle, pop it back in the fridge for 10 minutes.
Step 4: Bake the Cookies
Bake for 8-10 minutes, or until the edges are just barely golden. The centers should still look slightly underdone—they’ll continue baking on the hot sheet. Let them cool on the baking sheet for 5 minutes, then transfer to a wire rack to cool completely. This is non-negotiable: the cookies must be completely cool before icing, or the royal icing will melt and slide right off.
Step 5: Make the Royal Icing
In a medium bowl, combine the sifted powdered sugar and meringue powder. Add 3 tablespoons of warm water and the vanilla extract. Beat on low speed until combined, then increase to medium-high and beat for 4-5 minutes until stiff peaks form. The icing should be thick and glossy. Add more water, one teaspoon at a time, if it’s too thick.
Step 6: Color and Decorate
Divide the royal icing into separate bowls for each color you want. Add gel food coloring a tiny drop at a time until you reach the desired shade. Transfer each color to a piping bag fitted with a small round tip.
Pipe outlines around the edges of your cookies, then fill in the centers with a slightly thinned version of the same icing (just add a few drops of water). Use a toothpick to spread the icing evenly. Add sprinkles or decorations while the icing is still wet. Let the cookies set at room temperature for at least 4 hours, or overnight.
Cooking Tips & Techniques
After making these cookies more times than I can count, I’ve picked up a few tricks that make a real difference.
Don’t skip the cake flour. I once ran out and used all-purpose flour, thinking it wouldn’t matter. It did. The cookies were tougher and less tender. Cake flour has lower protein content, which means less gluten development and softer cookies. It’s worth the extra trip to the store.
Chill your baking sheets. If you’re baking multiple batches, let the baking sheet cool completely between batches. Putting dough on a hot sheet will cause it to spread before it even hits the oven. I keep a second sheet in the freezer just for this purpose.
The toothpick test for royal icing. When you’re flooding the cookies (filling in the outlines), use a toothpick to guide the icing into corners and pop any air bubbles. It gives you that smooth, professional finish without any special tools.
Patience is key. I ruined my first batch of decorated cookies by not letting the icing set long enough. I stacked them too soon and ended up with a sticky, smeared mess. Give them a full 4 hours, or better yet, let them sit overnight. Trust me on this one.
Variations & Adaptations
One of the best things about this recipe is how versatile it is. Here are some variations I’ve tried and loved.
Gluten-Free Version
Substitute the cake flour with a high-quality gluten-free all-purpose flour blend that includes xanthan gum. I’ve had good results with Bob’s Red Mill 1-to-1 Baking Flour. The texture will be slightly different, but still deliciously soft.
Vegan Option
Use vegan butter sticks (not spreadable margarine) and a flax egg (1 tablespoon ground flaxseed mixed with 3 tablespoons water, let sit for 5 minutes). For the royal icing, replace meringue powder with aquafaba—the liquid from a can of chickpeas. It works surprisingly well!
Flavor Twists
Add 1/2 teaspoon of almond extract along with the vanilla for a subtle nutty flavor. Or try lemon zest in the dough for a bright, citrusy kick that pairs beautifully with the sweet icing. My personal favorite is adding a pinch of cinnamon and nutmeg for a warm, spiced cookie that feels extra cozy for fall.
No-Icing Option
If royal icing feels too fussy, simply sprinkle the warm cookies with cinnamon sugar or dust them with powdered sugar. They’re still soft and delicious, just simpler.
Serving & Storage Suggestions
These cookies are best served at room temperature. The soft texture really shines when they’re not straight from the fridge. Arrange them on a Halloween-themed platter or in a decorative tin lined with parchment paper.
For serving at parties, I like to pair them with a warm mug of spiced apple cider or a creamy pumpkin latte. The sweetness of the cookies balances perfectly with the tartness of the cider. Kids love them with a glass of cold milk, of course.
Storage: Store undecorated cookies in an airtight container at room temperature for up to 1 week. Once decorated with royal icing, they can be stored in a single layer (or layered with parchment paper) for up to 2 weeks. The icing actually helps preserve the cookies!
Freezing: You can freeze the unbaked cookie dough for up to 3 months. Just wrap it tightly in plastic wrap and then foil. When ready to bake, thaw in the refrigerator overnight and proceed with the recipe. Baked, undecorated cookies also freeze well for up to 2 months.
The flavors actually develop and deepen over the first day or two, so don’t worry if you’re making them ahead. They might even taste better!
Nutritional Information & Benefits
Let’s be honest—these are a treat, not a health food. But here’s the breakdown per cookie (based on a standard pumpkin-shaped cookie with royal icing):
- Calories: Approximately 180-200
- Fat: 8g
- Carbohydrates: 28g
- Protein: 2g
- Sugar: 18g
While they’re not exactly nutrient-dense, there is a small silver lining. The butter provides a source of vitamin A, and the egg adds a bit of protein. Plus, there’s something to be said for the mental health benefits of a fun baking project—especially during the busy holiday season.
For those with dietary restrictions, the gluten-free and vegan variations I mentioned earlier work well. Just note that the nutritional values will change with those substitutions.
Conclusion
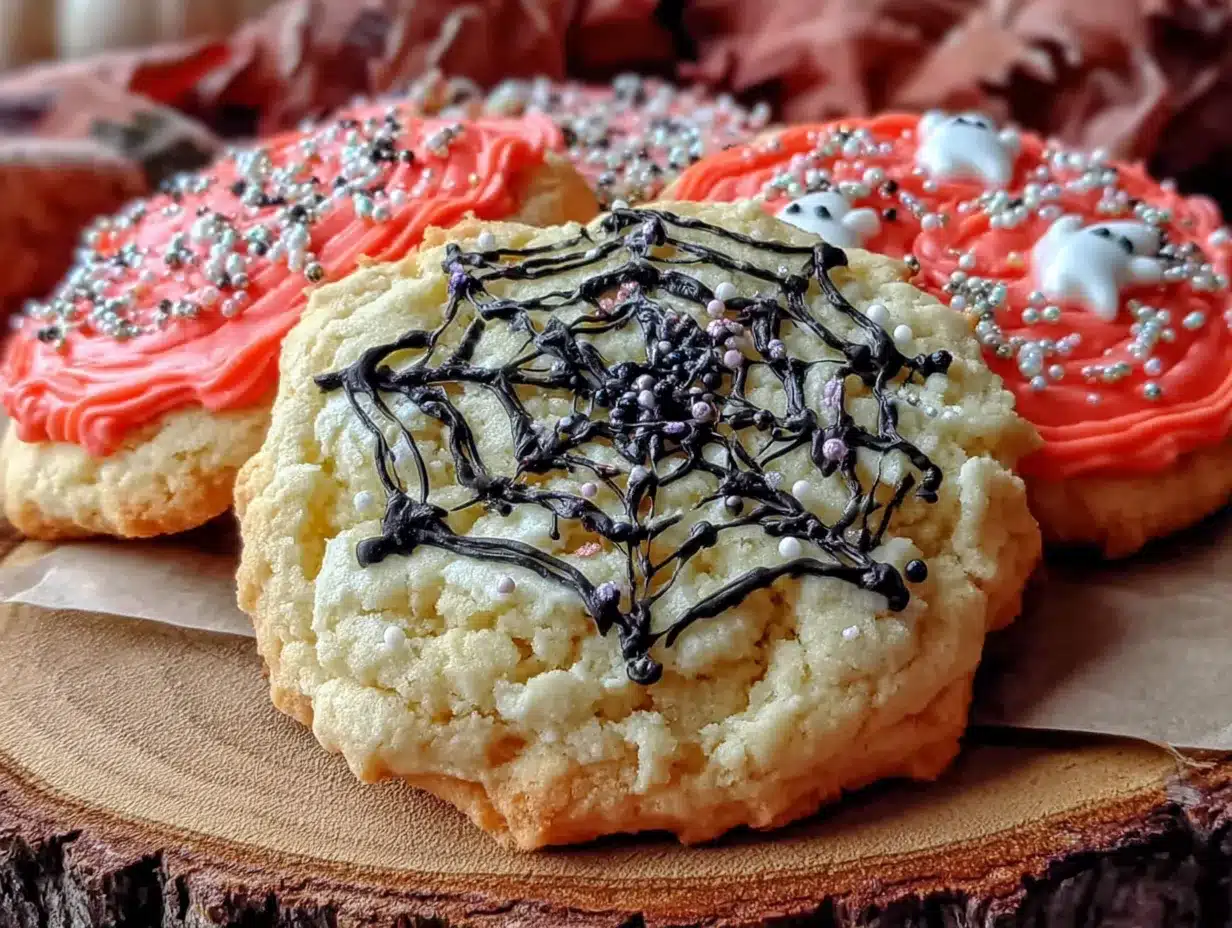
These soft-baked Halloween sugar cookies with royal icing have become my absolute favorite fall baking tradition. They started from a plumber’s story under my sink, and now they’re the cookies I’m known for. There’s something magical about taking a simple sugar cookie and turning it into a tiny work of art—a ghost with a crooked smile, a pumpkin with glittery edges, a bat with candy eyes.
I hope you give this recipe a try, and more importantly, I hope you make it your own. Add your favorite decorations, experiment with flavors, and don’t stress about perfection. The slightly lopsided ghosts and the pumpkins with too much icing are the ones that get the most love anyway.
I’d love to see your creations! Drop a comment below with your best Halloween cookie photos, or share your own tips for royal icing. And if you have a recipe story as unlikely as mine, I definitely want to hear it. Happy baking, and have a spooktacular Halloween!
Frequently Asked Questions
Can I use all-purpose flour instead of cake flour?
You can, but the cookies won’t be as soft. Cake flour has less protein, which means less gluten and a more tender texture. If you’re in a pinch, you can make a substitute: for every cup of all-purpose flour, remove 2 tablespoons and replace with 2 tablespoons of cornstarch. Sift together several times. It’s not exactly the same, but it helps.
Why did my royal icing turn out too runny?
You probably added too much water. Royal icing should be thick enough to hold a stiff peak when you lift the beater. If it’s runny, add more sifted powdered sugar, one tablespoon at a time, until it reaches the right consistency. Remember, you can always thin it out, but you can’t thicken it back up easily.
How far in advance can I make these cookies?
You can make the dough up to 3 days ahead and keep it in the fridge. Baked, undecorated cookies can be stored for up to a week. Once decorated, they’ll last 2 weeks in an airtight container. They actually taste great for days, so they’re perfect for making ahead of a party.
My cookies spread too much. What went wrong?
This usually happens when the dough isn’t chilled enough. Make sure you refrigerate it for at least 2 hours, and if your kitchen is warm, pop the cut-out cookies in the fridge for 10 minutes before baking. Also, check that your butter was softened but not melted—overly soft butter causes spreading.
Can I freeze the decorated cookies?
I don’t recommend freezing cookies once they’re decorated with royal icing. The icing can become sticky and lose its shine when thawed. However, you can freeze undecorated baked cookies or the raw dough for up to 3 months. Just thaw and decorate when you’re ready to serve.
Pin This Recipe!
Soft-Baked Halloween Sugar Cookies: Easy Royal Icing Recipe

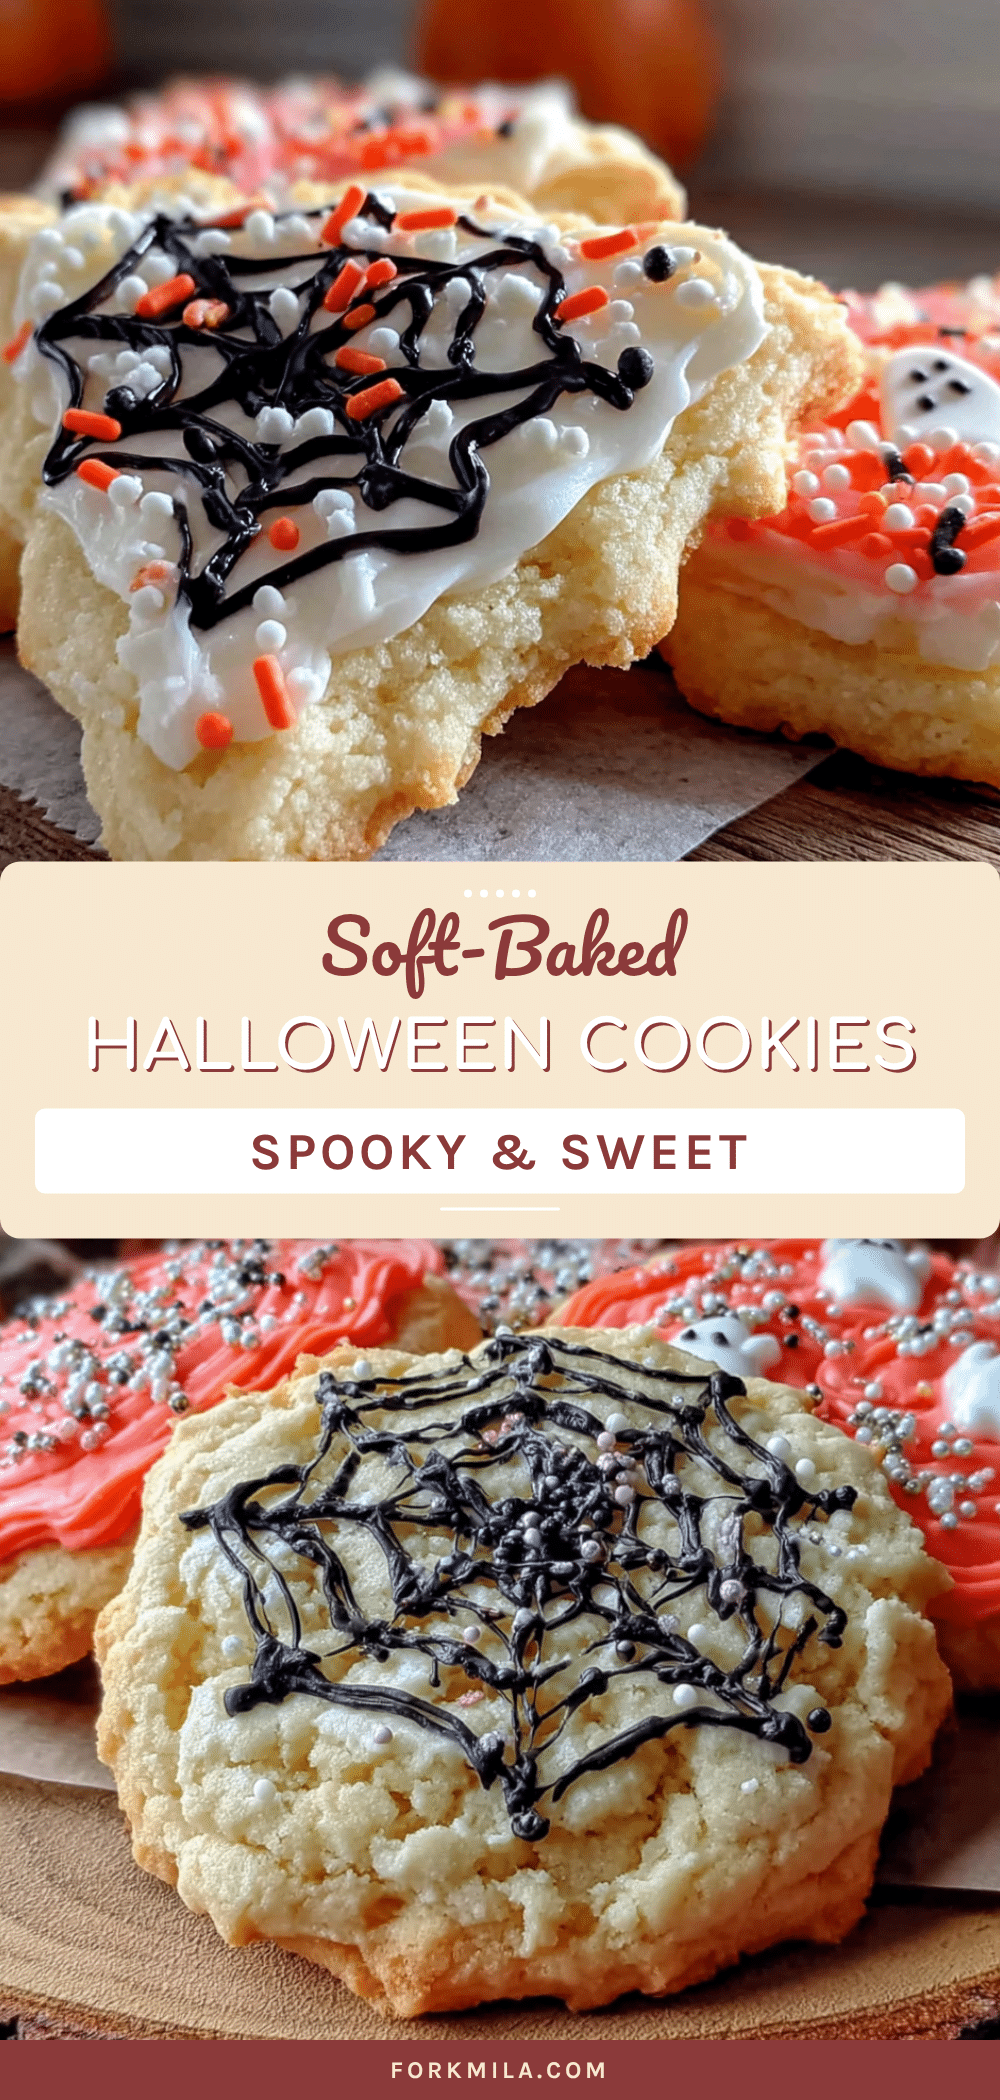
These soft-baked Halloween sugar cookies are the result of three years of testing, a plumber’s grandmother’s wisdom, and a whole lot of trial and error. They’re pillowy, tender, and stay soft for days, topped with a beginner-friendly royal icing that’s perfect for spooky decorations.
- Prep Time: 20 minutes
- Cook Time: 10 minutes
- Total Time: 2 hours 30 minutes (includes chilling time)
- Yield: 24 cookies 1x
- Category: Dessert
- Cuisine: American
Ingredients
- 1 cup (2 sticks) unsalted butter, softened
- 1 cup (200g) granulated sugar
- 1 large egg, room temperature
- 2 teaspoons pure vanilla extract
- 2 1/4 cups (270g) cake flour
- 1/2 teaspoon baking powder
- 1/4 teaspoon baking soda
- 1/4 teaspoon fine sea salt
- 2 tablespoons whole milk
- 2 cups (240g) powdered sugar, sifted
- 2 tablespoons meringue powder
- 3–4 tablespoons warm water
- 1/4 teaspoon vanilla extract (optional)
- Gel food coloring (orange, black, purple, green)
- Halloween-themed sprinkles, edible glitter, or candy eyes (for decoration)
Instructions
- In a large bowl, cream together the softened butter and granulated sugar until light and fluffy—about 3 minutes with a hand mixer or 2 minutes in a stand mixer. Add the egg and vanilla extract, then mix until just combined.
- In a separate bowl, whisk together the cake flour, baking powder, baking soda, and salt. Gradually add the dry ingredients to the wet mixture, mixing on low speed. Add the milk and mix until a soft dough forms.
- Wrap the dough in plastic wrap and flatten it into a disc. Refrigerate for at least 2 hours, or up to overnight.
- Preheat oven to 350°F (175°C). Line baking sheets with parchment paper. On a lightly floured surface, roll the chilled dough to about 1/4-inch thickness. Use Halloween cookie cutters to cut out shapes. Place cutouts about 2 inches apart on prepared baking sheets.
- Bake for 8-10 minutes, or until edges are just barely golden. Let cool on baking sheet for 5 minutes, then transfer to a wire rack to cool completely.
- For the royal icing: In a medium bowl, combine sifted powdered sugar and meringue powder. Add 3 tablespoons warm water and vanilla extract. Beat on low until combined, then increase to medium-high and beat for 4-5 minutes until stiff peaks form. Add more water, one teaspoon at a time, if too thick.
- Divide royal icing into separate bowls for each color. Add gel food coloring a tiny drop at a time. Transfer each color to a piping bag fitted with a small round tip.
- Pipe outlines around edges of cookies, then fill in centers with a slightly thinned version of the same icing. Use a toothpick to spread evenly. Add sprinkles or decorations while icing is still wet. Let set at room temperature for at least 4 hours, or overnight.
Notes
Don’t skip the cake flour—it’s the secret to soft cookies. Chill the dough for at least 2 hours to prevent spreading. Let cookies cool completely before icing. Royal icing needs at least 4 hours to set; overnight is best. For gluten-free, use a high-quality gluten-free all-purpose flour blend with xanthan gum. For vegan, use vegan butter sticks, a flax egg, and aquafaba instead of meringue powder.
Nutrition
- Serving Size: 1 cookie
- Calories: 190
- Sugar: 18
- Sodium: 85
- Fat: 8
- Saturated Fat: 5
- Carbohydrates: 28
- Protein: 2
Keywords: Halloween sugar cookies, soft-baked cookies, royal icing, Halloween baking, sugar cookie recipe, easy royal icing, spooky cookies


