I was standing in the middle of the snack aisle at our local grocery store last Saturday when a bag of tortilla chips practically jumped off the shelf at me. Not literally, of course—but the sound of that crinkly plastic bag hitting the linoleum floor, followed by the sharp crack of chips shattering inside, sent me straight back to the parking lot of Arrowhead Stadium in 2017. My brother-in-law Dave had just dropped the entire spread we’d spent all morning prepping, and there we were, three grown adults staring at a sad pile of broken chips and spilled salsa on the asphalt. Honestly, that moment could have ruined the whole tailgate. But instead, Dave looked at the mess, looked at us, and said, “Guess we’re making nachos tonight instead.” And that, my friends, is how the Ultimate Loaded Nacho Bar was born—out of desperation, a broken bag of chips, and a whole lot of determination.
I know, I know—it sounds dramatic for a plate of nachos. But let me tell you, there’s something about standing around a folding table in a parking lot with people you actually like, piling your plate high with seasoned beef, melty cheese, and all the fixings, that just hits different. Maybe you’ve been there—the game is about to start, everyone’s hungry, and you need something that feeds a crowd without turning into a full-blown production. That’s exactly what this loaded nacho bar does. It’s the kind of recipe that saves the day, whether you’re tailgating at the stadium or just hosting a watch party in your living room.
I’ve been perfecting this setup for years now. I mean, I’ve had my share of soggy nachos and unevenly distributed toppings. But this version? It’s the one I keep coming back to. It’s flexible, it’s forgiving, and it somehow makes everyone feel like they got exactly what they wanted. That’s the magic of a good nacho bar—it’s not just about the food. It’s about the ritual of building your own plate, the little victories when you nail the cheese-to-chip ratio, and the way people gather around it like it’s the main event. Trust me, once you try this, you won’t want to go back to plain old chips and dip.
Why You’ll Love This Ultimate Loaded Nacho Bar
So why should this be your go-to for game day? Let me break it down for you. I’ve tested this recipe at tailgates, Super Bowl parties, and even casual Tuesday night dinners (yes, really), and it never disappoints. Here’s what makes it special:
- Quick & Easy to Set Up: You can have everything ready in under 30 minutes. Seriously. While the beef is browning, you can chop the veggies and warm the cheese sauce. It’s that simple.
- Simple Ingredients, Big Flavor: No fancy grocery trips needed. Ground beef, canned beans, store-bought salsa, and shredded cheese—these are things you probably already have in your pantry and fridge.
- Perfect for Tailgates & Watch Parties: Whether you’re in a parking lot or your living room, this nacho bar travels well and feeds a crowd without any fuss. Just set out the toppings and let everyone build their own plate.
- Crowd-Pleaser Guaranteed: I’ve yet to meet someone who doesn’t love a loaded nacho. Kids, adults, picky eaters—everyone finds something to love. It’s basically impossible to mess up.
- Unbelievably Delicious: The combination of seasoned beef, creamy cheese, crunchy chips, and fresh toppings is pure comfort food magic. And the best part? Every bite is different because you control what goes on your plate.
What sets this recipe apart from the dozens of other nacho recipes out there is the method. Instead of just tossing everything on a sheet pan and hoping for the best, I’ve developed a system that keeps the chips crispy and the toppings evenly distributed. Plus, the self-serve bar format means no one gets stuck with a sad, topping-less chip at the bottom of the pile. It’s the little things, you know?
This isn’t just another nacho recipe—it’s the one that makes you close your eyes after that first crunchy, cheesy, meaty bite. It’s comfort food reimagined: faster, more customizable, and with the same soul-soothing satisfaction you’d get from a restaurant platter. Perfect for impressing your friends without breaking a sweat, or turning a simple game day into something truly memorable.
What Ingredients You Will Need
This recipe uses simple, everyday ingredients to deliver bold flavor and satisfying texture without any unnecessary fuss. Most of these are pantry staples or easy to find at any grocery store. Let’s walk through what you’ll need, along with a few tips I’ve picked up along the way.
For the Seasoned Beef
- 1 lb ground beef (80/20 blend works best—it’s flavorful and doesn’t dry out too quickly. I prefer ground chuck for tailgates because it holds up well.)
- 1 tablespoon olive oil (for browning the beef. You can skip this if your beef is fatty enough.)
- 1 small yellow onion, finely diced (about ½ cup. Adds sweetness and depth.)
- 3 cloves garlic, minced (fresh is best—don’t use the jarred stuff for this.)
- 1 packet taco seasoning (or make your own: 1 tablespoon chili powder, 1 teaspoon cumin, ½ teaspoon smoked paprika, ½ teaspoon garlic powder, ½ teaspoon onion powder, ¼ teaspoon cayenne, salt and pepper to taste. I like using the homemade blend because I can control the salt.)
- ½ cup water (to help the seasoning incorporate and create a light sauce.)
- 1 can (15 oz) black beans, drained and rinsed (optional but highly recommended—adds fiber and makes the beef go further.)
For the Cheese Sauce
- 2 tablespoons unsalted butter
- 2 tablespoons all-purpose flour
- 1½ cups whole milk (warm it slightly before adding—helps prevent lumps.)
- 2 cups shredded sharp cheddar cheese (I recommend shredding your own from a block—pre-shredded cheese has anti-caking agents that can make the sauce grainy. Cabot or Tillamook are my go-to brands.)
- ½ teaspoon smoked paprika (for a subtle smoky kick.)
- ¼ teaspoon cayenne pepper (optional, for heat.)
- Salt to taste
For the Nacho Bar Toppings
- 1 large bag (13-16 oz) restaurant-style tortilla chips (look for sturdy chips that can hold up to heavy toppings. I like Tostitos Scoops or Juanita’s—they’re thick and don’t break easily.)
- 1 cup salsa (use your favorite—I prefer a medium-heat chunky salsa for texture.)
- 1 cup sour cream (full-fat is creamier, but light works fine too.)
- 1 cup guacamole (store-bought is fine in a pinch, but homemade is always better. I’ll share my quick recipe in the tips section.)
- 1 cup pico de gallo or diced tomatoes (fresh tomatoes add brightness.)
- ½ cup sliced black olives (drained. Adds a briny pop of flavor.)
- ½ cup pickled jalapeños (for heat. I like the ones from the Mexican grocery section—they’re tangier.)
- ½ cup chopped fresh cilantro (for garnish. Don’t skip it—it makes everything look and taste fresher.)
- ½ cup sliced green onions (both white and green parts.)
- 1 cup shredded lettuce (optional, for crunch. Iceberg works best.)
- Lime wedges (for squeezing over the top. A little acidity balances the richness.)
Substitution Notes
If you’re feeding a crowd with dietary restrictions, here are some easy swaps. Use ground turkey or plant-based crumbles instead of beef for a lighter or vegetarian option. For a gluten-free version, skip the flour in the cheese sauce and use a cornstarch slurry instead (1 tablespoon cornstarch mixed with 2 tablespoons cold milk). And if you’re dairy-free, you can use a store-bought vegan cheese sauce or make one with cashews—though I’ll be honest, it’s not quite the same. For a low-carb option, serve the toppings over lettuce cups or pork rinds instead of chips.
Equipment Needed
You don’t need a ton of fancy equipment to pull off this Ultimate Loaded Nacho Bar, but having the right tools makes the process smoother. Here’s what I use:
- Large skillet or frying pan (12-inch is ideal for browning the beef evenly. Cast iron works great because it holds heat well.)
- Medium saucepan (for the cheese sauce. A heavy-bottomed one prevents scorching.)
- Wooden spoon or spatula (for breaking up the beef as it cooks.)
- Whisk (essential for a smooth cheese sauce without lumps.)
- Cutting board and sharp knife (for dicing onions, chopping cilantro, and slicing jalapeños.)
- Small serving bowls and spoons (for all the toppings. I use a mix of small ramekins and medium bowls—makes the bar look inviting.)
- Sheet pan or large platter (if you’re doing a baked nacho version. But for the bar, you just need plates for everyone.)
- Slow cooker or warming tray (optional but highly recommended—keeps the beef and cheese sauce warm throughout the game. I use a small 2-quart slow cooker for the cheese and another for the beef.)
If you don’t have a slow cooker, no worries. You can keep the beef warm in a covered skillet on low heat, and the cheese sauce can be reheated gently with a splash of milk if it thickens too much. I’ve done this many times at tailgates where electricity was limited—just bring a portable butane burner and you’re golden.
Preparation Method
Alright, let’s get cooking. I’ll walk you through this step by step, with all the little details I’ve learned from years of trial and error. Trust me, following these steps will save you from soggy nachos and unevenly distributed toppings.
- Prep your ingredients first. Dice the onion, mince the garlic, drain and rinse the black beans, chop the cilantro, slice the green onions, and set out all your other toppings. This makes the cooking process so much smoother. I can’t tell you how many times I’ve been scrambling to chop something while the beef is burning. Do yourself a favor and prep everything before you turn on the stove. (About 10 minutes.)
- Brown the beef. Heat the olive oil in a large skillet over medium-high heat. Add the ground beef and cook, breaking it up with a wooden spoon, until it’s browned and no longer pink—about 6 to 8 minutes. Don’t drain all the fat; leave about a tablespoon in the pan for flavor. If you’re using 80/20 beef, there will be enough fat that you can skip the oil entirely. I’ve done it both ways, and honestly, the beef browns better without extra oil if the meat is fatty enough.
- Add the aromatics. Push the beef to one side of the skillet and add the diced onion. Cook for 2 to 3 minutes until it starts to soften, then stir in the minced garlic and cook for another 30 seconds until fragrant. Stir everything together. Your kitchen should smell amazing at this point.
- Season the beef. Sprinkle the taco seasoning over the beef mixture and stir to coat. Add the ½ cup of water and stir, scraping up any browned bits from the bottom of the pan. Let it simmer for 3 to 4 minutes until the liquid thickens slightly. If you’re using black beans, stir them in now and let them heat through for 1 to 2 minutes. Remove from heat and transfer to a serving bowl or slow cooker to keep warm. (Total time for this step: about 10 minutes.)
- Make the cheese sauce. In a medium saucepan, melt the butter over medium heat. Once it’s bubbling, whisk in the flour and cook for 1 to 2 minutes, stirring constantly. This is called a roux, and it’s the base for a smooth, creamy sauce. Don’t let it brown—you just want it to look like a pale paste.
- Add the milk gradually. Slowly pour in the warm milk while whisking continuously. Keep whisking until the mixture is smooth and starts to thicken, about 3 to 4 minutes. It should be thick enough to coat the back of a spoon. If you get lumps, don’t panic—just whisk vigorously or use a small immersion blender to smooth it out. I’ve had to do this more times than I care to admit.
- Melt in the cheese. Reduce the heat to low and add the shredded cheddar cheese a handful at a time, stirring until each addition is fully melted before adding more. Stir in the smoked paprika and cayenne if using. Taste and add salt as needed—remember, the cheese is already salty, so go easy. Once the sauce is smooth and creamy, remove from heat and transfer to a serving bowl or small slow cooker. (Total time for cheese sauce: about 10 minutes.)
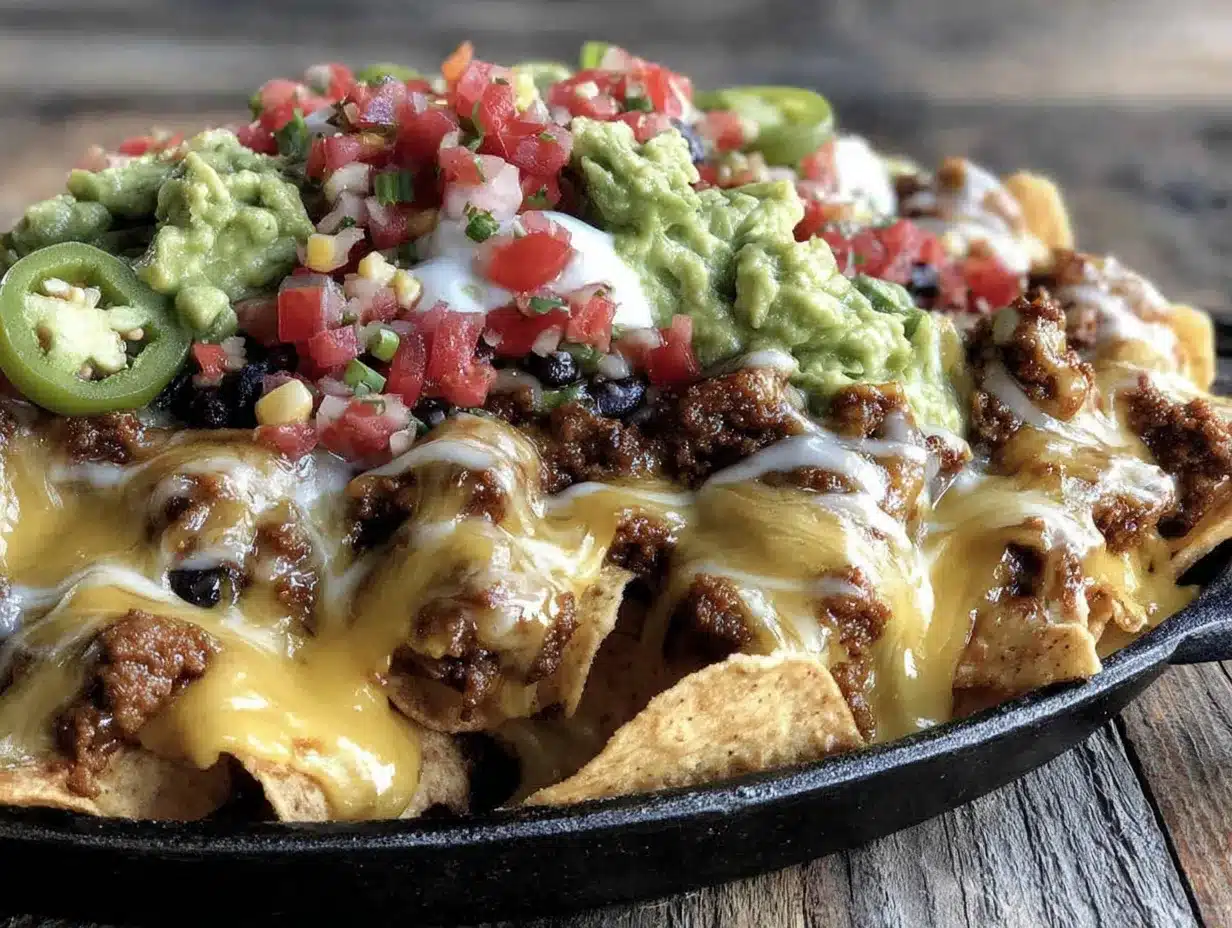
- Set up your nacho bar. Arrange all your toppings in separate bowls: salsa, sour cream, guacamole, pico de gallo, black olives, pickled jalapeños, cilantro, green onions, shredded lettuce, and lime wedges. Place the seasoned beef and cheese sauce in their warmers or bowls. Lay out a stack of sturdy plates and plenty of napkins—trust me, you’ll need them.
- Assemble and serve. Let everyone build their own nacho plate. I recommend starting with a layer of chips, then adding a scoop of beef, a drizzle of cheese sauce, and then piling on the cold toppings. This way, the hot toppings melt the cheese slightly and the cold toppings stay fresh and crunchy. It’s a game-changer, honestly.
Pro tip for timing: If you’re tailgating, cook the beef and cheese sauce at home, transfer them to insulated containers or slow cookers, and reheat at the stadium. I’ve done this dozens of times, and it works perfectly. Just make sure your slow cooker has a secure lid for transport—learned that one the hard way.
Cooking Tips & Techniques
After making this recipe more times than I can count, I’ve picked up a few tricks that make a real difference. Here are the ones I swear by:
Don’t skip the roux for the cheese sauce. I know it’s tempting to just melt cheese and call it a day, but a proper roux gives you a sauce that’s silky, stable, and doesn’t separate when it sits. I learned this the hard way after serving a greasy, clumpy mess at a Super Bowl party. Never again.
Keep the chips and wet toppings separate until serving. This is the number one rule of a good nacho bar. If you let salsa or sour cream sit on the chips for too long, you’ll end up with a soggy mess. Let everyone build their own plate so the chips stay crunchy until the last bite.
Warm your serving bowls. If you’re using ceramic or glass bowls for the beef and cheese sauce, give them a quick rinse with hot water and dry them before adding the food. This keeps everything warm longer, especially if you’re serving outdoors. It’s a small step that makes a big difference.
Use a two-cheese strategy. While sharp cheddar is my go-to for flavor, I sometimes mix in a little Monterey Jack or pepper jack for extra creaminess and meltability. The jack cheese has a higher moisture content, which helps the sauce stay smooth. Just make sure to shred it yourself.
Watch your heat levels. When making the cheese sauce, keep the heat on low after adding the cheese. High heat can cause the sauce to break and become grainy. If it does separate, don’t throw it out—just whisk in a tablespoon of cold milk and it should come back together.
Plan for leftovers. If you have extra seasoned beef, it freezes beautifully for up to 3 months. Just let it cool completely, then transfer to a freezer-safe bag. Thaw in the fridge overnight and reheat in a skillet with a splash of water. The cheese sauce doesn’t freeze well, so only make as much as you think you’ll eat.
Variations & Adaptations
One of the best things about this Ultimate Loaded Nacho Bar is how easy it is to customize. Here are some of my favorite variations:
Vegetarian Nacho Bar: Swap the ground beef for a plant-based crumble or extra black beans and pinto beans. You can also add sautéed bell peppers and onions, roasted corn, or even seasoned tofu crumbles. I’ve made this version for vegetarian friends, and they always go back for seconds.
Chicken Nacho Bar: Use shredded rotisserie chicken instead of ground beef. Toss it with a little taco seasoning and a splash of chicken broth to keep it moist. This is a great option if you’re short on time—the chicken is already cooked, so you just need to warm it up.
Spicy Nacho Bar: Amp up the heat by adding diced fresh jalapeños to the beef, using pepper jack cheese in the sauce, and offering hot salsa and habanero hot sauce as toppings. I once made this version for a group of spice lovers, and they practically licked their plates clean.
Breakfast Nacho Bar: Yes, this is a thing, and it’s glorious. Swap the beef for scrambled eggs and chorizo, use a queso blanco sauce, and top with avocado, pico de gallo, and a drizzle of crema. Perfect for a lazy Sunday brunch or a morning tailgate.
Baked Nacho Platter: If you prefer the classic baked version, spread a layer of chips on a sheet pan, top with beef and cheese, and bake at 375°F for 8 to 10 minutes until the cheese is melted and bubbly. Then add the cold toppings and serve immediately. This is great for smaller gatherings where you want everything in one dish.
Low-Carb/Keto Nacho Bar: Use pork rinds or cheese crisps instead of tortilla chips, and load up on meat, cheese, guacamole, and sour cream. Skip the beans and use a low-carb salsa. I’ve tested this for a keto friend, and it was surprisingly satisfying.
Serving & Storage Suggestions
This nacho bar is designed to be served immediately, but with a few tricks, you can keep everything fresh and delicious throughout the game.
Serving temperature: The beef and cheese sauce should be served hot, while the cold toppings (salsa, sour cream, guacamole, pico de gallo) should be chilled. I like to set out the cold toppings about 15 minutes before serving so they’re not ice-cold, just pleasantly cool. The chips should be at room temperature—straight from the bag is fine.
Presentation tips: Arrange your toppings in a logical order on the table—start with the chips, then the hot items, then the cold toppings, and finish with garnishes. This creates a natural flow for building plates. Use small labels or cute little flags if you’re feeling fancy. I’ve used everything from mason jars to mini cast iron skillets for serving, and it always looks great.
Complementary dishes: This nacho bar is a meal in itself, but if you want to round things out, serve it with a side of Mexican street corn salad, a simple black bean soup, or a batch of homemade churros for dessert. For drinks, I love a cold Mexican lager like Corona or Modelo, or a spicy margarita. For non-alcoholic options, horchata or aguas frescas are perfect.
Storage instructions: Store any leftover beef and cheese sauce separately in airtight containers in the refrigerator for up to 4 days. The cold toppings like salsa and pico de gallo will keep for 2 to 3 days. Guacamole is best eaten the same day—it will brown in the fridge, though you can press plastic wrap directly onto the surface to slow oxidation. Do not store assembled nachos—they will be a soggy disaster. Trust me on this one.
Reheating tips: Reheat the beef in a skillet over medium heat with a splash of water or broth to restore moisture. The cheese sauce can be reheated gently in a saucepan over low heat, whisking constantly. Add a tablespoon of milk if it’s too thick. Do not microwave the cheese sauce—it will separate and become grainy. I learned this the hard way.
Flavor development: The seasoned beef actually tastes better the next day as the flavors meld together. I sometimes make it a day ahead on purpose. The cheese sauce is best fresh, but it will still be good for a day or two if stored properly.
Nutritional Information & Benefits
Let’s be real—this isn’t a health food. But that doesn’t mean it can’t be part of a balanced diet. Here’s a rough estimate for one serving (about 2 cups of nachos with beef, cheese sauce, and a moderate amount of toppings):
| Nutrient | Amount per Serving |
|---|---|
| Calories | 580-650 |
| Protein | 28-32g |
| Fat | 35-40g |
| Carbohydrates | 45-50g |
| Fiber | 6-8g |
| Sodium | 900-1100mg |
While it’s not low-calorie, this nacho bar does offer some nutritional benefits. The beef provides high-quality protein and iron, while the black beans add fiber and plant-based protein. The tomatoes in the salsa and pico de gallo are rich in lycopene and vitamin C, and the avocado in the guacamole delivers heart-healthy monounsaturated fats. The cilantro and lime juice add a boost of antioxidants as well.
Dietary considerations: This recipe is naturally gluten-free if you use cornstarch instead of flour in the cheese sauce. It can be made dairy-free with vegan cheese and sour cream alternatives. For low-carb diets, use pork rinds or cheese crisps instead of chips and skip the beans. The recipe is egg-free and nut-free as written. If you have specific allergens to manage, just check the labels on your store-bought toppings—some salsas and guacamoles may contain unexpected ingredients.
My personal take? I believe in enjoying food without guilt. This nacho bar is a celebration dish, meant to be shared with people you care about. One indulgent meal won’t derail your health goals, and the joy of gathering around good food has its own benefits for your mental well-being. So go ahead, load up that plate, and savor every bite.
Conclusion
So there you have it—my Ultimate Loaded Nacho Bar for Tailgate Parties. It’s the recipe that turned a parking lot disaster into a beloved tradition, and I hope it becomes one for you too. Whether you’re cheering on your team at the stadium or hosting a watch party at home, this nacho bar delivers on every level: it’s quick to set up, endlessly customizable, and guaranteed to make everyone happy.
What I love most about this recipe is how it brings people together. There’s something about building your own plate, passing bowls around, and hearing that first crunch of a perfectly loaded chip that just feels like community. It’s messy, it’s fun, and it’s exactly the kind of food that makes game day special.
Now I want to hear from you. What’s your go-to tailgate food? Have you tried a nacho bar before, or is this your first time? Drop a comment below and let me know how it turned out—I love hearing about your kitchen victories (and even your epic fails). And if you loved this recipe, share it with your fellow football fans. Trust me, they’ll thank you when they’re standing around a table piled high with the best nachos they’ve ever had.
Until next time, happy cooking—and go team!
Frequently Asked Questions
Can I make the beef and cheese sauce ahead of time?
Absolutely! The seasoned beef can be made up to 2 days in advance and stored in the refrigerator. The cheese sauce is best made fresh, but it will keep for up to 2 days in the fridge. Just reheat both gently on the stove or in a slow cooker before serving.
How do I keep the nachos from getting soggy?
The key is to let everyone build their own plate instead of assembling everything on a large tray. Keep the hot toppings (beef, cheese sauce) warm in separate bowls, and let people add them to their chips right before eating. This way, the chips stay crunchy until the very last bite.
Can I use ground turkey instead of beef?
Yes, ground turkey works great! Just make sure to add a little extra oil to the pan since turkey is leaner than beef. You might also want to add a bit more seasoning—turkey can be a little bland on its own. I’ve used ground turkey many times, and it’s always a hit.
What’s the best way to transport this for a tailgate?
Cook the beef and cheese sauce at home, then transfer them to insulated containers or small slow cookers. Use a cooler with ice packs for the cold toppings. Pack the chips in their original bag to prevent breakage. When you arrive, just set everything up on a table—it takes less than 5 minutes.
Can I make this vegetarian or vegan?
Definitely! For a vegetarian version, swap the beef for extra black beans, pinto beans, or a plant-based crumble. For a vegan version, use a dairy-free cheese sauce (cashew-based works well), vegan sour cream, and skip the beef. Load up on veggies and beans for a satisfying, plant-based nacho bar.
Pin This Recipe!
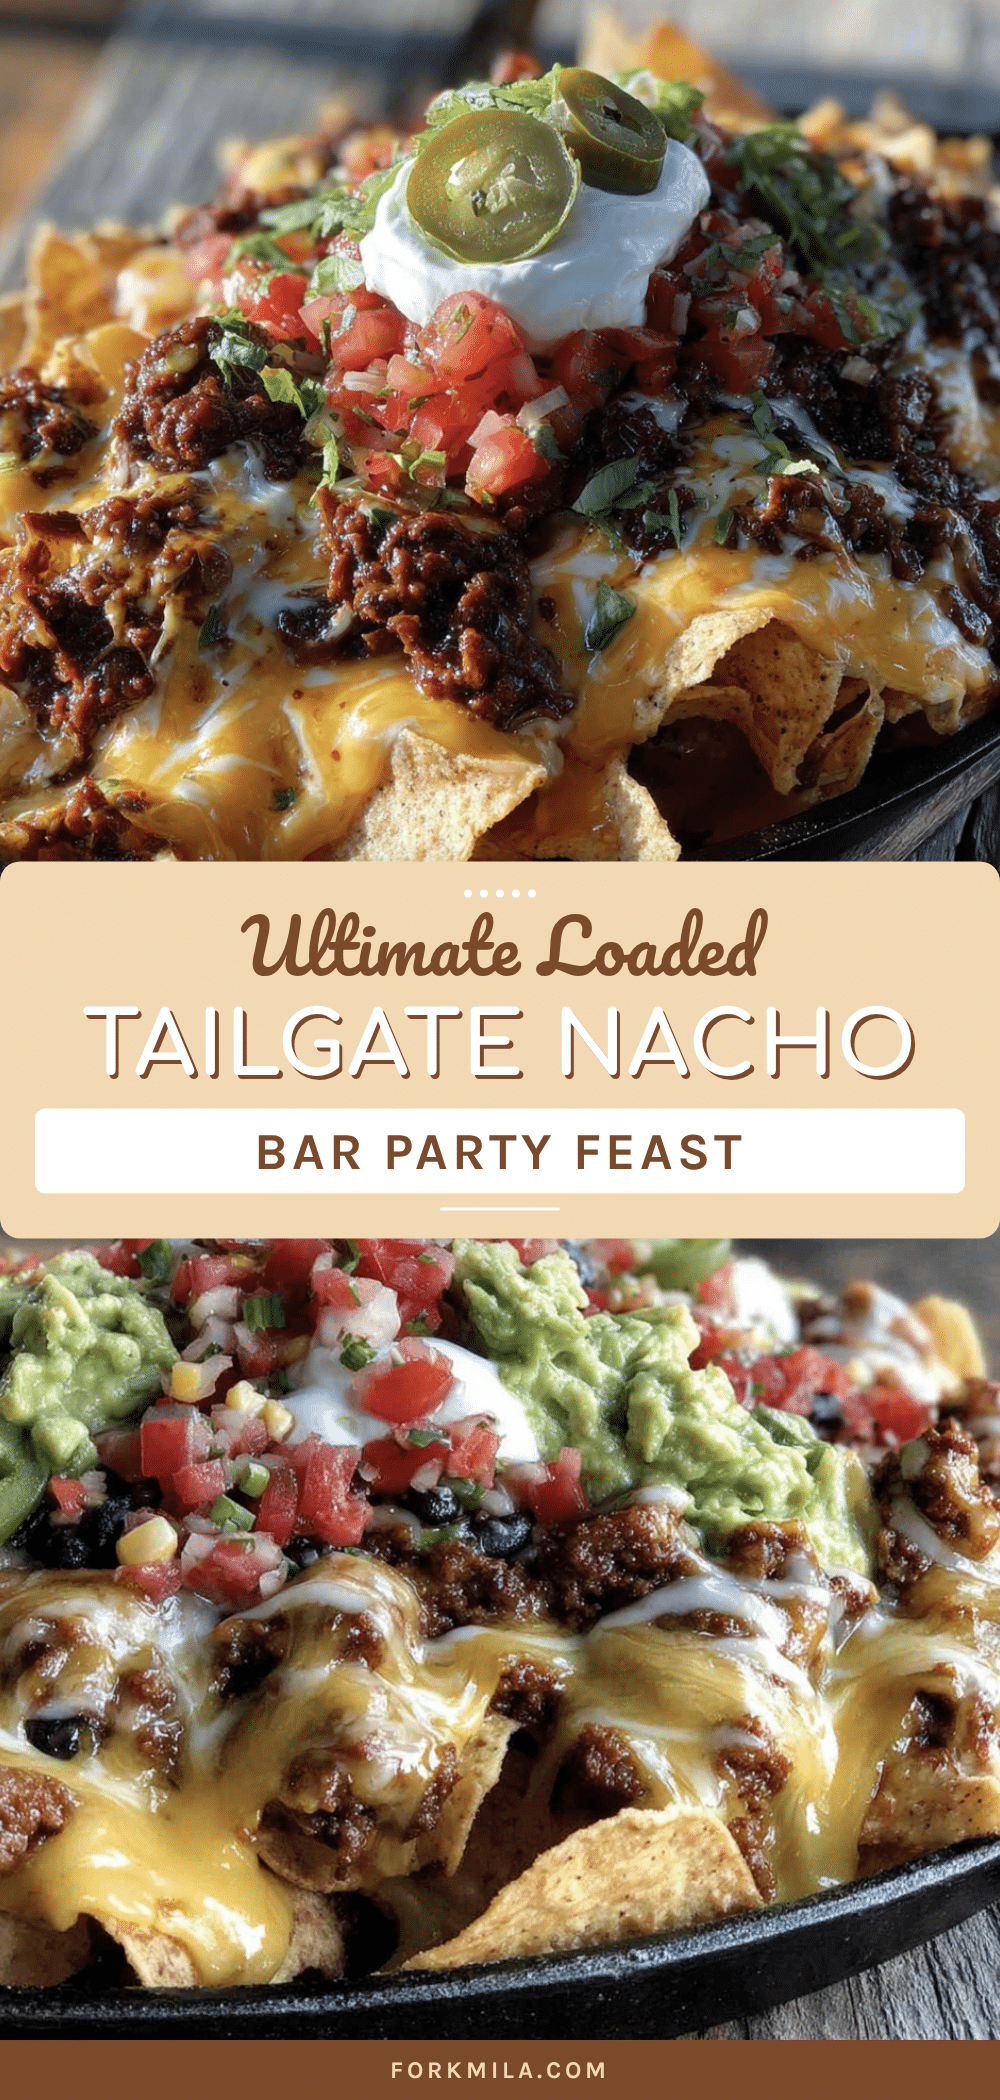
Ultimate Loaded Nacho Bar for Your Tailgate
A customizable nacho bar featuring seasoned beef, creamy cheese sauce, and a variety of fresh toppings, perfect for tailgates and watch parties. This recipe turns a simple snack into a crowd-pleasing, build-your-own experience that keeps chips crispy and toppings fresh.
- Prep Time: 15 minutes
- Cook Time: 20 minutes
- Total Time: 35 minutes
- Yield: 8 servings 1x
- Category: Main Course
- Cuisine: Mexican-American
Ingredients
- 1 lb ground beef (80/20 blend)
- 1 tablespoon olive oil
- 1 small yellow onion, finely diced (about ½ cup)
- 3 cloves garlic, minced
- 1 packet taco seasoning (or homemade: 1 tablespoon chili powder, 1 teaspoon cumin, ½ teaspoon smoked paprika, ½ teaspoon garlic powder, ½ teaspoon onion powder, ¼ teaspoon cayenne, salt and pepper to …
- ½ cup water
- 1 can (15 oz) black beans, drained and rinsed
- 2 tablespoons unsalted butter
- 2 tablespoons all-purpose flour
- 1½ cups whole milk, warmed
- 2 cups shredded sharp cheddar cheese
- ½ teaspoon smoked paprika
- ¼ teaspoon cayenne pepper (optional)
- Salt to taste
- 1 large bag (13–16 oz) restaurant-style tortilla chips
- 1 cup salsa
- 1 cup sour cream
- 1 cup guacamole
- 1 cup pico de gallo or diced tomatoes
- ½ cup sliced black olives, drained
- ½ cup pickled jalapeños
- ½ cup chopped fresh cilantro
- ½ cup sliced green onions
- 1 cup shredded lettuce (optional)
- Lime wedges
Instructions
- Prep your ingredients first: dice the onion, mince the garlic, drain and rinse the black beans, chop the cilantro, slice the green onions, and set out all other toppings. (About 10 minutes.)
- Brown the beef: Heat olive oil in a large skillet over medium-high heat. Add ground beef and cook, breaking it up with a wooden spoon, until browned and no longer pink—about 6 to 8 minutes. Leave about a tablespoon of fat in the pan.
- Add the aromatics: Push beef to one side, add diced onion, and cook for 2 to 3 minutes until softened. Stir in minced garlic and cook for 30 seconds until fragrant. Stir everything together.
- Season the beef: Sprinkle taco seasoning over the beef mixture and stir to coat. Add ½ cup water, scraping up browned bits from the pan. Simmer for 3 to 4 minutes until liquid thickens slightly. Stir in black beans if using and heat through for 1 to 2 minutes. Remove from heat and transfer to a serving bowl or slow cooker to keep warm.
- Make the cheese sauce: In a medium saucepan, melt butter over medium heat. Whisk in flour and cook for 1 to 2 minutes, stirring constantly, until it forms a pale paste (roux). Do not let it brown.
- Add the milk gradually: Slowly pour in warm milk while whisking continuously. Keep whisking until mixture is smooth and thickens, about 3 to 4 minutes, until it coats the back of a spoon.
- Melt in the cheese: Reduce heat to low. Add shredded cheddar cheese a handful at a time, stirring until each addition is fully melted. Stir in smoked paprika and cayenne if using. Taste and add salt as needed. Remove from heat and transfer to a serving bowl or small slow cooker.
- Set up your nacho bar: Arrange all toppings in separate bowls: salsa, sour cream, guacamole, pico de gallo, black olives, pickled jalapeños, cilantro, green onions, shredded lettuce, and lime wedges. Place seasoned beef and cheese sauce in warmers or bowls. Lay out plates and napkins.
- Assemble and serve: Let everyone build their own plate. Start with a layer of chips, then add beef, drizzle cheese sauce, and pile on cold toppings. This keeps chips crunchy and toppings fresh.
Notes
For a gluten-free version, replace flour in cheese sauce with 1 tablespoon cornstarch mixed with 2 tablespoons cold milk. For vegetarian, swap beef for extra beans or plant-based crumble. For dairy-free, use vegan cheese sauce and sour cream. Keep chips and wet toppings separate until serving to avoid sogginess. The seasoned beef can be made up to 2 days ahead and tastes even better the next day. Cheese sauce is best fresh but can be stored for up to 2 days.
Nutrition
- Serving Size: 1 serving (about 2 c
- Calories: 615
- Sugar: 5
- Sodium: 1000
- Fat: 37.5
- Saturated Fat: 15
- Carbohydrates: 47.5
- Fiber: 7
- Protein: 30
Keywords: nachos, tailgate, game day, loaded nachos, nacho bar, beef nachos, party food, appetizer


